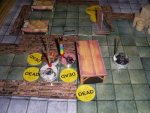
Condition Markers for Tokens & Miniatures

GranMakMorn

First Post
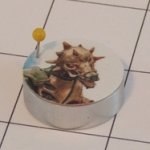
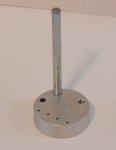
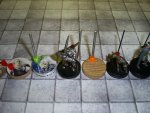
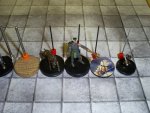
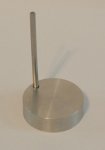
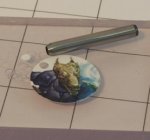
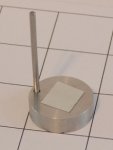
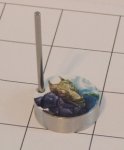
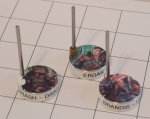
Hello, this is my first post on En World. I have found the site to be very helpful and wanted to contribute. I wanted to share my ideas on how I track conditions during 4E combat. My ideas are not new, but modifications of other peoples ideas. I searched the posts regarding this and found that most were from last year. I couldn't find any recent posts, so I started to think maybe it was a mute point. So, before I go into a long explanation about the evolution of my markers, I thought it would be better to just post a couple of pictures to see if anyone else is interested. If anyone would like to know more, I can just post what is needed.

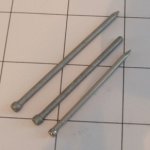
GMM001.jpg

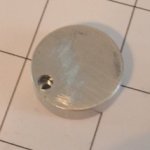
GMM002.jpg

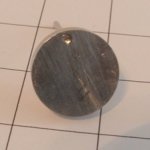
GMM003.JPG
 

log in or register to remove this ad

People have different ways of tracking conditions that I know of.

Some use the rings from soda caps.

Some use coloreds wires or paperclips.

Some use poker chips.

Some use cards.

Some have bought a bunch of custom plastic markers from Litko Aerosystems.
 

eamon

Explorer
And other people have home made steel chips that would probably work as a murder weapon ;-). But I'm curious, how did you make those poles for your chips - was it a lot of work?


GranMakMorn

First Post
How it got started

I hadn't played D&D since the early 80's. In May of 2009, I was given a 2006 D&D Basic Game. I really liked the miniatures & dungeon tiles that came with the game. I played the game with my family & we all enjoyed it, so I decided to buy the latest books and start playing. Little did I know how much D&D had changed since those early days! The first problem was keeping track of conditions during combat. I did some searching and found several great ideas using either miniatures or tokens. I really liked the idea of using miniatures, but at this point all I had were the ones that came with the Basic Game. So, I went with tokens. First it was just paper tokens, then came the wood disks & washers. But the more we played, it wasn't enough to just have "bloodied" & "marked". So I tried to come up with something on my own. I liked the weight of the washers, but they weren't always easy to pick up. Since I had access to a lathe, I combined the weight of the washer with the thickness of the wooden disk and made a 1" diameter aluminum token.
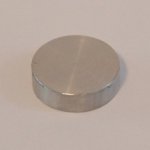
1st token.jpg
I'd read that players were using soda cap rings. This still limited me to 2 colors.
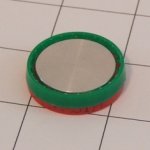
Soda Caps.jpg
Next I thought of using colored pins, but this was too much work & limited colors.
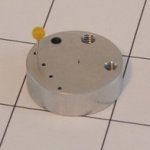
Pins 1.jpgPins 2.jpg
I tried the plastic squares in different colors, but it wasn't easy to move around.
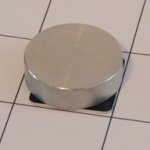
Plastic Squares.jpg
Now the idea of a post of some sort. First it was a cap screw with the head cut off. The problem with this was that small diameter cap screws, that are long enough to hold several beads, were hard to find. To get a longer screw, you have to go with a larger diameter. This made the beads fit too tight.
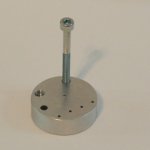
Small screw.jpgLarge Screw.jpg
Nails would work better, but how to put them in aluminum. So I switched to plastic.
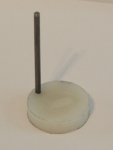
Nail 1.jpg
This did work, but I liked the aluminum.
 

GranMakMorn

First Post
How to put a nail in aluminum

Still wanting to use an aluminum base, I came up with an idea on how to mount the nail. First I tried a galvanized nail, but it had the same problem as the large diameter screw. The bead would get stuck. I ended up using Stainless Steel nails, with the point filed off.
Nails.jpg
Then I drilled a hole, with a diameter slightly smaller than the diameter of the nail. Followed by a counter-bore, the depth of the nail head.
Step 1.jpg
Since the hole is smaller than the nail, it was a press fit. Of course not all of them worked out this way, so the loose nails were staked on the bottom with a punch.
Step 2.jpg
Now I had a working base with post. It was easy to move, using the post. It also has some weight to it.
Step 3.jpg
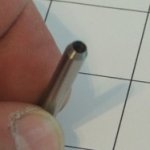
Now, how to attach the token cleanly. I made a small arbor punch from a thread dowel pin. Grinding the end made it sharp enough to cut a small hole in the token.
Step 4.jpg Step 5.jpg
Some double-sided tape.
Step 6.jpg Step 7.jpg
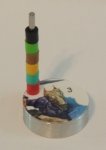
And we're ready for combat!
Step 8.jpg
Large creatures too.
Step 9.jpg
The post can hold a total of 7 beads. We've found that by the time you've got a Christmas tree, it's over.
Step 10.jpg
 
Last edited:


GranMakMorn

First Post
Other optional ideas

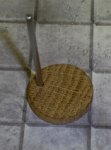
I realize that these token holders aren't easy to make. So I tried to make an easy version using the wood disk base.
Wood.jpg
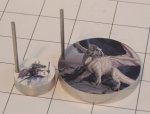
Also, I was still wanting to use miniatures. I came up with a prototype. It would be too expensive to produce, but the idea would lead to something better.
Mini Base.jpg Regdar.jpg

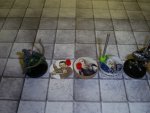
Here is a picture of the tokens being used during a game.
Game.jpg
 

Remove ads

Top