frankthedm
First Post
The person who suggested this was correct.
I almost had it set too soon because I added too much water and had to add more plaster to counterbalance, then had to open and pour from a new bag of sand for aggregate / filler. By the time I was using the back massager to vibrate the air bubbles out of the mold, it was losing most of its fluidity / movement.
The mold was allowed to set for 4 hours because it was CoD:Modern warfare 2 time. This was FAR more time than was needed.
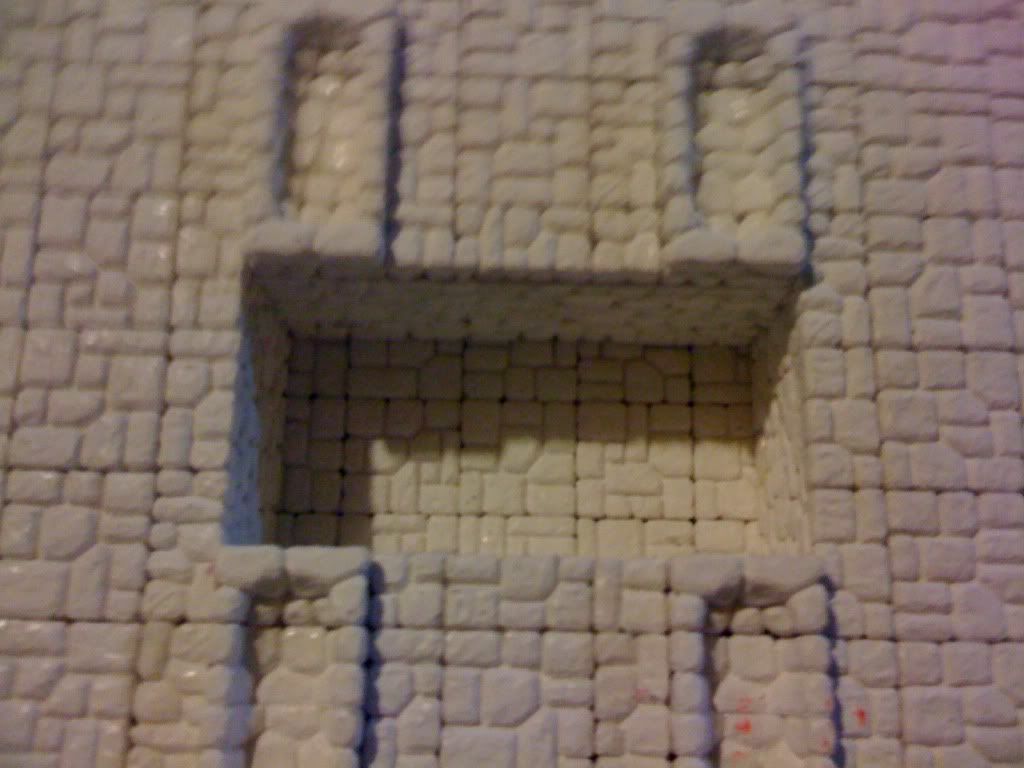
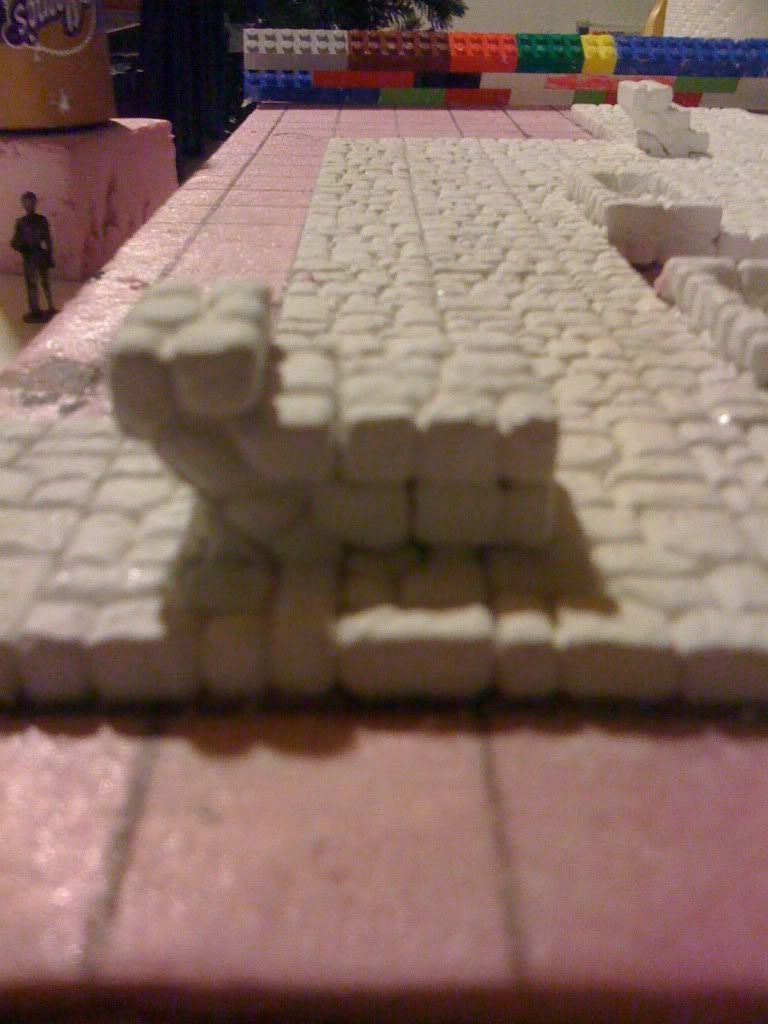
After taking the barricades out of the mold I was surprised how durable they were already. While they could still be thumb scratched, they were already harder than concrete would be after it had been curing for a few days.
[MENTION=6588]pogre[/MENTION] Have you tried this mix yet?
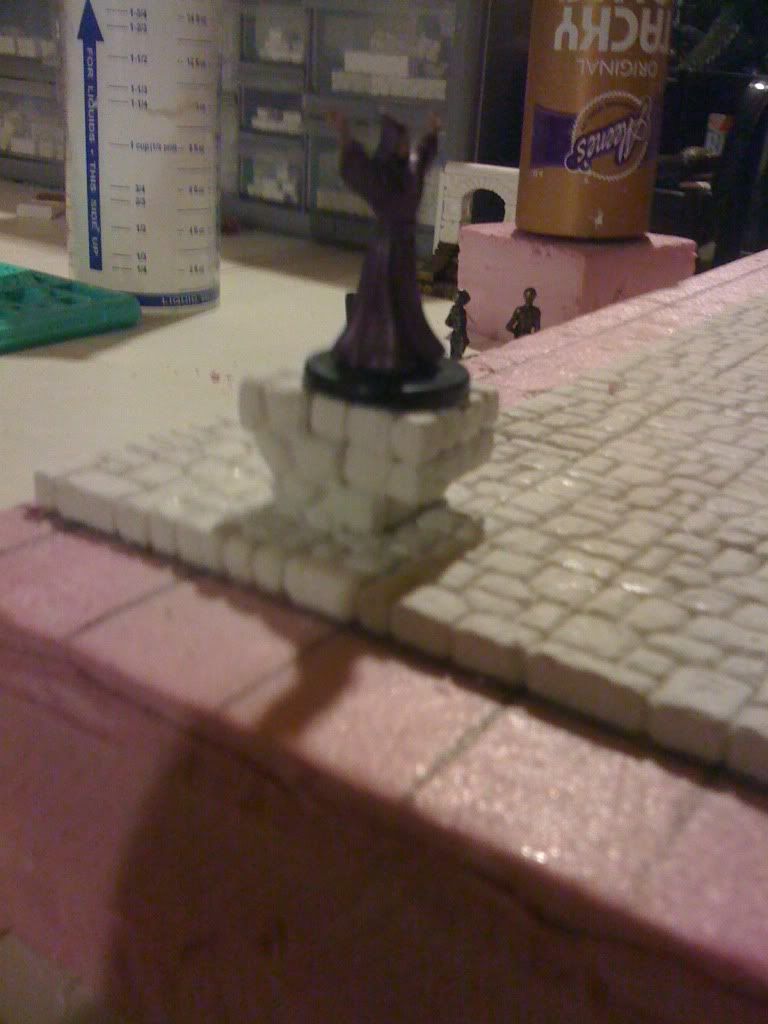
I just tried it out tonight with Quikcrete & Plaster of paris. It also sets with the accelerated speed of dental plaster.-Posted by Toomy @ Hirst Arts Casting Page
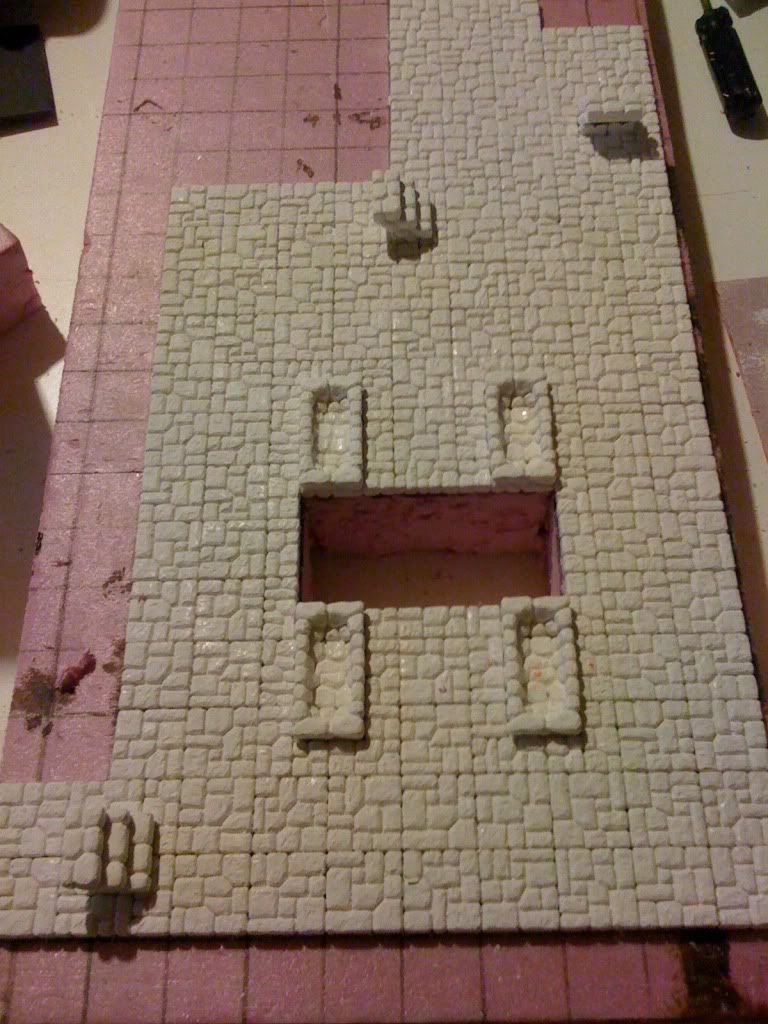
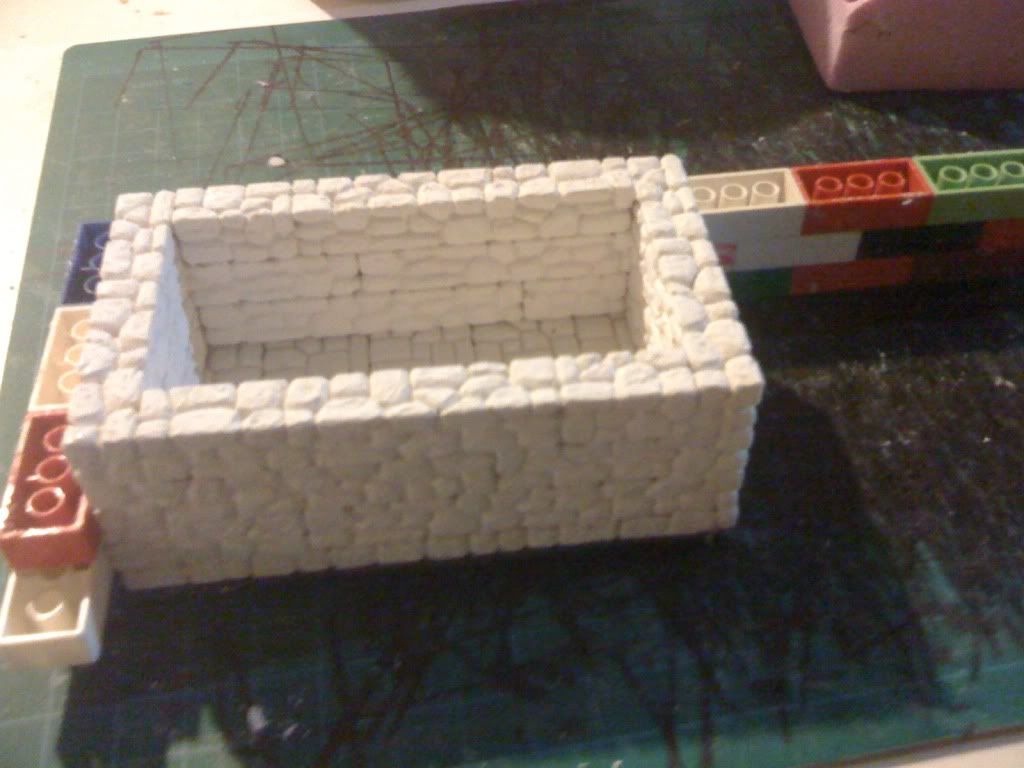
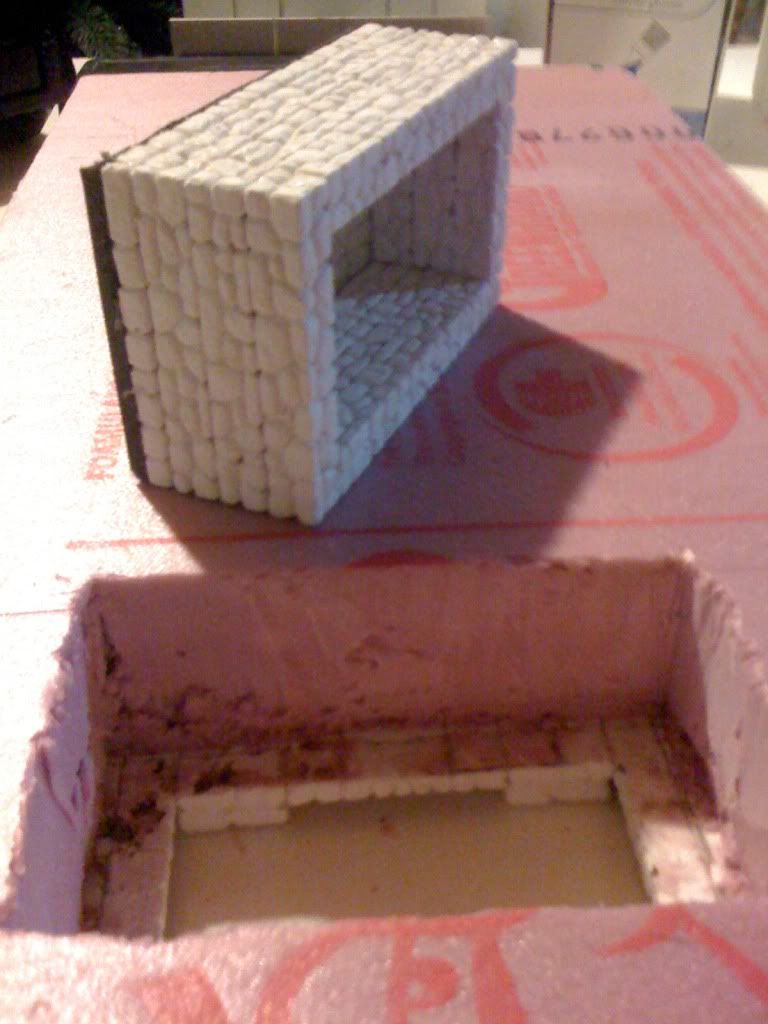
I've experimented with this and found that 3 parts plaster of paris mixed with 2 parts concrete will have almost the same durability as dental plaster
I almost had it set too soon because I added too much water and had to add more plaster to counterbalance, then had to open and pour from a new bag of sand for aggregate / filler. By the time I was using the back massager to vibrate the air bubbles out of the mold, it was losing most of its fluidity / movement.
The mold was allowed to set for 4 hours because it was CoD:Modern warfare 2 time. This was FAR more time than was needed.
After taking the barricades out of the mold I was surprised how durable they were already. While they could still be thumb scratched, they were already harder than concrete would be after it had been curing for a few days.
[MENTION=6588]pogre[/MENTION] Have you tried this mix yet?

 .
.