Painting 60 miles per hour - Bones Reaper Gloom Stalker aka Hook Horror
Years ago I published a number of painting articles in a now defunct hobby magazine. I did a number of step-by-step miniature paint jobs, and some of the most popular were the speed painting articles. Since that time (early 2000s), the hobbyist has a lot more tools for speed painting including Contrast paints from GW and now, Instant Colors from Scale 75. The down side is a lot of these new tools are fairly expensive.
I use Contrast paints, but I started speed painting way before these were available. I thought I would share how I painted this figure very quickly. If you would like me to post a true step-by-step sometime - let me know. I looked for some of my old articles, but sadly, those are all gone.
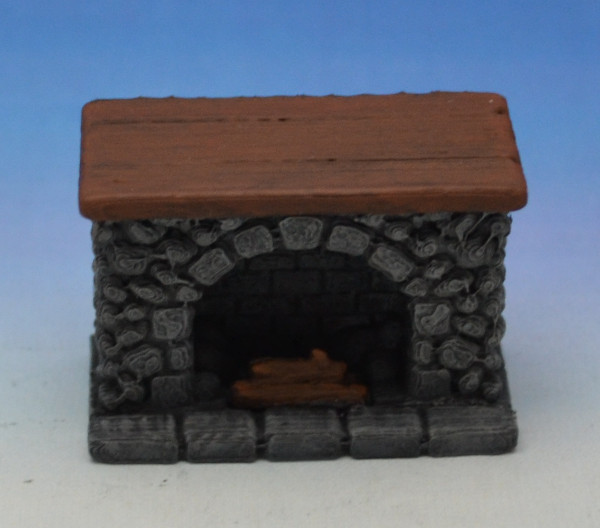
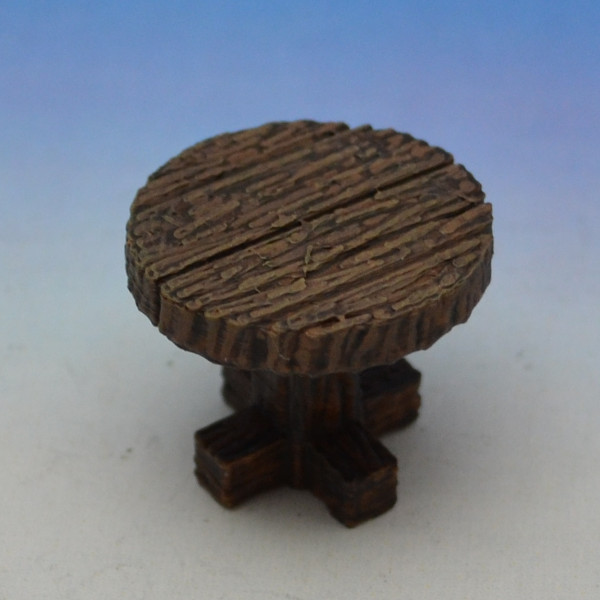
I start with a figure that is conducive to speed painting. This is typically a large abomination type monster. I'm going to take my time on characters and key npcs, but let's be honest, I am throwing these figures on the table for one encounter - and their job is to maybe scare the PCs, but ultimately die in droves!
My standard for my speed painting is a figure that anyone would say is nicer than a pre-painted figure. If you run a game with a lot of pre-painted figures there is nothing wrong with that, but they really are not cheap these days.
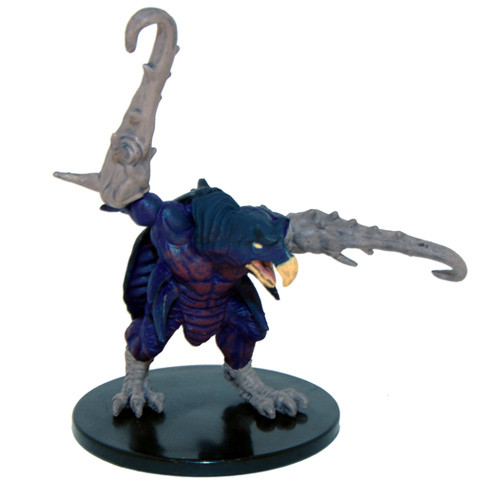
Let's use this monster for an example. Below you can see a pre-painted Hook Horror. As pre-painted models go it's not too bad. However, a quick google search will reveal you are throwing down between $18 and $25 for this model.
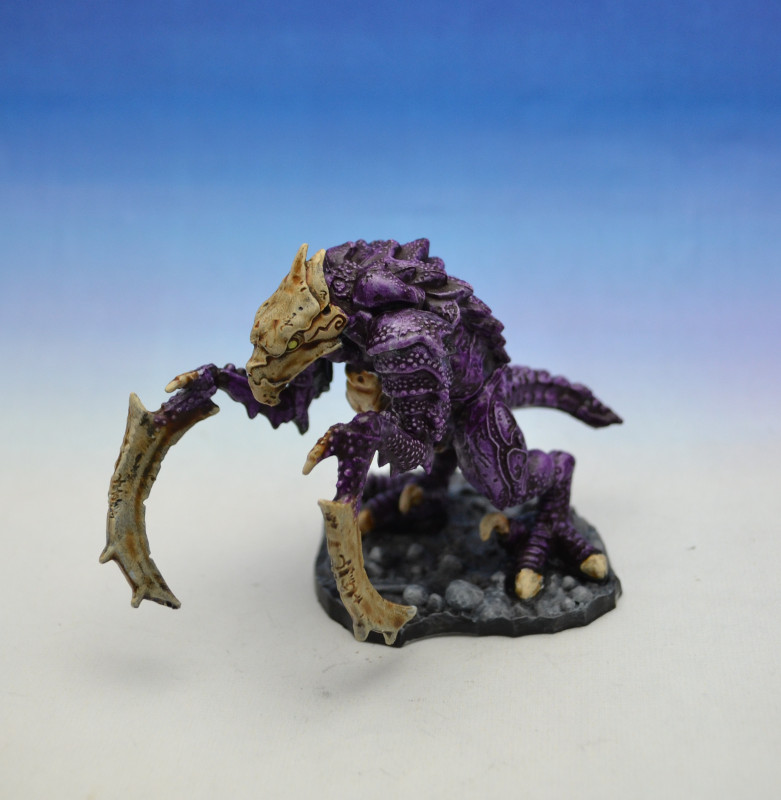
The figure I am painting is a Bones Black Gloom Stalker - retail $7.99 and readily available at major online merchants for $6.55.
From start to finish this figure took 36 minutes of painting time. Naturally, that's not counting drying time, but it is easily doable with drying time in a few hours. If you used a hair dryer you could easily finish the whole thing in well under an hour.
Step One - wash the model with a touch of dish soap and water.
Step Two - prime it black with a brush on primer. I use Vallejo black primer. I prefer spraying models, but some sprays react badly with the Bones material - it stays tacky even after you finish it. If you have an airbrush, by all means use it. I have a nice air brush, but no booth currently. Maybe some day!
Step Three - heavily dry brush the whole model with a slightly off-white.
Step Four - Paint most of the model purple. I was going to use a Contrast paint for this. However, I did not already own a GW Contrast Purple. Plus the cost of a bottle of the stuff is more than I spent on the model and I was going to use quite a bit. I don't normally watch YouTube, but this guy over at Goobertown's video on making your own Contrast Paints caught my eye.
Goobertown Video
I don't know the fellow, but he seems pleasant enough. I recommend speeding up the video - I found him very understandable at X1.75 speed.
I have some original GW inks and a fair amount of purple. I mixed some old GW purple ink with some Liquitex Matte Medium in equal parts and added a bit of flow extender.
The result was an ink/paint that behaved a lot like Contrast paints. And, as I had all the stuff on hand, saved me $8.00.
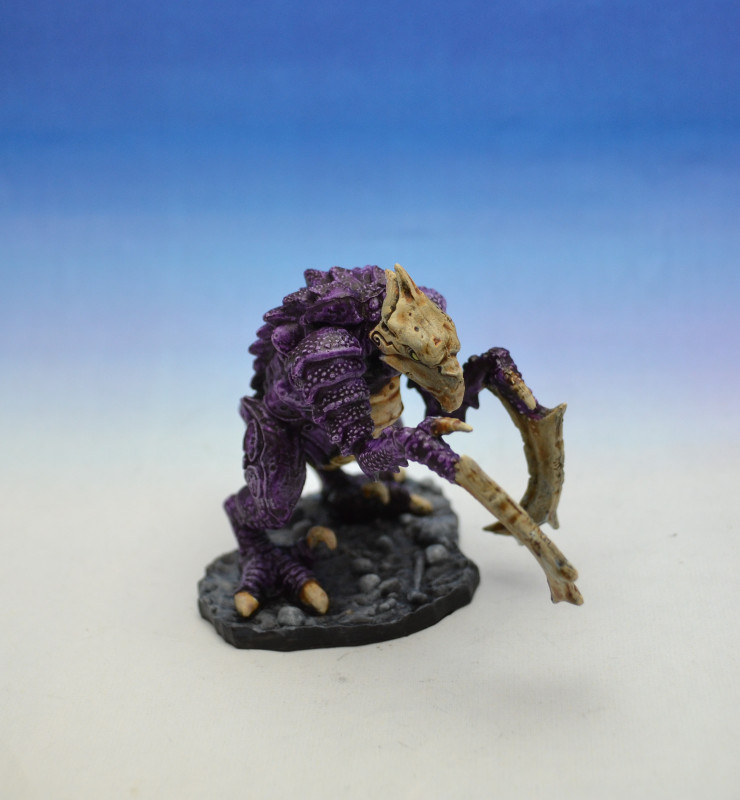
I avoided the head, stomach carapace, hooks, and claws. I used a big cheap brush and covered the rest of the figure. The nice thing about inking over a black figure dry brushed with white is shadows are very nearly automatically created.
Step Five - While the purple dried I drybrushed the base in successively lighter shades of gray right up to nearly straight white. The figure comes with a great base, so that saved me some time and was going to almost immediately make it better than the pre-painted model.
Step Six - I touched up the head, hooks, underneath carapace, and foot claws with the same off-white I dry brushed with - I was a little too sloppy with my purple.
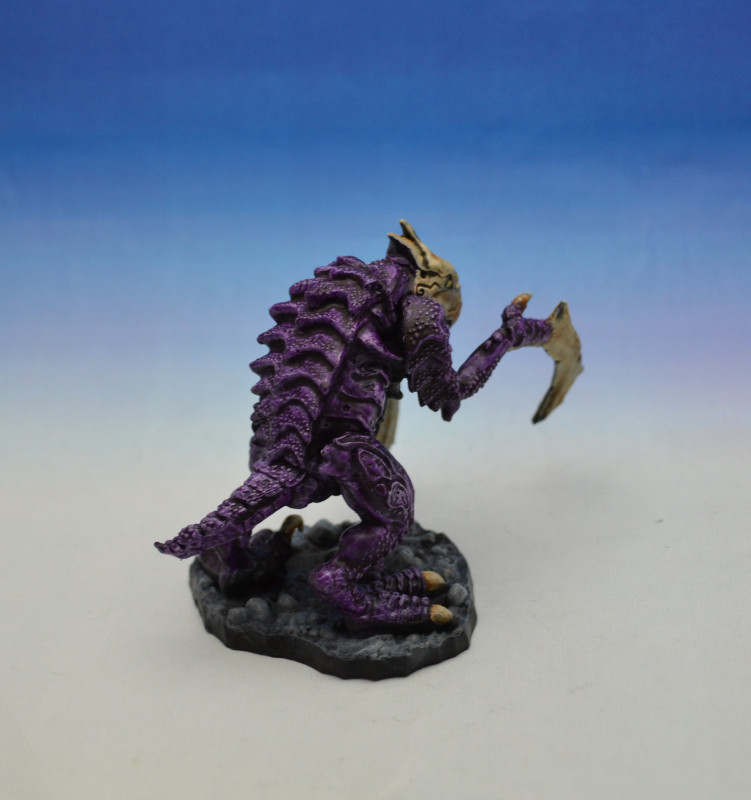
Step Seven - I covered the head, hooks, underneath carapace, and foot claws with GW Contrast Skeleton Horde. If you don't have Contrast Skeleton Horde here is a quick ink alternative: 2 parts brown ink, 2 parts orange ink, 1 part yellow ink, and 2 parts water. I used that formula for years to create my bone ink.
Step Eight - I did some light highlights of the bone colored areas with Vallejo Game Color Bonewhite
Step Nine - I painted the eyes with a mixture of 2 parts bone white and one part Vallejo Game Color Livery Green
Finished - I could have spent a lot more time on this figure, but it will look great in the dungeon. There is also a certain satisfaction in starting and finishing a model quickly. It is welcome break from terrain painting and more detailed layer painting.
Models completed in 2020: 64


 I almost done with my Bones minis (until #5 arrives next year), I'm going to be stuck with paper craft