• The VOIDRUNNER'S CODEX is coming! Explore new worlds, fight oppressive empires, fend off fearsome aliens, and wield deadly psionics with this comprehensive boxed set expansion for 5E and A5E!

D&D General Demetrios1453 Plays the Gold Box Games

Pool of Radiance (Part 56): Valhingen Graveyard (Part 6) - Valhingen Graveyard completed!

Having sanctified the vampire's coffin, we are actually going to backtrack a bit for an encounter that can only take place at this point. It's a bit awkward to have to head back, but for some reason, the programmers didn't allow for the encounter to be triggered the first time you go through that location.

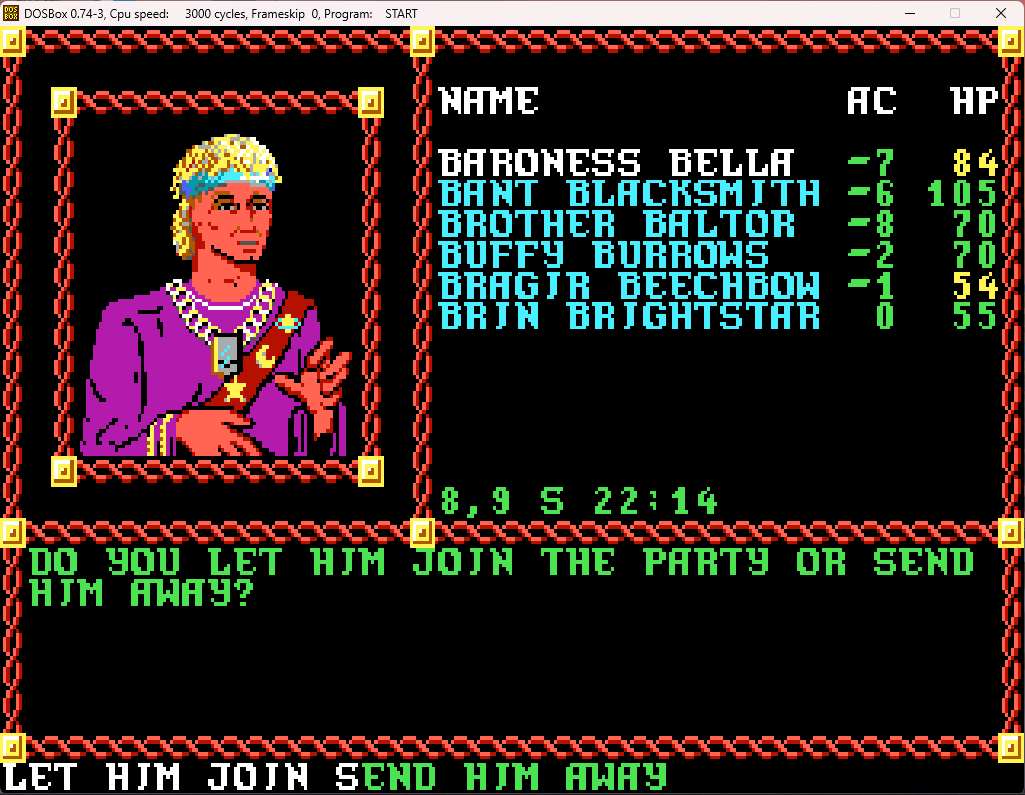
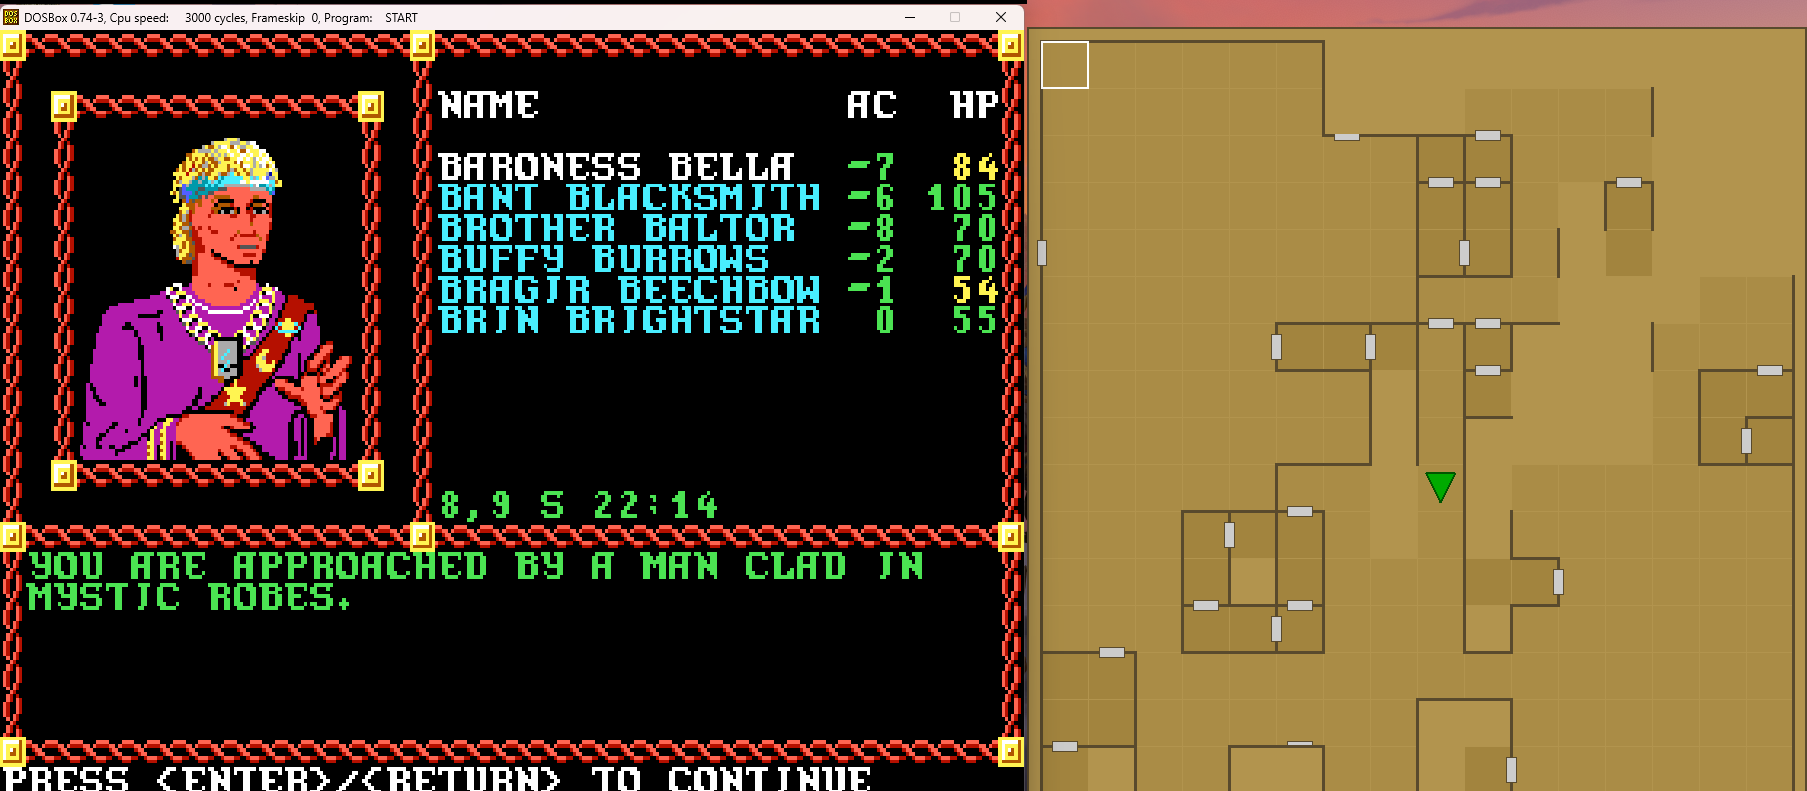
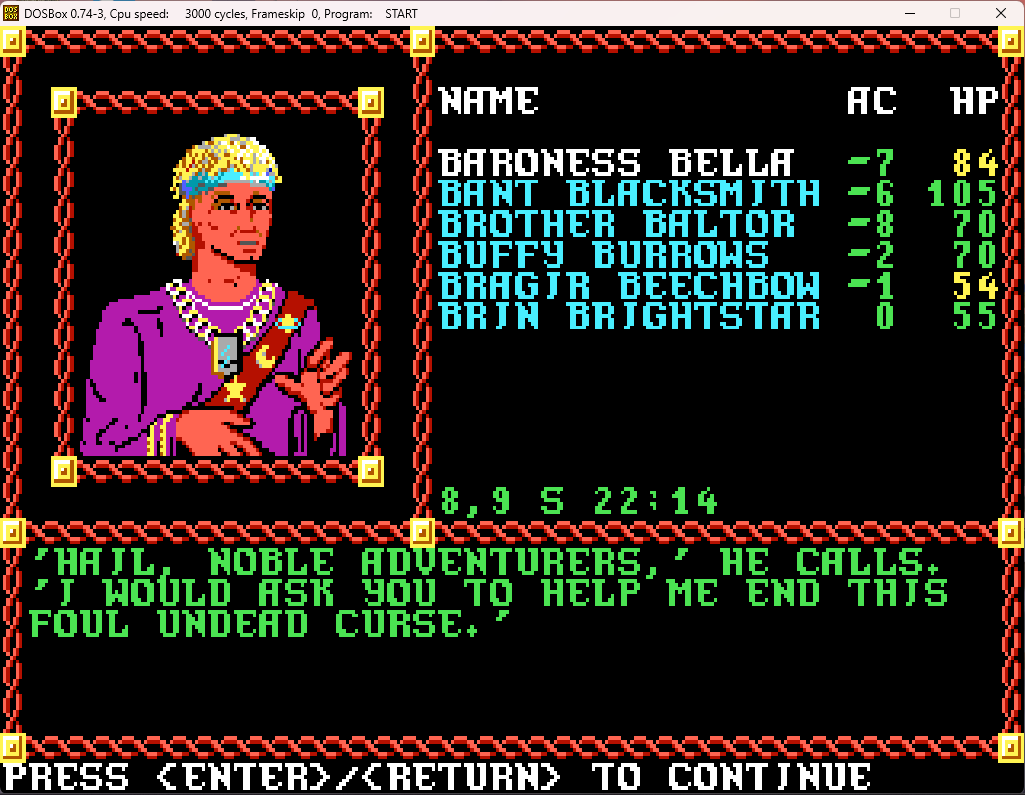
So we head back towards the edge of the wight zone, and meet a man wandering, completely not suspiciously, around the graveyard.
Screenshot 2024-05-04 122948.png

Screenshot 2024-05-04 122958.png

Screenshot 2024-05-04 123003.png


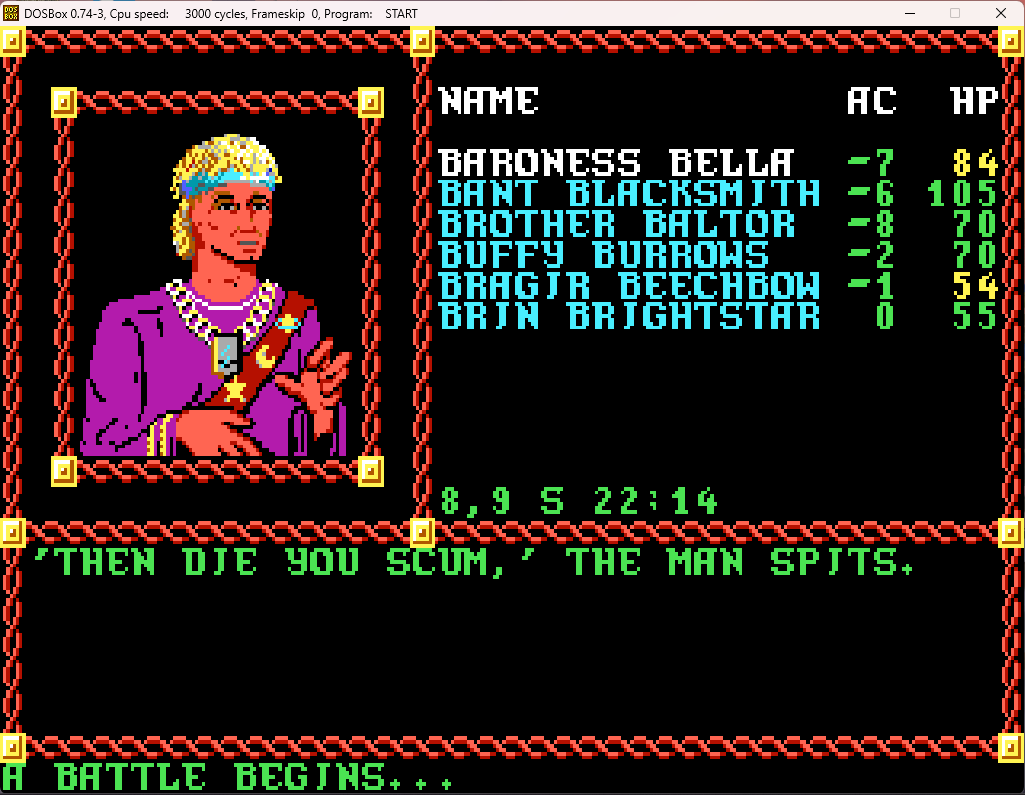
Nah, bud, you're an obvious trap (and he is, he'll betray you the first chance he gets if you let him join).
Screenshot 2024-05-04 123009.png

Screenshot 2024-05-04 123247.png


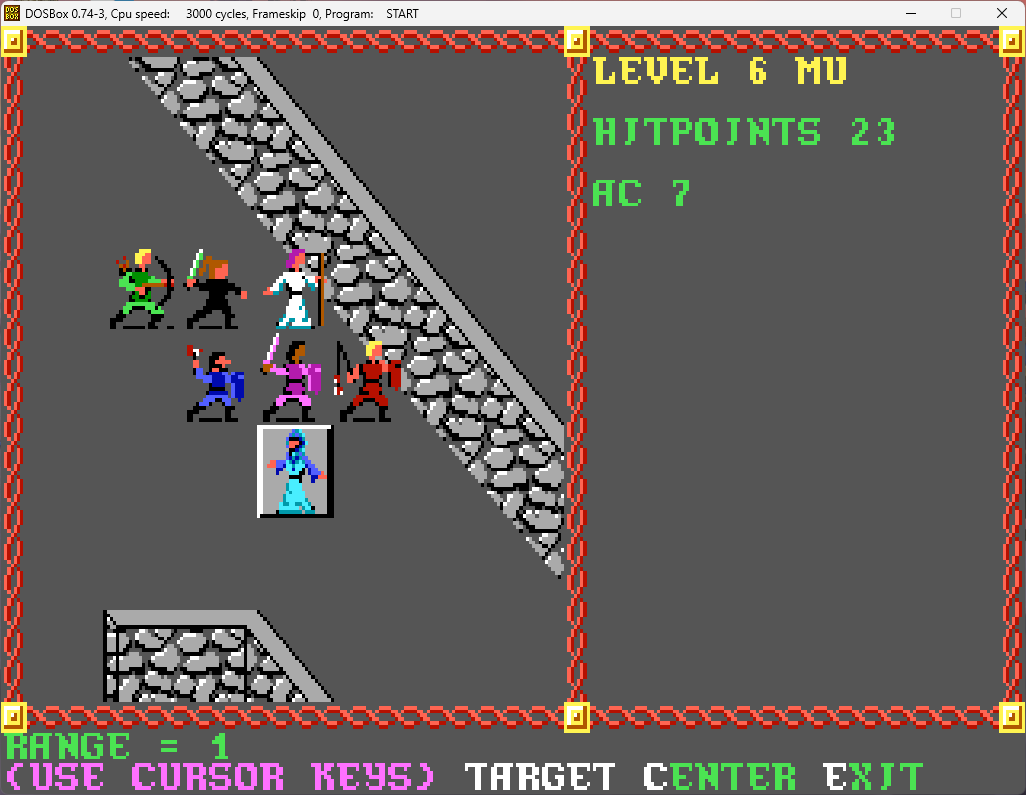
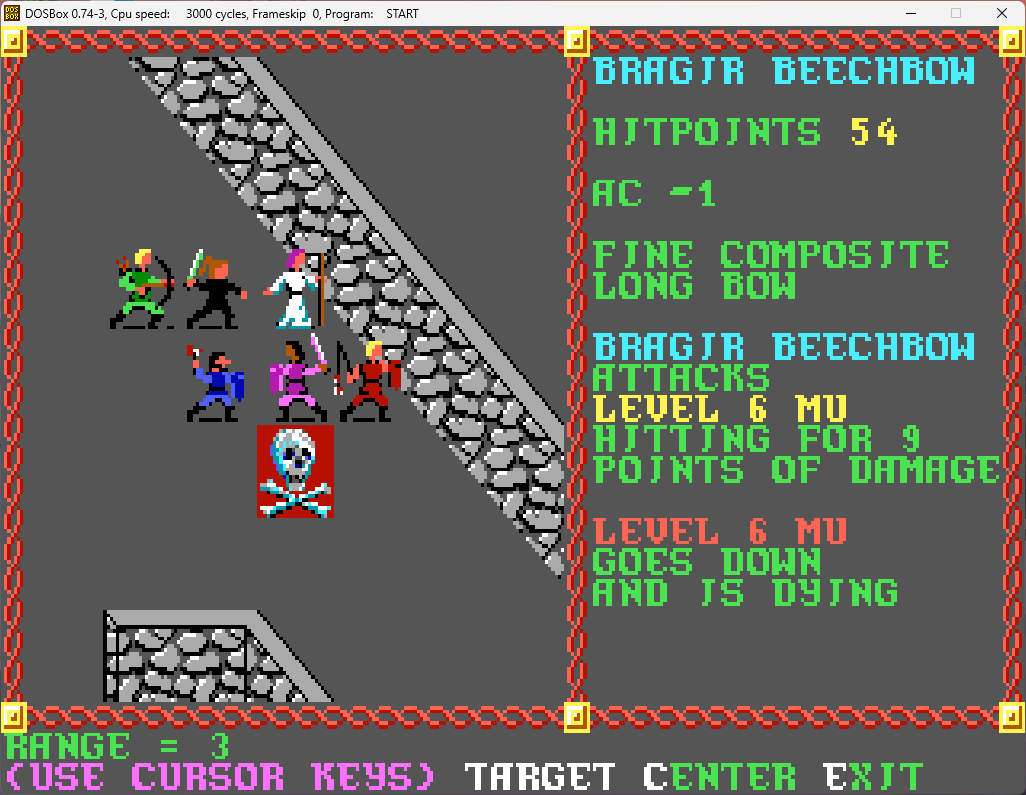
A 6th-level magic-user is nothing to sneeze at at this point, but there's only one of him and six of us.
Screenshot 2024-05-04 123344.png


And that is that.

Screenshot 2024-05-04 123403.png


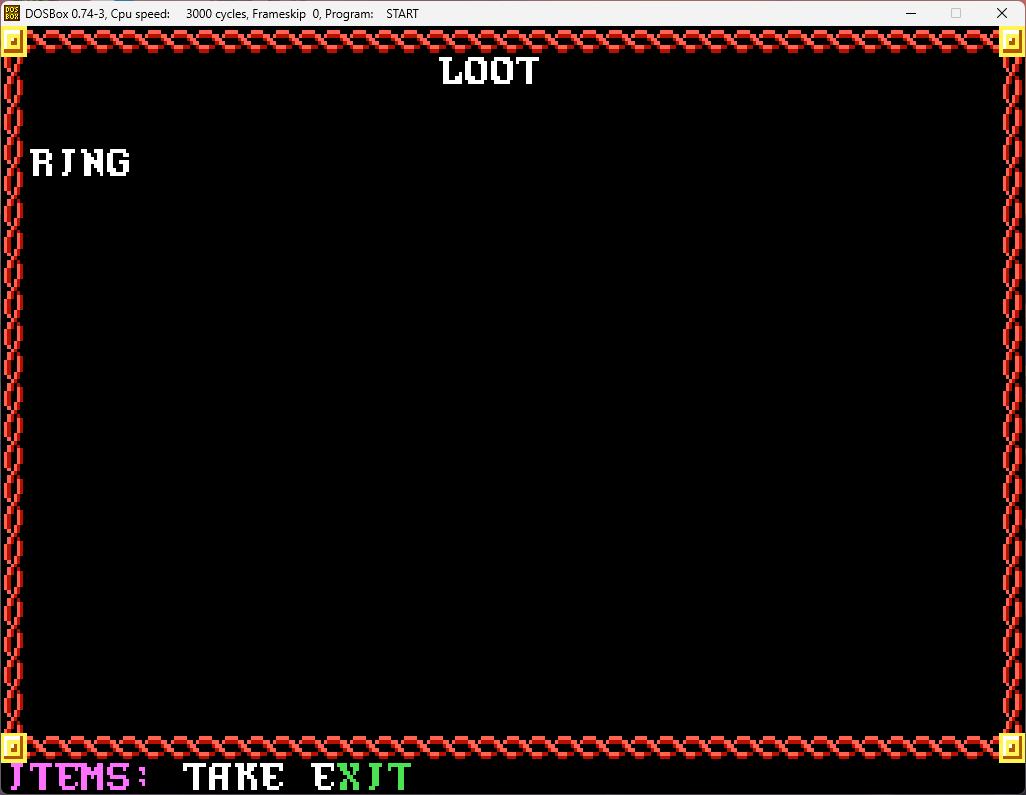
Intriguing.

Screenshot 2024-05-04 123412.png


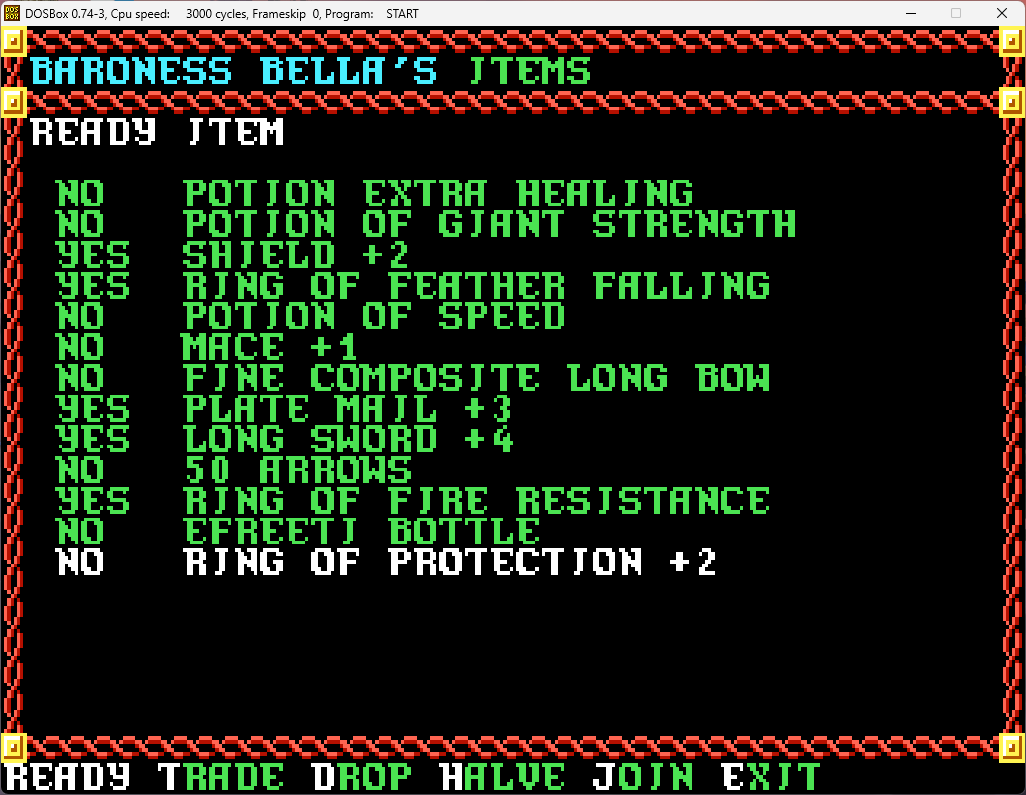
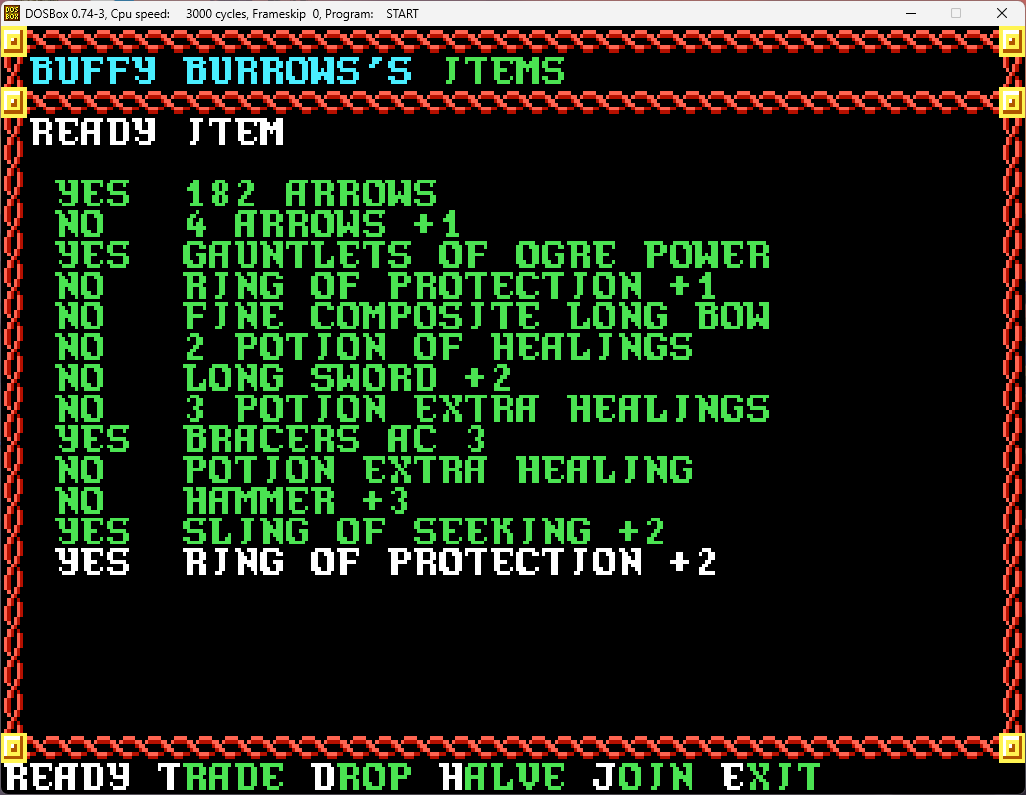
Nice, we'll give that to Buffy, who only has a +1 ring right now.
Screenshot 2024-05-04 123432.png


We'll trade the old +1 ring to Brin, to be saved for later.

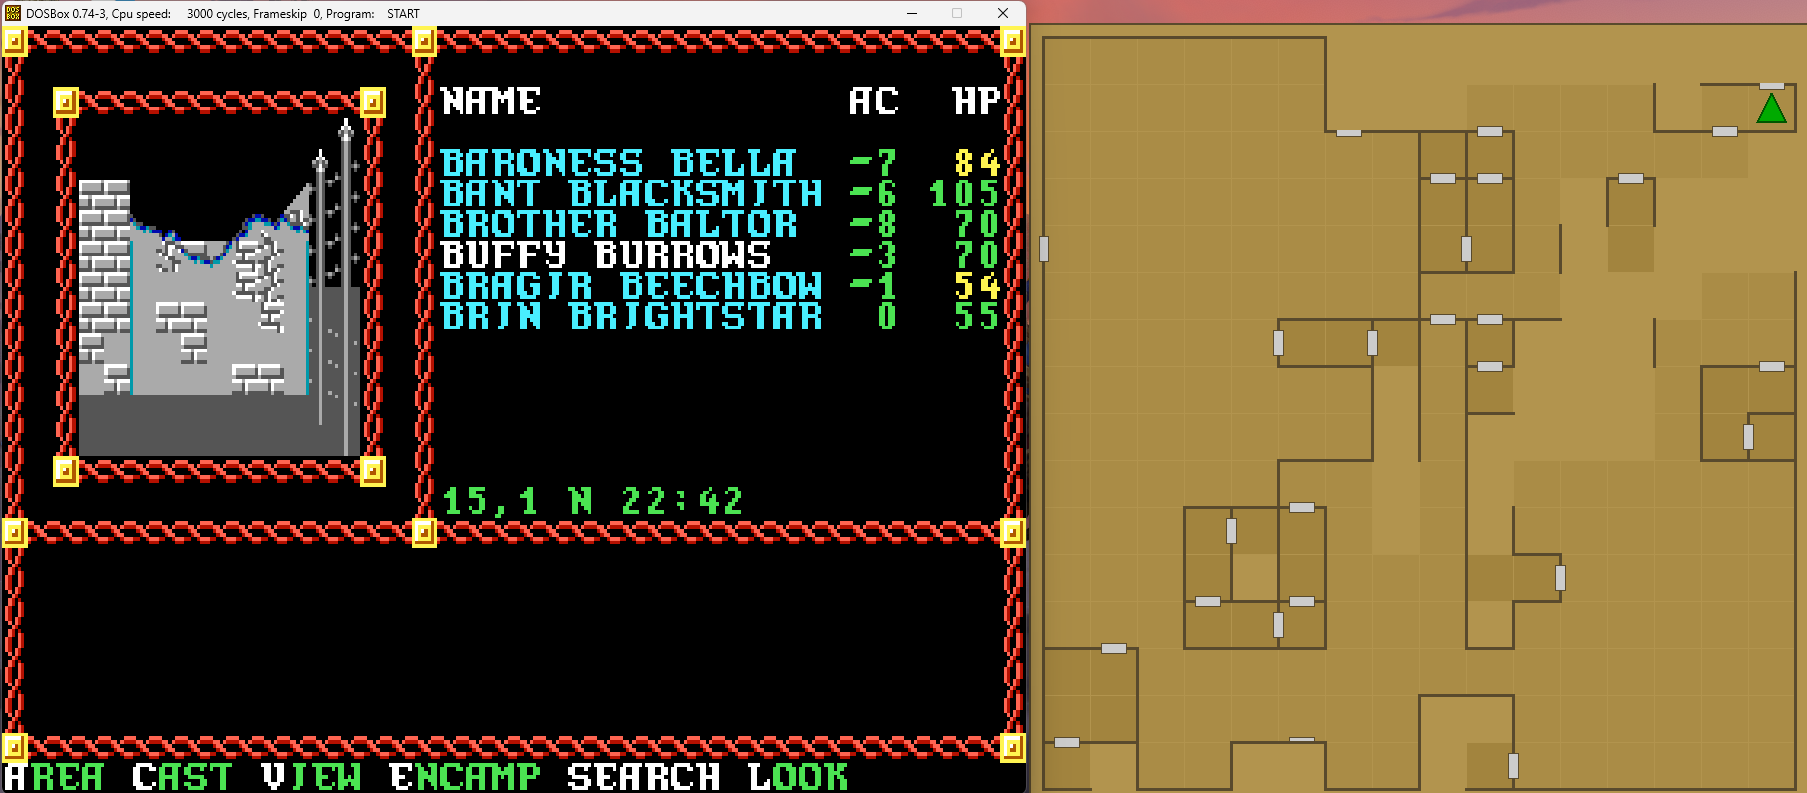
This encounter taken care of, we return to the northeastern corner of the graveyard to search for our elusive vampire. We find what looks to be a wall in front of us, but GBC shows there's a door there...
Screenshot 2024-05-04 123552.png


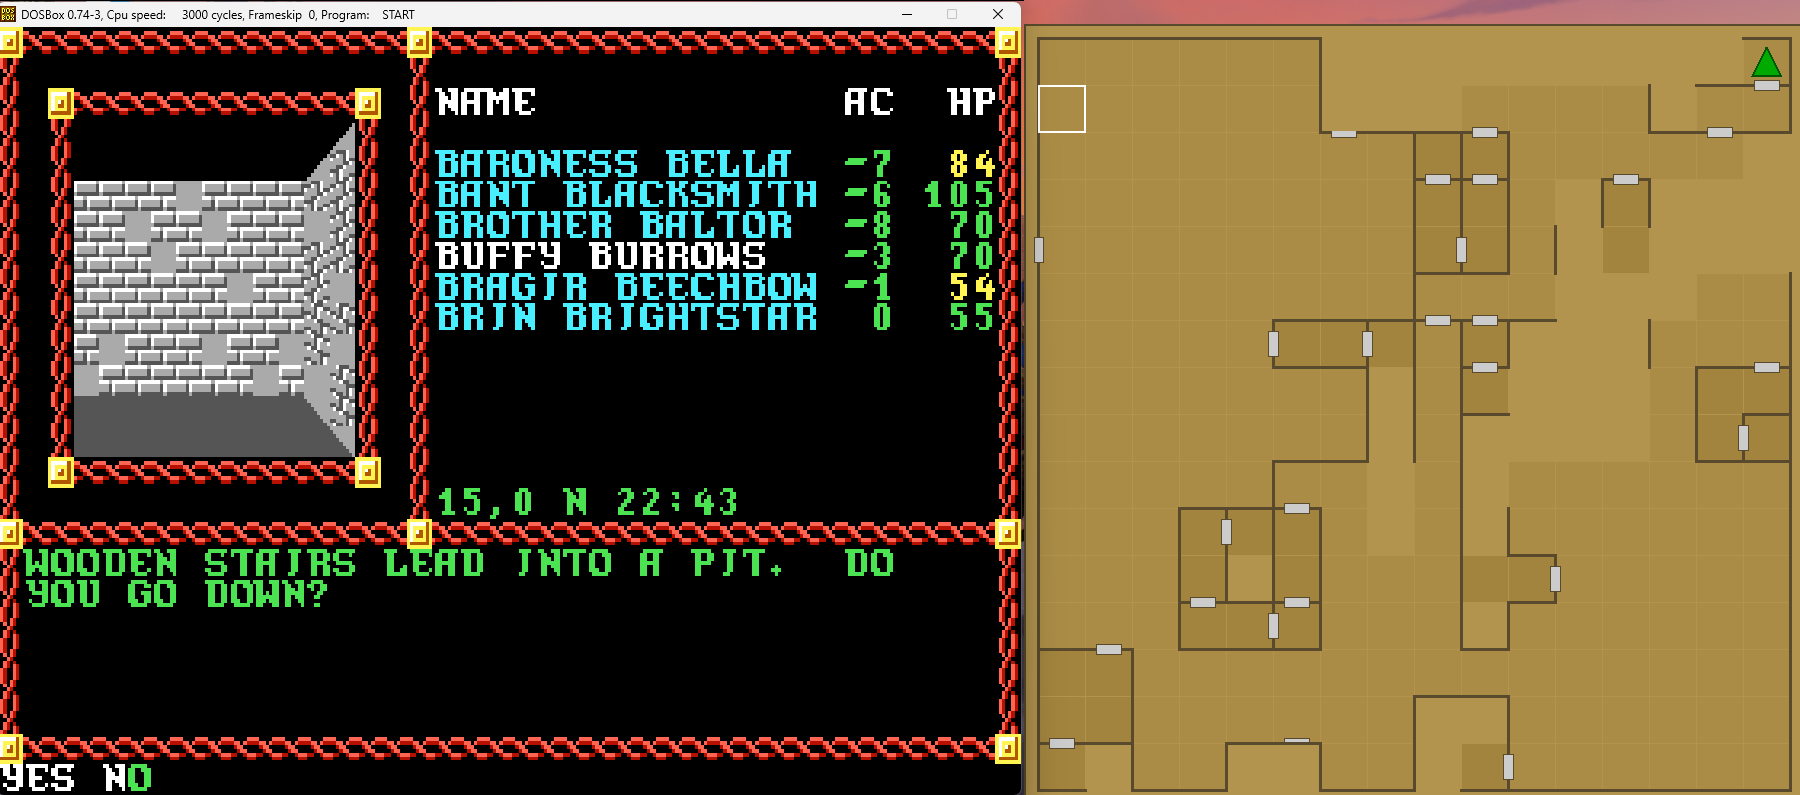
We go through and find some stairs going down.
Screenshot 2024-05-04 123605.png


A pit seems as good a spot to find a vampire as any, so down we go!
Screenshot 2024-05-04 123622.png


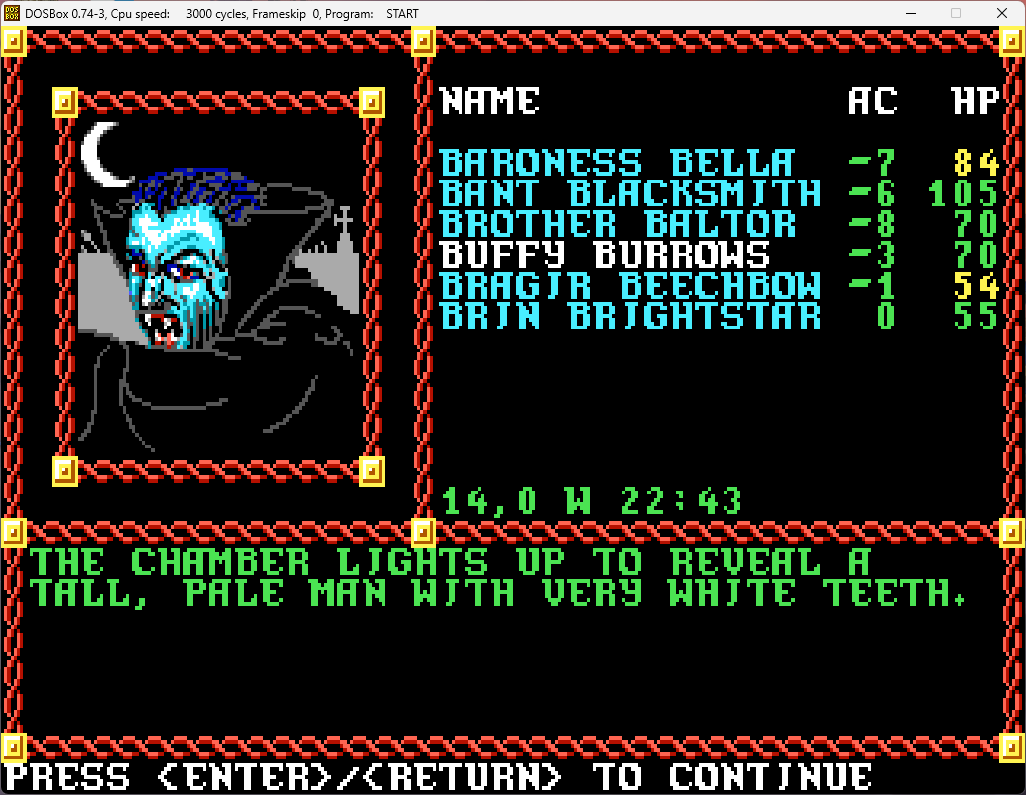
We'll ask him if he's seen a vampire anywhere around.
Screenshot 2024-05-04 123651.png


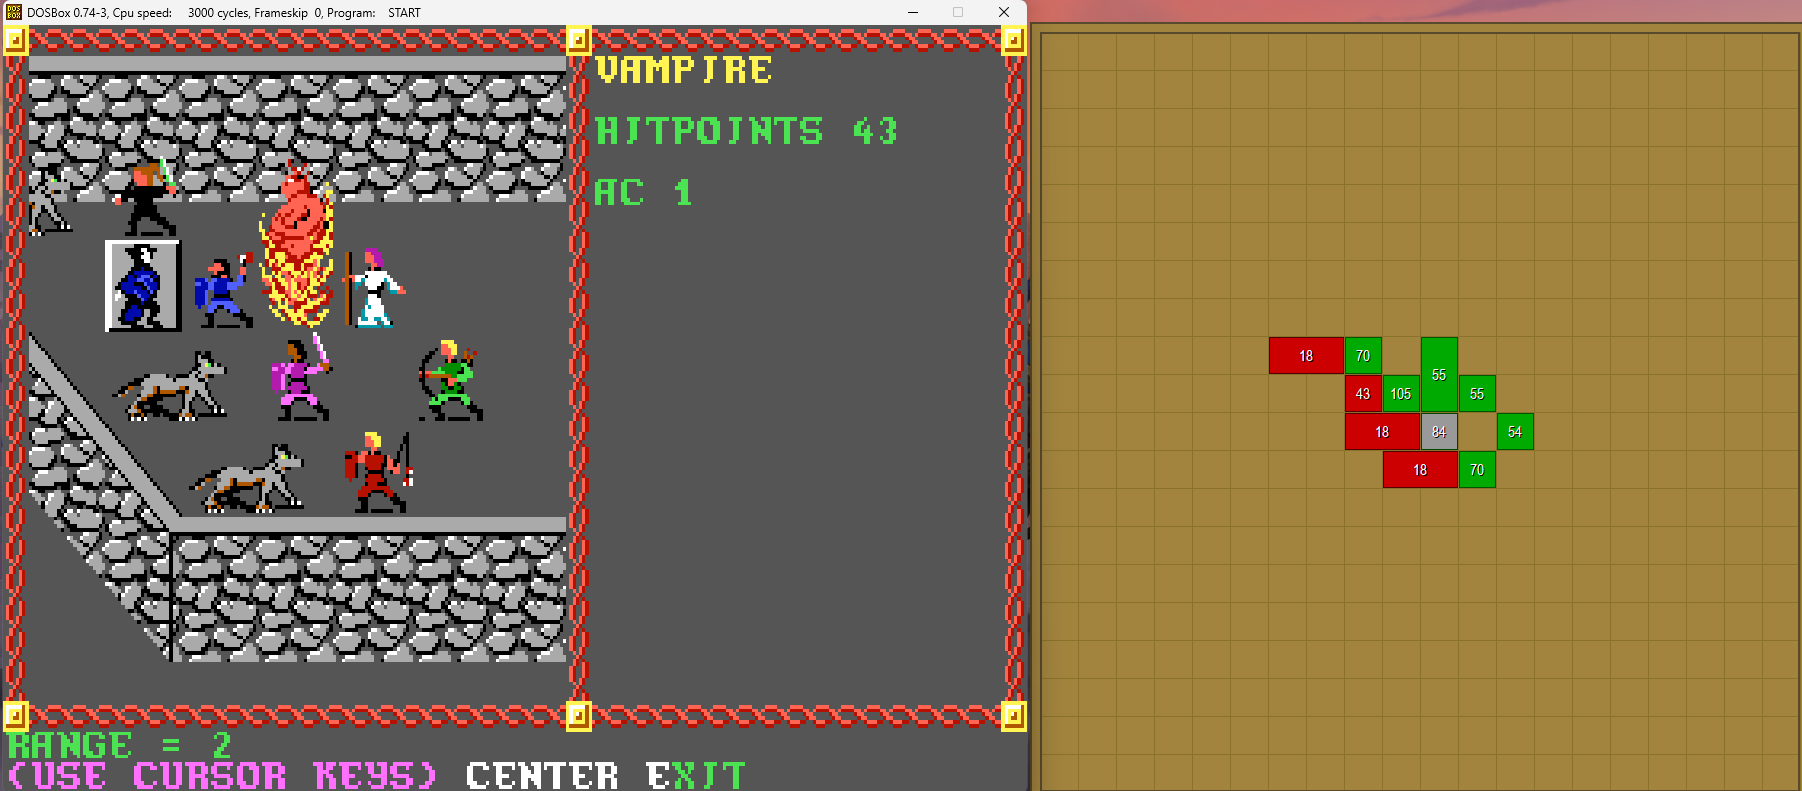
Woah! The tall, pale man with very white teeth was the vampire all along!

Note that our efreet buddy, who has been chilling out in his bottle this whole time since the kobold caves, has decided to pop out now that we've encountered a vampire. Unfortunately, he's not in the best position to get at the vampire, with little hope of the battlefield opening up in a way for him to do so.
Screenshot 2024-05-04 123658.png


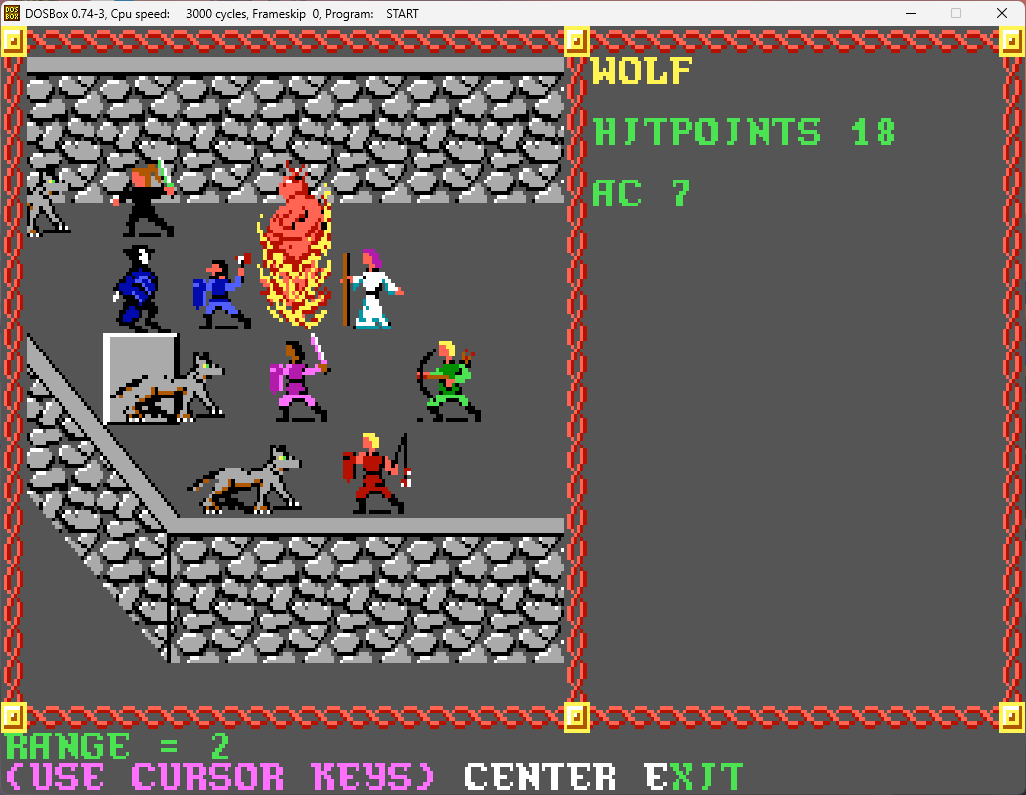
The vampire has apparently called for some wolves to aid him, as vampires are wont to do.

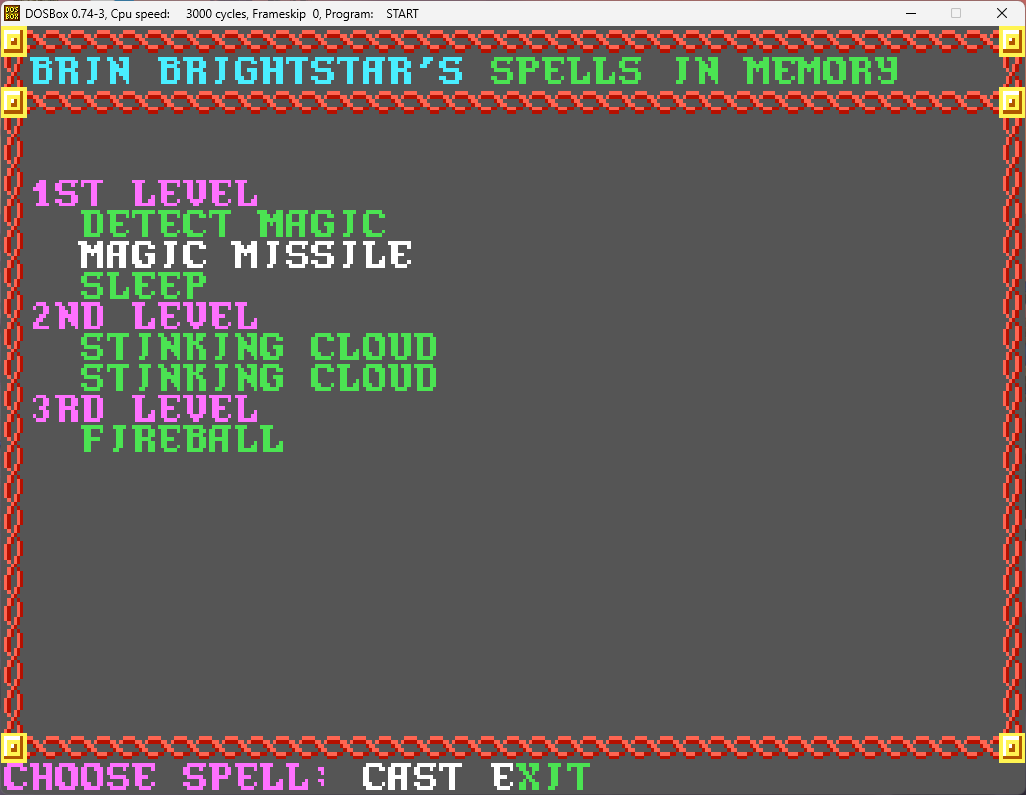
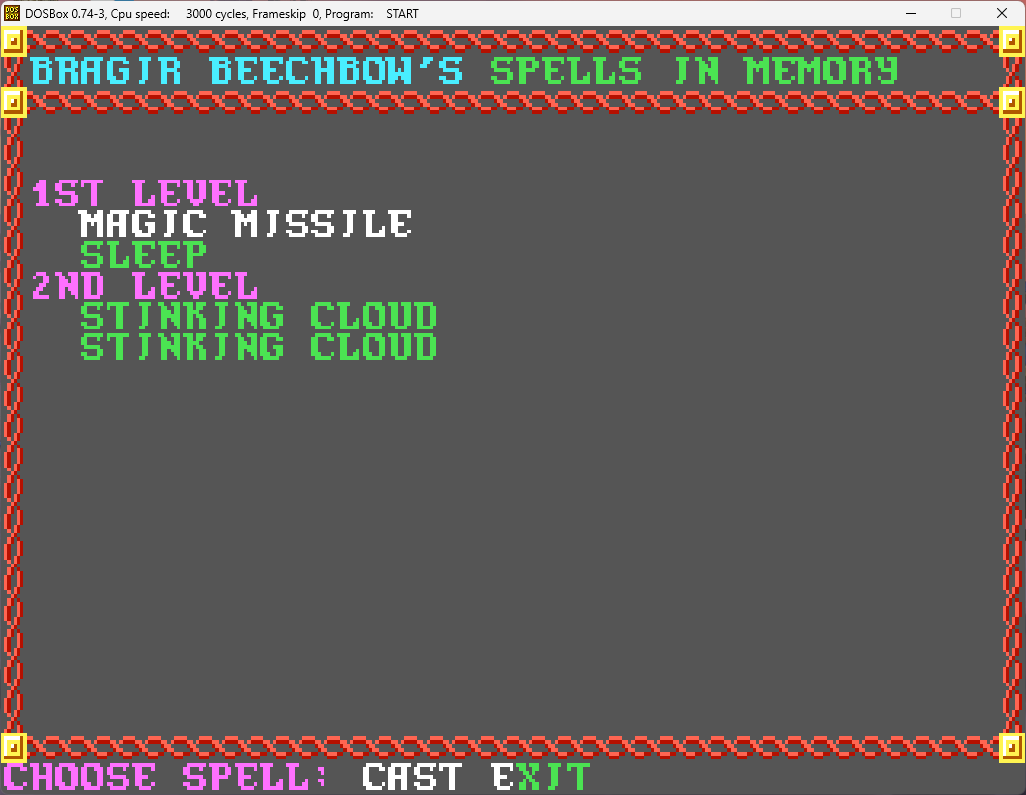
Time to start taking this threat down before he can harm us! The magic users pop some magic missiles.
Screenshot 2024-05-04 123746.png

Screenshot 2024-05-04 123810.png


The efreet, in the only useful thing it can do in this battle, takes down one of the wolves.

I move Buffy around to get into position for an epic backstab. Honestly, a character named Buffy taking down the vampire from behind? You couldn't script it any better!

She misses.

Baroness Bella takes down the vampire right after.
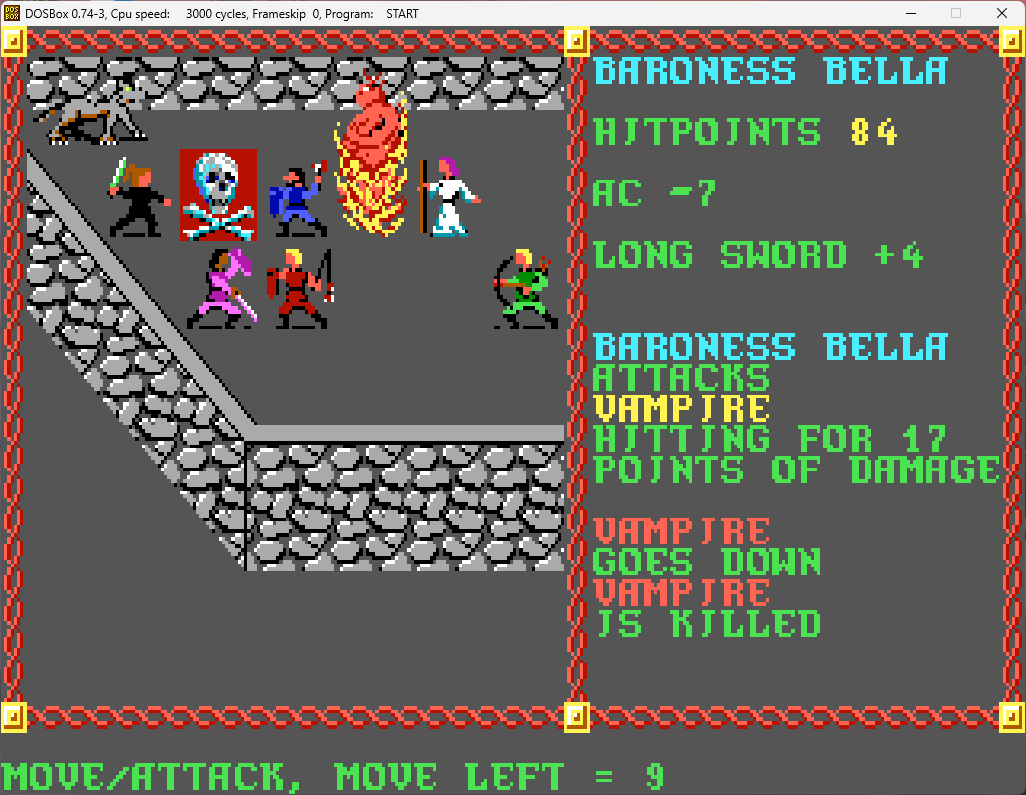
Screenshot 2024-05-04 123946.png


With the vampire down, the remaining wolf goes quickly.
Screenshot 2024-05-04 124004.png


The battle is won! The vampire is dead!

But suddenly...
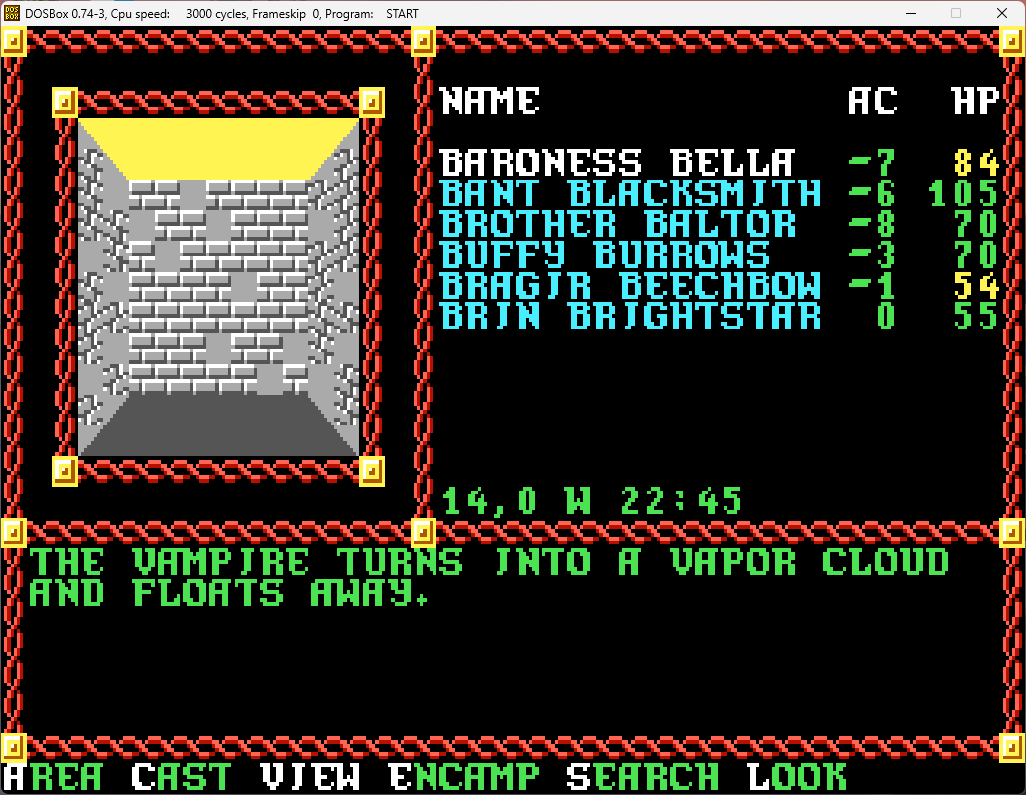
Screenshot 2024-05-04 124021.png


Argh. Stupid vampires!

But before we follow it...
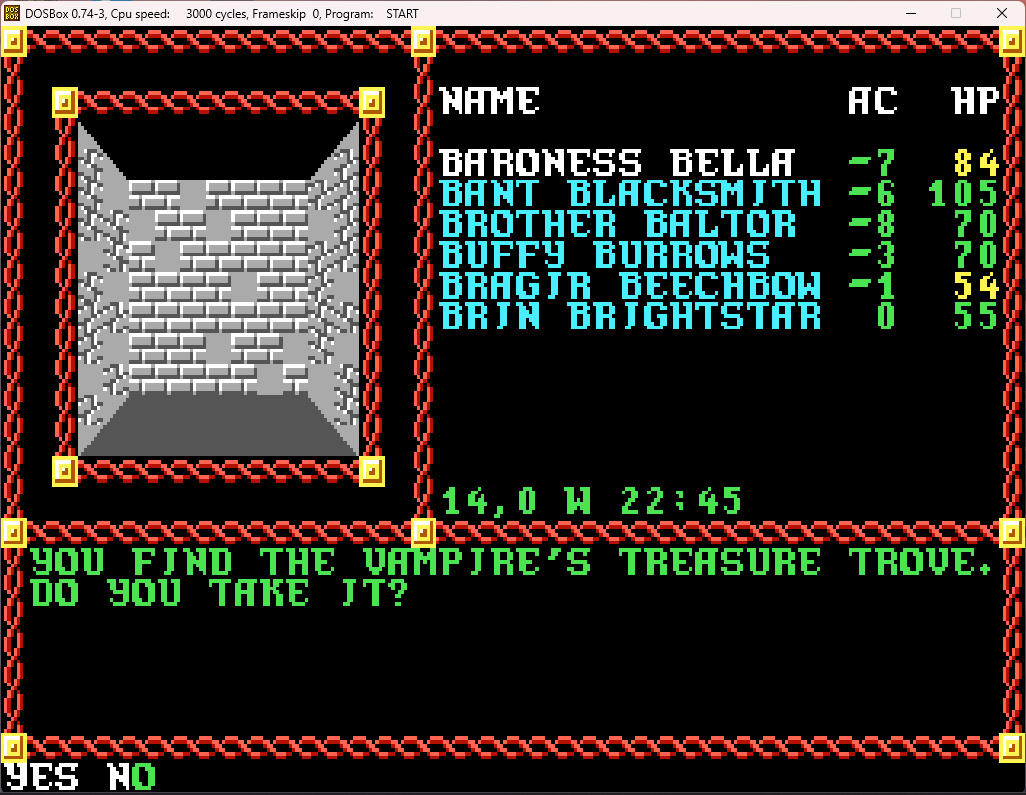
Screenshot 2024-05-04 124847.png


We sure do!

Screenshot 2024-05-04 124854.png


Nice!

Screenshot 2024-05-04 124901.png


That's a lot of gold. Enough that it threatens to start encumbering my party. We'll still take it anyway - we're adventurers after all!

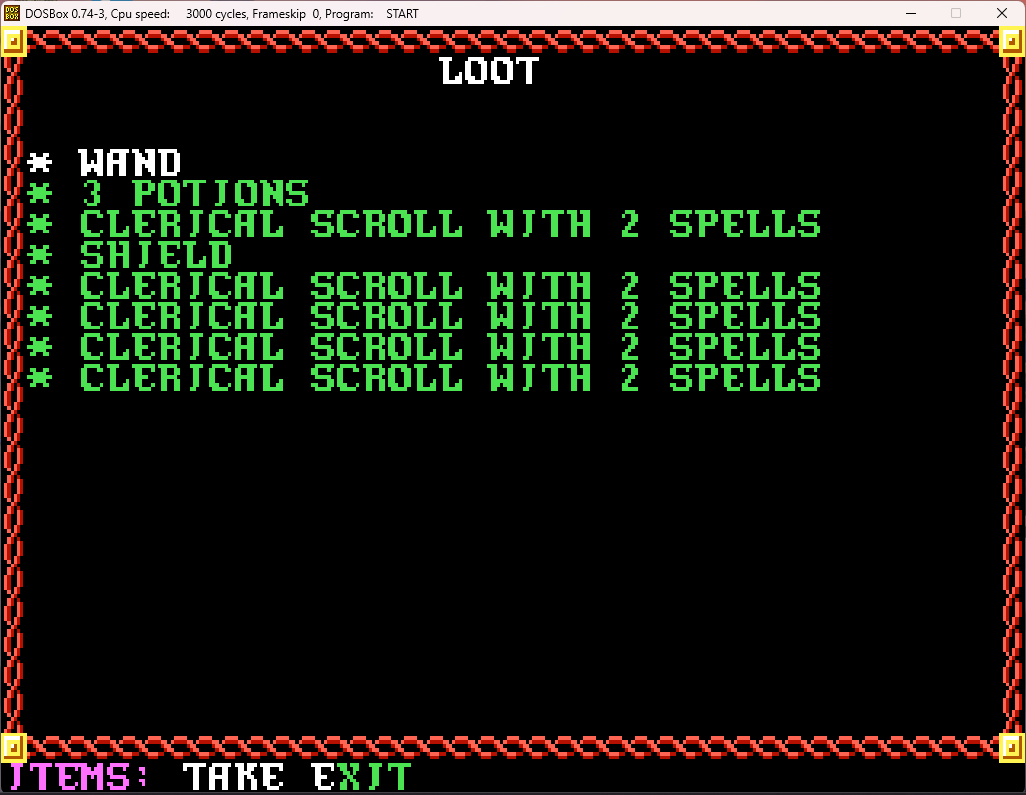
As for the items it had here...
Screenshot 2024-05-04 124923.png


Oh look. Even more scrolls of restoration. Not like we don't already have a couple dozen already. And why would a vampire have scrolls of restoration anyway? I guess loot from previous, less lucky, adventurers?
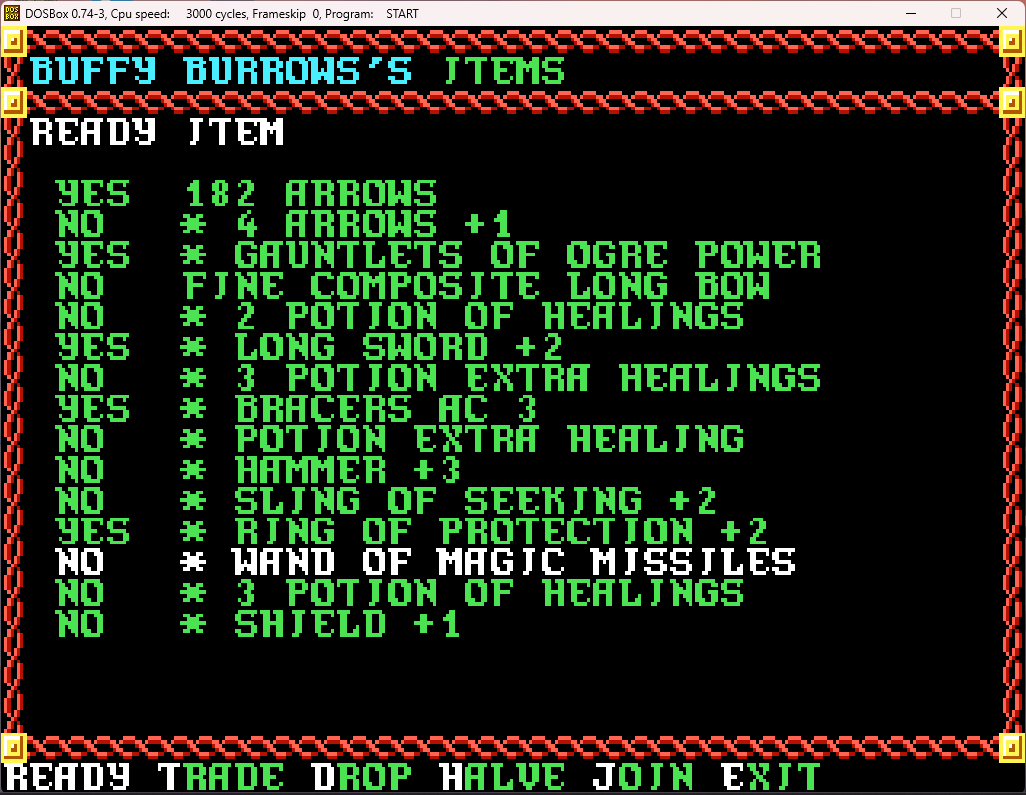
Screenshot 2024-05-04 125010.png


The shield gets put aside to be sold, and I'll give the wand to Bragir, whose wand of lightning seems to have used its last charge and crumbled into dust the last time he used it.

But it's no time to linger. We need to track down the vampire before it can re-form and regain its full power. Obviously, it's going to head back to the coffin we encountered earlier.
Screenshot 2024-05-04 124148.png

Screenshot 2024-05-04 124152.png


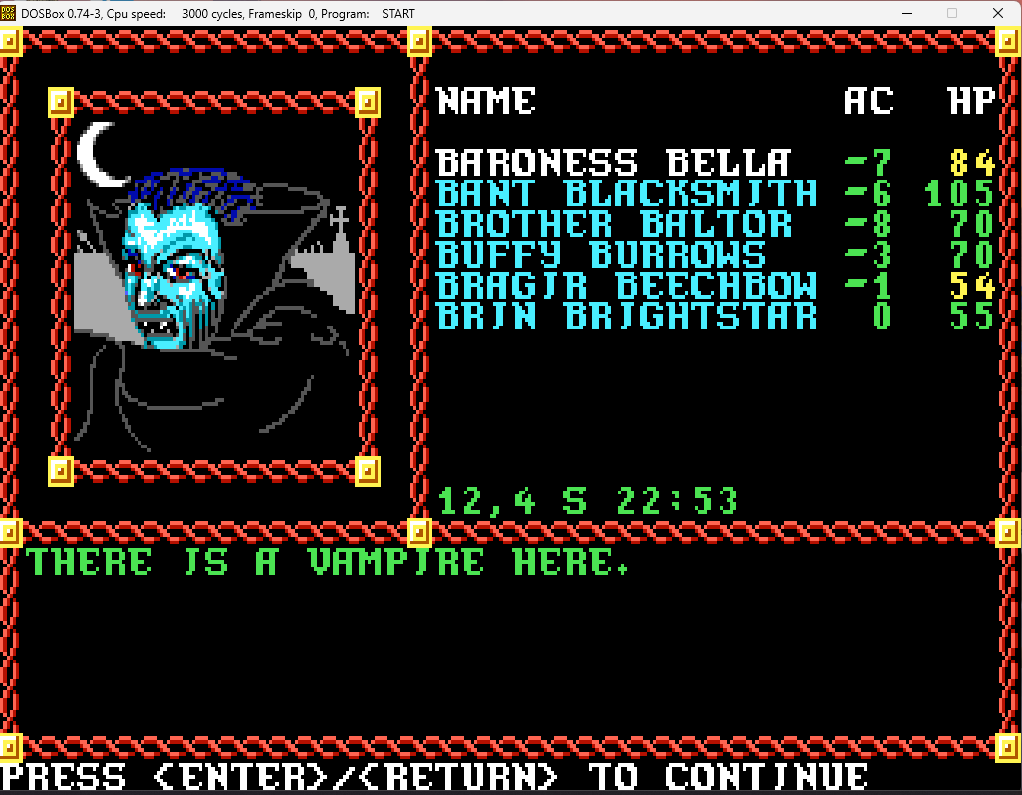
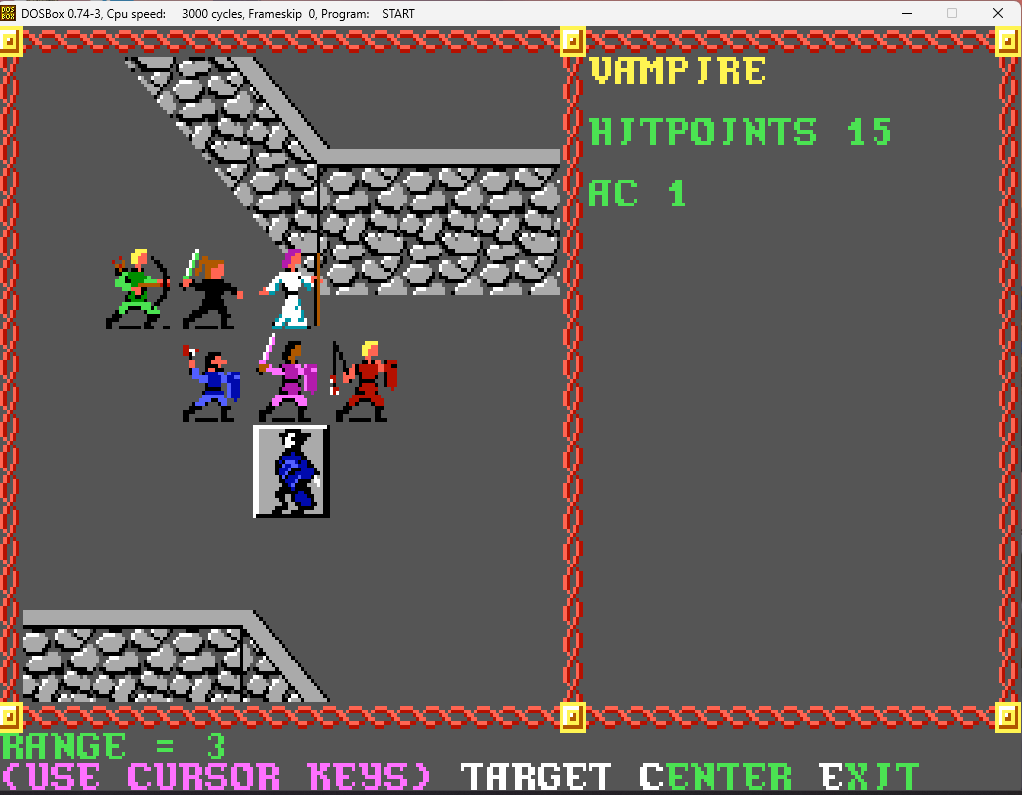
That's a pretty funny way of putting it. "Oh, by the way, there's a vampire here." Not even "The vampire you previously defeated is here" or something similar.
Screenshot 2024-05-04 124226.png


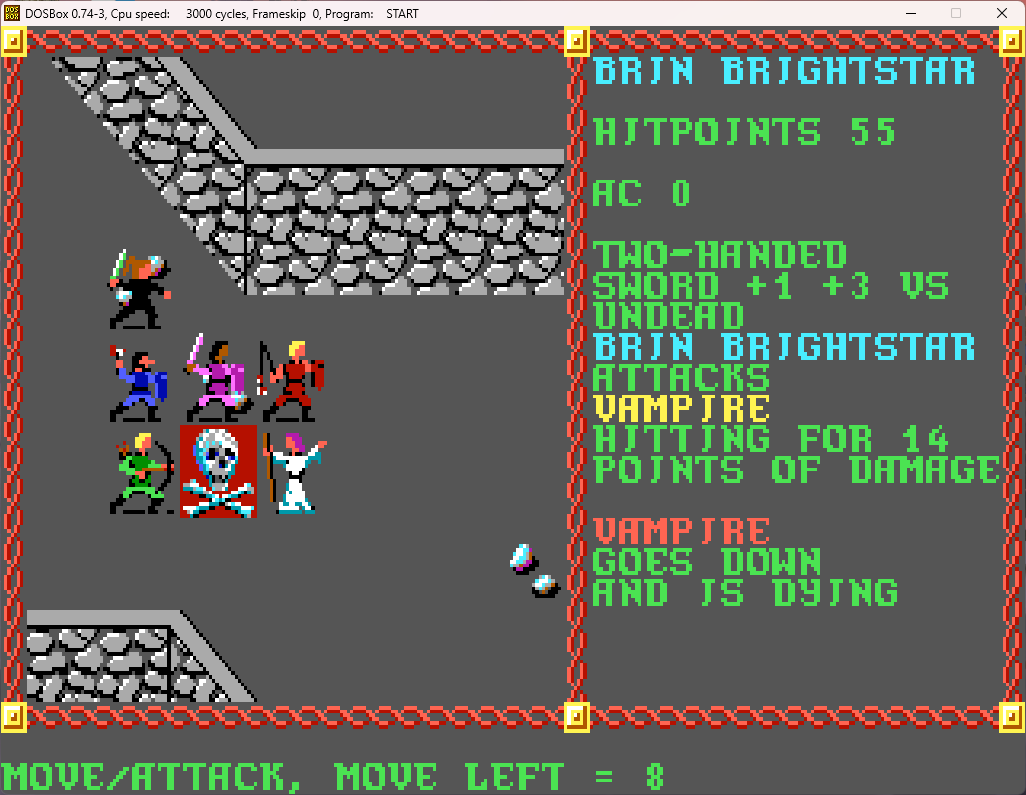
He's considerably weakened compared to the last fight, so we hopefully can take him down quickly.

And indeed we do...
Screenshot 2024-05-04 124441.png


With the XP of killing him, Baroness Bella can now gain a level!

Screenshot 2024-05-04 125217.png


And somehow I missed the screenshot for the level-up window. She will now have 105 HP, her THAC0 goes down by one, and, like Bant, she will now get 3 attacks every 2 rounds.

Now that we're done here, it's back to the city to earn our well-deserved reward. The Valhingen Graveyard is one of the toughest and most combat-intensive areas of the game, so the reward better be good!

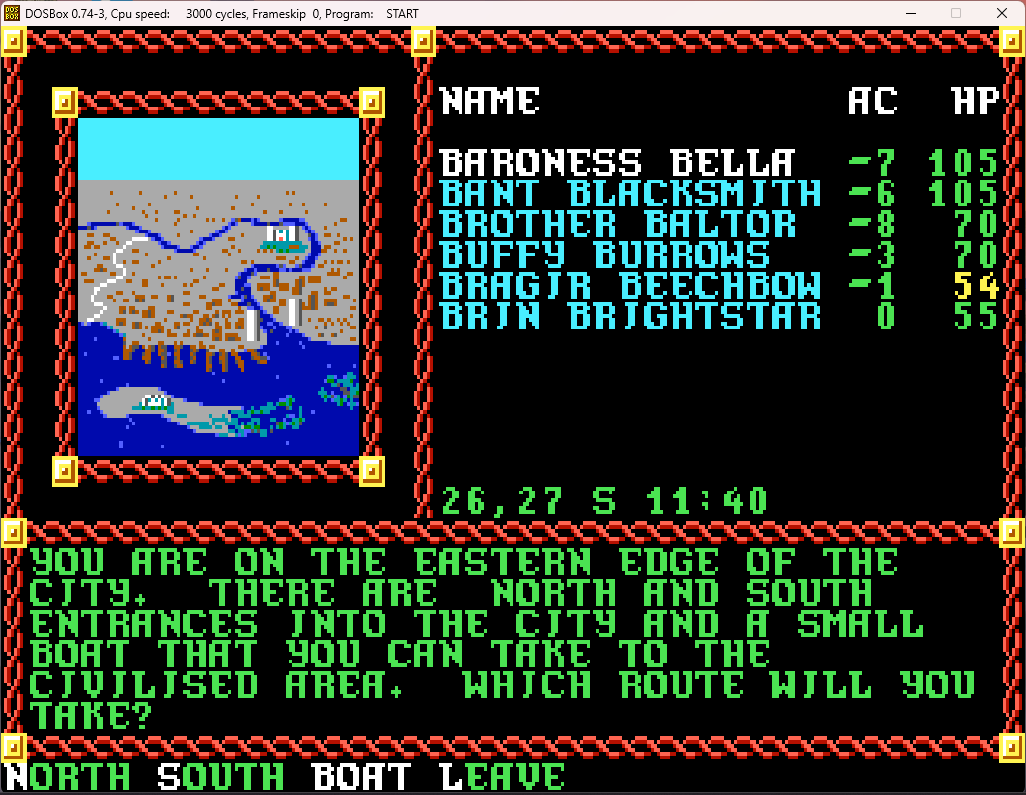
We leave the graveyard and head towards the boat.
Screenshot 2024-05-04 125322.png


And return to the city.

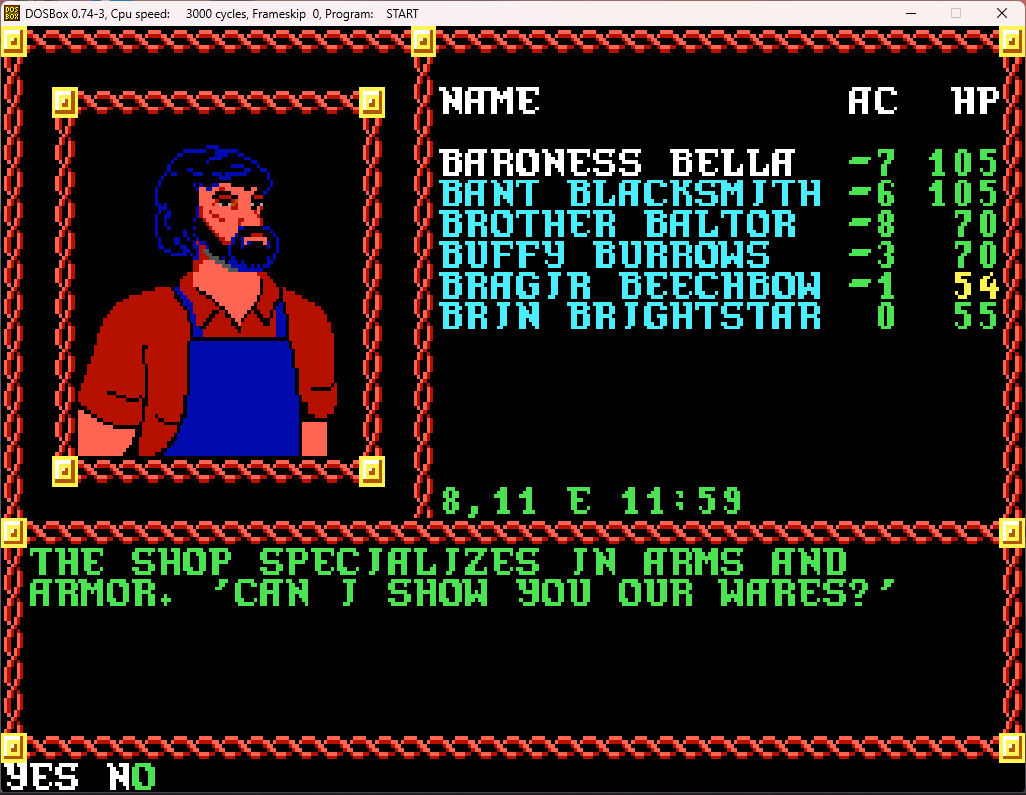
Instead of going straight to the City Clerk, we head to the weapon shop so we can clear out inventory and consolidate our cash to lighten our encumbrance. Several party members were down to only a 3 speed in the last vampire fight.
Screenshot 2024-05-04 125349.png


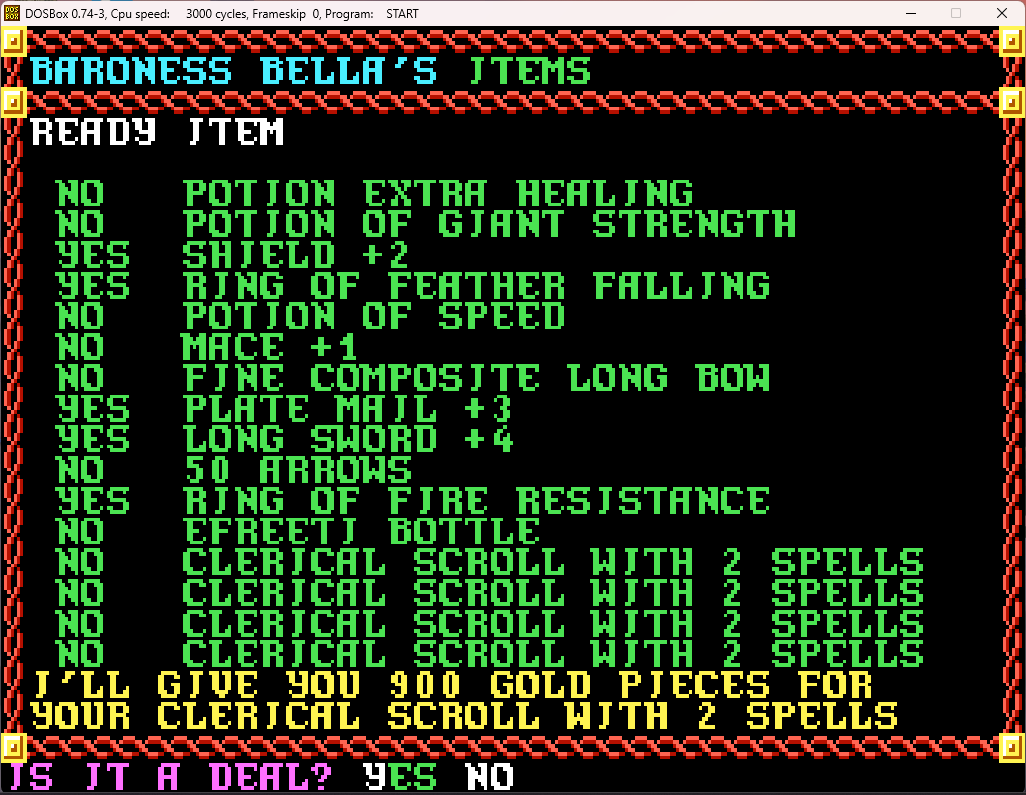
The first thing we do is sell all those extraneous cleric scrolls. We have a lot of them.
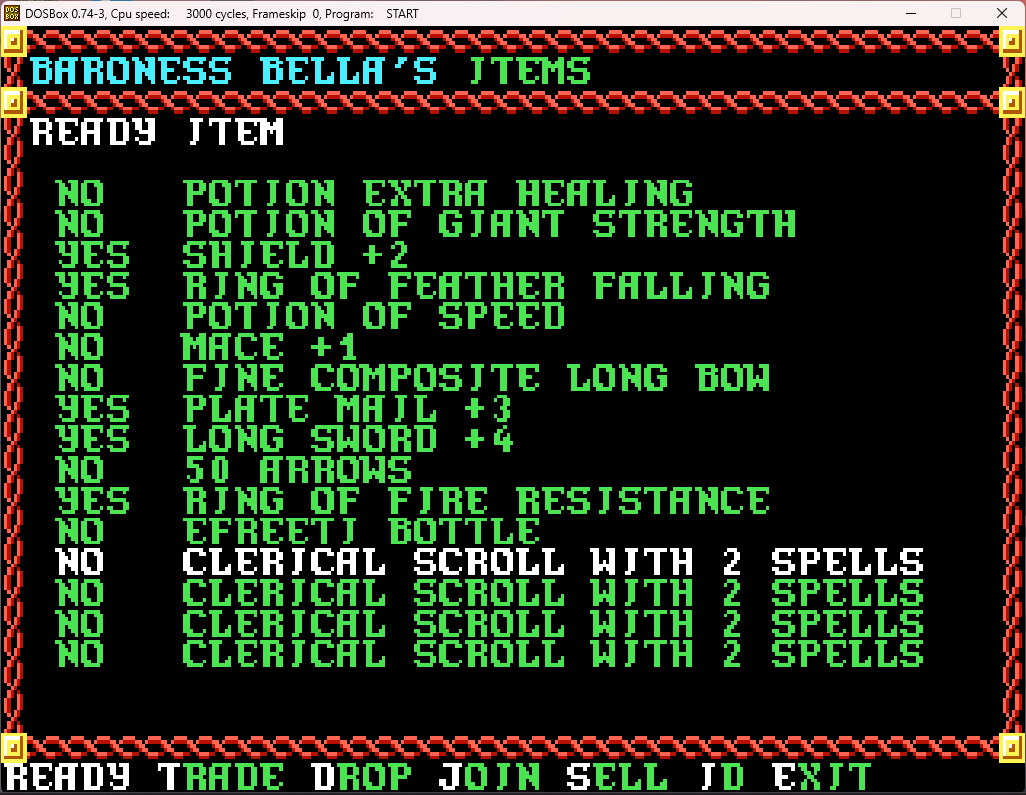
Screenshot 2024-05-04 125400.png

Screenshot 2024-05-04 125412.png


Yes please.

Brother Baltor's inventory in particular is filled with them.
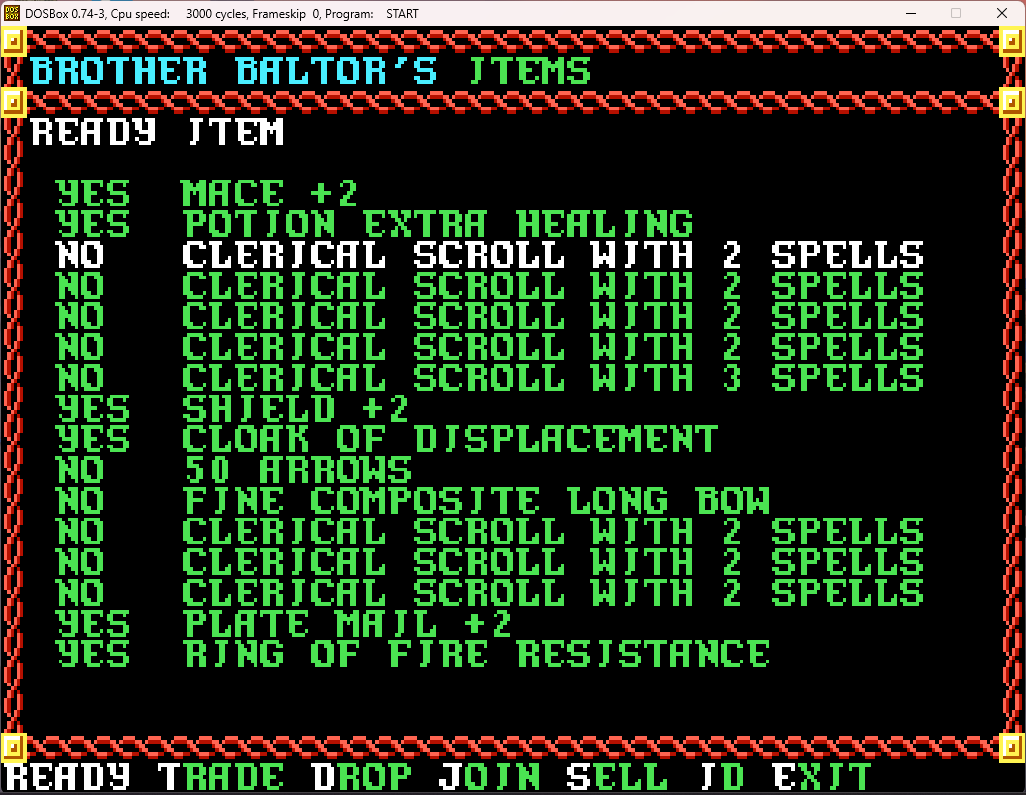
Screenshot 2024-05-04 125500.png


We'll let him keep a couple just in case, as well as the scroll with 3 spells which has some non-restoration spells. His inventory looks much better once the rest are gone.
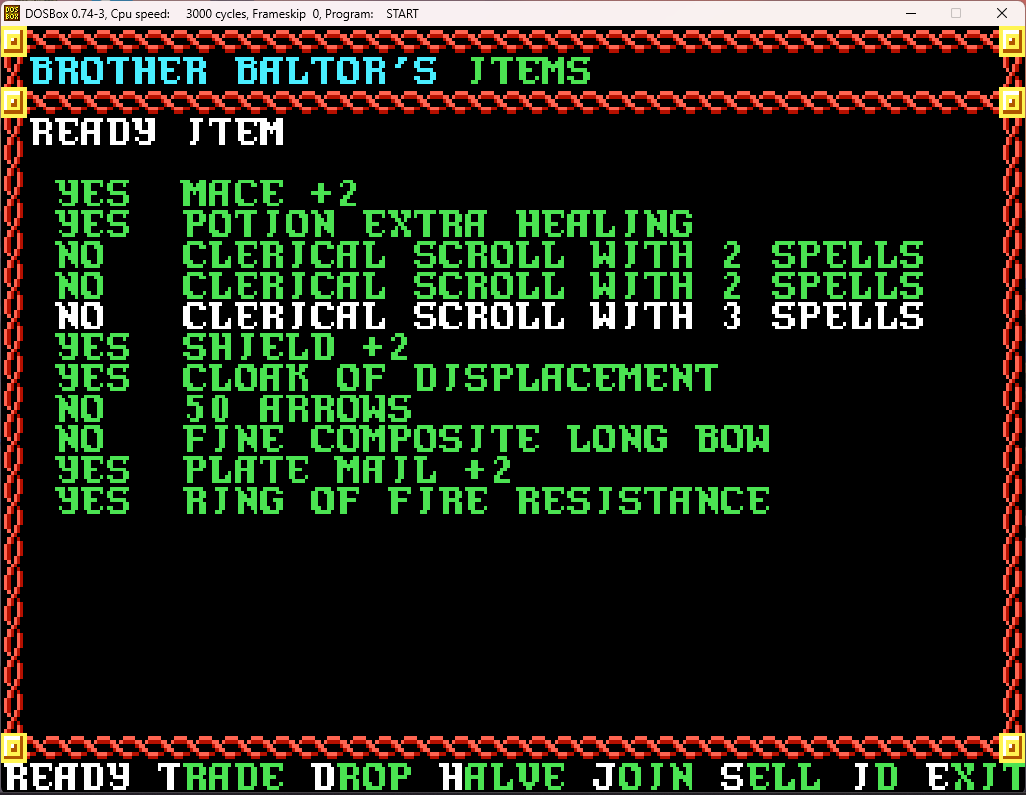
Screenshot 2024-05-04 125529.png


Remember how I gave Brin the extra ring of protection +1? It's because we can buy her just plain old non-magical banded mail and have her wear that with the ring, which will lower her AC compared to her chainmail +1 alone.
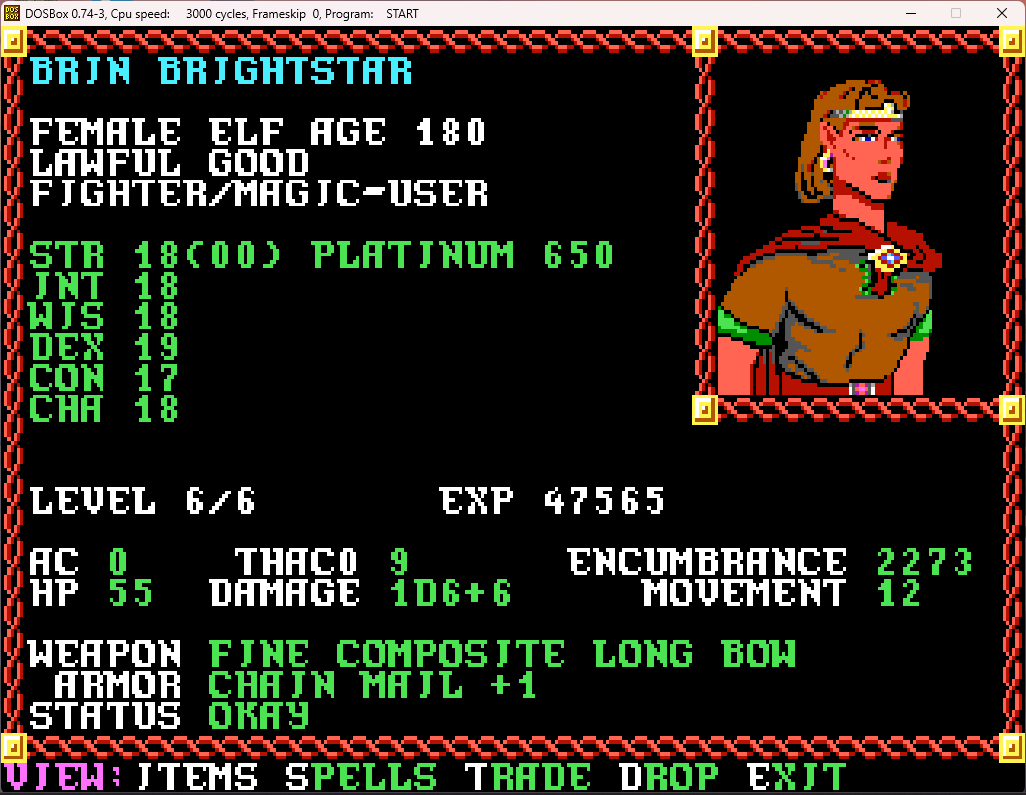
Screenshot 2024-05-04 125652.png

Screenshot 2024-05-04 125727.png


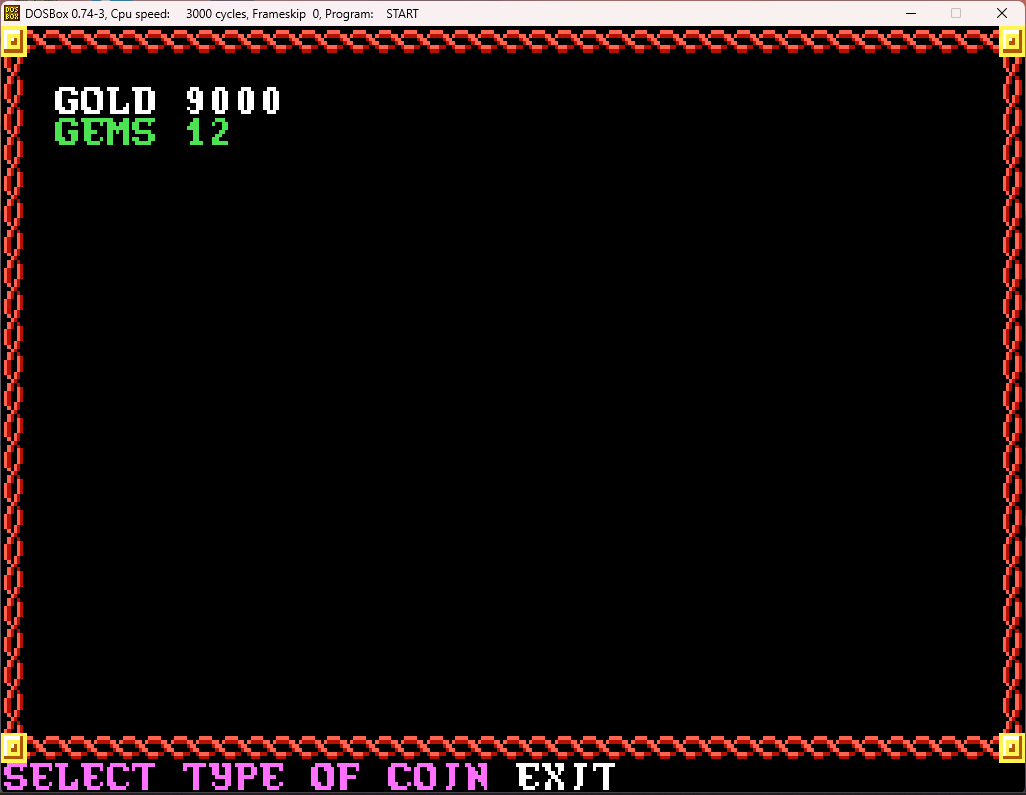
With that, we buy some arrows to consolidate our coin. Our funds at this point:
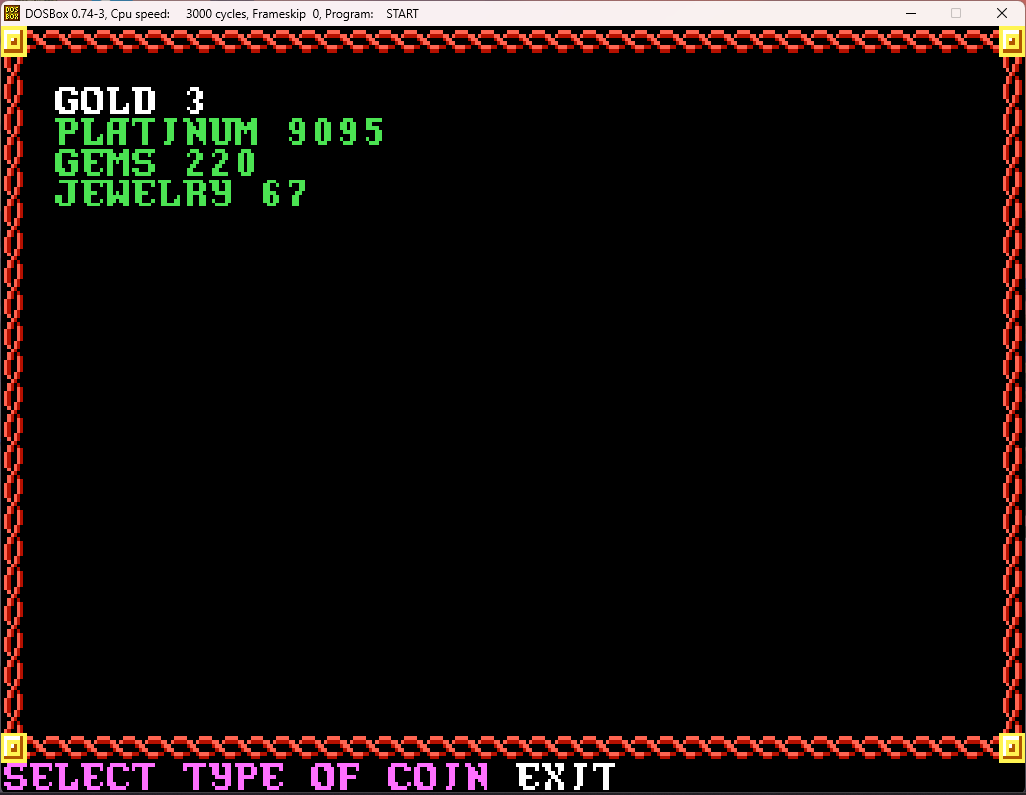
Screenshot 2024-05-04 125843.png


All done at the store, it's time to see the City Clerk!
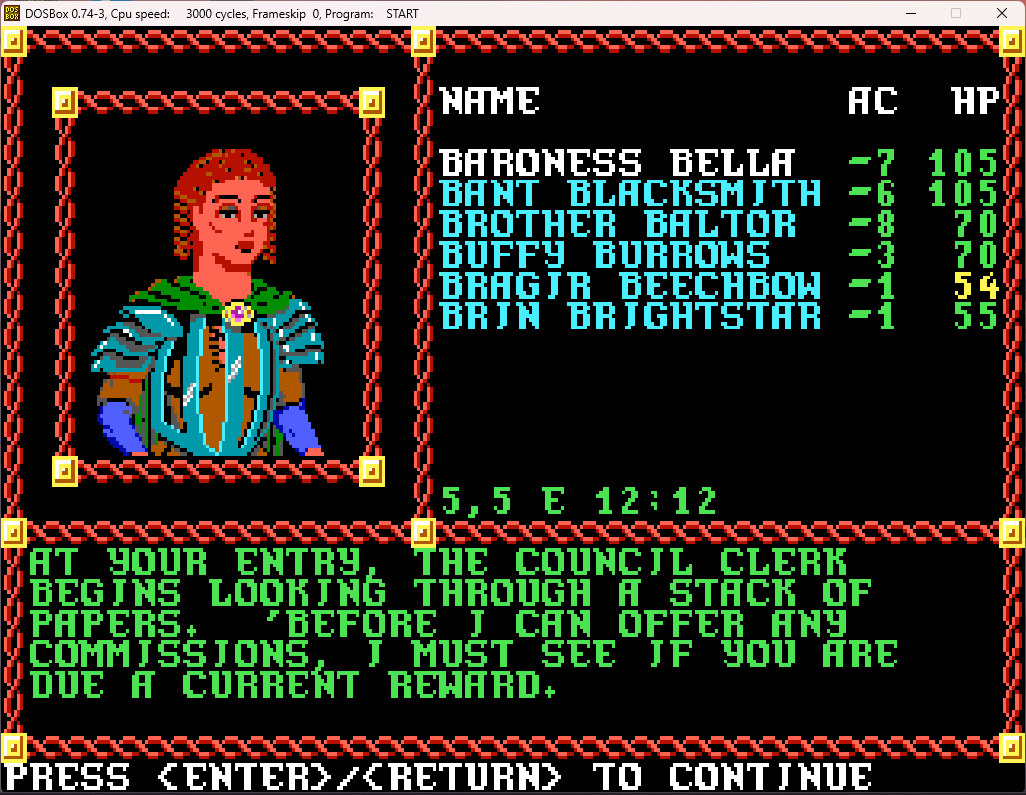
Screenshot 2024-05-04 125927.png

Screenshot 2024-05-04 125934.png


"Some" undead. My dear City Clerk, there was far more than just "some". Still, we'll take the reward...
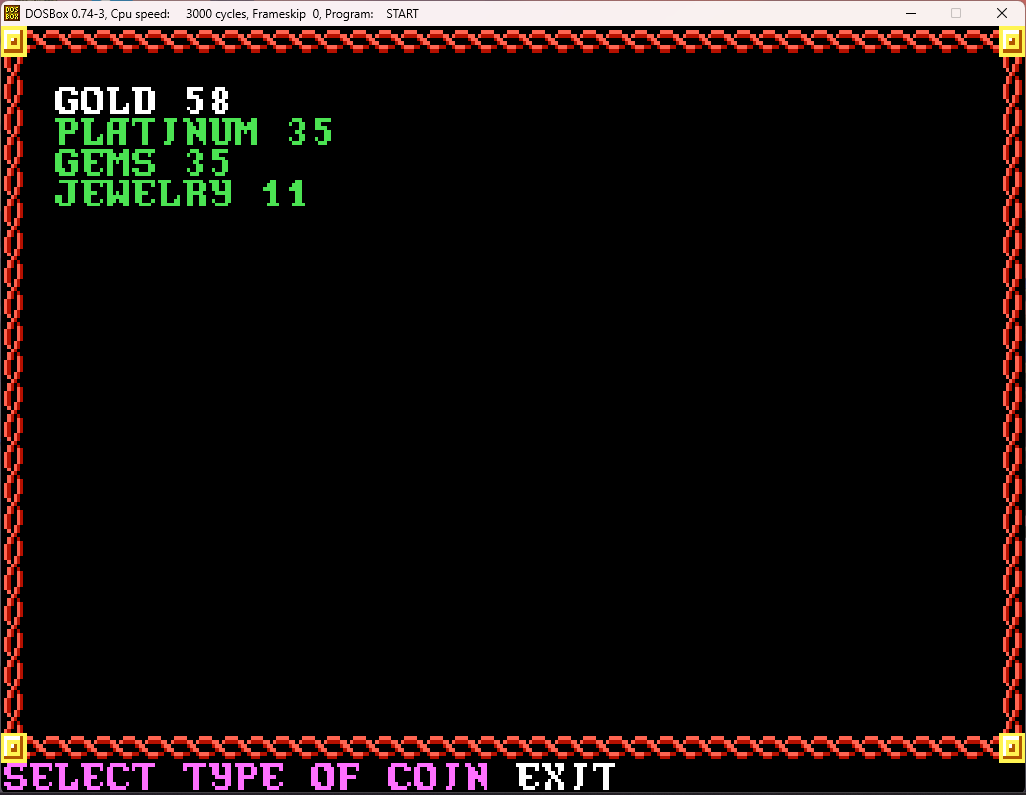
Screenshot 2024-05-04 125956.png


That's OK I guess.

Then she speaks again:
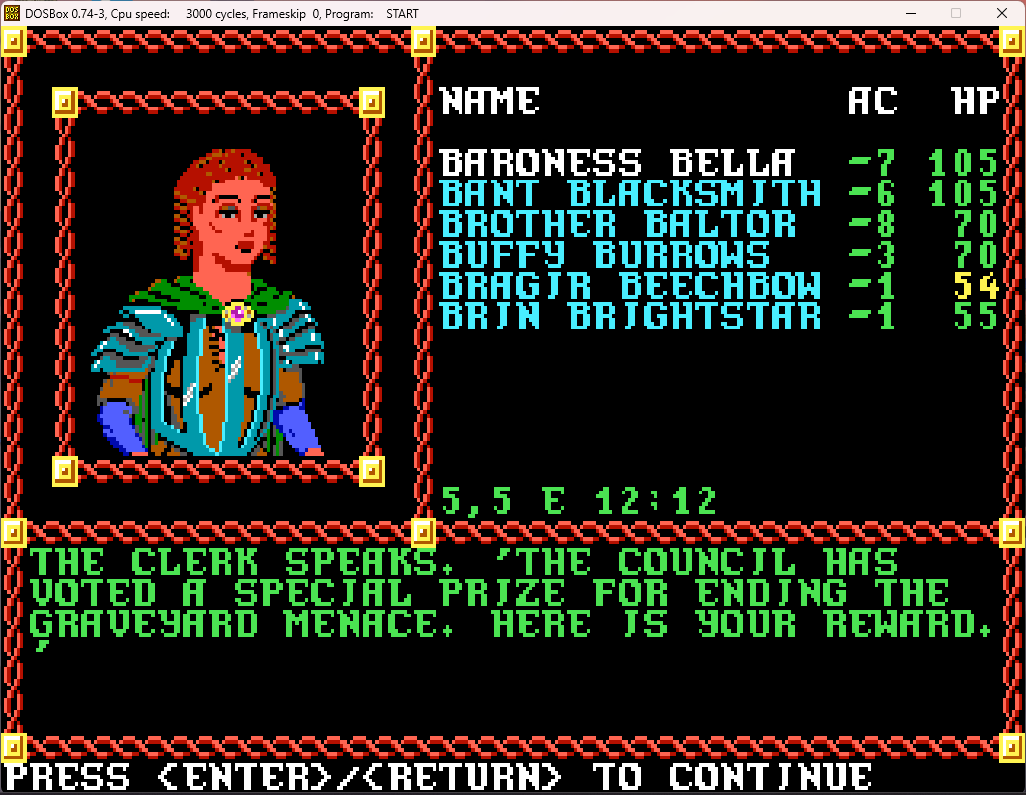
Screenshot 2024-05-04 130005.png


OK, "special prize" sounds more like it!
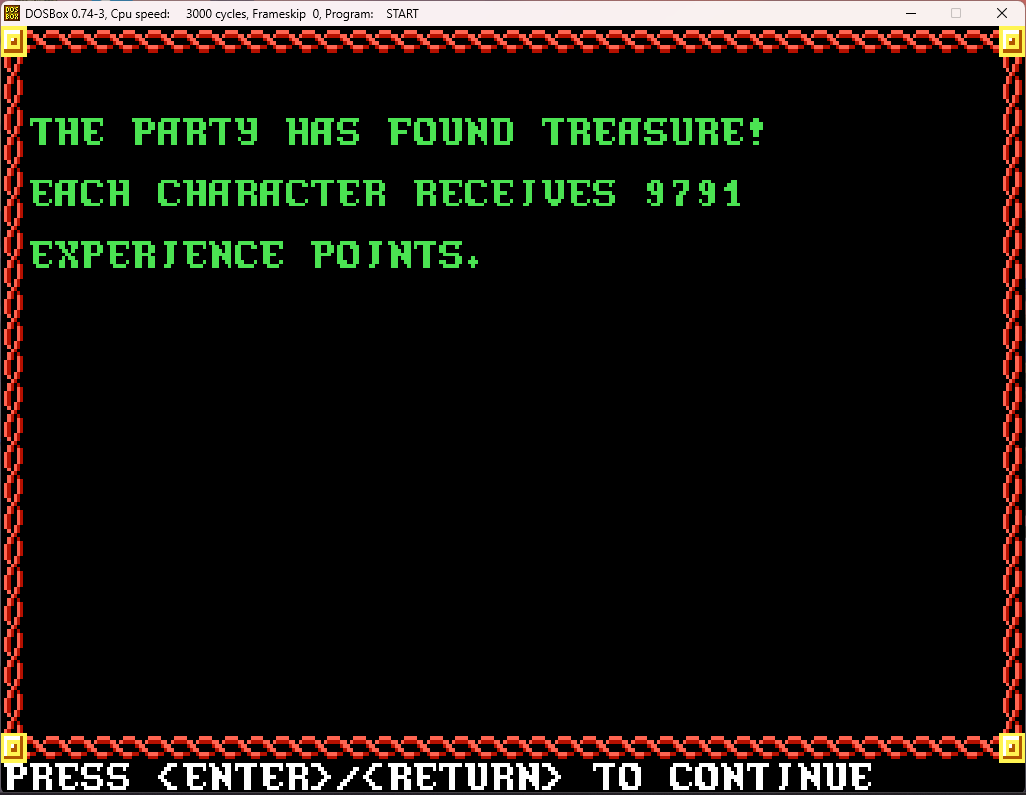
Screenshot 2024-05-04 130010.png


Wow, that's a lot of XP!

Screenshot 2024-05-04 130015.png


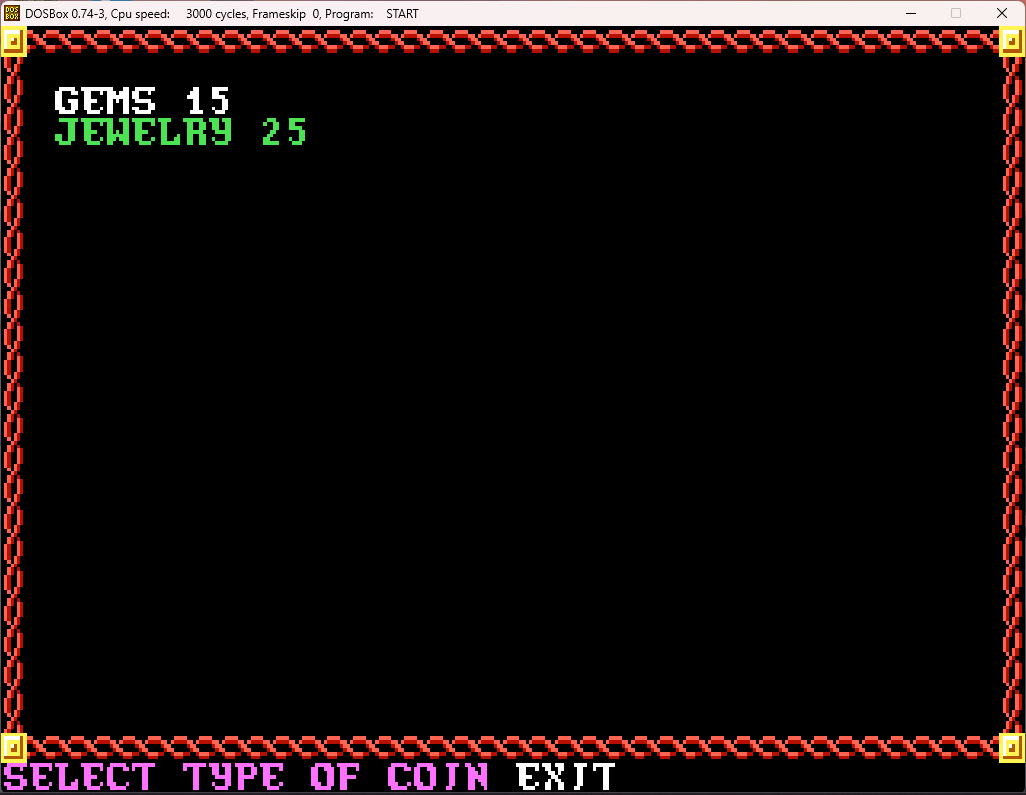
25 jewelry is actually quite a lot.

Once she's given us the reward, she mentions that Urslingen wants to see us, which is just him imploring, once again, for us to capture the Stojanow Gate:
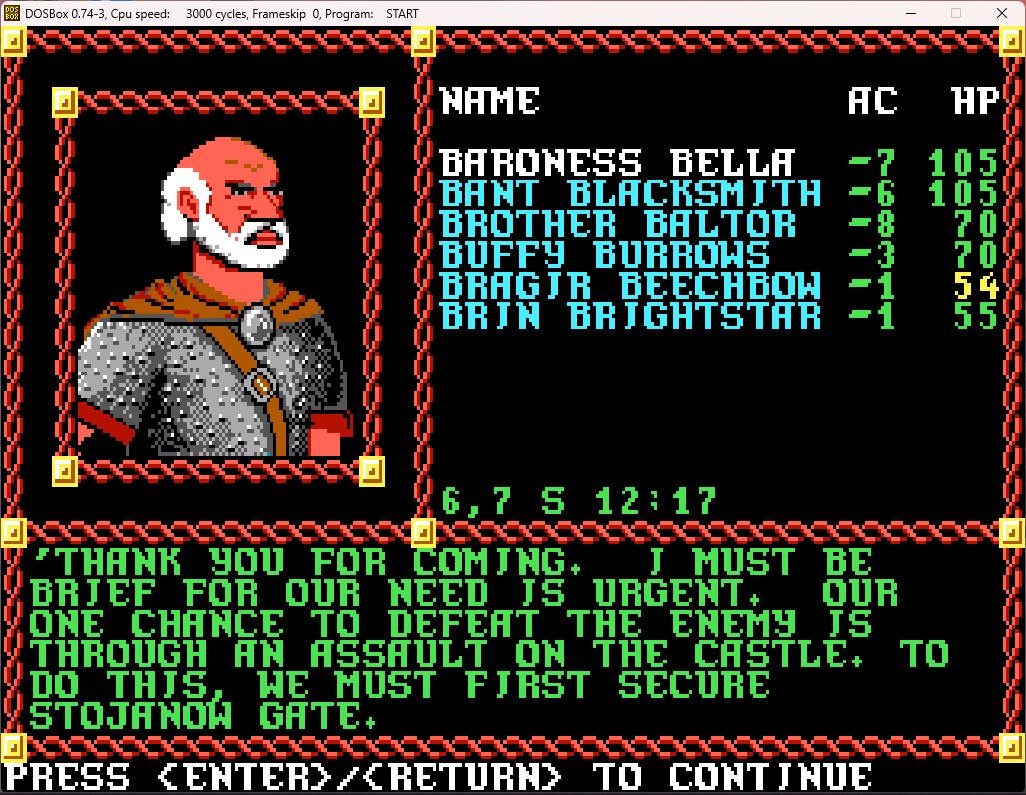
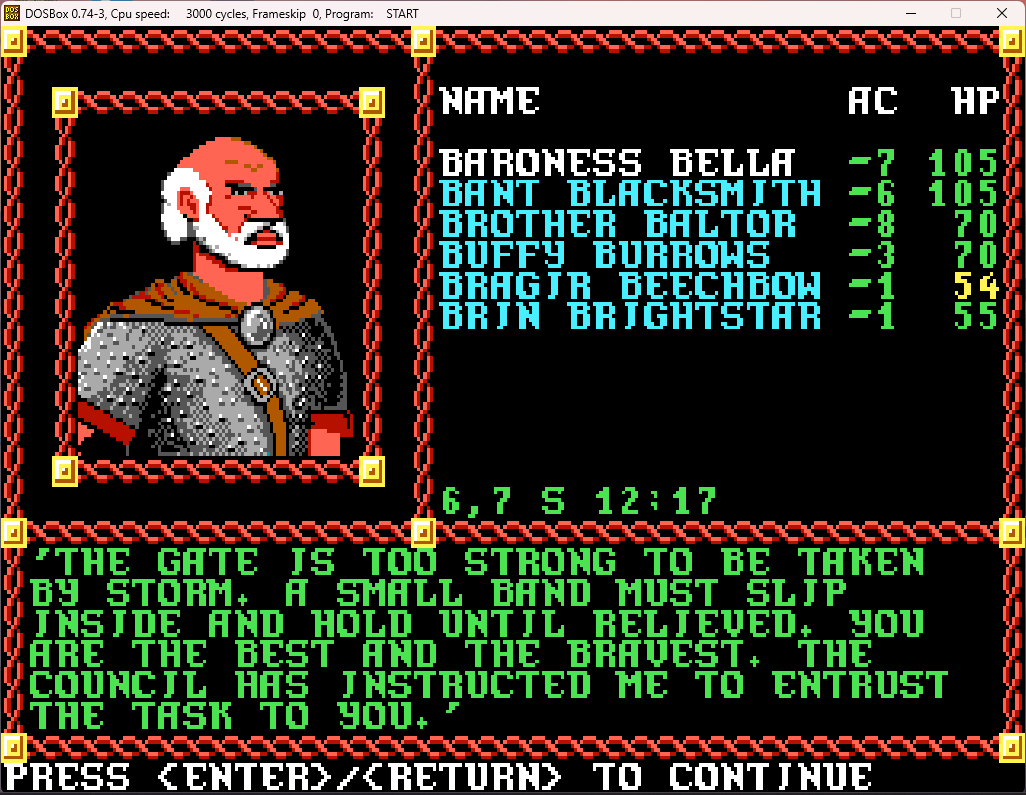
Screenshot 2024-05-04 130053.png

Screenshot 2024-05-04 130102.png


It's our next stop anyway, so hopefully we'll give him cause to quit his whining about this soon.

To prepare for our assault on the gate, we head back to the in to heal up and memorize spells. And to scribe those spells on the magic-user scroll we found!
Screenshot 2024-05-04 130129.png


Brin will scribe the one spell on the scroll she doesn't have.
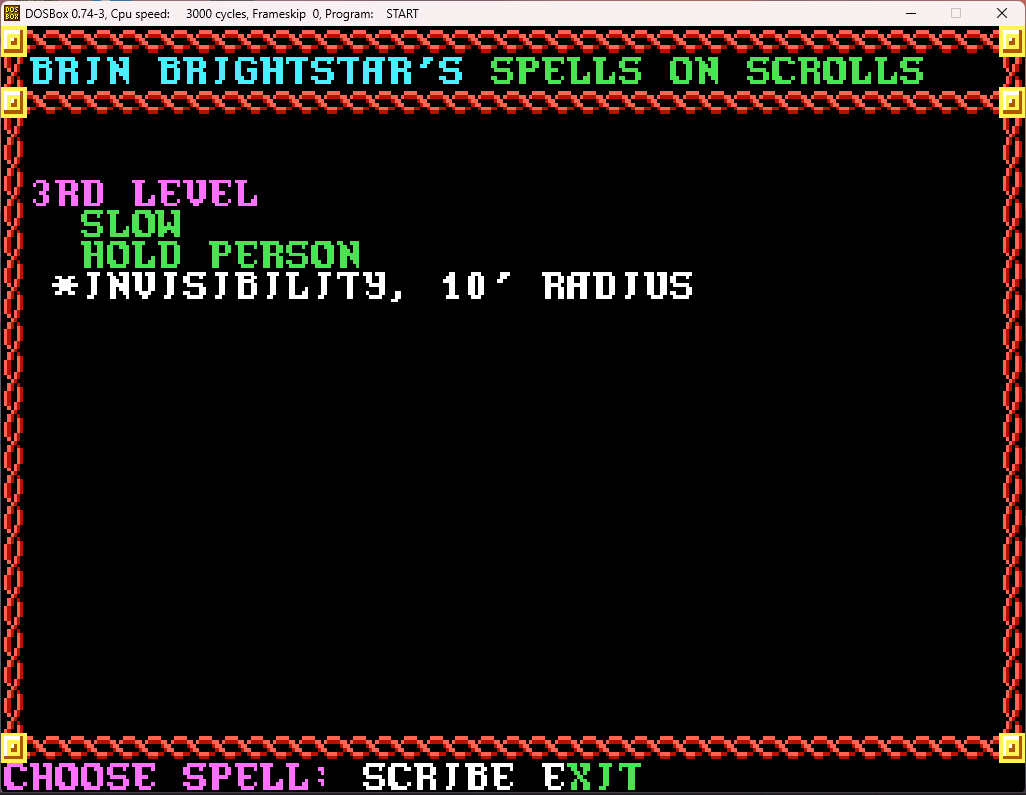
Screenshot 2024-05-04 130201.png


And after that's done, Bragir will scribe the remaining two.
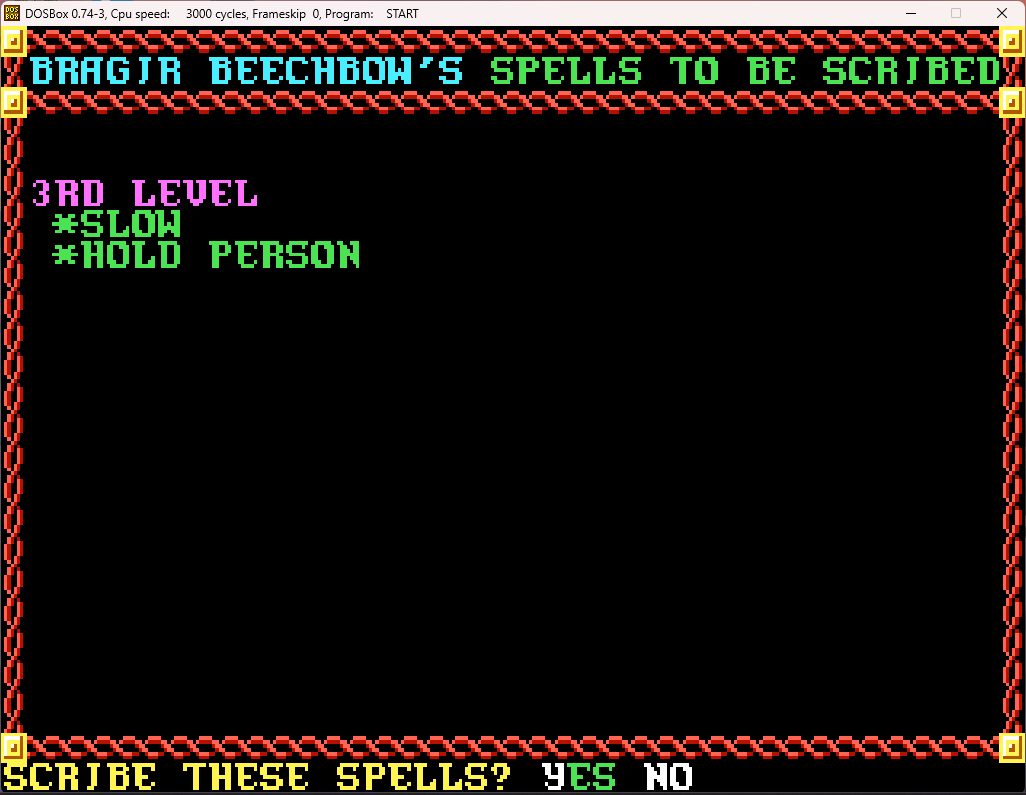
Screenshot 2024-05-04 130328.png


Spells scribed and memorized, we rest up. Next stop, the Stojanow Gate! We'll start up that mission in the next post. With only this and the castle left to go, we're in the endgame now!

Valhingen Graveyard map:
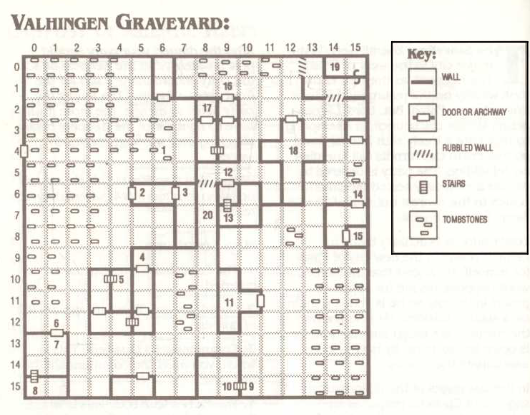
Screenshot 2024-05-05 003057.png
 
Last edited:

log in or register to remove this ad


TheHand

Adventurer
The graveyard is one of the most atmospheric and thrilling parts of Pool of Radiance and has always stood out to me as a highlight of the adventure.

However, when I recently adapted the adventure for live play (when I ran a Pool-of-Radiance & Curse of the Azure Bonds mega campaign), it struck me at how random the vampire and the graveyard are with the rest of the story. So I tried to find some connective tissues.

(Spoiler tags because I spoil some things about the video game...)

I decided that the vampire should have a personal reason for wanting to raise an undead army to take on Tyranthraxus, so I came up with the idea that he was a previous host to the spirit, who had only barely managed to survive the process and became a vampire due to his own twisted will and all the supernatural forces at play. Feeling rejected by Tyranthraxus, he naturally wanted revenge, and hunted him down over many years, searching for a way to control the Pool of Radiance. I had him try to actually forge an alliance with the player characters after they trashed his undead-making factories (they politely declined).

As for the random mage you encounter in the graveyard, I made him 'Genheeris', the high-ranking mage you encounter in the final stage, sent to spy on the player-characters and their progress in the grayeyard. This let me introduce one of Tyranthraxus' lieutenants early on and give the players an 'a-ha!' moment when they encounter him later... in my game Genheeris teleported out of the graveyard before the PCs could attack him.

As some side-notes, I linked the silver dragon in the mountains to the bronze dragon, they were friends and he was looking for the fate of his companion. And Yarash I tied to Dracandros in the next game... but I don't want to digress too much!

Cheers!
 

Pool of Radiance (Part 57): Stojenow Gate (Part 1) - Stojanow Gate Completed!

To get to the Stojanow Gate, we have to go back across the city, as it's on the northern edge of Podol Plaza. So, we head back into the Slums.

Screenshot 2024-05-05 125551.png


At this point I would hope it would be more "enviously" than "suspiciously". Also, it would have been cool if after a certain point (say clearing Podol Plaza or the Cadorna Textile House), there would be text that the Slums have started to be resettled by good, law-abiding folk.

We head past Kuto's Well...

Screenshot 2024-05-05 125633.png


And through Podol Plaza, exiting it to the north.

Screenshot 2024-05-05 125652.png


A short distance into the Stojanow Gate area, we meet up with an interesting character.

Screenshot 2024-05-05 125712.png


We decide to converse with the man.

Screenshot 2024-05-05 125730.png


250 GP? Is it a solid sterling silver wagon, or something? But still, it's our best hope to get through the gate undetected so we can get past its guards unaware. I have a feeling that Mr Cart Driver knows this and has upped the price accordingly. So we fork over the money. It's not like we don't have enough to spare.

Screenshot 2024-05-05 125737.png


Thanks, I guess.

Screenshot 2024-05-05 125745.png


Giants in the castle? That's worrying news. And it appears that we'll be fighting bugbear guards to gain control of the gate.

Screenshot 2024-05-05 125752.png


Bugbears and ettins at the gate, it seems. Well, he's somewhat made up for his price gouging with some decent information at least.

Taking his wagon and posing as simple merchants, we move forward towards the gate.

Screenshot 2024-05-05 125811.png


A bit of a geographic reminder for those who don't want to search through the thread to find the post with this map:

Screenshot 2024-05-05 202045.png


I can only guess that supplies and reinforcements are being sneaked through Podol Plaza even though it's been cleared of enemy patrols.

Screenshot 2024-05-05 125824.png


Watching the bugbears warily, we move forwards towards the wall to the right of the gate.

Screenshot 2024-05-05 125843.png


Not wanting to blow our cover, we move back away from the wall, then head west towards the gate itself.

Screenshot 2024-05-05 125911.png


This is getting to be an expensive subterfuge. But not wanting to blow our cover, we pay up.

Screenshot 2024-05-05 125927.png


Success! We are through the gate undetected! Now we just need to take out the guards in the towers to either side of the gate, then return to take care of the bugbears.

We head towards the east tower first.

Screenshot 2024-05-05 130118.png


Up we go!

Screenshot 2024-05-05 130133.png


I assume the 14-foot long beds are for the ettins.

Screenshot 2024-05-05 130141.png


You'd think we would have noticed that before we noticed the furniture!

Screenshot 2024-05-05 130149.png


Yikes! The Boss has a medusa? Good to know that ahead of time.

Screenshot 2024-05-05 130203.png


Well, surprise combat time it is!

Screenshot 2024-05-05 130247.png


Oh dear, that's never good. Well, let's take out this group as quickly as possible.

Screenshot 2024-05-05 130322.png


Well, the bad news is that there's a magic-user in this bunch. The good news is that he's apparently suicidal and decided to run to the front, when a wall of ettins ahead of him would have been a far more prudent strategy. We obviously focus our fire on him.

As my melee begin to swing away at him, Brin decides that they all look a bit chilly and could do with a nice warm fire.

Screenshot 2024-05-05 130415.png


By the time she can cast, the magic-user is down and the aide next to him is already pretty hurt.

Screenshot 2024-05-05 130439.png

Screenshot 2024-05-05 130454.png


23 points! Not bad. While the ettins are still up, the poor aide has met his end.

With the ettins wounded, it takes little time to take them down as well, and the battle is soon over.

Screenshot 2024-05-05 130537.png


There isn't much treasure, but among it is a magical ring!

Screenshot 2024-05-05 130555.png

Screenshot 2024-05-05 130608.png


Another ring of protection +2! That will be a nice upgrade for Brin!

Screenshot 2024-05-05 130624.png


With nothing else here, we head out and go to the western tower.

Screenshot 2024-05-05 130709.png


And up we go!

It's described exactly the same as the previous tower, to the 14-foot beds and the same inhabitants. At least they are having a different conversation.

Screenshot 2024-05-05 130736.png


Considering the only area of Phlan left under the Boss' control is this gate and the castle behind it, this seems to be a bit... optimistic.

Screenshot 2024-05-05 130746.png


Hmm, I guess that alarm in the other tower can't be heard here. Surprise attack it is, again!

Screenshot 2024-05-05 130814.png


And Brin does the exact same thing as well...

Screenshot 2024-05-05 130829.png

Screenshot 2024-05-05 130840.png

Screenshot 2024-05-05 130851.png


And she does the exact same damage a well. Serious deja vu in this battle!

The humans have been taken out again, and all that needs to be done is to take out the wounded ettins.

Screenshot 2024-05-05 130855.png


After killing the first two, the survivor runs to the other side of the room. Bant and Baroness Bella give chase, with Bant getting the killing blow in.

Screenshot 2024-05-05 131006.png


Sadly, no magic ring in the treasure this time.

All that's left now is to take care of the bugbears at the gate. We head back down from this tower and go east. Upon entering the gate area....

Screenshot 2024-05-05 131124.png

Screenshot 2024-05-05 131150.png


Even with that many bugbears, this should go quickly.

Bragir has felt left out when it comes to the fireball department, so he takes his chance to lob one into that big group of bugbears...

Screenshot 2024-05-05 131240.png

Screenshot 2024-05-05 131257.png


That's basically every bugbear left since my melee rushed forward and took out a few. That one gaining cover behind the wall is going to have a (briefly) lucky day.

Screenshot 2024-05-05 131321.png


Oooh, 30 points of damage. By far the best fireball we've seen so far!

Screenshot 2024-05-05 131331.png


Three made their saves, while the one sheltered by the wall took no damage. Not that he'll last much longer...

We rapidly take out the survivors...

Screenshot 2024-05-05 131349.png


And soon the battle is over.

Screenshot 2024-05-05 131422.png


They don't have any real treasure. By the time we've done searching them...

Screenshot 2024-05-05 131445.png


And the Stojanow Gate is now in the hands of the forces of Phlan! Only the castle remains in the Boss' hands.

With that done, we head back to town.

Screenshot 2024-05-05 131605.png


Suspiciously among the cheering crowds, no doubt.

Off to visit the City Clerk!

Screenshot 2024-05-05 131826.png

Screenshot 2024-05-05 131838.png


And with that, as she says, we will head back and lead the assault on the Valjevo Castle, the stronghold of Tyranthraxus. That's where we'll pick up next time.

Map of the Stojanow Gate:

Screenshot 2024-05-05 200920.png


As you can see, it's a pretty encounter-light area, which is why I was able to get it all into a single post.
 
Last edited:


Pool of Radiance (Part 58): Valjevo Castle (Part 1)

With the Stojanow Gate cleared, it's time to head for the final location of the game - Valjevo Castle, where Tyranthraxus awaits!

But first, the reward given by the Clerk is enough for Bant to level up.

Screenshot 2024-05-05 131906.png

Screenshot 2024-05-05 131910.png


Bant has hit the max level for fighter in the game, and thus GBC will show his XP bar as full from here on out.

Screenshot 2024-05-05 131927.png


Everyone else still has levels to gain in one class or another, although we've hit max for Brother Baltor's cleric levels and Bragir's and Brin's magic-user levels. We might max out other classes as well before the game is over. I'll probably have a significant amount of leveling to do immediately at the start of Curse of the Azure Bonds.

Off to the store. We didn't get much of interest, so it's mainly buying arrows and consolidating my funds.

Screenshot 2024-05-05 132220.png

Screenshot 2024-05-05 132508.png


And now to the inn rest, heal, and memorize spells before we trek across town to the castle.

Screenshot 2024-05-05 132550.png

Screenshot 2024-05-05 132559.png


Once we're ready to go, we head back to the Slums...

Screenshot 2024-05-06 211507.png


(I really hope the party will have the clout to get these guards fired once we've finished saving the city)

And then we go through Kuto's Well...

Screenshot 2024-05-06 211547.png


Through Podol Plaza, and then the Stojanow Gate...

Screenshot 2024-05-06 211615.png


Until we reach the entry to the castle area.

Screenshot 2024-05-06 211709.png


Valjevo Castle is huge. It's basically divided into three concentric sections, each larger than the last. In the center is the castle proper, surrounded by a large hedge maze, and then an outer castle area. We're headed into the outermost section first, which is divided into four quadrants. The entrances from the Stojanow Gate lead to the southwestern quadrant.

As we enter this area, we go into the first door on the right.

Screenshot 2024-05-06 211746.png

Screenshot 2024-05-06 211758.png


As one of the strategy guides says, it's a big leap from us being someone they haven't seen before to assuming that we're here to kill Tyranthraxus! But if that's what they want to leave, we won't disabuse them of the notion.

We choose "Nice" and speak to them.

Screenshot 2024-05-06 211834.png

Screenshot 2024-05-06 211839.png


Sure! Sounds like as good a plan as any!

Screenshot 2024-05-06 211846.png


Simply leaving is the best choice. You can tie them up, but there's a chance they'll be discovered and the disguise fails, and if you kill them, they not only curse you as you die, but the disguise will be ineffective as well.

Being disguised means we can walk around without too much interference, unless the party does something to set off an alarm, in which case you'll be questioned and possibly attacked by the alerted guards. But even then, it's hard to lose the disguise unless you do a few specific things.

We're going to fully explore the entire southwestern quadrant, then turn back around and explore the remaining quadrants counter-clockwise. This gets the best items as quickly as possible.

So we head out from the laundry and head west. We skip past a few doors for the moment, and enter the first door along the western wall....

Screenshot 2024-05-06 211951.png


This room isn't accessed much, so it will be a safe place to rest. We don't need to do so yet, but it's good to identify such locations as quickly as possible should we need to hastily retreat to one.

We're going to rest since it's night, and it's better for most encounters if we wait until day.


Screenshot 2024-05-06 212013.png


Rested up, we head out and go through one of the doors we passed previously.

Screenshot 2024-05-06 212117.png


Fire giants! That's a pretty rough first encounter of one of the true giant types.

Screenshot 2024-05-06 212126.png


We walk up to him.

Screenshot 2024-05-06 212132.png


We can't let the smith armor up Tyranthraxus' forces, especially with fire giants at his side. So we decide to attack.

Screenshot 2024-05-06 212235.png


Luckily 1e fire giants are much weaker than their current versions. We start concentrating on taking them down.

Screenshot 2024-05-06 212307.png


We take them out so quickly (I guess we took them by surprise) that they don't even get a shot in before all but one is dead. The survivor rapidly retreats across the room.

Screenshot 2024-05-06 212341.png


And Brin takes him out with a bow shot.

Screenshot 2024-05-06 212359.png


The giants give excellent XP.

Screenshot 2024-05-06 212410.png


Mainly because of what they have in their bags...

Screenshot 2024-05-06 212422.png


The game faithfully follows 1e rules on giants' bags, meaning they have a ridiculous amount of coin after you kill them. It's not convenient to carry around (and we actually decline to do so to avoid encumbrance), but it is very helpful on the path to leveling up.

The smith apparently had a couple of magic items, which we take in lieu of all that heavy coinage.

Screenshot 2024-05-06 212552.png


Done here, we head north, investigating the doors to the east (the west is just a huge wall, with the hedge maze inside). Most of the rooms are unused and uninhabited, but some do stand out...

Screenshot 2024-05-06 212700.png


Well, that's gross. We'll head out and see if we can find something less disturbing.

Screenshot 2024-05-06 212750.png


And, yes, a temple of Bane is less disturbing than that smokehouse.

What exactly is at the end of the room that's crudely altering things? But before we can ponder 1980s spell-check errors...

Screenshot 2024-05-06 212805.png


He definitely looks suitably smug to be a priest of Bane.

And, no, we politely decline being blessed by Bane. And by "politely", I mean "violently".

Screenshot 2024-05-06 212936.png


Three clerics - we need to damage them as quickly as possible before they get any hold spells off! Luckily, the two 1st-level clerics will be taken out in a single hit, two at most.

Screenshot 2024-05-06 213020.png


Yep, single shot.

Bant takes down the leader, which I unfortunately didn't get a screenshot of. But in any case, it's a quick battle, and the acolytes of evil have been taken down!

Screenshot 2024-05-06 213107.png


Let's see what that cleric had...

Screenshot 2024-05-06 213204.png

Screenshot 2024-05-06 213228.png


Very nice! All three items are upgrades!

Brother Baltor will keep the mace.

Screenshot 2024-05-06 213247.png


I give Buffy the necklace so she can have something to do (firing off fireballs) when faced with foes immune to damage from non-magical weapons.

Screenshot 2024-05-06 213304.png


And Bragir gets the plate, which an upgrade over his banded mail.

Screenshot 2024-05-06 213321.png


We move back towards the "alter"

Screenshot 2024-05-06 213448.png


No we don't. There's only a few silver in the offering box, and attempting to steal it will cause damage. Bane doesn't like people stealing his change!

Screenshot 2024-05-06 213500.png


As tempting as it is (and, yes, they are magical swords), again we don't. First of all, the swords can only be equipped by characters of lawful evil alignment (which is one of the very few moments in the game where alignment matters) and will do damage to anyone else who tries to use them. Secondly, the swords are apparently quite distinctive and hard to hide, so we will lose our disguise if we remove them. So we leave them behind, and exit the temple.

And, well, that's it for the southwestern quadrant. We backtrack towards where we entered and then continue eastwards. Next stop, the southeastern quadrant! But we'll cover that in the next post.
 
Last edited:

I messed up, set off the alarms, and my disguise did not hold up. Having to fight 6 hill giants and a fighter 6th, every 4-6 squares
There are piles of 10,000gp scattered everywhere as I cannot carry it. Luckily I can still rest in the coal shed.
Everyone is now max level but I guess I should continue to the end.
 

Pool of Radiance (Part 59): Valjevo Castle (Part 2)

On to the southeastern quadrant we go!

We go through the first door we see on the right, and...

Screenshot 2024-05-06 214037.png


We seem to have fortuitously caught them, literally, napping...

Screenshot 2024-05-06 214047.png


We charge into combat while they are unprepared.

Screenshot 2024-05-06 214101.png


Eight hill giants it seems.

Well, with them all grouped up there...

Screenshot 2024-05-06 214128.png

Screenshot 2024-05-06 214207.png


That neatly will hit them all, without endangering my party in the least.

Screenshot 2024-05-06 214215.png


With that fireball having softened them up, they go down pretty quickly...

Screenshot 2024-05-06 214256.png


And soon they begin surrendering.

Screenshot 2024-05-06 214313.png


Again, some excellent XP due to the treasure they carry...

Screenshot 2024-05-06 214319.png

Screenshot 2024-05-06 214328.png


No, not that treasure!

Screenshot 2024-05-06 214342.png


Again, it's just too much for us to carry. We just leave it there for, presumably, the city militia who will come to clean this mess up later to find.

With nothing more to find in this room, we head to another nearby building. We enter and...

Screenshot 2024-05-06 214543.png


This could randomly do damage to one or more characters, but somehow everyone dodged the falling debris.

This room, like the coal bunker, is safe to rest in (and no more cave-ins after this one either!)

Screenshot 2024-05-06 214611.png


Despite this being perfect for a spider ambush, nothing so exciting happens. It's just flavor text.

We head north after reaching the corner of this quadrant. We enter the door immediately next to it.

Screenshot 2024-05-06 214733.png


These are actual guards, and this their post. We attack as normal, but there's an added, and unpleasant, result.

Screenshot 2024-05-06 214744.png


Ugh, that alarm means there will be extra patrols. We'll have to tread carefully for a bit until things calm down. Of course, that's after we deal with these two giants...

Screenshot 2024-05-06 214757.png


With just two of them, they go down quite quickly.

Screenshot 2024-05-06 214833.png


(I'm getting better at catching these final blows, which are much more interesting than the "The battle is over. Continue? Yes/No" screens)

Screenshot 2024-05-06 214853.png


Hmm, that's not too much gold. We might be able to pack that away without gaining too much encumbrance. No harm in giving it a try!

Screenshot 2024-05-06 214913.png


With that annoying alarm sounding, we head back to the safe area (the collapsed ceiling room) to rest until it goes away. Usually it's no more than two hours.

Screenshot 2024-05-06 215035.png


A quick nap later, we head out to explore. Hopefully the alarm has died down.

Screenshot 2024-05-06 215055.png


Well, darn.

Screenshot 2024-05-06 215110.png


Another quick nap.

We head out, and, with no immediate messages that the alarm is sounding, we explore a bit and see two doors down an alley. We look into the first one, and see an old, familiar face.

Screenshot 2024-05-06 215213.png


Well, well, well. How the mighty have fallen.

Screenshot 2024-05-06 215226.png


I'm not terribly trusting of a person who can't even invoke Chauntea's name correctly. Well, that and trying to have us killed.

Tthe city has placed a bounty on his head. And they'll need that head as proof...

Screenshot 2024-05-06 215235.png


Again, sorry, we have trust issues.

Screenshot 2024-05-06 215245.png


And what all the pain to come exactly is... we'll see in Pools of Darkness.

That belated, bloody work done, we go to the next door down.

Screenshot 2024-05-06 215438.png


Well, well, well, a well!

Screenshot 2024-05-06 215449.png


I mean, we dived into the pools at the lizardman keep, so why not?

Screenshot 2024-05-06 215455.png


Our hearty dwarf will!

Screenshot 2024-05-06 215503.png


No, we just got our armor all wet just for fun.

Of course we do.

Screenshot 2024-05-06 215737.png


Well, 1 point of damage is perfectly acceptable for a (hopefully) cool new sword.

Screenshot 2024-05-06 215808.png

Screenshot 2024-05-06 215816.png


Oh, a very cool sword indeed. And a hot sword indeed!

Bant grumbles, but that's much better than his axe. So he equips it.

(I can only assume someone thought the sword was on fire and threw it into the well deliberately?)

We leave the alley, and continue to head north. At this point, we look west at the inner wall (Yes, there's a parallel inner wall in all four quadrants; you can see bits of it on the map). This is one of the entrances to the vast hedge maze within those walls, and, beyond and within it, the actual castle keep at the center of this whole complex, wherein lies, we assume, Tyranthraxus. We aren't going in there yet - we're going to complete the circuit of the four outer quadrants first.

Screenshot 2024-05-06 215907.png


We head into the next door, and catch some hill giants unaware again.

Screenshot 2024-05-06 215941.png


Let's hit them before they're fully armored up!

They're grouped up again, so you know what that means...

Screenshot 2024-05-06 220006.png

Screenshot 2024-05-06 220027.png

Screenshot 2024-05-06 220035.png


Well, that's a complete garbage fireball roll. If you had rolled 6d6 out and got that, you'd be cursing at those dice when all the ones and twos showed up...

But it doesn't really matter in the end. Since we caught them by surprise, we kill off a bunch before they can even react, and the remainder surrender quickly.

Screenshot 2024-05-06 220138.png


Good XP, but too much treasure, again.

Screenshot 2024-05-06 220145.png

Screenshot 2024-05-06 220157.png


Suddenly, I get a message that that cursed alarm is still going off... And then we immediately have to deal with its consequences...

Screenshot 2024-05-06 220251.png


Well, at least we're still inside, so we can murder this patrol without too much issue.

Screenshot 2024-05-06 220313.png


Only five hill giants with their human minder. This won't be too bad, thankfully. And, as they are grouped up...

Screenshot 2024-05-06 220356.png

Screenshot 2024-05-06 220413.png


This will catch them all other than that topmost giant, and Bant remains safe.

Screenshot 2024-05-06 220422.png


Another terribly sub-par fireball.

Yes, giants throw their boulders at you. Brin luckily dodges one coming her way.

Screenshot 2024-05-06 220445.png


These giants, being guards, don't surrender, so we have to take them down to the last man... er giant.

Screenshot 2024-05-06 220559.png


Great XP again (which really helps as the needed XP to level goes up pretty substantially at these levels)

Screenshot 2024-05-06 220615.png

Screenshot 2024-05-06 220626.png


Hmm, that's not too much gold, so maybe we can take it? As the party ponders the piles of gold spilling out of the giants' bags, I've unfortunately reached the image limit, so we'll pick back up here next time.
 
Last edited:

I messed up, set off the alarms, and my disguise did not hold up. Having to fight 6 hill giants and a fighter 6th, every 4-6 squares
There are piles of 10,000gp scattered everywhere as I cannot carry it. Luckily I can still rest in the coal shed.
Everyone is now max level but I guess I should continue to the end.

If you search in a certain location (which will be in the upcoming post or the next), you'll find the passwords to give to the guards if you parlay with them.
 

Pool of Radiance (Part 60): Valjevo Castle (Part 3)

Tempted, the party takes the gold.

This was a mistake.

Screenshot 2024-05-06 220642.png


Fully encumbered, there's nothing to do but drop it. We'll just ignore any massive amount of coins from giant bags from here on out.

Screenshot 2024-05-06 220702.png


That's much better.

However, the human guard did have some treasure of his own...

Screenshot 2024-05-06 220811.png
Screenshot 2024-05-06 220821.png

We'll keep that to sell later.

There's just one place left to explore in the southeastern quadrant. We head north and enter the last door before we head to the gate that leads out to the northeastern zone.

Screenshot 2024-05-06 220928.png


Well, that's unexpected, and a bit annoying. We need to take them down quickly before they can bite. Luckily, even if they do, we're fairly high level so we still have a good chance to make our poison saves. But, there's still a chance someone will fail and suffer an insta-kill, so best take them out fast.

Screenshot 2024-05-06 221233.png


Luckily, with so few, we are able to dispose of them quickly.

Screenshot 2024-05-06 221026.png


With this quadrant done, we retreat back to the collapsed ceiling room and rest up before we head to the northeastern section.

Screenshot 2024-05-06 221421.png

Screenshot 2024-05-06 221444.png

Screenshot 2024-05-06 221511.png


After resting, we head north into the next area.

Screenshot 2024-05-11 140719.png


We enter the first building on the right.

Screenshot 2024-05-11 140758.png

Screenshot 2024-05-11 140814.png


They don't take our explanation that we're here to learn calligraphy.

Screenshot 2024-05-11 140821.png


I just imagine books, ink, and paper flying everywhere.

Screenshot 2024-05-11 140848.png


With only two of them, this ends as quickly as expected.

Screenshot 2024-05-11 140935.png


Let's see if they have anything of interest.

Screenshot 2024-05-11 141005.png

Screenshot 2024-05-11 141014.png


Well, we already have a fine collection of two-handed swords as good or better, so they're sorted into the "to sell" column.

Screenshot 2024-05-11 141027.png


Grumble.

Despite the noise and potential for interruption, we search the papers in this room.

Screenshot 2024-05-11 141040.png


OK, so anyone who claims to be Tyranthraxus needs to be on fire, or they're a fake.

Screenshot 2024-05-11 141232.png

Screenshot 2024-05-11 141245.png


Well, duh. We've permanently dealt with that issue though.

With that obnoxious alarm still ringing, we skip past a couple of doors and head to the safe room in this section.

Screenshot 2024-05-11 141330.png

Screenshot 2024-05-11 141339.png

Screenshot 2024-05-11 141344.png


Woohoo! 0 XP!

Screenshot 2024-05-11 141352.png


Here you can get any item sold in the regular weapons and armor store for free. At this point, that's really useless, unless you decide that profit is the only true objective, and steal as much as possible to drag all the way across town to sell.

Best just to rest up until that alarm clears.

Screenshot 2024-05-11 141402.png

Screenshot 2024-05-11 141412.png

Screenshot 2024-05-11 141424.png


Actually, we want to wait until daylight again, which is helpful when it comes to encounters in this area.

Screenshot 2024-05-11 141501.png


After resting overnight, we head back out shortly after dawn.

Screenshot 2024-05-11 141601.png


It's still sounding? It must have been going all night. The monsters here will be particularly grumpy this morning, no doubt.

Nevertheless, we'll still explore around a bit and risk bumping into patrols.

Screenshot 2024-05-11 141640.png


Sure, let's see what further info we can find.

But as we begin our search...

Screenshot 2024-05-11 141700.png

Screenshot 2024-05-11 141726.png


They unfortunately don't take our excuse that we left our library cards at home.

Screenshot 2024-05-11 141842.png


All nicely grouped up, so...

Screenshot 2024-05-11 141901.png

Screenshot 2024-05-11 141914.png

Screenshot 2024-05-11 141946.png


Again, sucky damage. Either everyone is making their saving throws, or the dice hate me suddenly.

Still, with our weapons and ability, they go down swiftly.

Screenshot 2024-05-11 142111.png


Great XP again...

Screenshot 2024-05-11 142121.png


And we'll take the nice magic longsword. But the mounds of coins will have to stay.

Screenshot 2024-05-11 142141.png


In fact, the XP was so good, several characters can now gain a level!

Screenshot 2024-05-11 142200.png


Or, in Buffy's case, two levels, in different classes!

Screenshot 2024-05-11 142208.png

Screenshot 2024-05-11 142212.png

Screenshot 2024-05-11 142219.png

Screenshot 2024-05-11 142223.png


ACs and HP are looking very nice now!

Screenshot 2024-05-11 142337.png


Completely forgetting for the moment that we were supposed to be searching the books here, we cross the alleyway to the door directly across from this building.

Screenshot 2024-05-11 142414.png

Screenshot 2024-05-11 142434.png


Neither of the bottom two choices lead to anything good, so time to attack that meanie overseer.

Screenshot 2024-05-11 142442.png


Thanks for the help! That made it easy, but, conversely, didn't give the group any XP.

As we've reached the image upload limit, we'll pick up here next time, waiting for what info the newly-freed slaves can tell us.
 

Remove ads

Top