Reminder: You can actually import from Pool > Gateway > Curse > Treasures > Secret > Darkness for a complete 6 game mega campaign. You will be overlevelled for the start of Gateway when you import in, but it evens out about halfway through the game and explains what you've been doing between Pools and Curse. Same for Treasures being a nice explanation for what you've been doing between Curse and Secret.
You are using an out of date browser. It may not display this or other websites correctly.
You should upgrade or use an alternative browser.
You should upgrade or use an alternative browser.
D&D General Demetrios1453 Plays the Gold Box Games
- Thread starter Demetrios1453
- Start date
Demetrios1453
Legend
As intriguing as that might be, I'm going to keep them separate.
Sounds good. I just like to mention it because Gateway and Treasures often never get played, and they are fairly neat games.As intriguing as that might be, I'm going to keep them separate.
John R Davis
Legend
When you go in the duelling halls take of your armour and shield. Your double never equips them but you can. You will mostly win.
Save the game a lot.
Enjoy the rope guild
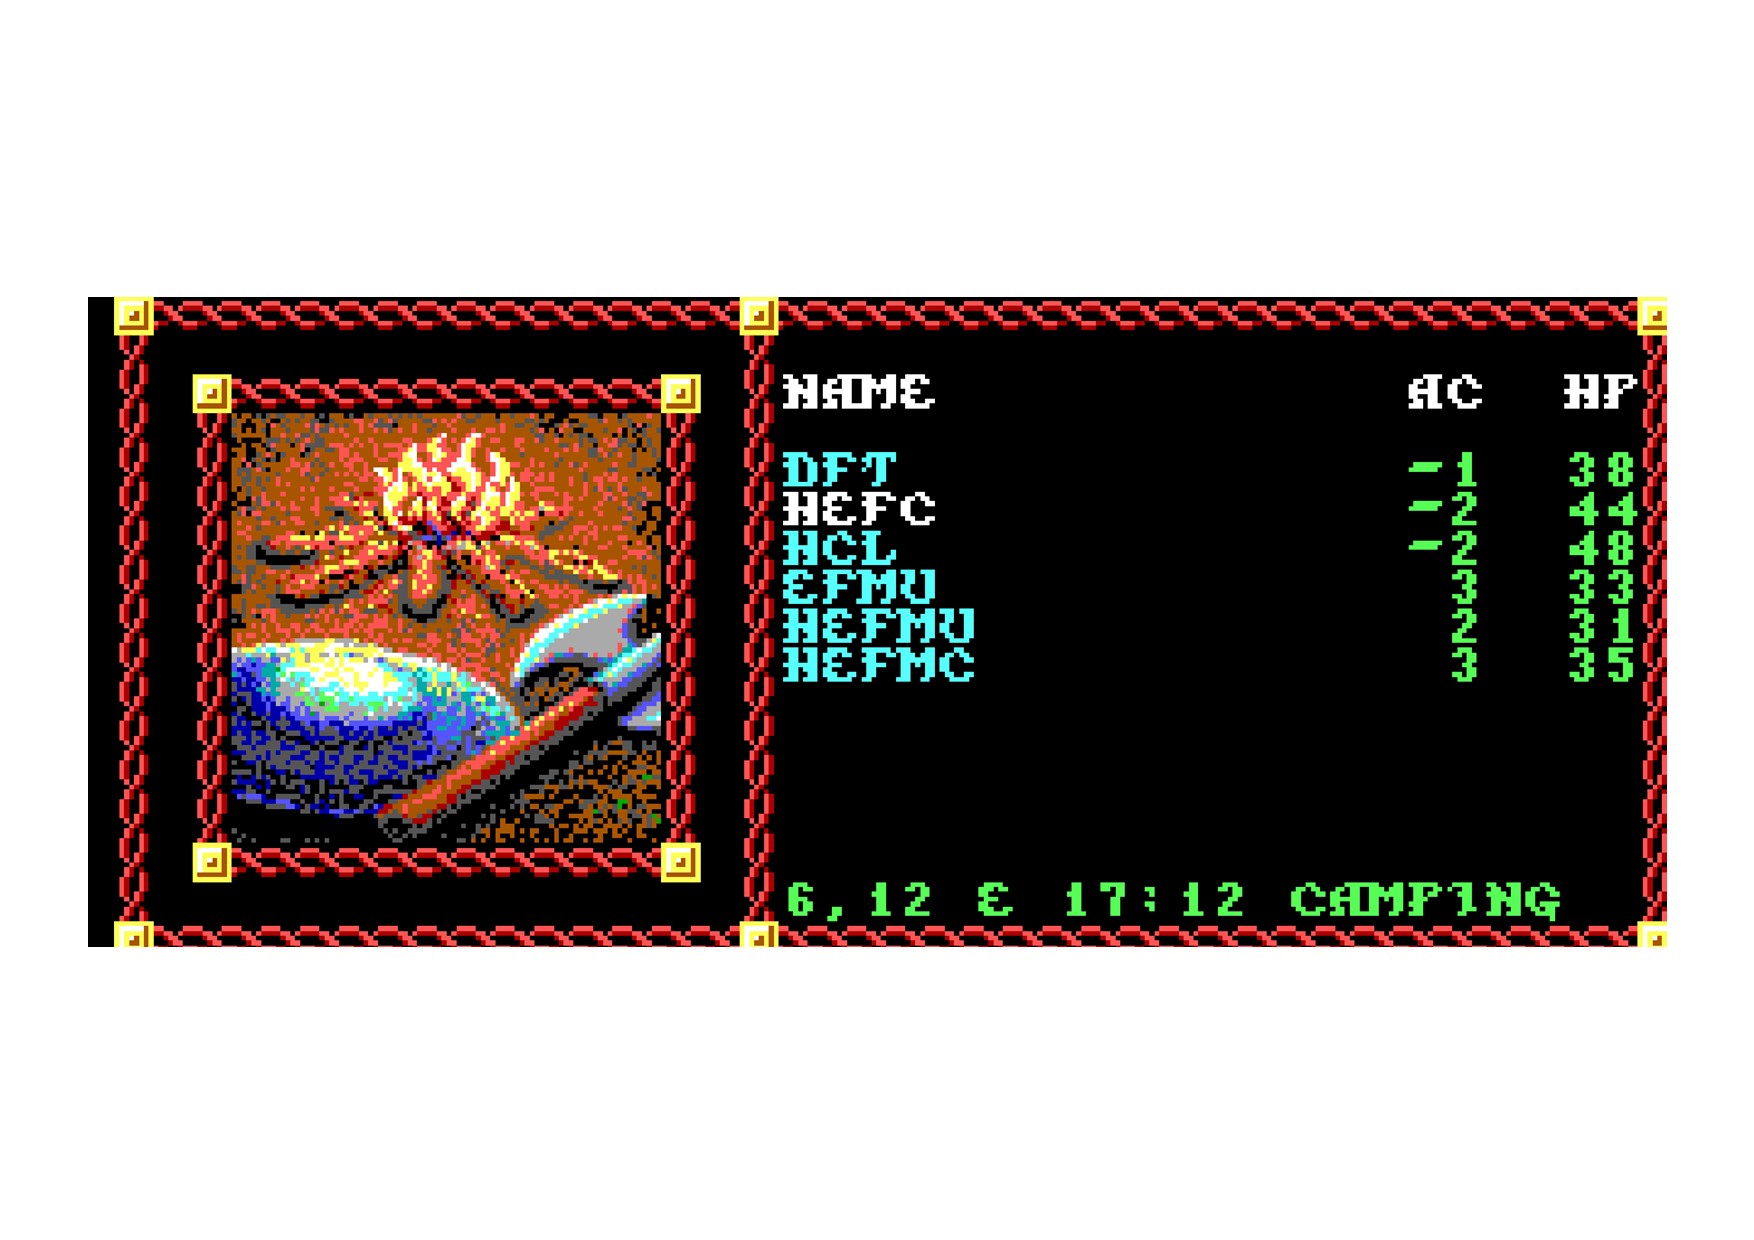
This is my current run through (on about 36,000XP). The letters are the race/classes as im lazy and forgetful.
Save the game a lot.
Enjoy the rope guild
This is my current run through (on about 36,000XP). The letters are the race/classes as im lazy and forgetful.
Last edited:
Demetrios1453
Legend
Pool of Radiance (Part 5): The Slums (Part 1)
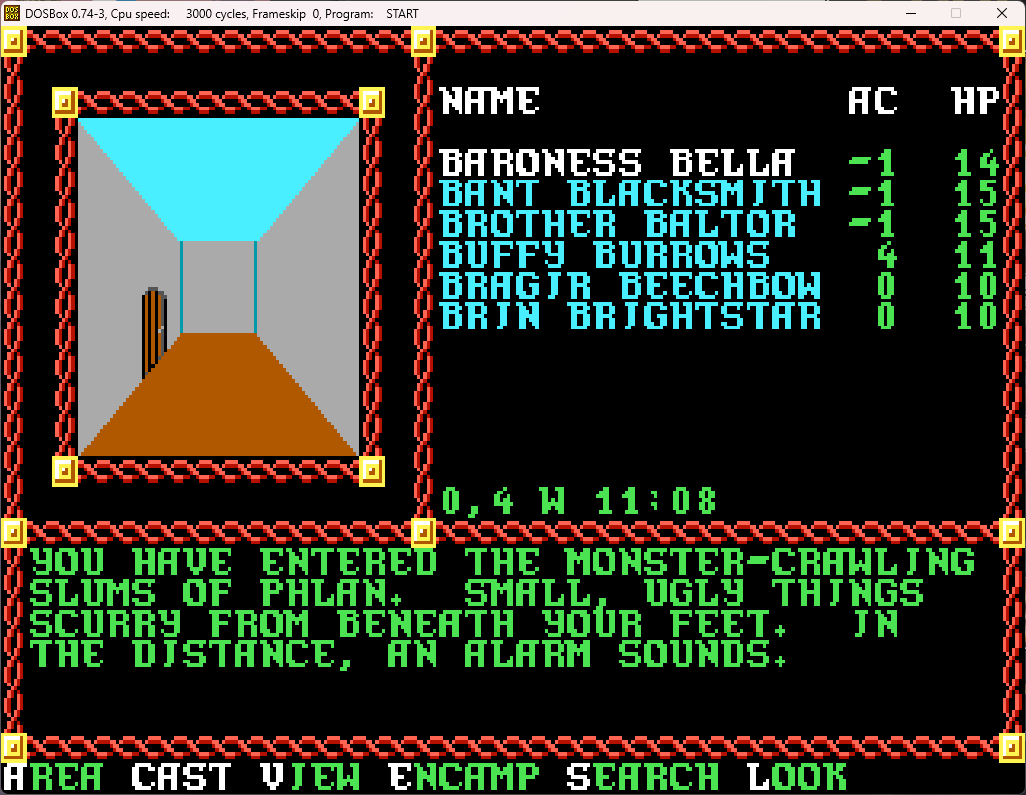
We've now entered the Slums. The safety of New Phlan is behind us.
Our commission is to "clear the Slums". But what does that entail? Although the game doesn't tell you, to clear a block, you need to defeat all the set encounters in that block (with some exceptions) as well as a certain number of random encounters, which for the Slums is 15. That's higher than most other sections of the ruins, and it's especially rough given that we're baby adventurers at level 1. We have to proceed with caution until the random encounters are all defeated (at which point no new random encounters will spawn), since if we stray too far from the civilized area of the city, we may have to push back through a gauntlet of encounters to get back to the gate. And, trust me, I've been there as your resources dwindle, characters go down one by one, and finally, the dreaded "The monsters rejoice as the party has been destroyed" message appears on the screen. Luckily, there's a secret trick that helps out here that I'll go over shortly.
So, let's go forward and through that door on the left. As a side note, the geography of the Slums is a bit weird. There aren't any obvious extended "roads" - for the most part you travel in and out of buildings, down corridors, then out again into the open air in what seem to be plazas and short streets (you'll get blue or black sky above you, depending on if it's day or night, if you're outside; while you'll get a gray ceiling overhead if you're inside). I get that it's supposed to be a run-down slum, but I'd expect at least some roads, even if they may wind around and dead end and even feed back on themselves. The rest of the ruins of old Phlan are that way, with logical streets and buildings laid out like a normal city, but no, here in the Slums we'll be going in and out of buildings pretty much at random.
We go through that door, then turn west through an archway, turn back north, go through a door, continue north a bit and then go through a door on our right, to the east. (I'll have a map screenshot at the end of the post.)
Getting that far without any encounters is actually a bit surprising, but as soon as we go through that door...
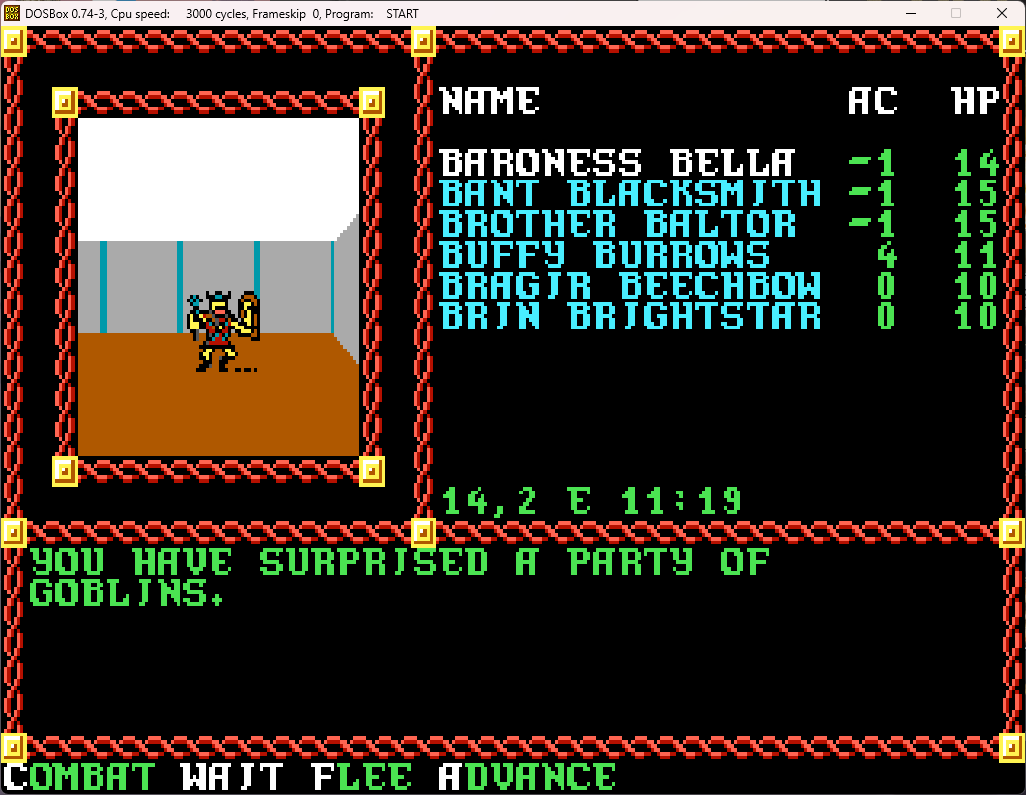
Fleeing is an option of last resort. Waiting usually mean they just stare back at you, although they might advance (or actually flee themselves). You probably don't want to do combat at a distance, since it usually takes a turn or two for the melee sides to meet up, and any ranged attacks they have will pepper you in the meantime. Best to advance.
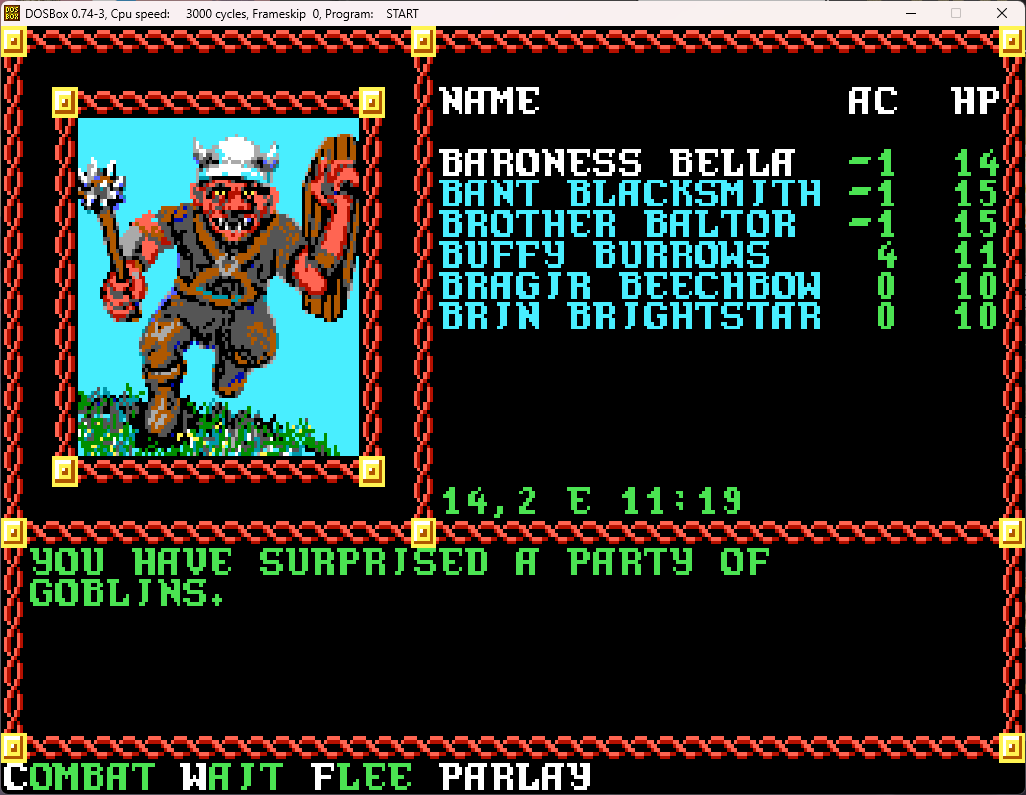
You can parlay, and sometimes even persuade your foes to leave (although sometimes they will demand treasure for them to do so). But, unless you're in bad shape, it's best to choose combat, because you have to defeat those random encounters to clear the block, and the Clerk won't count those you just let walk away (although it's unanswered how she would know).
Also, look at that 1e MM art. One of the cool things about the games is that they used the exact art from the MM as the base of their monster illustrations.
So it's time for combat!
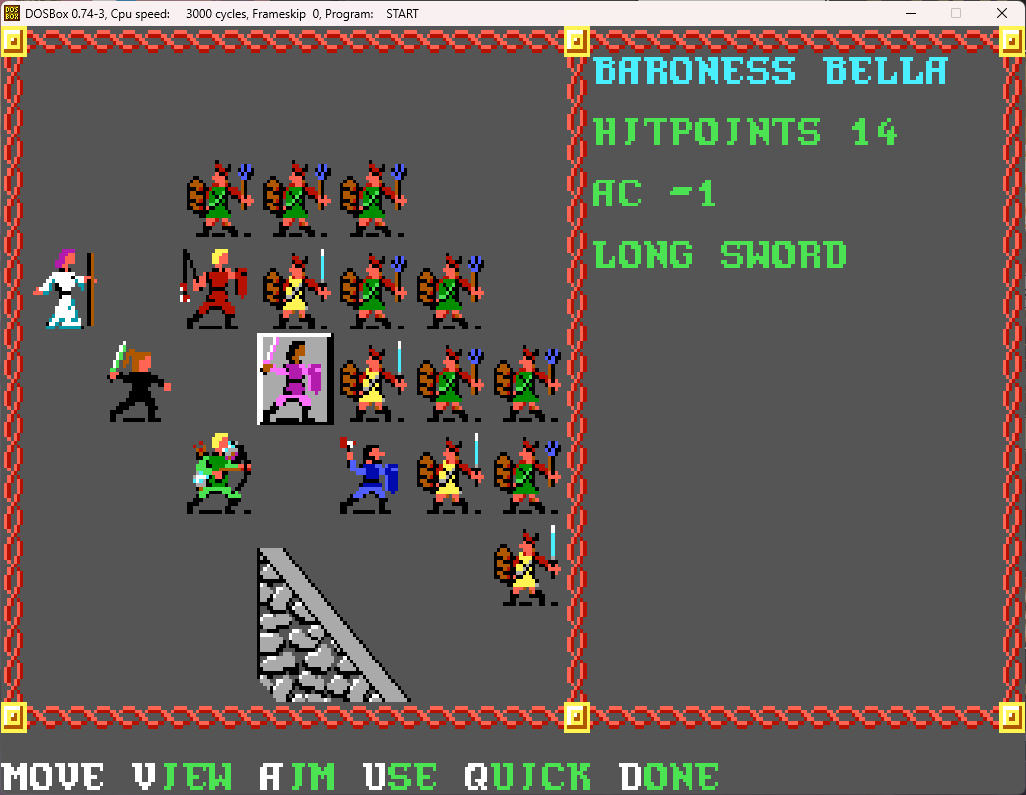
We switch to the third person POV for combat. Your party will always be lined up in two groups of three (unless the terrain doesn't allow it; rarely you'll be lined up all in one row with backs against a wall) - so make sure your heavily armored melee are in the first three slots and your more squishy characters in the latter three. For some reason, the first and fourth characters are placed in the middle of their respective rows, so if you need to fine tune things due to ACs, you can adjust party order to reflect this. The party and foes are usually lined up in a pseudo-isometric way, as you can see here with all the diagonals.
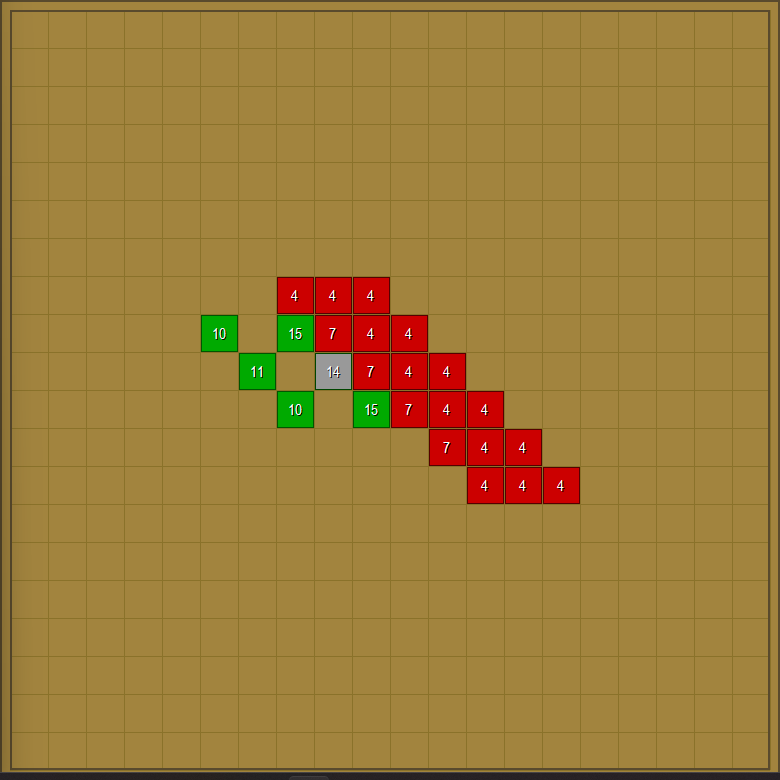
Looking at the GBC map, we can see there are quite a few more goblins offscreen to the right (as I said before since I purposely buffed my stats, there are a lot of them; there would be just like 5 or 6 if you have characters with lower stats). The green goblins (goblin guards) have 4 hit points, while the yellow goblins (goblin leaders) have 7. Moving the cursor over them shows that they have AC 6 and AC 5 respectively.
Baroness Bella won initiative, so she hits and kills the goblin in front of her (you'll get a cool skull-and-crossbones effect when this happens - I'll post a screenshot of what this looks like in the next post since I was running at too quick a speed to catch it for a screenshot at this point). Being all nicely bunched like this just calls out for a sleep spell, and when Bragir's turn comes up...
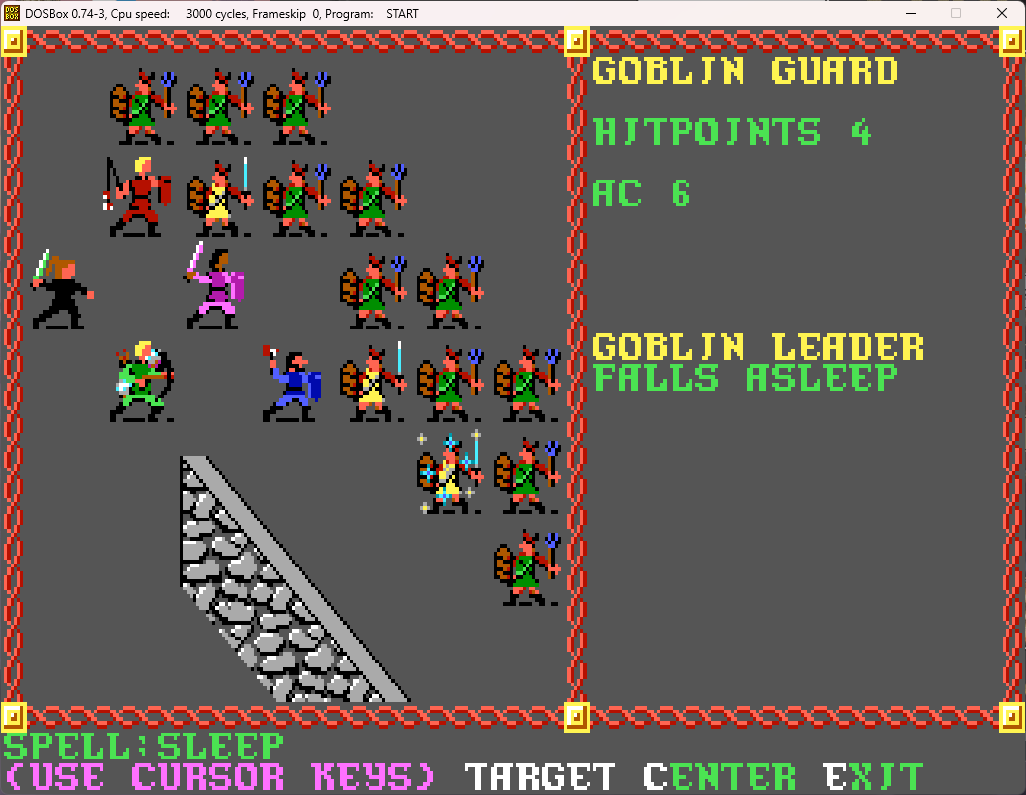
Sleep will affect creatures in a 3 x 3 area, depending on their hit dice. And because 1e wasn't as nice as later editions, yes, those "creatures" can include members of your own party, so be careful when aiming (you aim for the center of the nine squares you want to have affected). Since goblins have pretty minimal hit dice, any of them in that area will immediately fall asleep and become helpless for a few rounds.
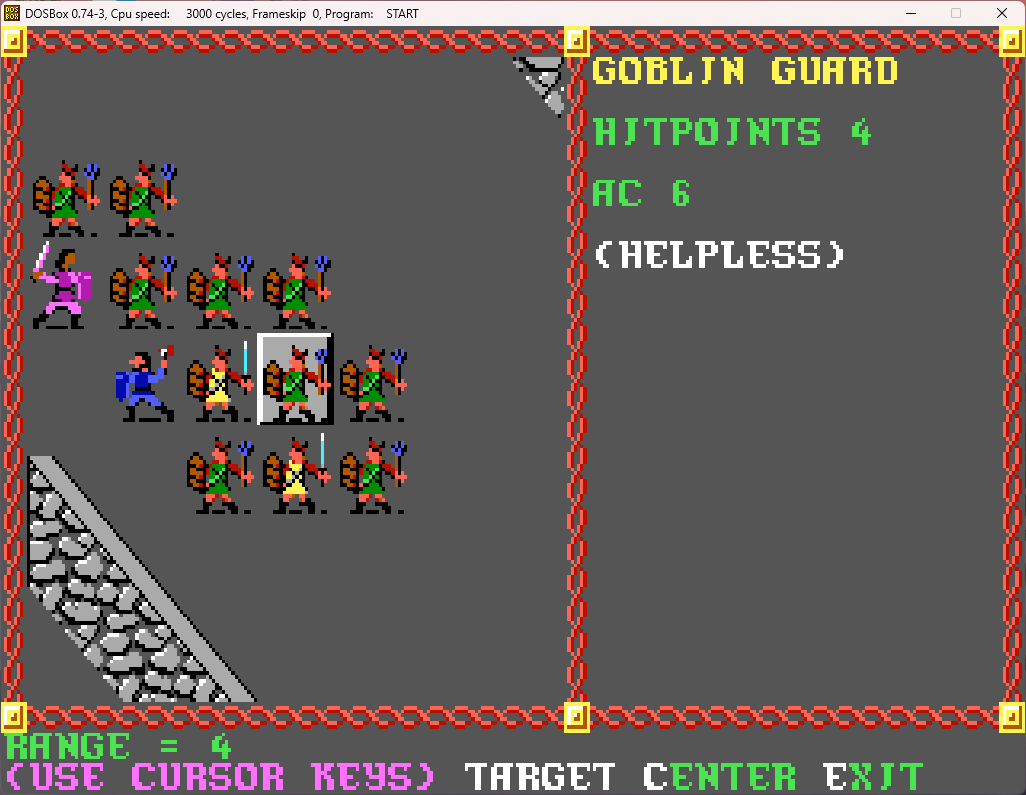
On the GBC map, they are shown with an "X":
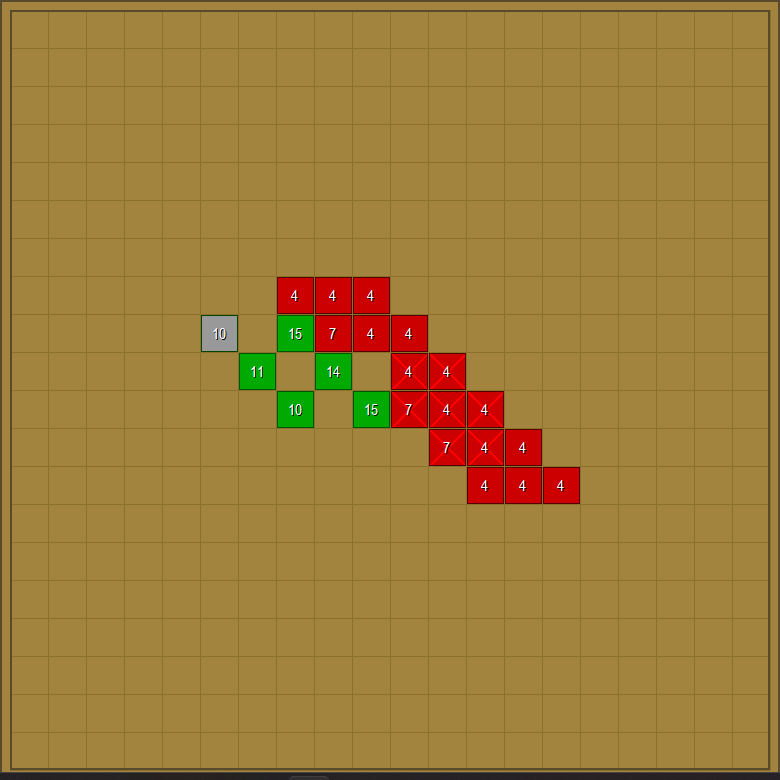
One extra point to bring up is that no one can move through a square with a helpless creature in it, so they're effectively a shield wall forcing the goblins to maneuver around them. So often it's best not to immediately start killing the sleeping ones right away, but instead concentrate on the still conscious goblins while they try to get around their snoring companions to get to the characters (but don't wait too long, since they will eventually wake up!)
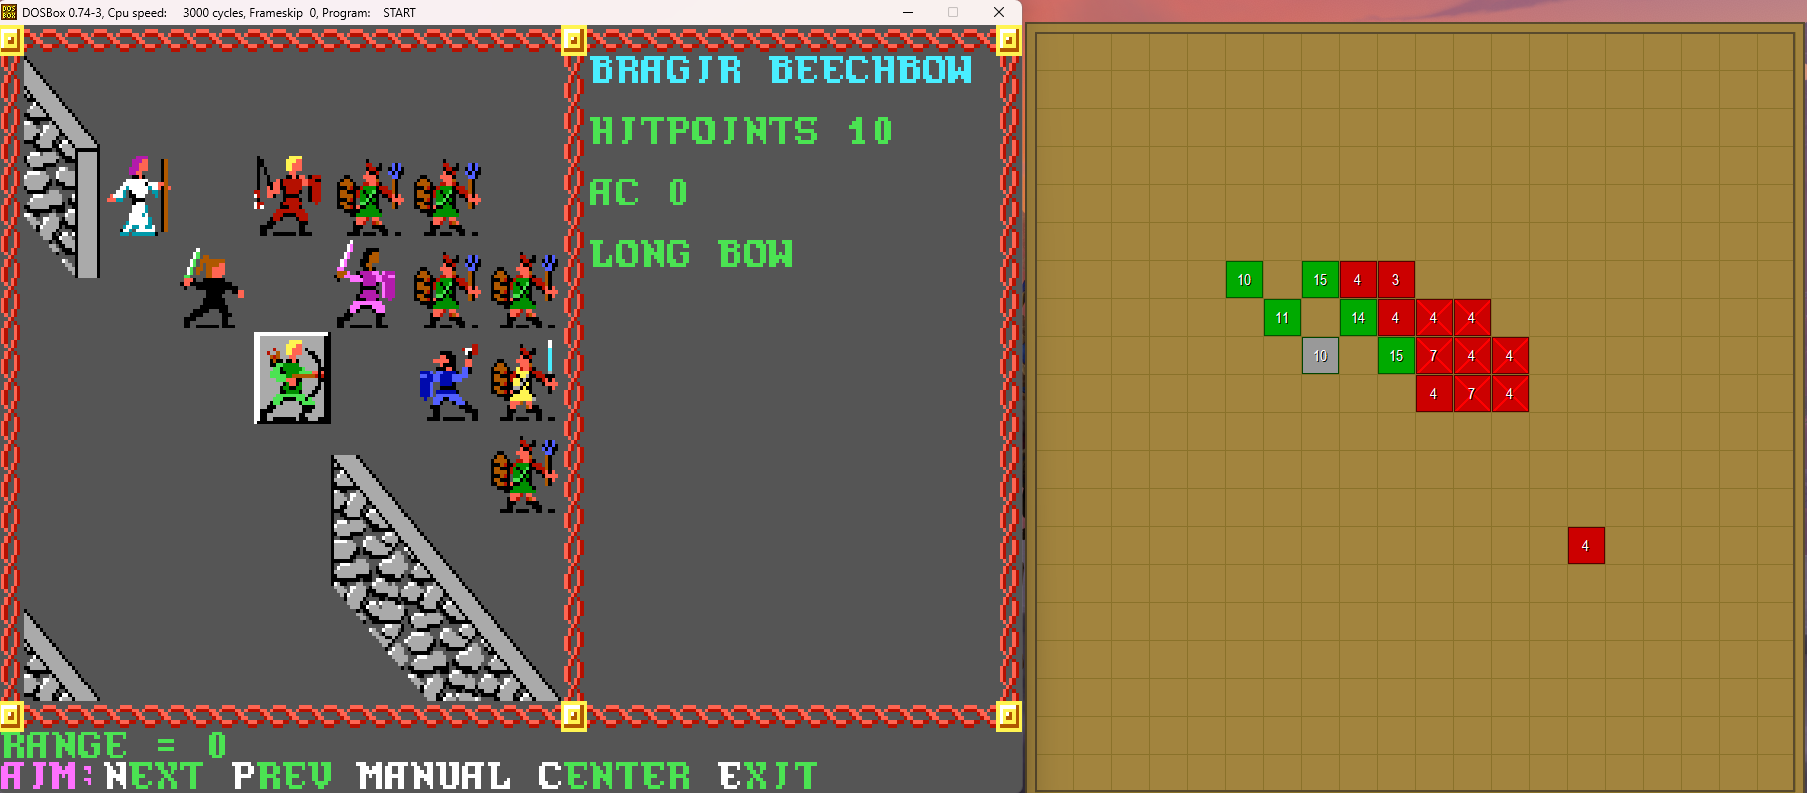
Eventually, after a few go down (which takes a bit; 1e's mechanics meant that there are a lot of misses before you get a hit, but monster HP is lower to compensate for this), their morale breaks and they start to run away (even ones in melee range will try to run away, and any character next to them will get a free shot as they leave their square). You can see below where one has started to flee to the far side of the room...
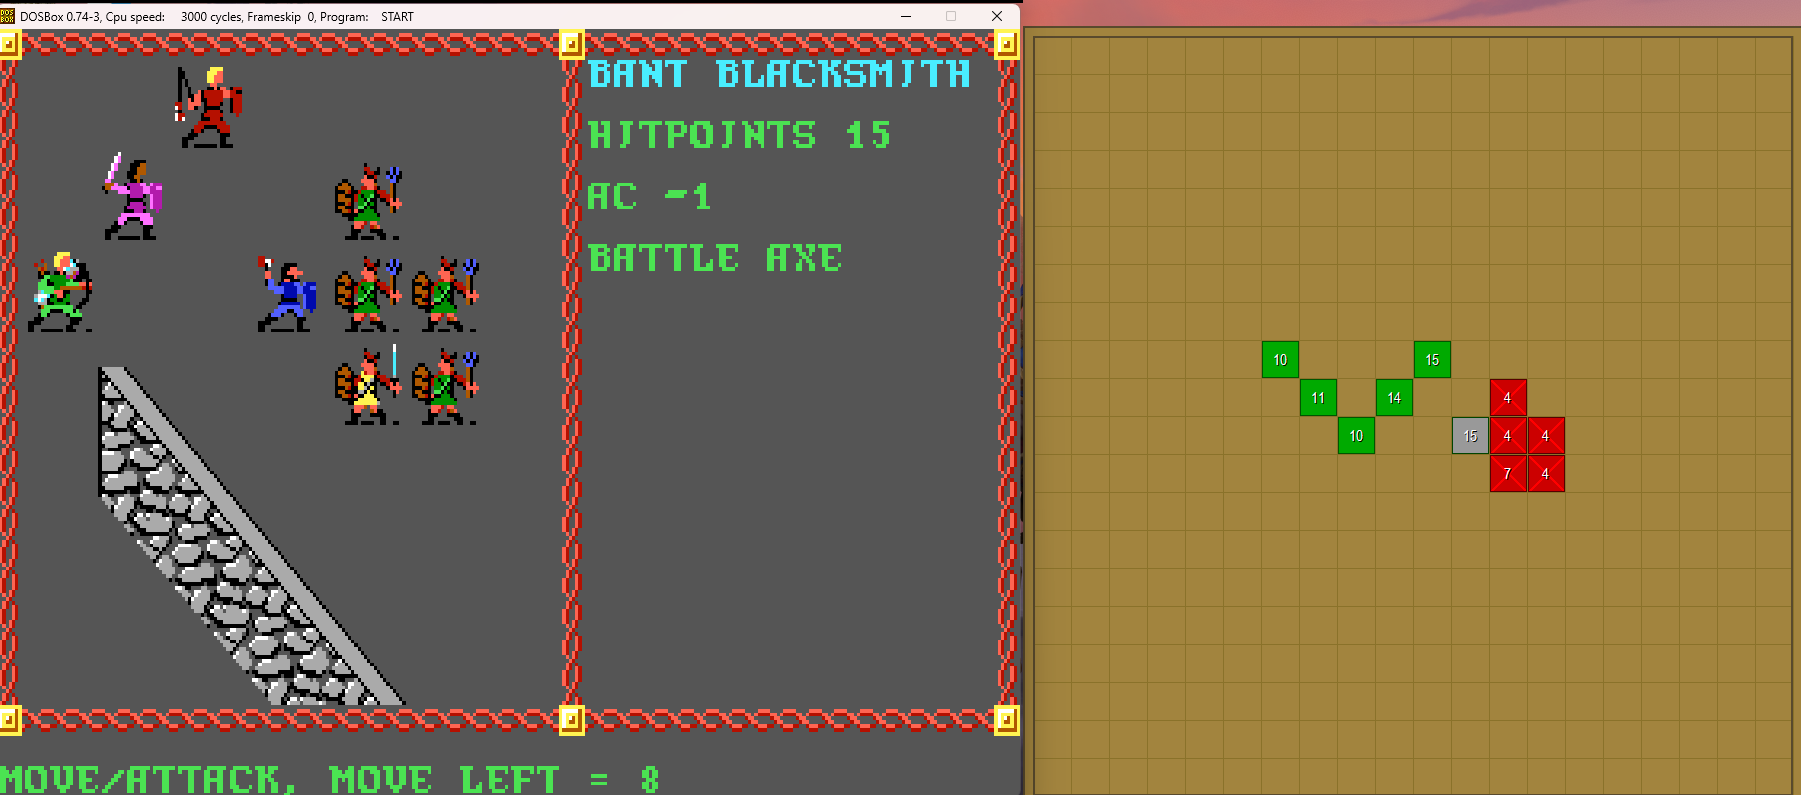
Eventually all the conscious ones go down, and we set to slitting the throats of the sleeping ones (you get a message about how you slay them "with one cruel blow" which I'll show in the next post after slowing the game down enough to get a screenshot of it):
And soon enough, we're victorious in our first combat! The goblins lay dead at our feet! We get the option to continue the battle (which you may want to say "yes" to for healing or various other reasons), and then it's XP and treasure time!
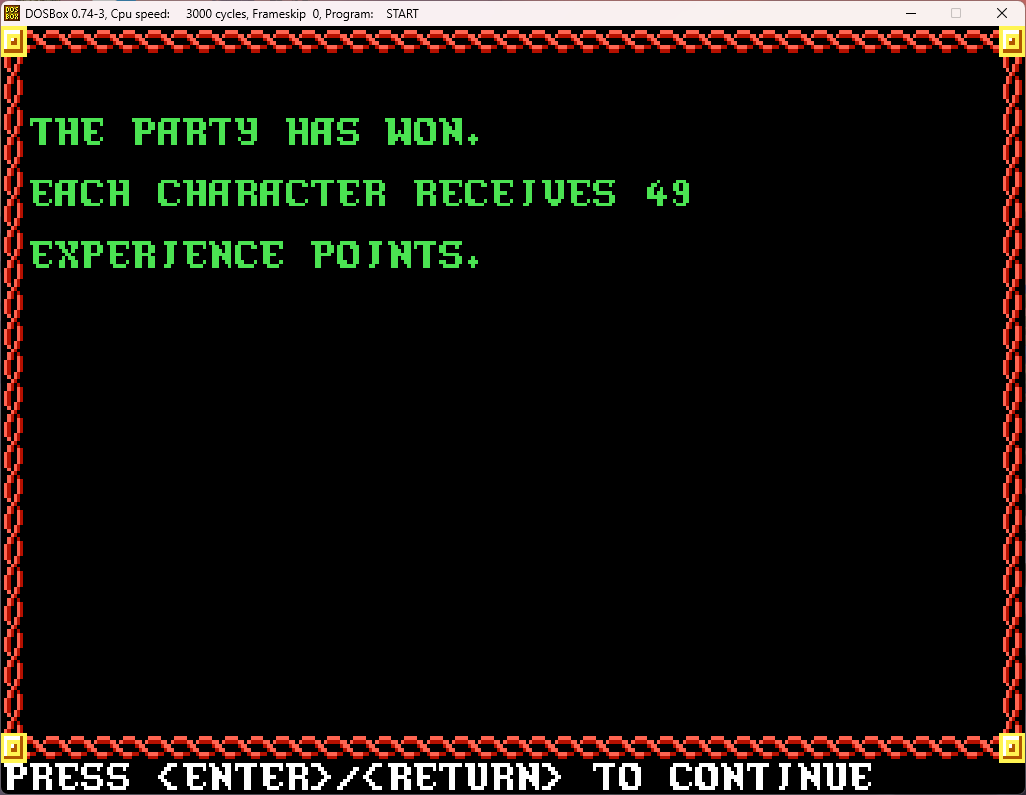
Yay. 49 XP. This is going to be a long grind.

Hitting "Share" automatically each time the treasure screen comes up is a good idea, as it splits any coins, gems, and jewelry from the treasure evenly between all the characters. We got a mind-boggling 49 silver here, and just auto-splitting by using "Share" is simpler than even going to the next screen and assigning the coins manually. After that, we choose "Take" to see what sort of non-coinage treasure they had.
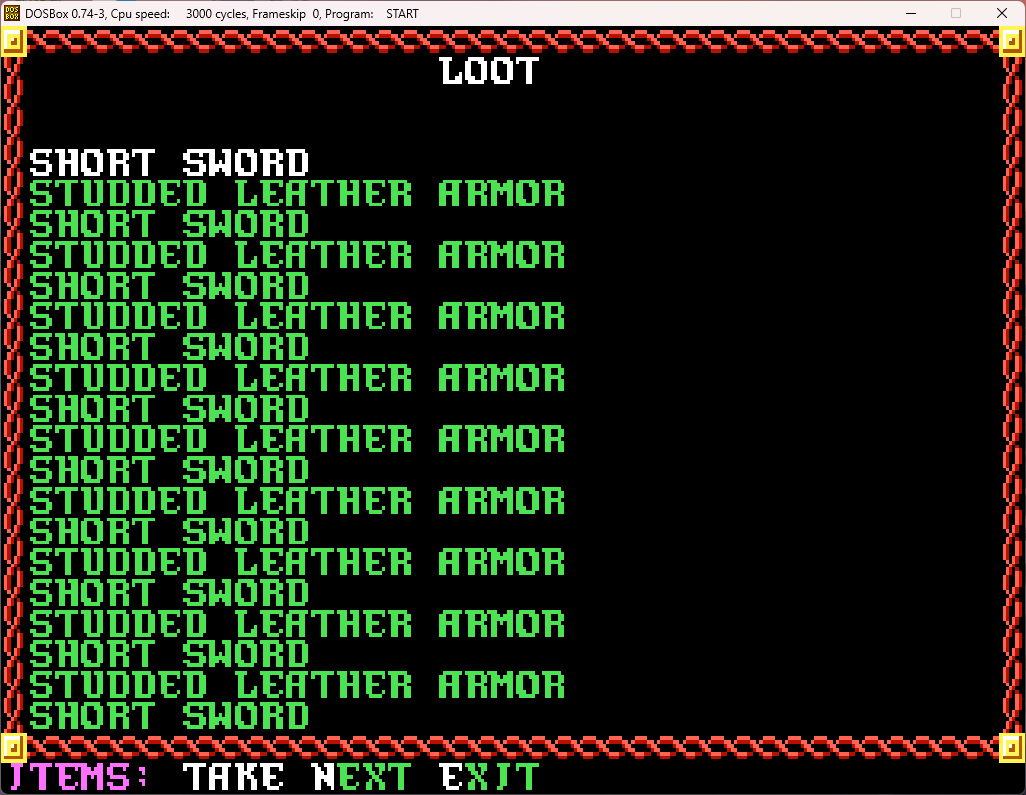
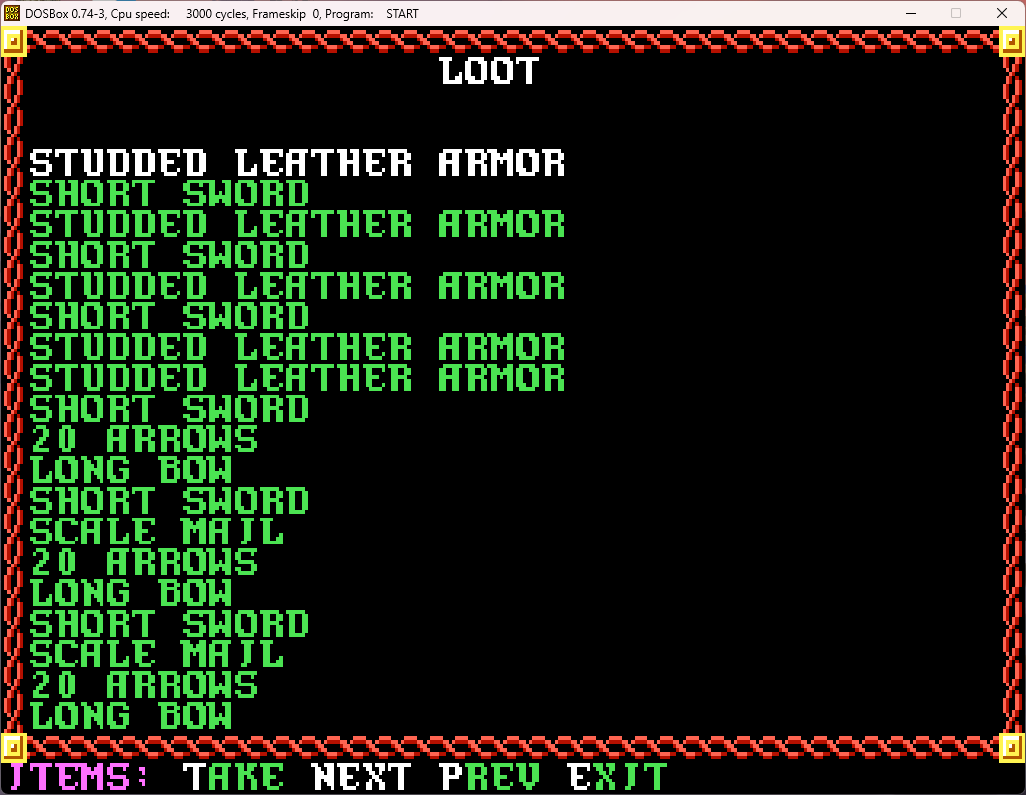
Yeah, not much exciting. In fact, it's really not worthwhile to pick up most of it to drag back to the store to sell, given our limited inventory slots and strict adherence to encumbrance rules! The bows will sell for decent cash (although I'll keep three to arm my frontliners who I wasn't able to purchase bows for previously), and I'll take the arrows as well just to keep ammo topped off. The scale mail will sell sort of OK, and the rest is basically junk.
That done, and with the first of our 15 random encounters out of the way, there's another door just to the north in this room. So we go through it...
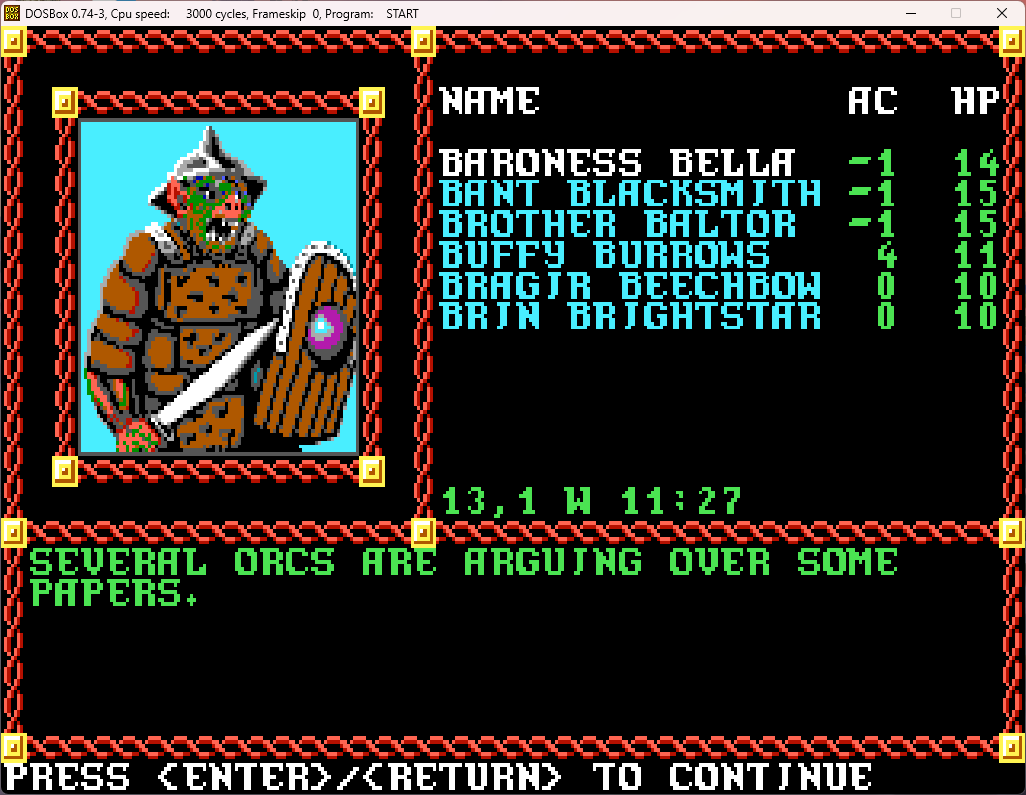
Oh no! Orcs! With their 1e pig snouts!
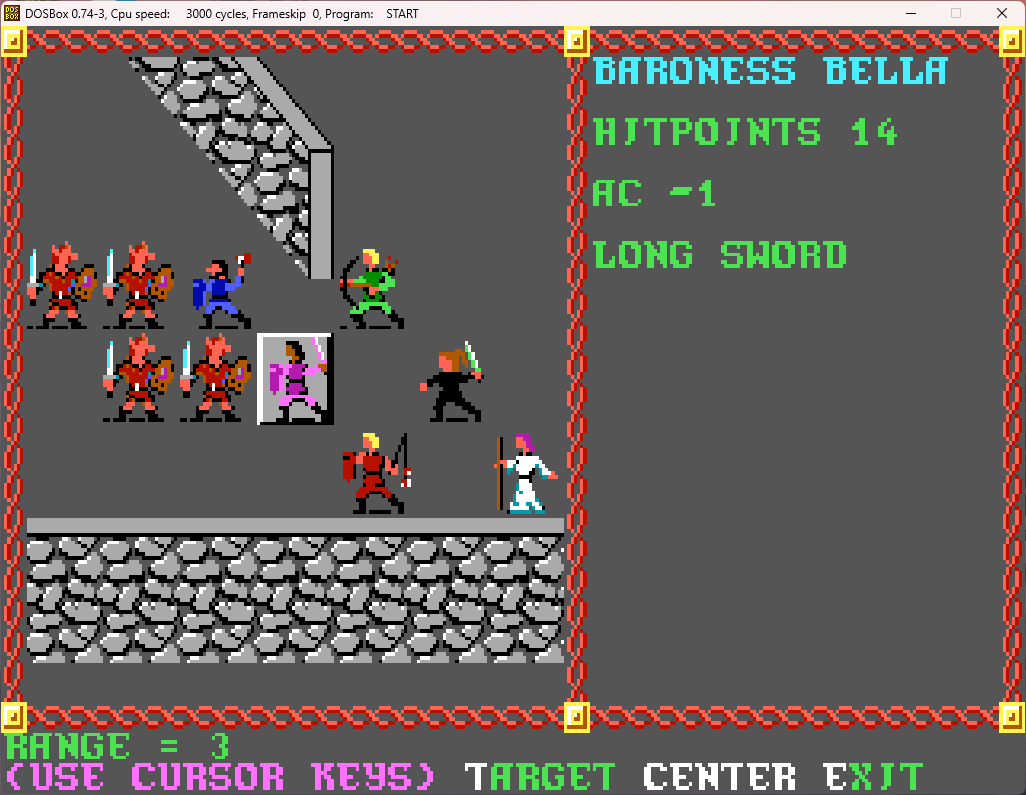
Oh, this is a set encounter, so there will only ever be four orcs here. They go down very quickly.
So, what were they arguing about?
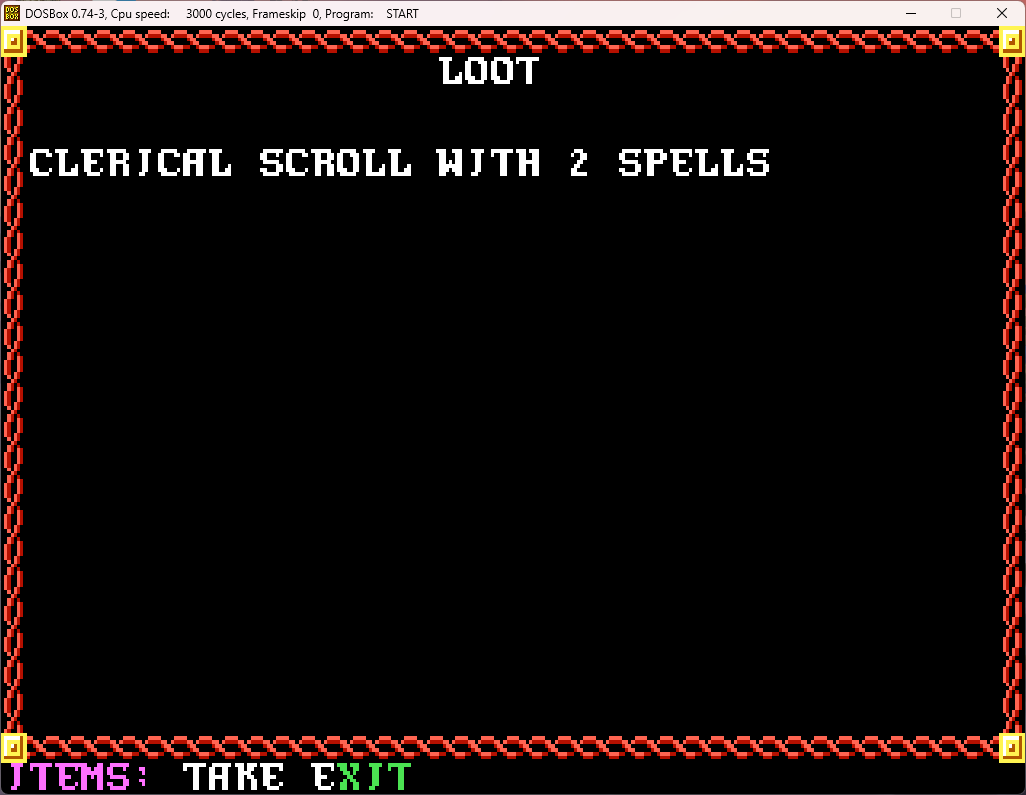
Oh, nice! We'll give that to Brother Baltor...
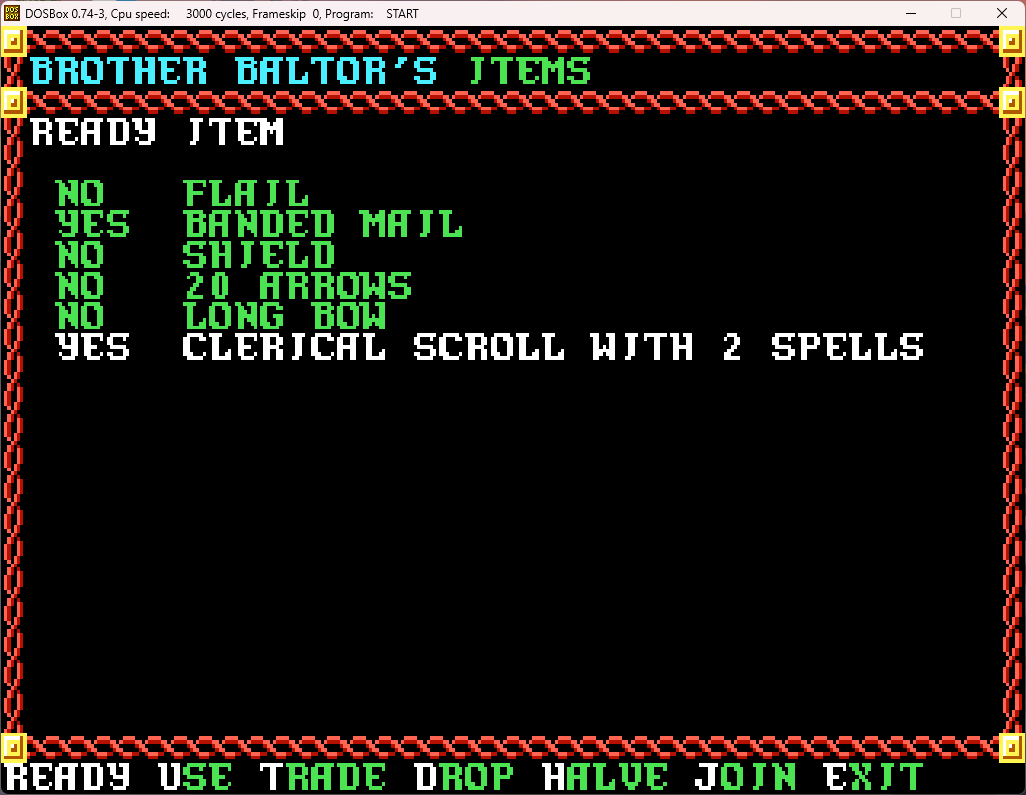
And see what the spells are...

While not terribly exciting, cure spells are still quite handy!
With not much else exciting in this room, we go out the door and...
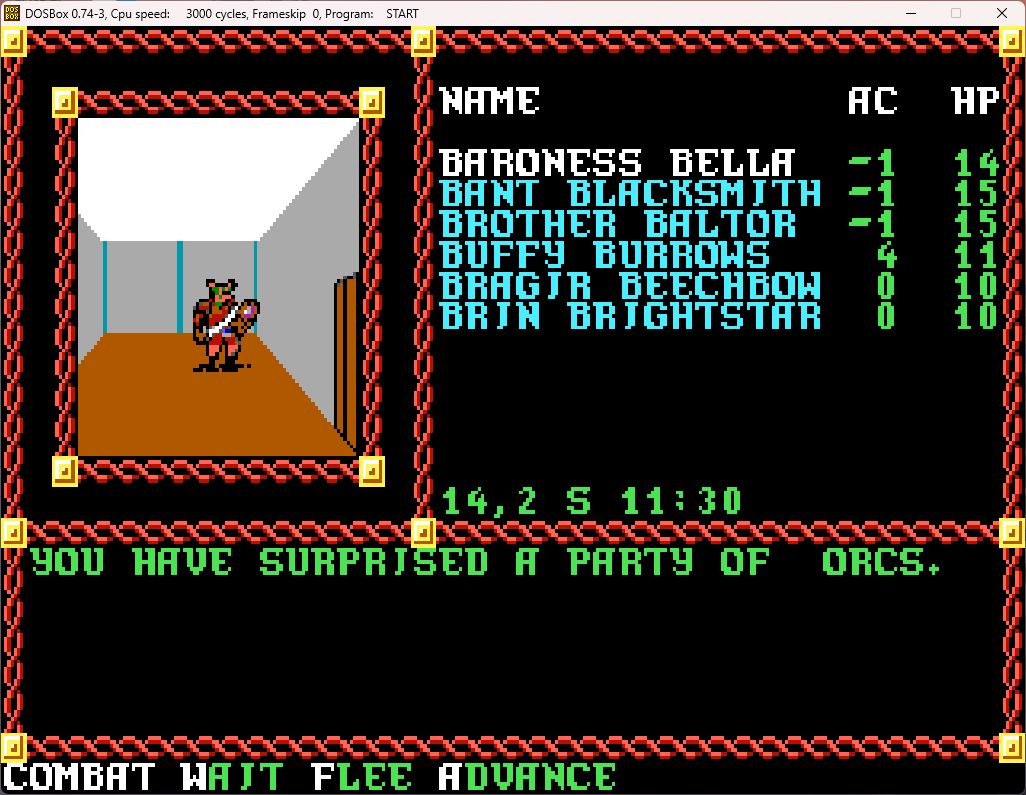
This one is going to be a bit tougher.
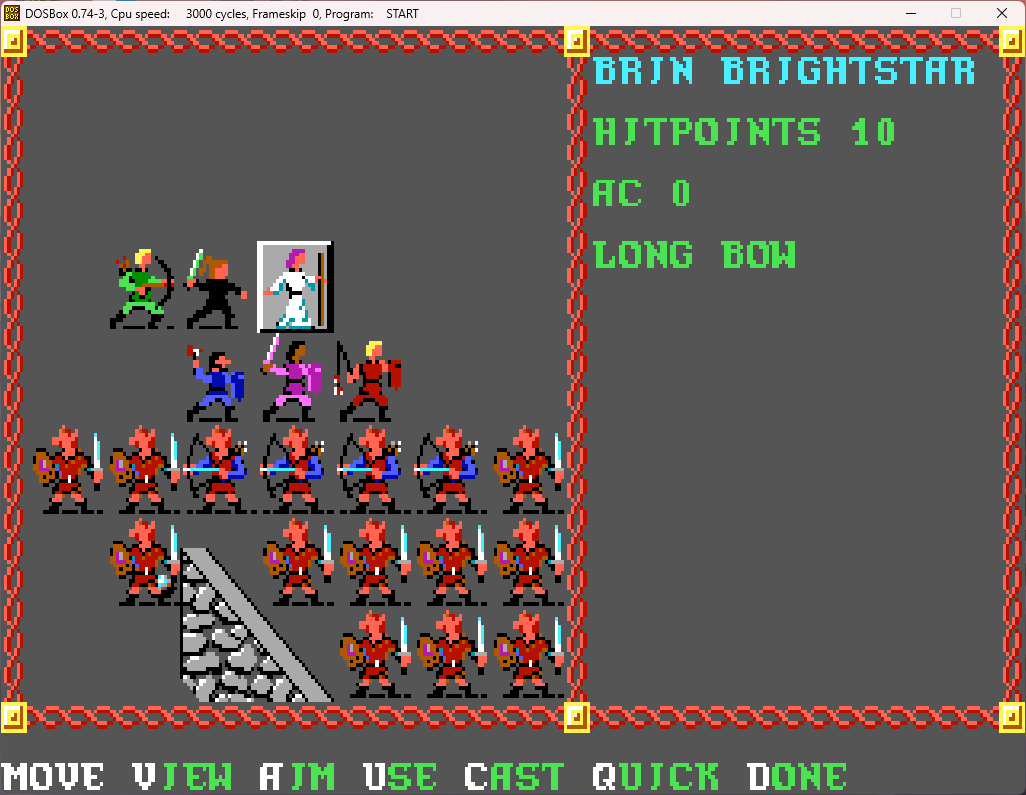
(The ones with bows are orc leaders with more hit points and ranged attacks. By sheer luck, they're all right in front in melee range and thus can't use their bows. Usually they'll be in the back firing away)
Luckily Brin still has her sleep spell available...
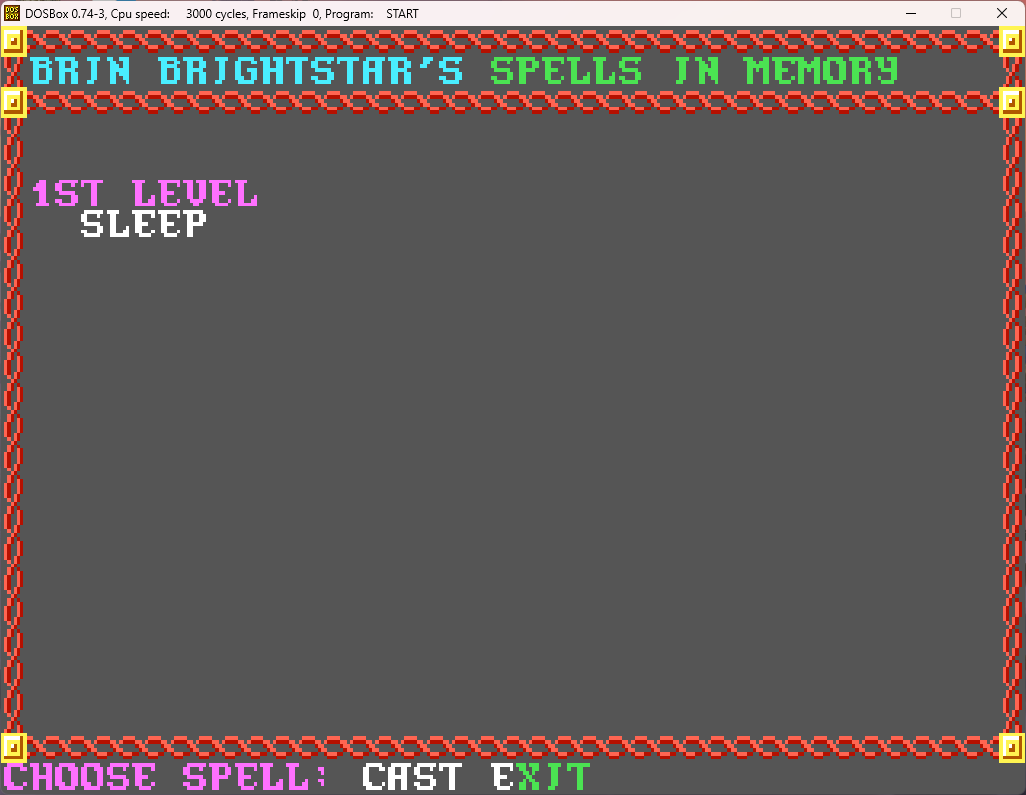
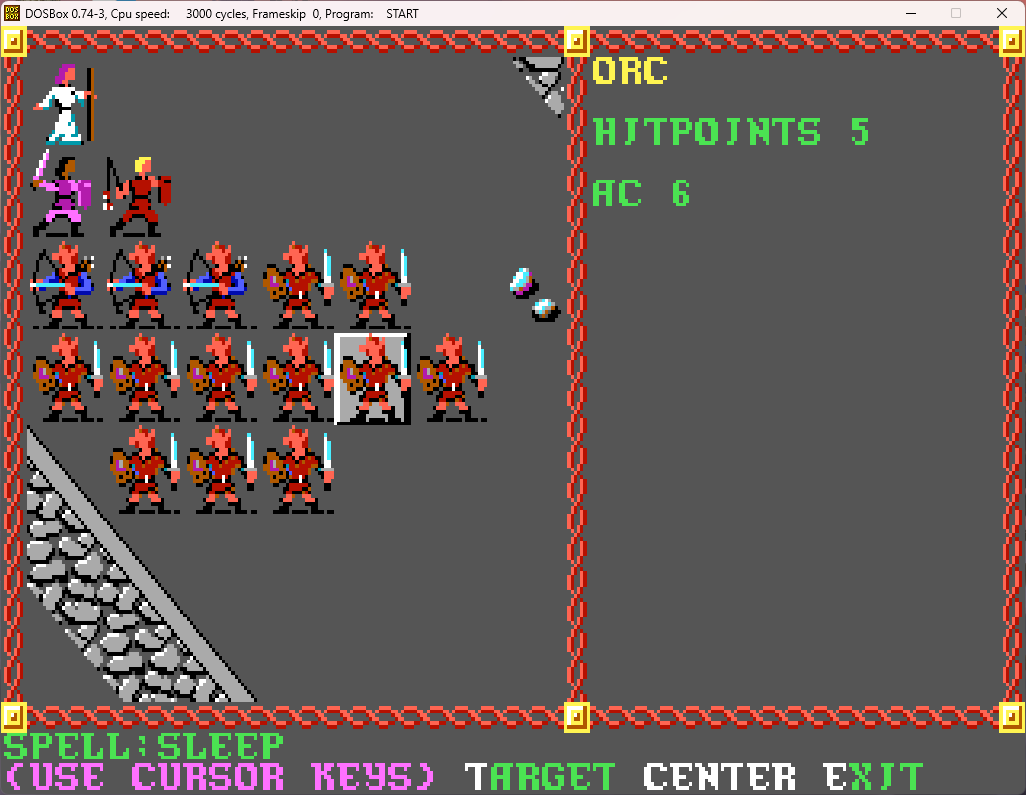
..which affects the six orcs within one square of the target. Soon here, after the leaders have been brought down, the orcs' morale breaks and they start to flee as well.
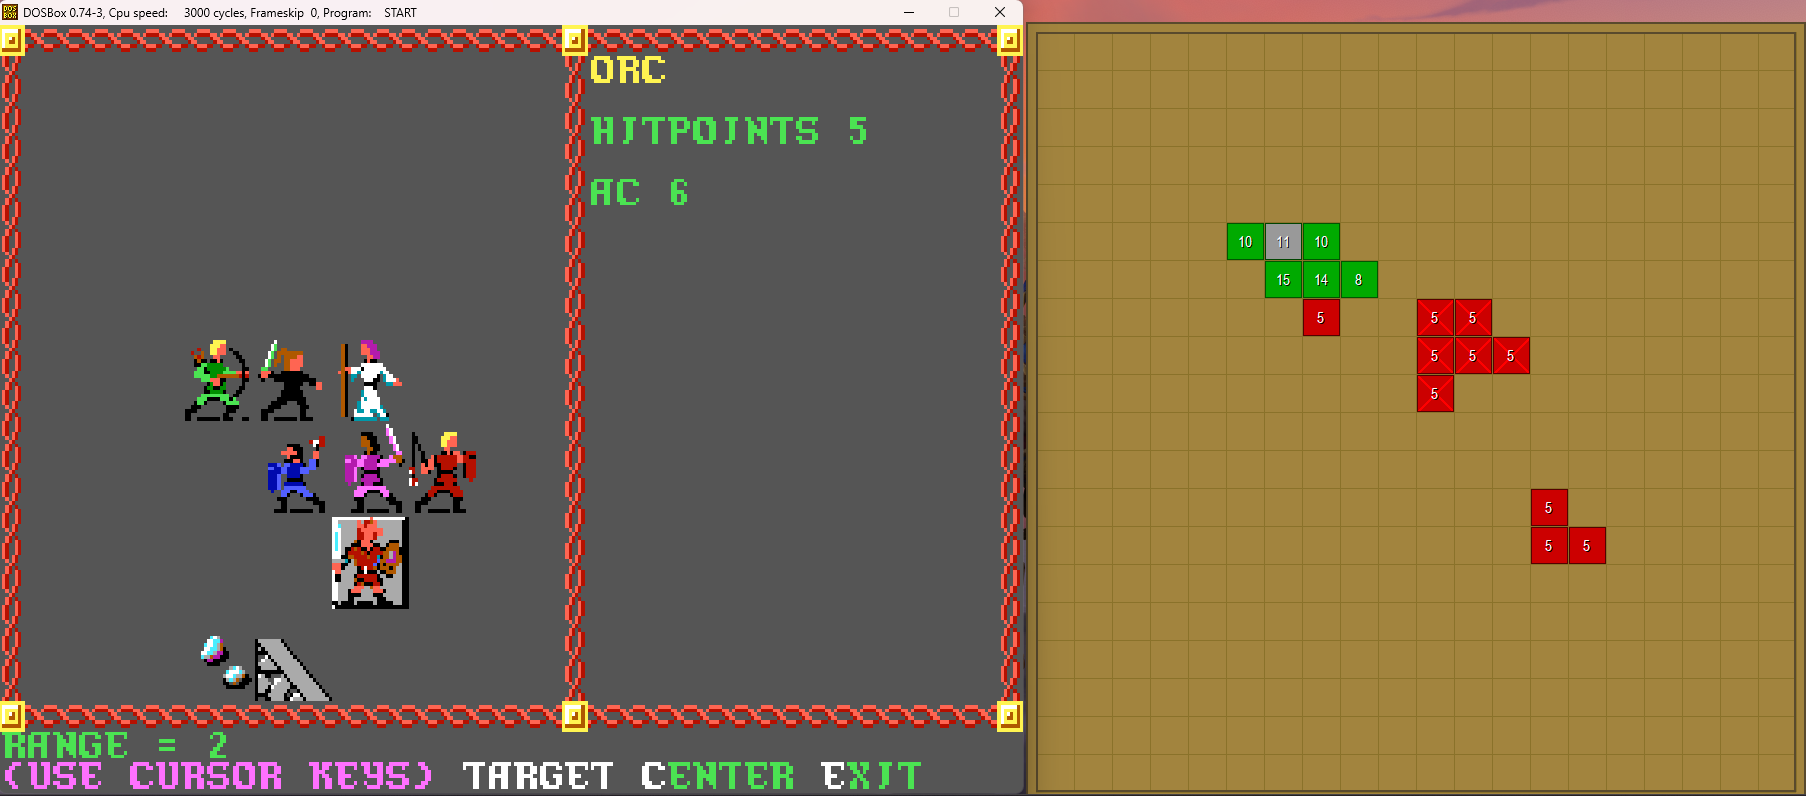
They're soon taken out, but Brother Baltor has taken some hits (also note that the XP bar has begun to fill out, although there's still far to go here!):

At least they have slightly better treasure:
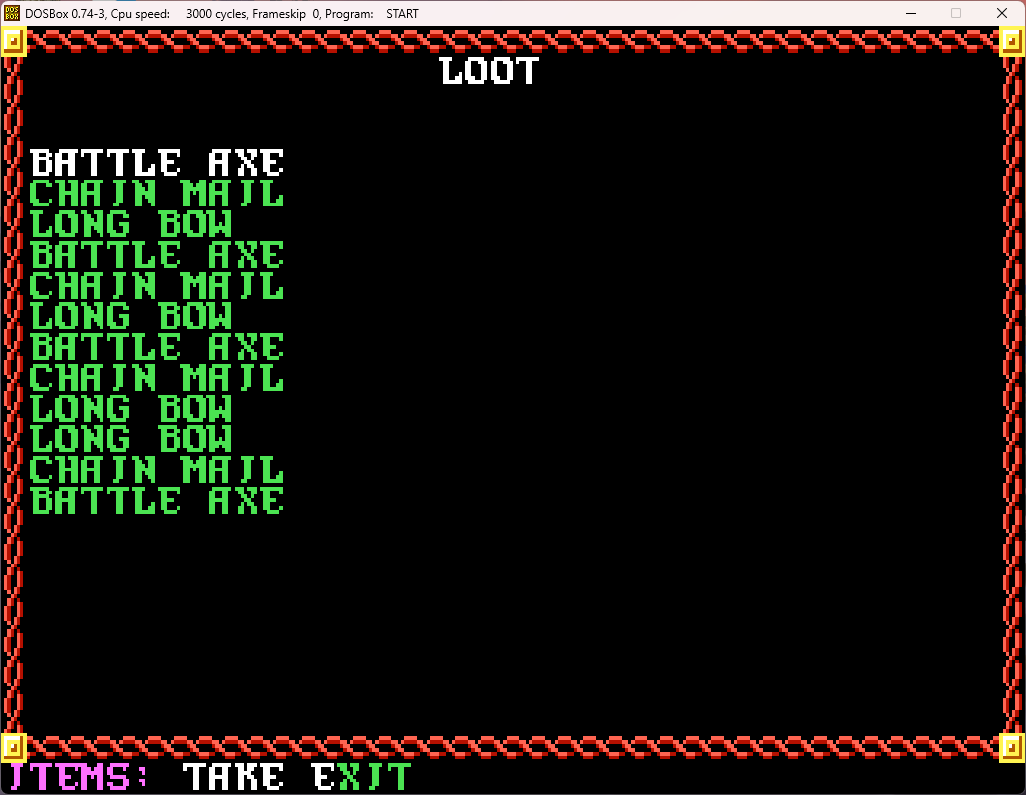
Most of those will sell decently, so we'll take those.
At this point, with one character pretty hurt and our magic-users out of spells, it would be a good time to rest. But, we're in the monster-infested ruins, so surely it will be hard to rest here, right? Well, remember I said there's a little secret about this I would mention later? It's this: you can rest with no chance of interruption in any room where you've defeated a set encounter. And we just defeated a set encounter with the 4 orcs in a room a few steps back. So let's head back there and rest.
We turn around, take one step and...
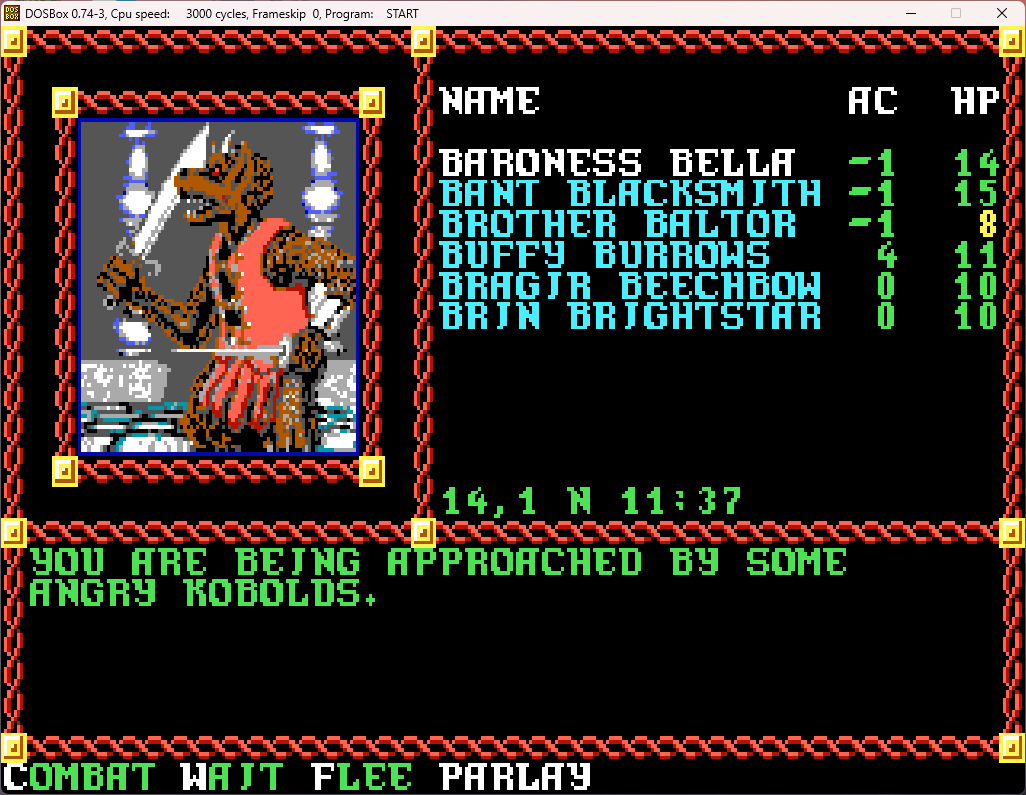
Well darn. At least it's kobolds, so this shouldn't be too tough, even without any sleep spells, right?
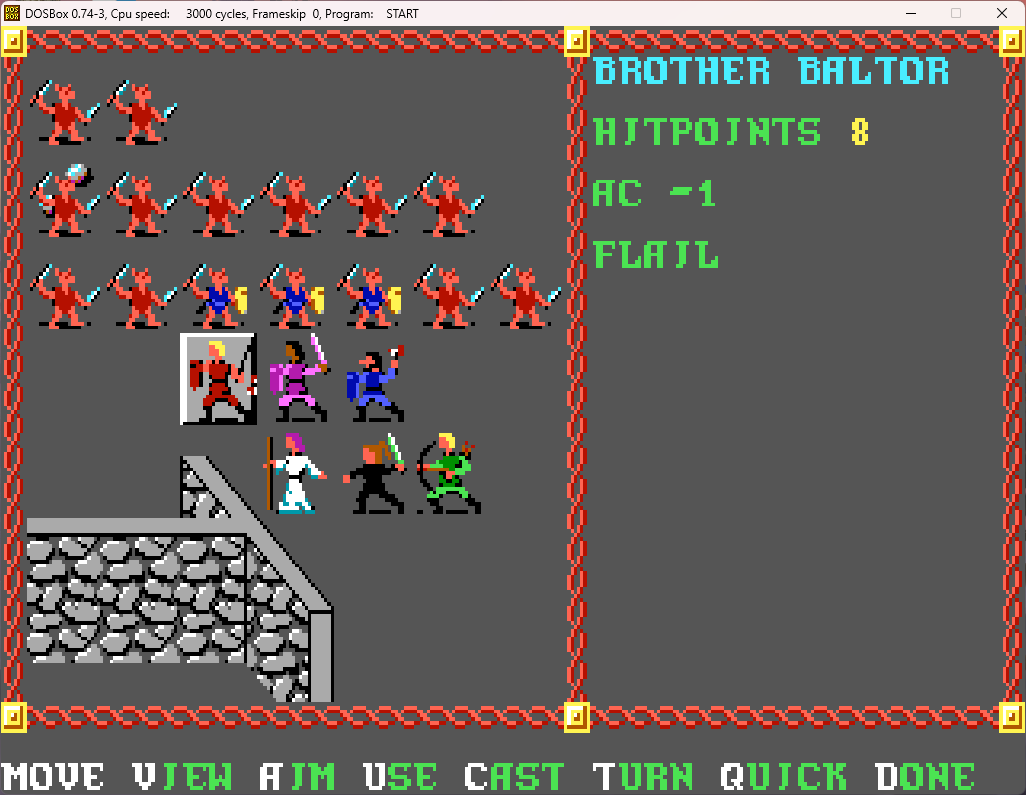
(The blue kobolds are kobold leaders with a whopping 4 HP instead of 3)
And then...
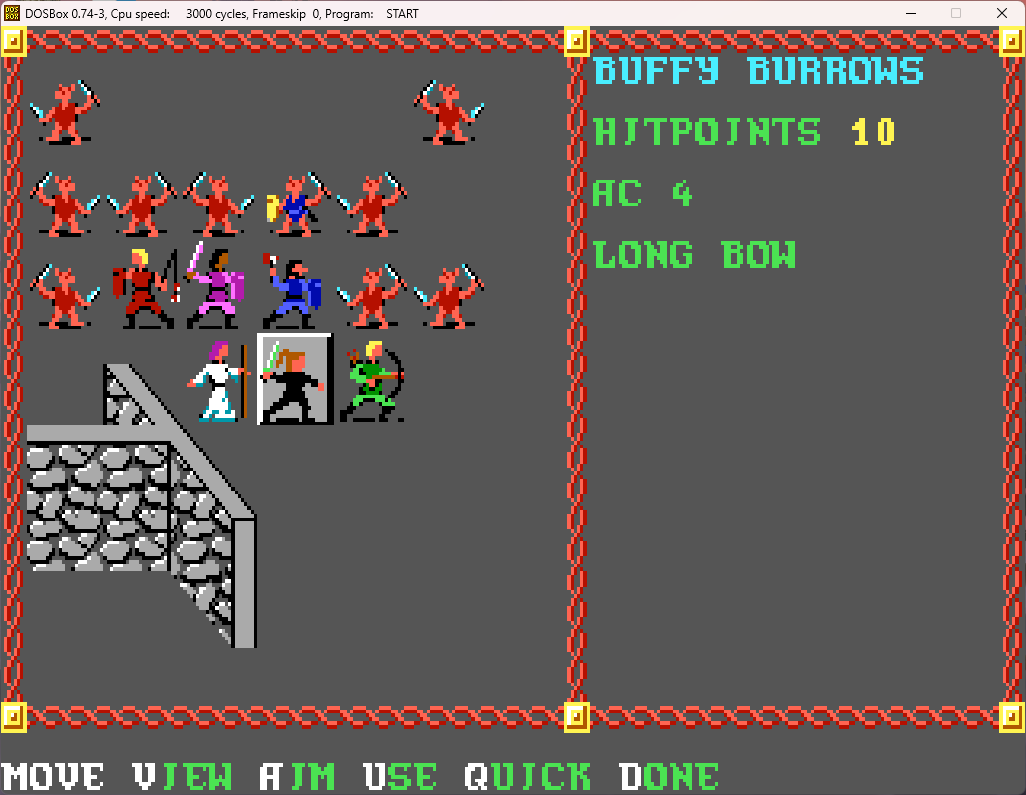
Ugh, flanked. Buffy and Bragir won't be able to use their ranged weapons until we've cleared out the kobolds next to them within melee range. So, we have to choose "Use", go into their inventory, and change what weapons they have readied.
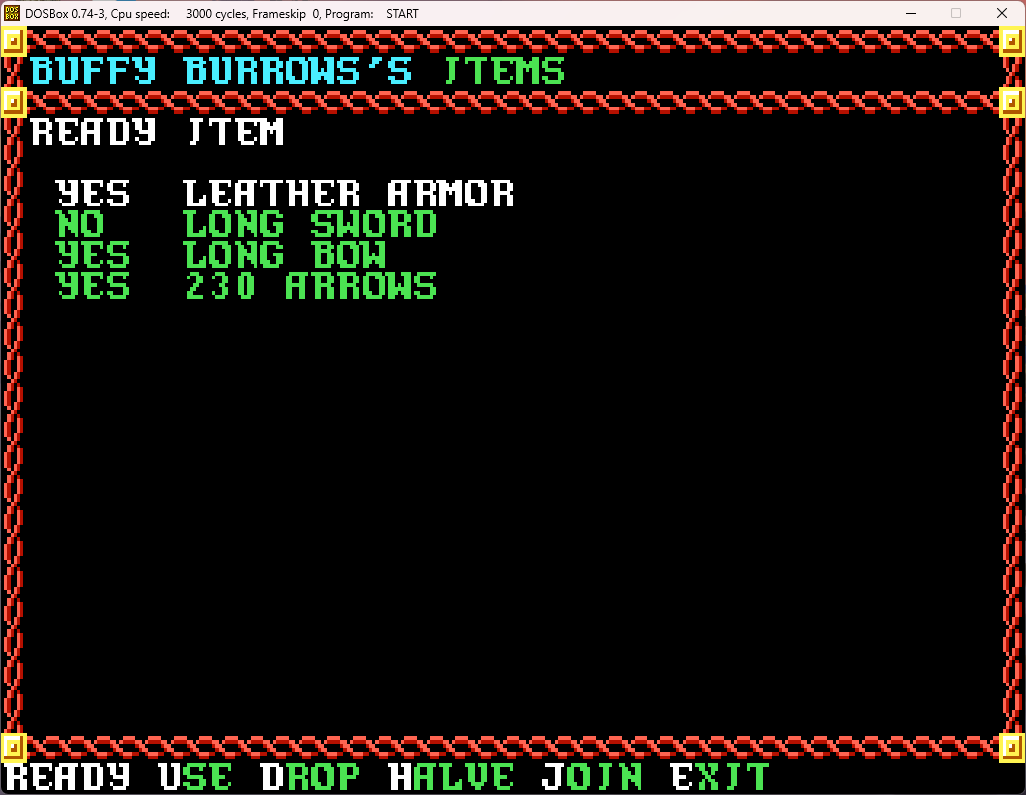
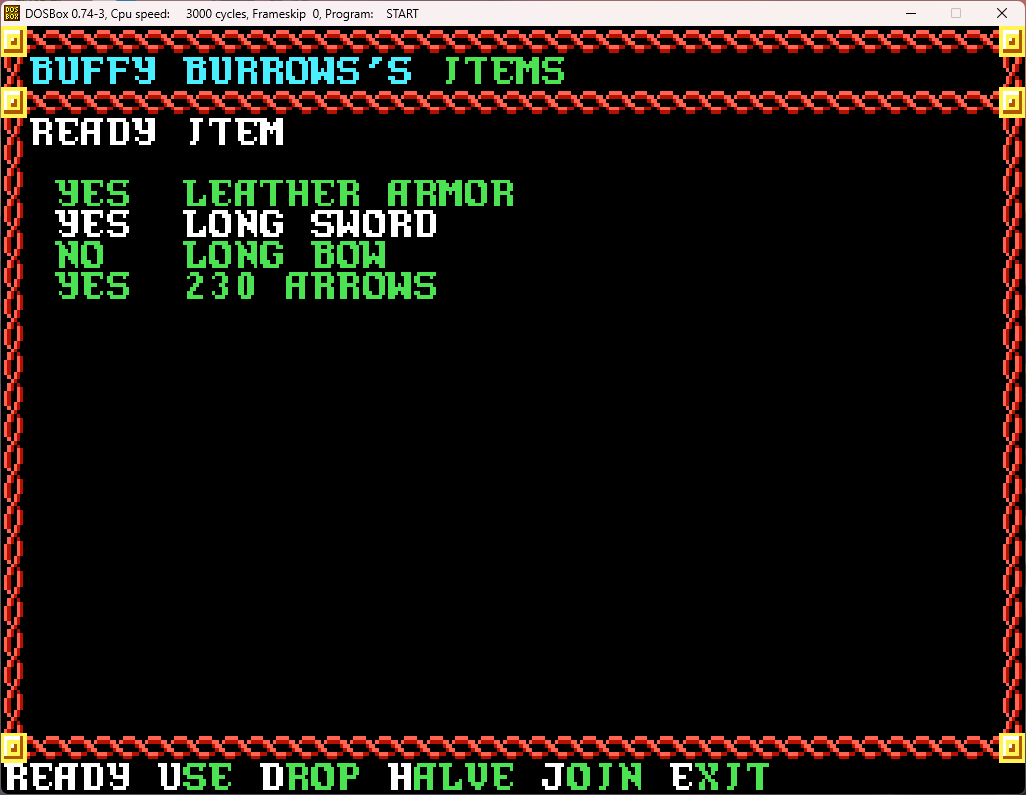
Eventually, the kobolds are defeated, but Brother Baltor has taken a further beating:
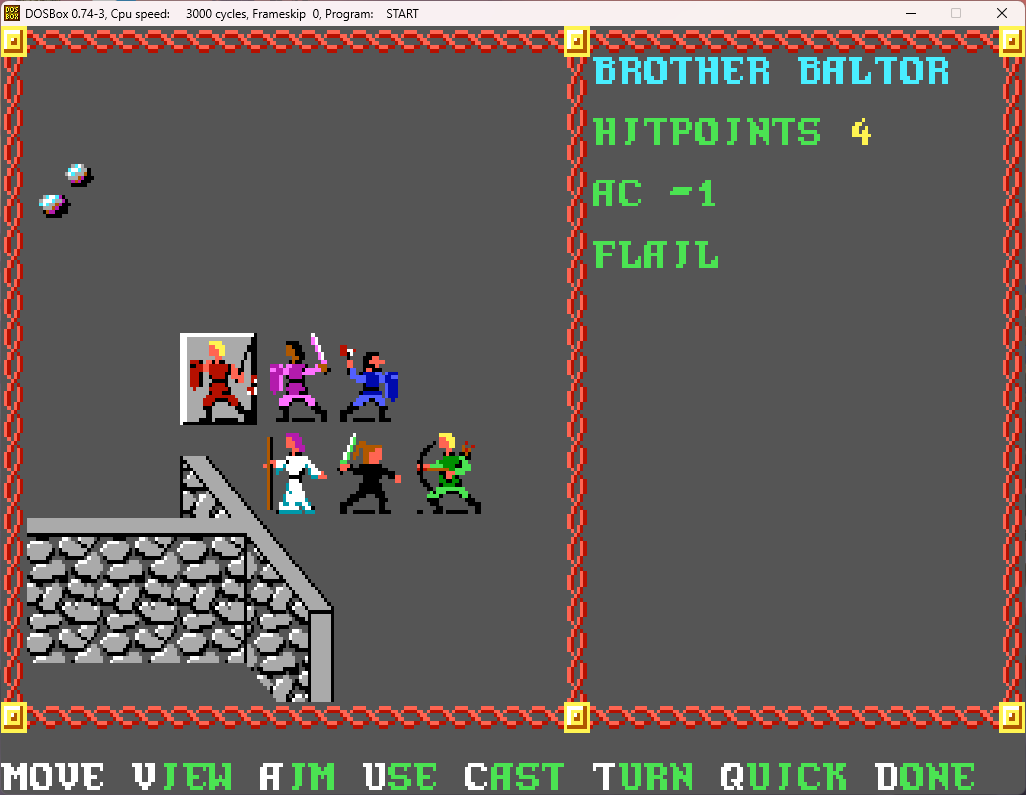
...as has Baroness Bella (she's only at 3 HP!) and Buffy (although much less seriously). Those kobolds put up quite the fight! Moreso than the goblins and orcs. Luckily, it's just one further step into the room where we defeated the four orcs, where it's safe to rest.
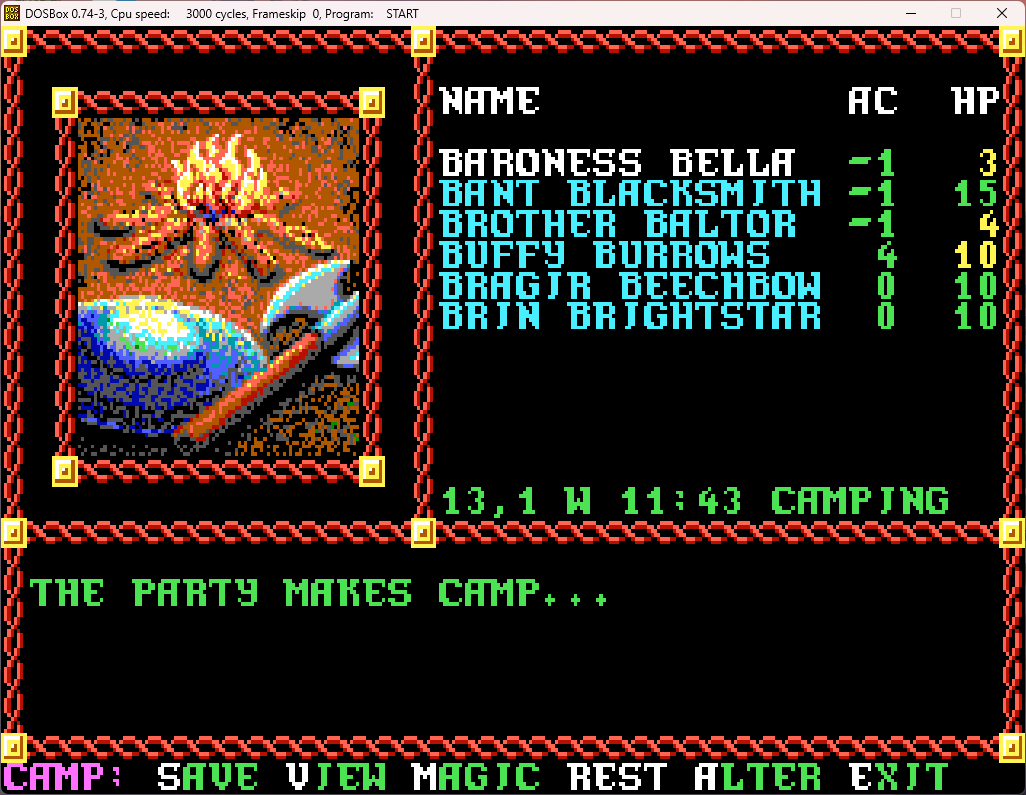
As I mentioned previously, in all the other Gold Box games, there's a "Fix" option here, where healing spells are automatically all cast (up to the point where no further healing is necessary), and then re-memorized. PoR doesn't have this option, but GBC thankfully does.

So everyone gets healed up, and my magic-users re-memorize their single sleep spell each.
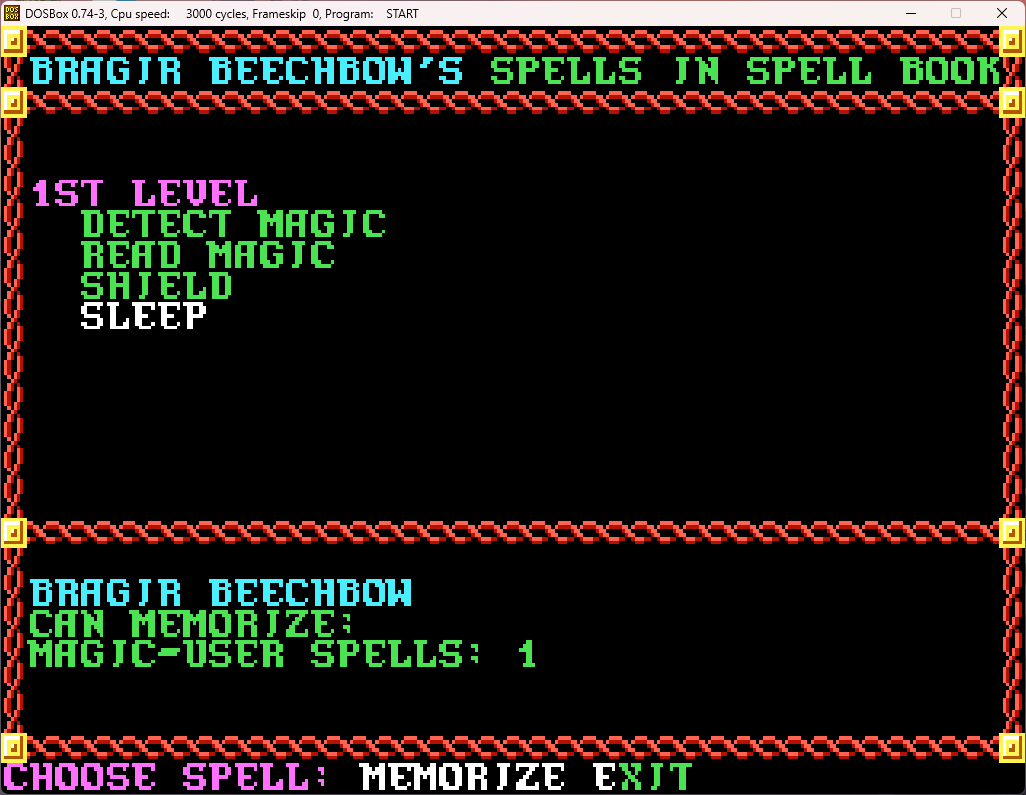
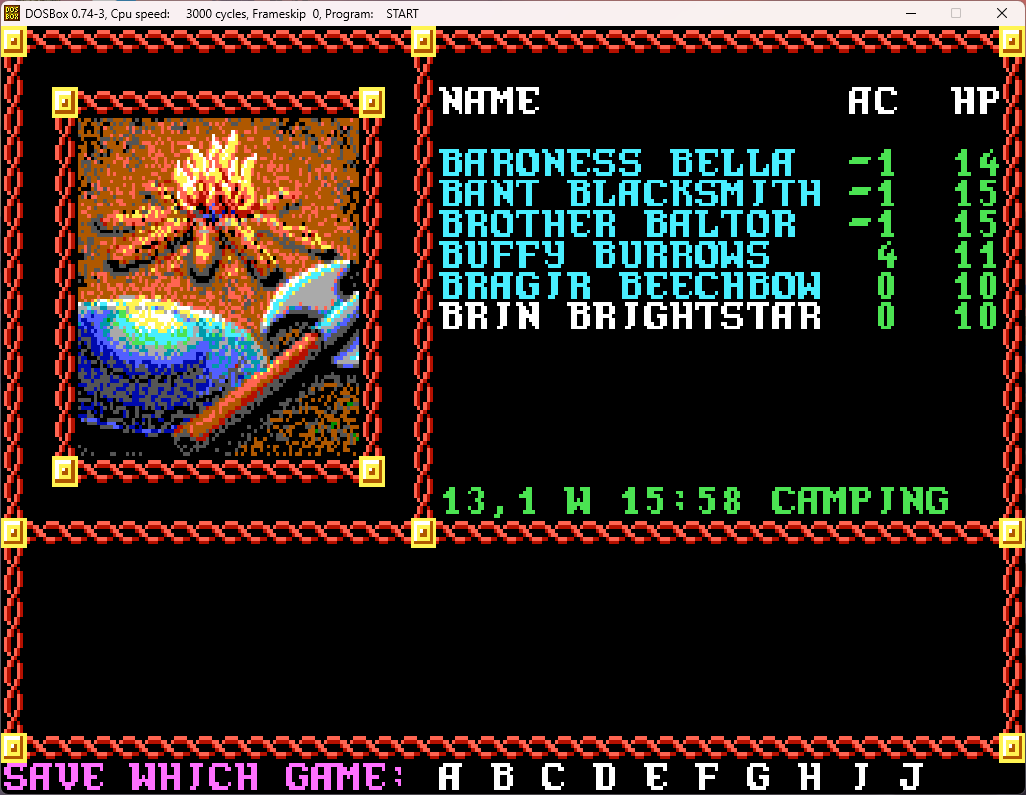
And we rest, then save the game. Trust me, saving often is definitely recommended! Unfortunately, there are only 10 save slots (A - J), so you have to be judicious in using those slots. I tend to use a slot until we get to a certain important point, and then start using the next one (or two, since it's useful to have two relatively recent saves which can be alternated between). "A" is actually a save before starting the game, and I've been using "B" and "C" since.
If you're wondering how far the party has gotten, here is what the GBC map looks like at this point:
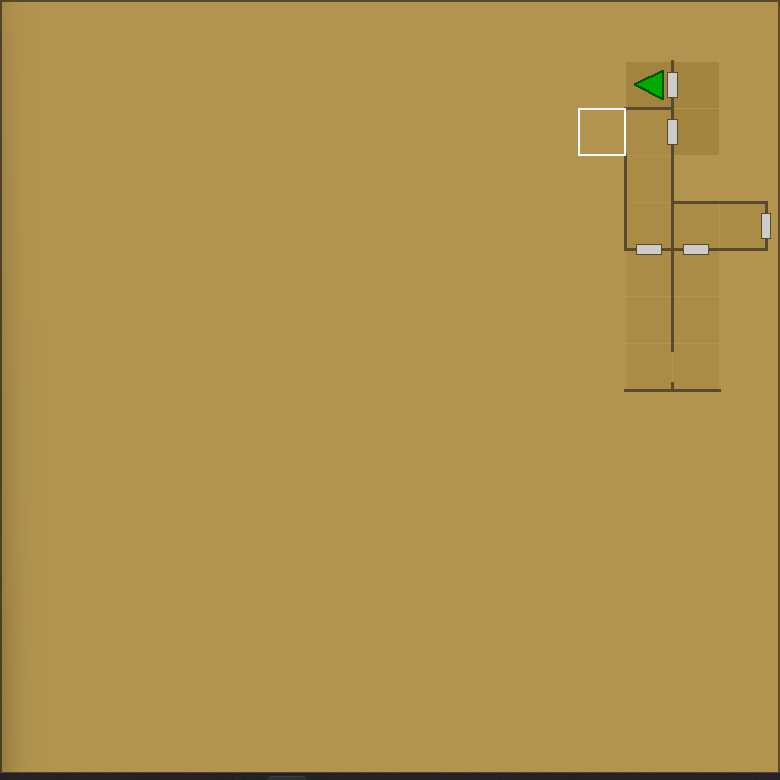
We entered through the door on the right, went down, back up, and all the action has taken place in the two rooms in the upper right corner. By the way, inside areas have a slightly darker shade on this map, so the only interior areas explored so far are in those two rooms.
Next time, we go further into the Slums, kill lots more creatures, and meet a new quest-giver!
We've now entered the Slums. The safety of New Phlan is behind us.
Our commission is to "clear the Slums". But what does that entail? Although the game doesn't tell you, to clear a block, you need to defeat all the set encounters in that block (with some exceptions) as well as a certain number of random encounters, which for the Slums is 15. That's higher than most other sections of the ruins, and it's especially rough given that we're baby adventurers at level 1. We have to proceed with caution until the random encounters are all defeated (at which point no new random encounters will spawn), since if we stray too far from the civilized area of the city, we may have to push back through a gauntlet of encounters to get back to the gate. And, trust me, I've been there as your resources dwindle, characters go down one by one, and finally, the dreaded "The monsters rejoice as the party has been destroyed" message appears on the screen. Luckily, there's a secret trick that helps out here that I'll go over shortly.
So, let's go forward and through that door on the left. As a side note, the geography of the Slums is a bit weird. There aren't any obvious extended "roads" - for the most part you travel in and out of buildings, down corridors, then out again into the open air in what seem to be plazas and short streets (you'll get blue or black sky above you, depending on if it's day or night, if you're outside; while you'll get a gray ceiling overhead if you're inside). I get that it's supposed to be a run-down slum, but I'd expect at least some roads, even if they may wind around and dead end and even feed back on themselves. The rest of the ruins of old Phlan are that way, with logical streets and buildings laid out like a normal city, but no, here in the Slums we'll be going in and out of buildings pretty much at random.
We go through that door, then turn west through an archway, turn back north, go through a door, continue north a bit and then go through a door on our right, to the east. (I'll have a map screenshot at the end of the post.)
Getting that far without any encounters is actually a bit surprising, but as soon as we go through that door...
Fleeing is an option of last resort. Waiting usually mean they just stare back at you, although they might advance (or actually flee themselves). You probably don't want to do combat at a distance, since it usually takes a turn or two for the melee sides to meet up, and any ranged attacks they have will pepper you in the meantime. Best to advance.
You can parlay, and sometimes even persuade your foes to leave (although sometimes they will demand treasure for them to do so). But, unless you're in bad shape, it's best to choose combat, because you have to defeat those random encounters to clear the block, and the Clerk won't count those you just let walk away (although it's unanswered how she would know).
Also, look at that 1e MM art. One of the cool things about the games is that they used the exact art from the MM as the base of their monster illustrations.
So it's time for combat!
We switch to the third person POV for combat. Your party will always be lined up in two groups of three (unless the terrain doesn't allow it; rarely you'll be lined up all in one row with backs against a wall) - so make sure your heavily armored melee are in the first three slots and your more squishy characters in the latter three. For some reason, the first and fourth characters are placed in the middle of their respective rows, so if you need to fine tune things due to ACs, you can adjust party order to reflect this. The party and foes are usually lined up in a pseudo-isometric way, as you can see here with all the diagonals.
Looking at the GBC map, we can see there are quite a few more goblins offscreen to the right (as I said before since I purposely buffed my stats, there are a lot of them; there would be just like 5 or 6 if you have characters with lower stats). The green goblins (goblin guards) have 4 hit points, while the yellow goblins (goblin leaders) have 7. Moving the cursor over them shows that they have AC 6 and AC 5 respectively.
Baroness Bella won initiative, so she hits and kills the goblin in front of her (you'll get a cool skull-and-crossbones effect when this happens - I'll post a screenshot of what this looks like in the next post since I was running at too quick a speed to catch it for a screenshot at this point). Being all nicely bunched like this just calls out for a sleep spell, and when Bragir's turn comes up...
Sleep will affect creatures in a 3 x 3 area, depending on their hit dice. And because 1e wasn't as nice as later editions, yes, those "creatures" can include members of your own party, so be careful when aiming (you aim for the center of the nine squares you want to have affected). Since goblins have pretty minimal hit dice, any of them in that area will immediately fall asleep and become helpless for a few rounds.
On the GBC map, they are shown with an "X":
One extra point to bring up is that no one can move through a square with a helpless creature in it, so they're effectively a shield wall forcing the goblins to maneuver around them. So often it's best not to immediately start killing the sleeping ones right away, but instead concentrate on the still conscious goblins while they try to get around their snoring companions to get to the characters (but don't wait too long, since they will eventually wake up!)
Eventually, after a few go down (which takes a bit; 1e's mechanics meant that there are a lot of misses before you get a hit, but monster HP is lower to compensate for this), their morale breaks and they start to run away (even ones in melee range will try to run away, and any character next to them will get a free shot as they leave their square). You can see below where one has started to flee to the far side of the room...
Eventually all the conscious ones go down, and we set to slitting the throats of the sleeping ones (you get a message about how you slay them "with one cruel blow" which I'll show in the next post after slowing the game down enough to get a screenshot of it):
And soon enough, we're victorious in our first combat! The goblins lay dead at our feet! We get the option to continue the battle (which you may want to say "yes" to for healing or various other reasons), and then it's XP and treasure time!
Yay. 49 XP. This is going to be a long grind.
Hitting "Share" automatically each time the treasure screen comes up is a good idea, as it splits any coins, gems, and jewelry from the treasure evenly between all the characters. We got a mind-boggling 49 silver here, and just auto-splitting by using "Share" is simpler than even going to the next screen and assigning the coins manually. After that, we choose "Take" to see what sort of non-coinage treasure they had.
Yeah, not much exciting. In fact, it's really not worthwhile to pick up most of it to drag back to the store to sell, given our limited inventory slots and strict adherence to encumbrance rules! The bows will sell for decent cash (although I'll keep three to arm my frontliners who I wasn't able to purchase bows for previously), and I'll take the arrows as well just to keep ammo topped off. The scale mail will sell sort of OK, and the rest is basically junk.
That done, and with the first of our 15 random encounters out of the way, there's another door just to the north in this room. So we go through it...
Oh no! Orcs! With their 1e pig snouts!
Oh, this is a set encounter, so there will only ever be four orcs here. They go down very quickly.
So, what were they arguing about?
Oh, nice! We'll give that to Brother Baltor...
And see what the spells are...
While not terribly exciting, cure spells are still quite handy!
With not much else exciting in this room, we go out the door and...
This one is going to be a bit tougher.
(The ones with bows are orc leaders with more hit points and ranged attacks. By sheer luck, they're all right in front in melee range and thus can't use their bows. Usually they'll be in the back firing away)
Luckily Brin still has her sleep spell available...
..which affects the six orcs within one square of the target. Soon here, after the leaders have been brought down, the orcs' morale breaks and they start to flee as well.
They're soon taken out, but Brother Baltor has taken some hits (also note that the XP bar has begun to fill out, although there's still far to go here!):
At least they have slightly better treasure:
Most of those will sell decently, so we'll take those.
At this point, with one character pretty hurt and our magic-users out of spells, it would be a good time to rest. But, we're in the monster-infested ruins, so surely it will be hard to rest here, right? Well, remember I said there's a little secret about this I would mention later? It's this: you can rest with no chance of interruption in any room where you've defeated a set encounter. And we just defeated a set encounter with the 4 orcs in a room a few steps back. So let's head back there and rest.
We turn around, take one step and...
Well darn. At least it's kobolds, so this shouldn't be too tough, even without any sleep spells, right?
(The blue kobolds are kobold leaders with a whopping 4 HP instead of 3)
And then...
Ugh, flanked. Buffy and Bragir won't be able to use their ranged weapons until we've cleared out the kobolds next to them within melee range. So, we have to choose "Use", go into their inventory, and change what weapons they have readied.
Eventually, the kobolds are defeated, but Brother Baltor has taken a further beating:
...as has Baroness Bella (she's only at 3 HP!) and Buffy (although much less seriously). Those kobolds put up quite the fight! Moreso than the goblins and orcs. Luckily, it's just one further step into the room where we defeated the four orcs, where it's safe to rest.
As I mentioned previously, in all the other Gold Box games, there's a "Fix" option here, where healing spells are automatically all cast (up to the point where no further healing is necessary), and then re-memorized. PoR doesn't have this option, but GBC thankfully does.
So everyone gets healed up, and my magic-users re-memorize their single sleep spell each.
And we rest, then save the game. Trust me, saving often is definitely recommended! Unfortunately, there are only 10 save slots (A - J), so you have to be judicious in using those slots. I tend to use a slot until we get to a certain important point, and then start using the next one (or two, since it's useful to have two relatively recent saves which can be alternated between). "A" is actually a save before starting the game, and I've been using "B" and "C" since.
If you're wondering how far the party has gotten, here is what the GBC map looks like at this point:
We entered through the door on the right, went down, back up, and all the action has taken place in the two rooms in the upper right corner. By the way, inside areas have a slightly darker shade on this map, so the only interior areas explored so far are in those two rooms.
Next time, we go further into the Slums, kill lots more creatures, and meet a new quest-giver!
Last edited:
Demetrios1453
Legend
By the way, I've been going into a lot of detail in these first few posts in order to point out and/or clarify how the game works. That sort of thing will start decreasing as we go further into the game and there's less new stuff to explain, and the posts will concentrate far more on plot and actual gameplay.
Demetrios1453
Legend
Pool of Radiance (Part 6): The Slums (Part 2)
All rested, healed up, and spells memorized, it's time to head further into the Slums! If you look at the map at the end of the last post, we go out the door, go south, go out the next door, and head down the corridor headed west (where the highlighted square is). We go through another door a short distance down, and there we have doors to our left and right, and a corridor continuing straight ahead to the west (again, I'll include a map at the end of this post). We try to go through the door to the right (north), and...
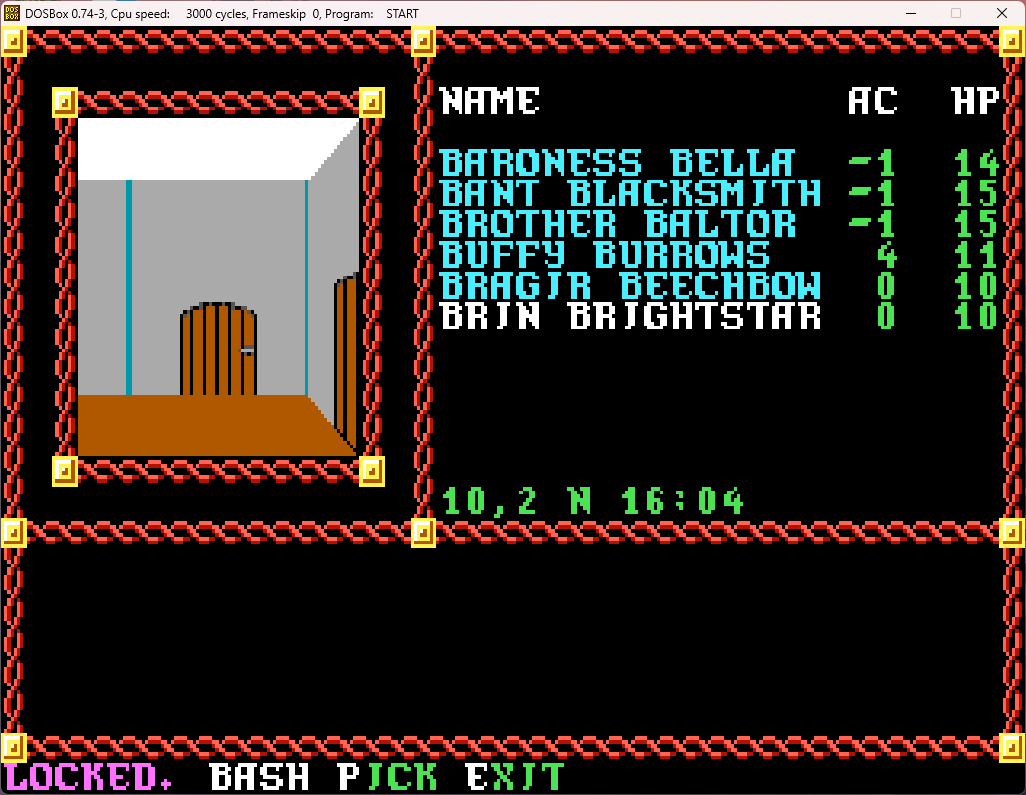
Well, that's why we have a thief around (and for the occasional backstab, which are unfortunately very hard to set up in these games - I'll definitely be bragging about the rare times I can pull one off successfully, trust me!). We have Buffy pick the lock and...
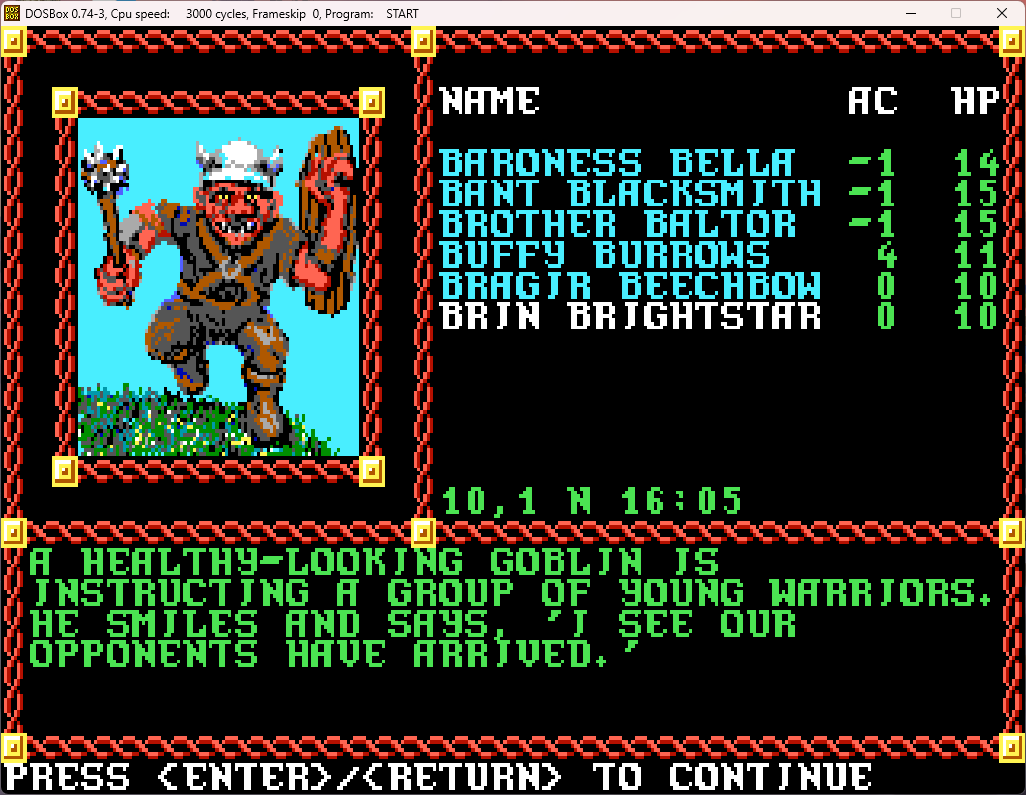
This set encounter will be a bit tougher than the one with just 4 orcs, but it's not too tough, being all rested up and ready to go. Time for some of them to take a quick nap...
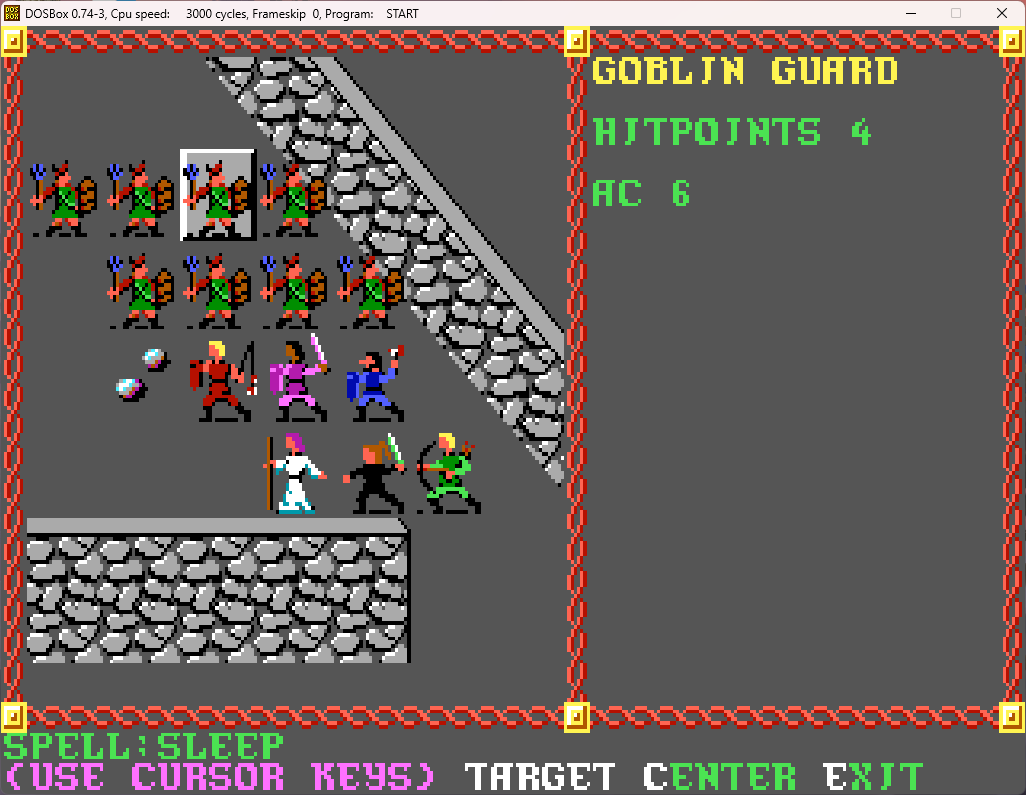
Since I slowed the game down to get some better screenshots, here is Baroness Bella killing a goblin, with the skull and crossbones effect that results when a foe (or one of your own characters!) dies. You'll see that in the middle right section any time you attack, telling you if you missed ("Baroness Bella attacks Goblin Guard and misses"), or how much damage was done. It looks the same for when an enemy attacks one of your characters.
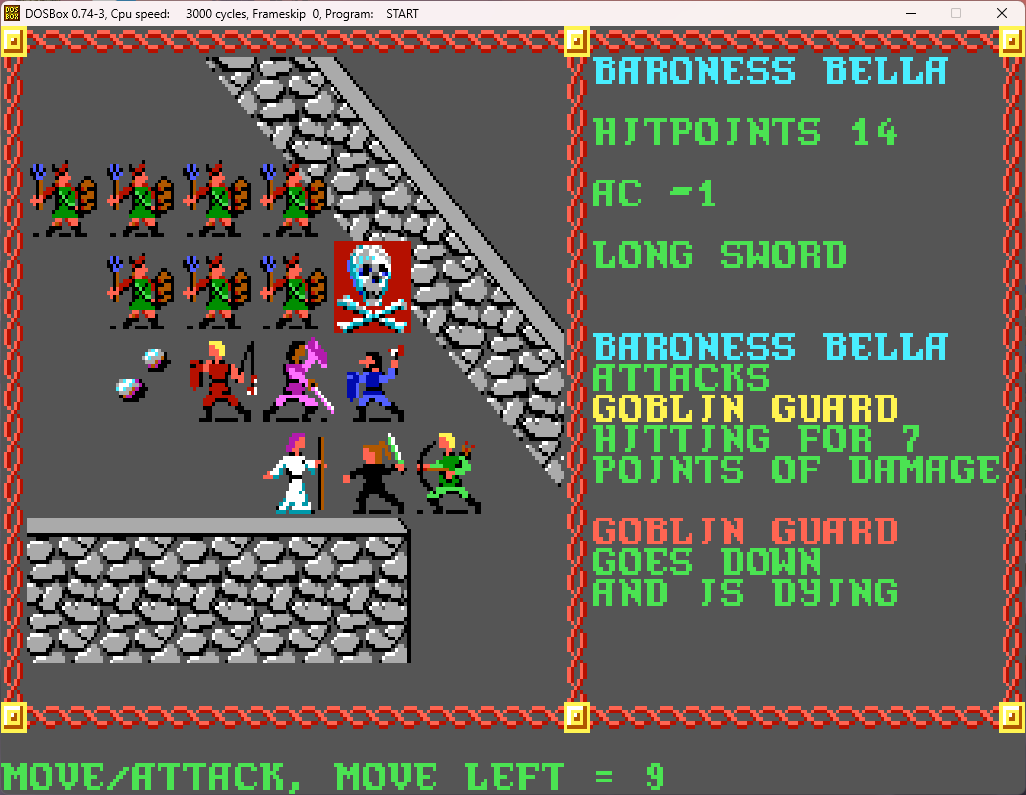
If you kill a sleeping or otherwise helpless enemy, you'll see this (I wasn't quite fast enough to get the skull and crossbones for this screenshot). One thing to note, if you're killing helpless foes with bows, you only get one shot a round, instead of two, while doing so.
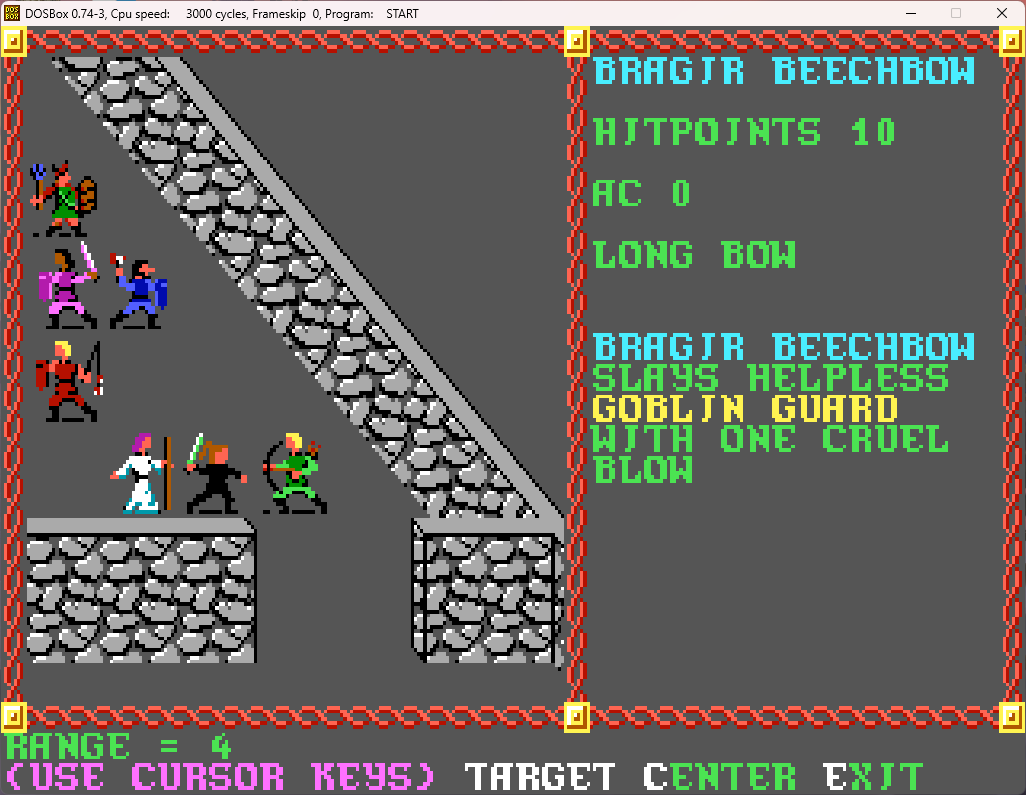
The goblins go down quickly (including the goblin leader that was offscreen to the left), so it's treasure time. But this time, let's scroll down to Brother Baltor in our list:
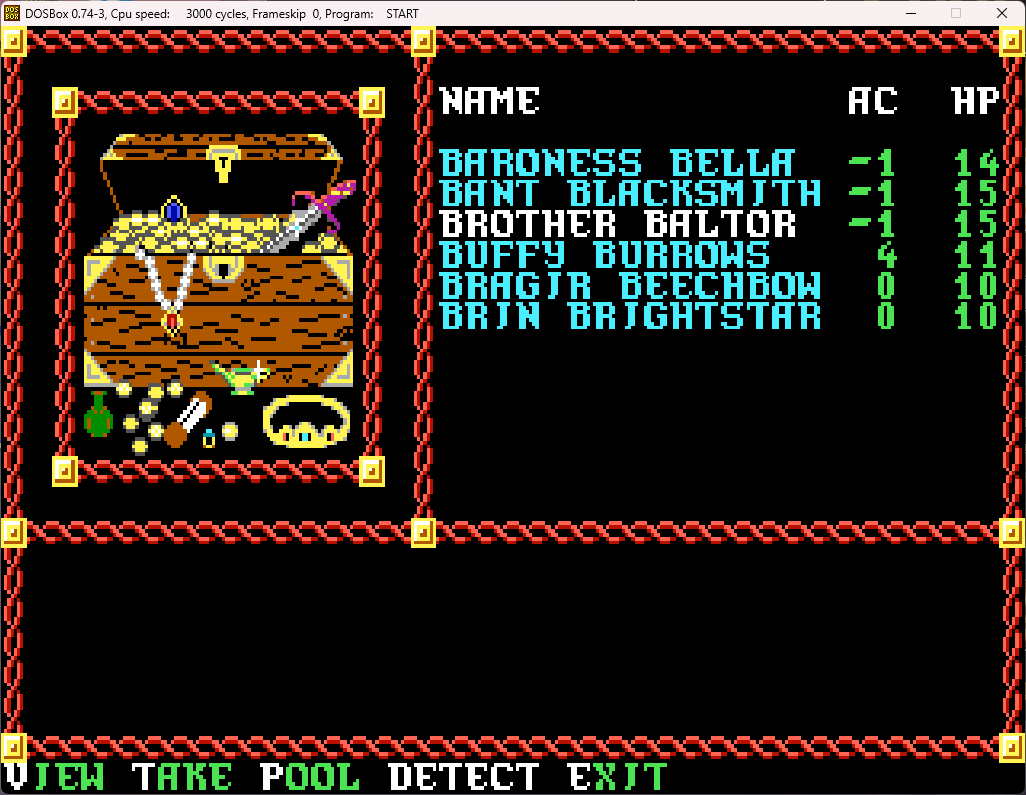
Now we have the "Detect" option showing up only for him, since he has detect magic memorized. Let's cast it and see what the results are:
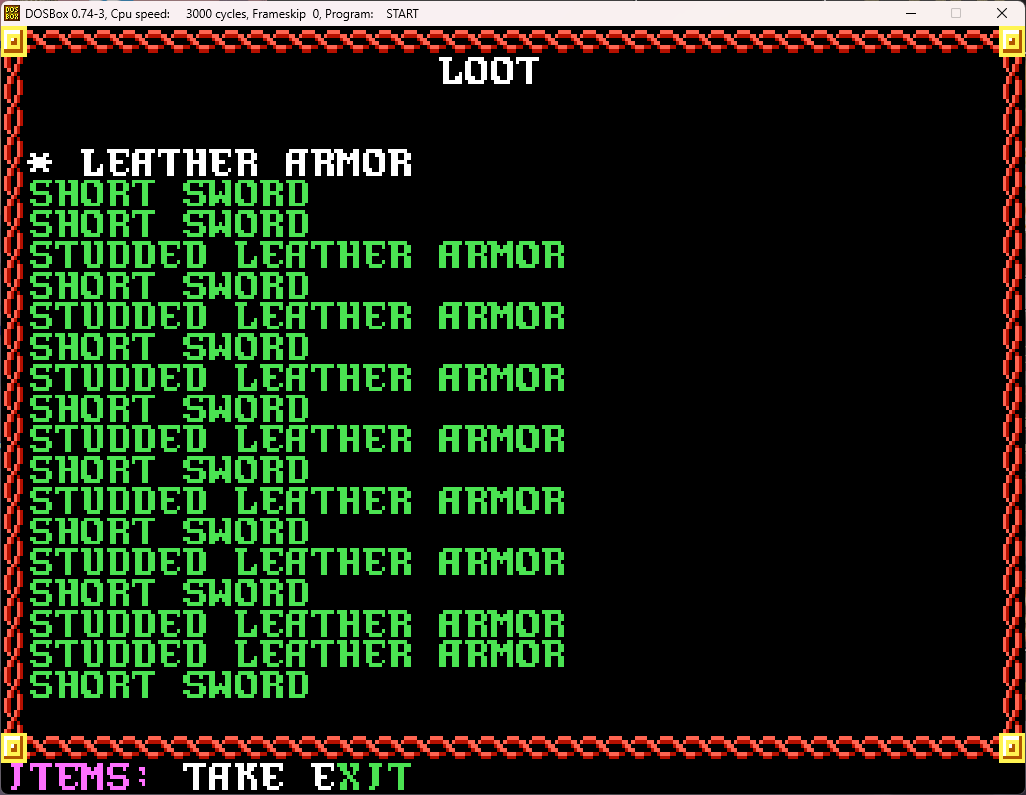
What's that asterisk next to the leather armor? Why... it's magical! Since we only have one person who wears leather armor, Buffy picks it up and (since we have Auto ID on):
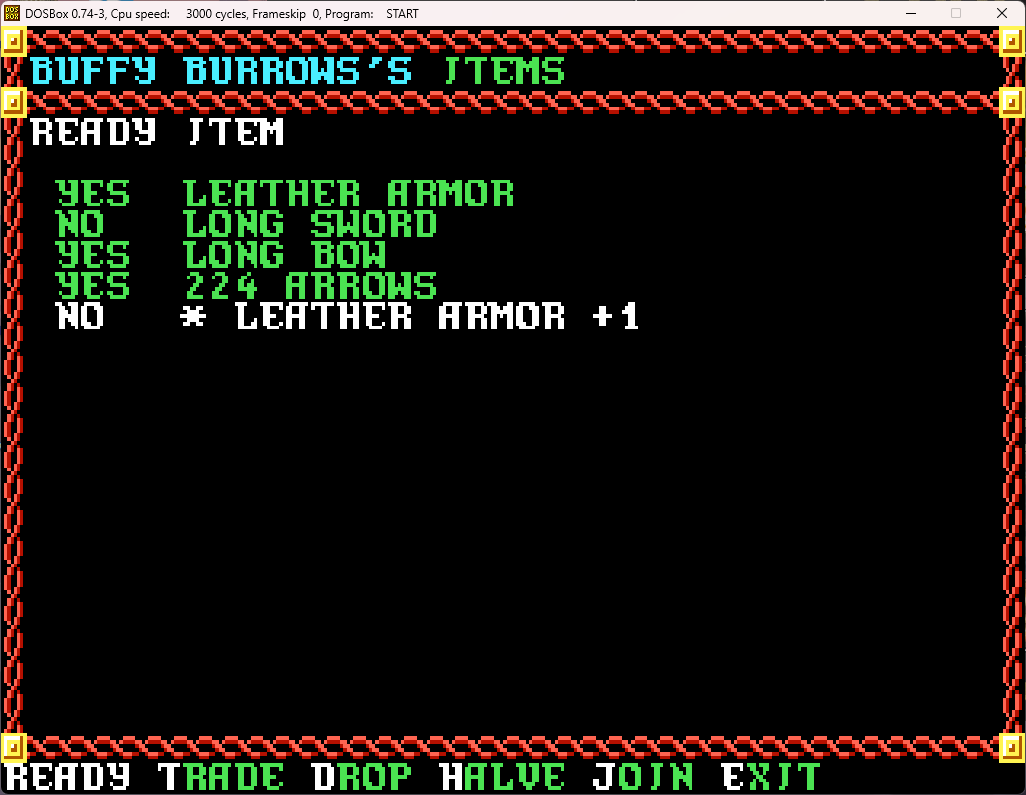
We definitely equip it, and now Buffy's AC (which is the worst in the party) goes down by 1. (The asterisk will go away shortly once the detect magic spell duration ends).
All done here, we turn around, go back out the door, cross the corridor, and go through the door headed south, when:
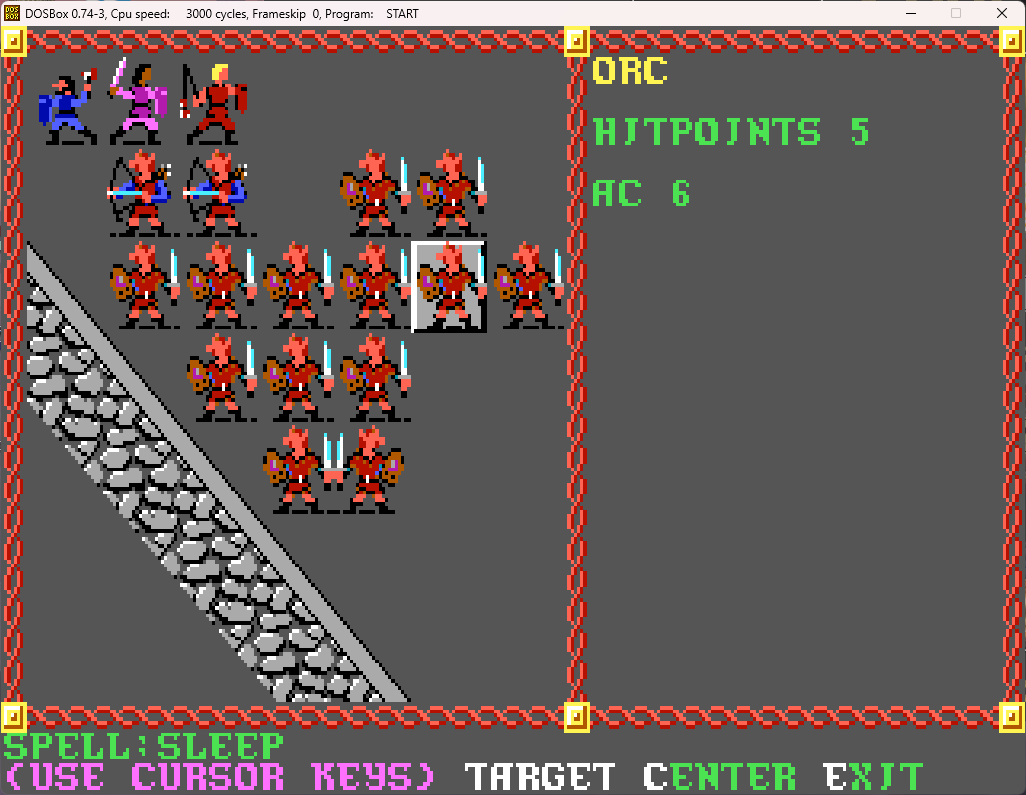
At this point, Brother Baltor is, again, pretty beaten up.

Time for healer to heal himself. I want to reserve the spells for emergencies, so let's use that scroll we got a short time ago.
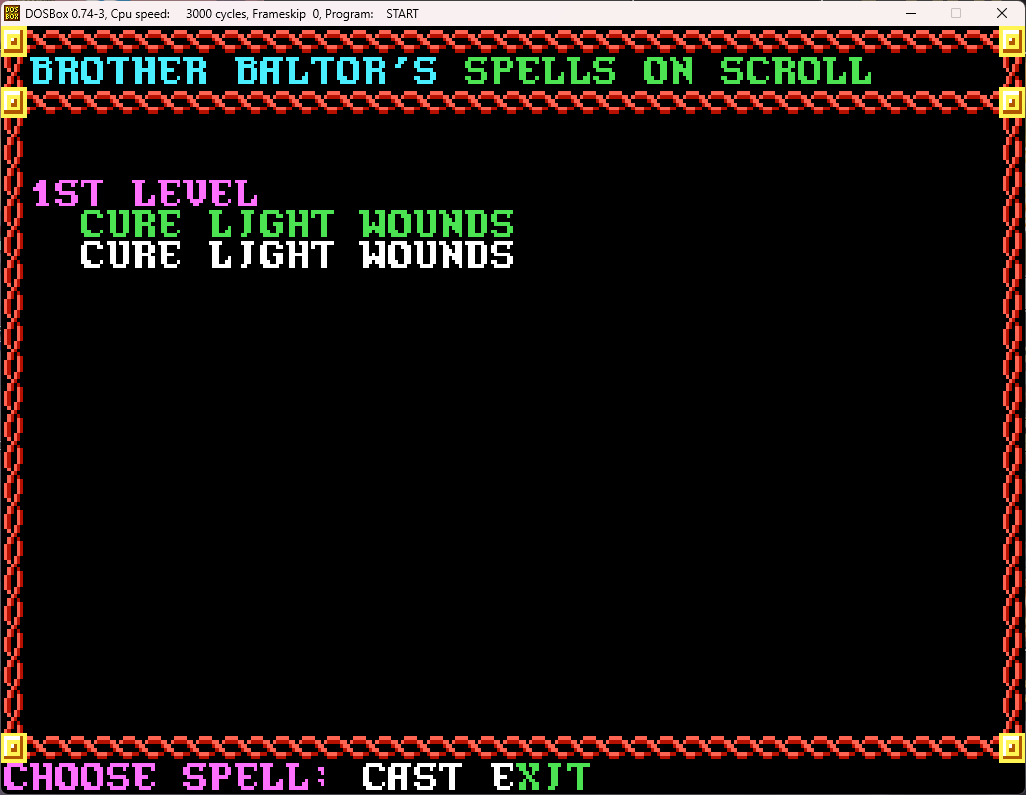
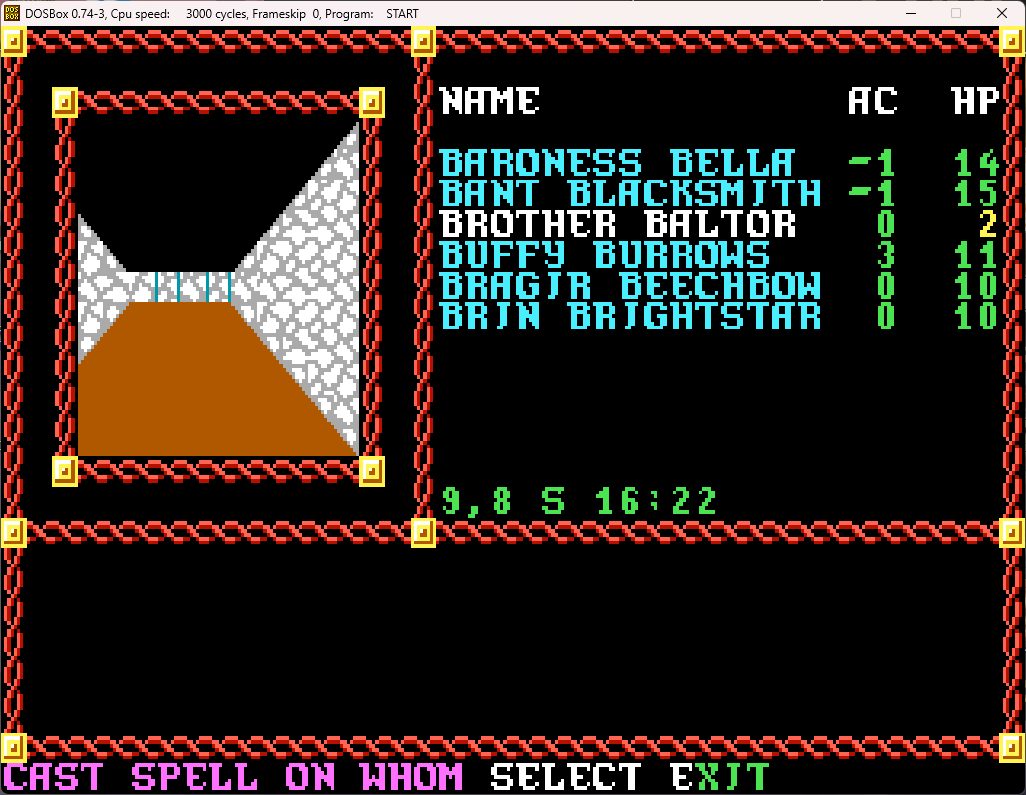
Even after casting both cure light wounds available, the results aren't particularly spectacular.
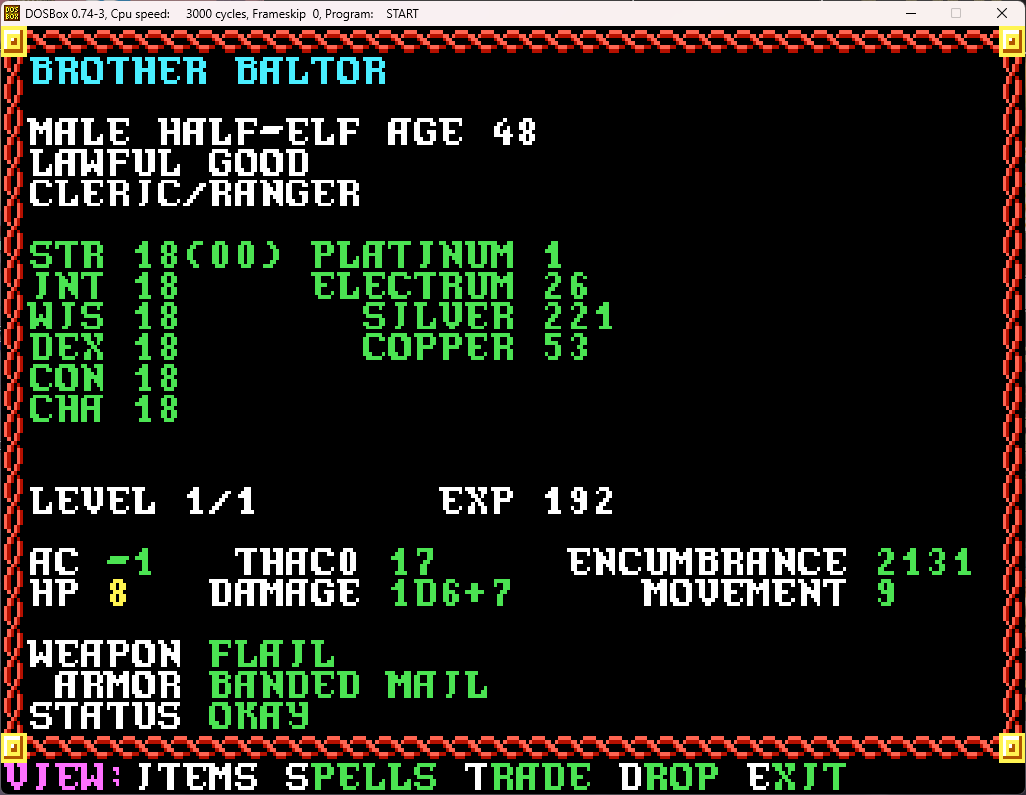
(note all the various types of coinage we've picked up so far. And each coin contributes to encumbrance, so it's best to be exchanged out whenever at a store for larger currencies)
We go through another door, heading generally south, until we get to what looks like a large plaza with a building in it. We turn east to head around that building, the south, looking for a door...
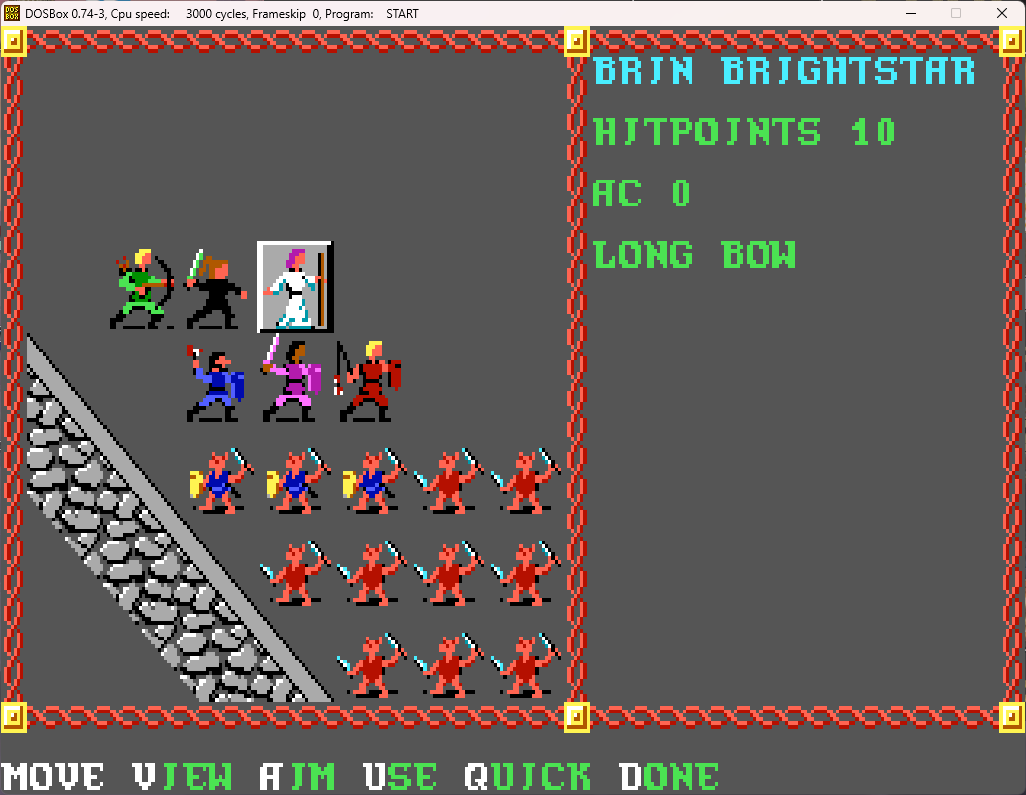
The kobolds are taken care of fairly quickly, and we find a door to enter the building. It's locked though, so Buffy picks the lock, and:
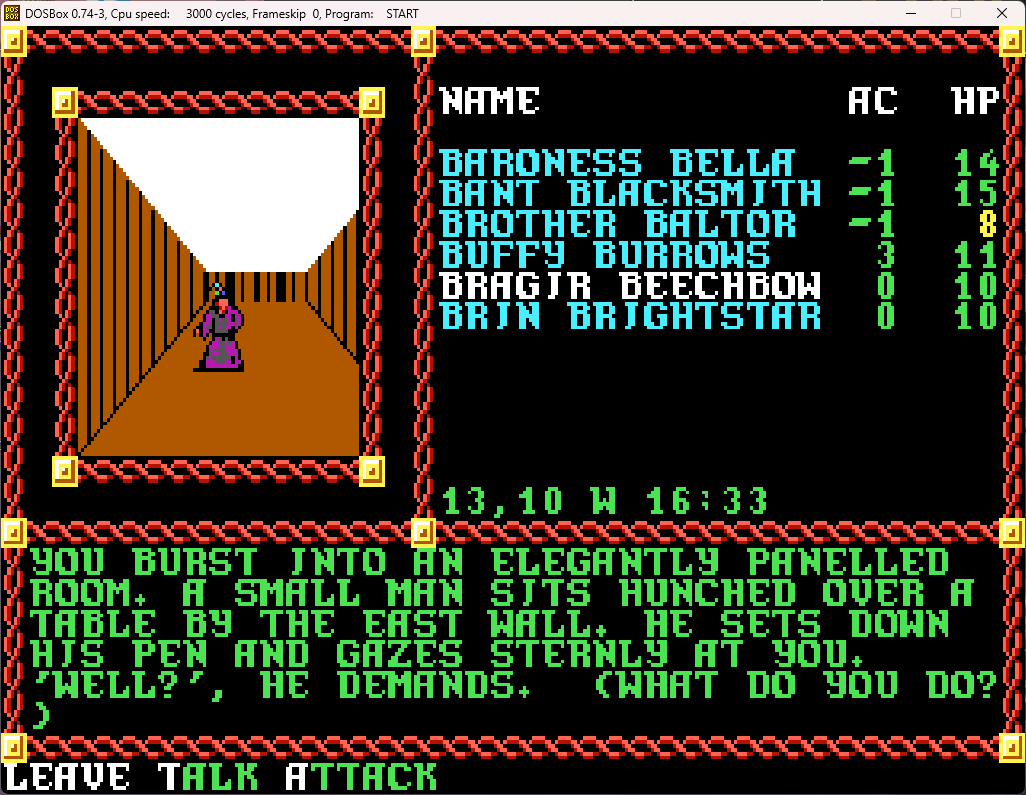
(He never comes closer, so he's presumably yelling at us from across the room)
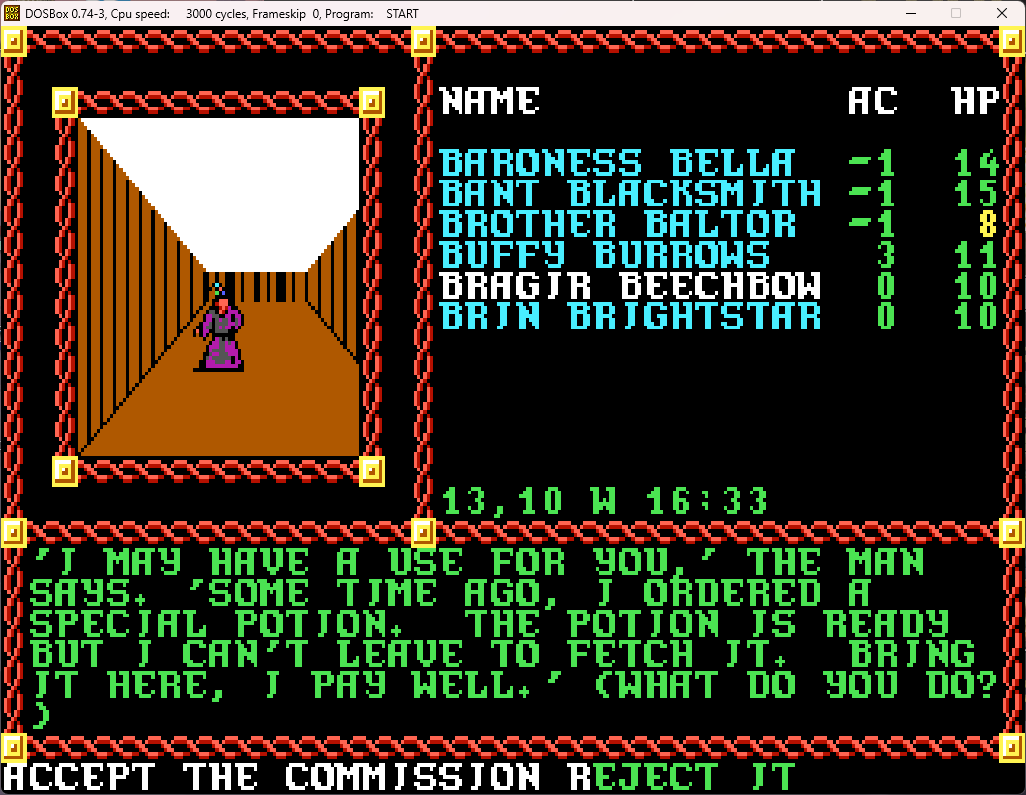
I guess we accept. Nothing like a good old fashioned fetch quest!
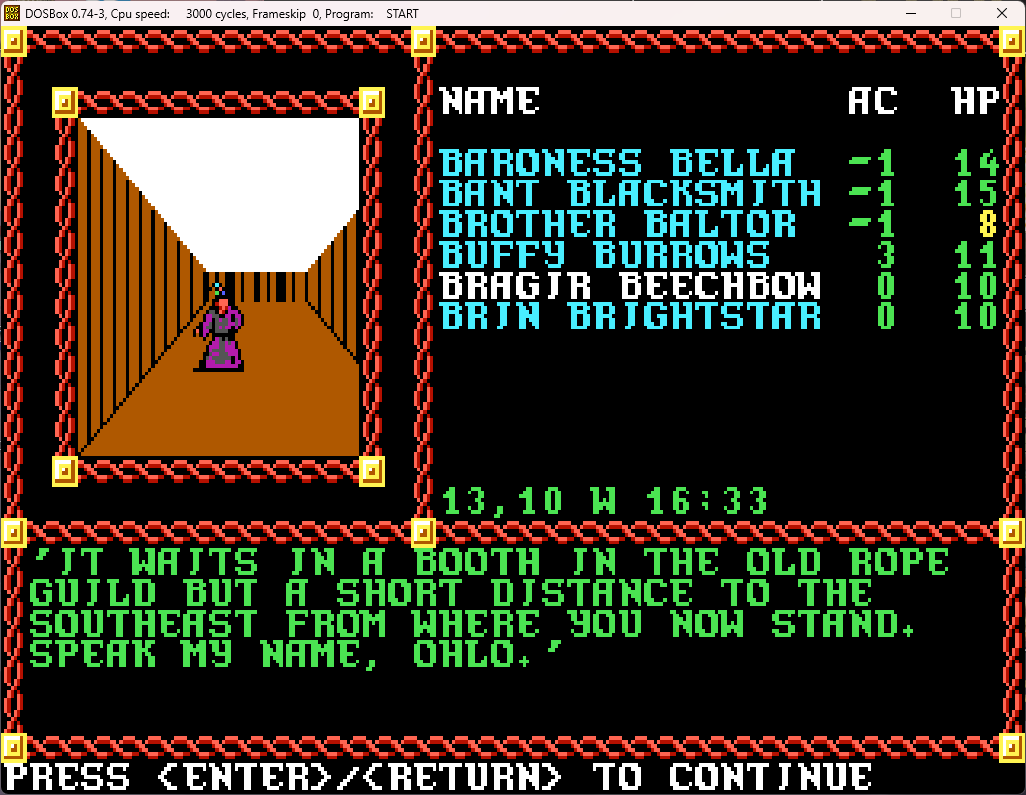
The Rope Guild, right. Sounds like a nice, pleasant place that will be easy to get to and navigate through, with no trouble waiting inside at all! We take our leave and head back north. We've got a fair amount of loot now, so it's probably best to head back to the civilized area and sell what we've gathered.
We've barely gotten two steps outside his door when it's time for another random patrol (#6 if I'm counting correctly)
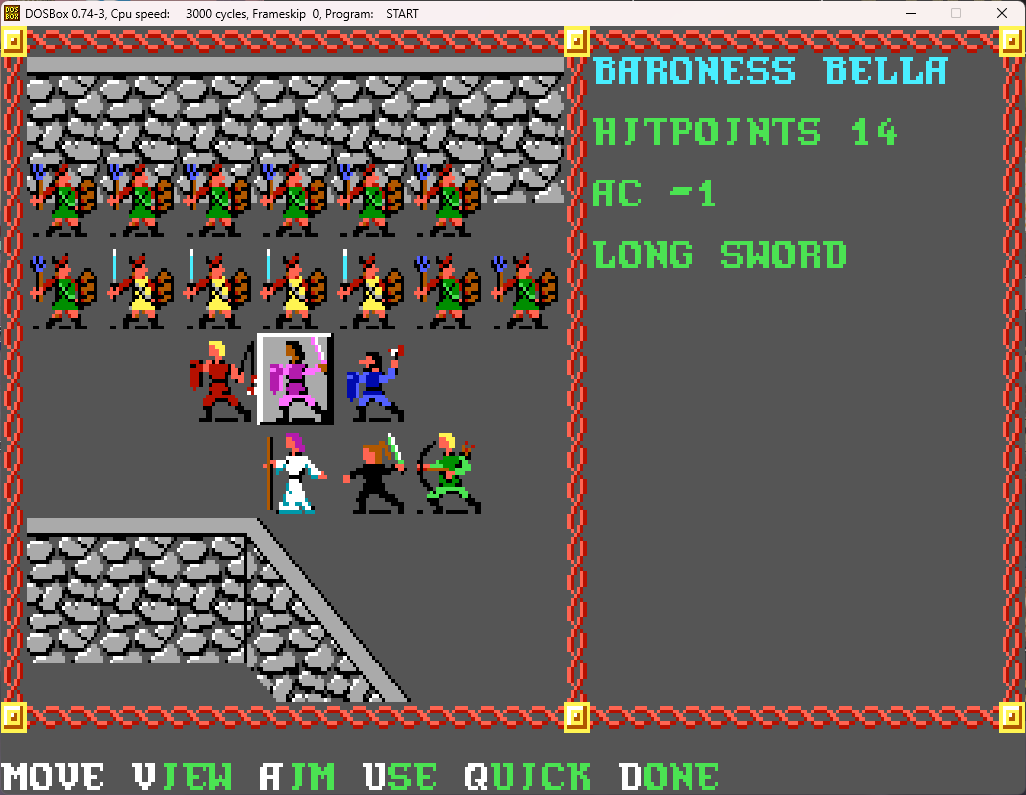
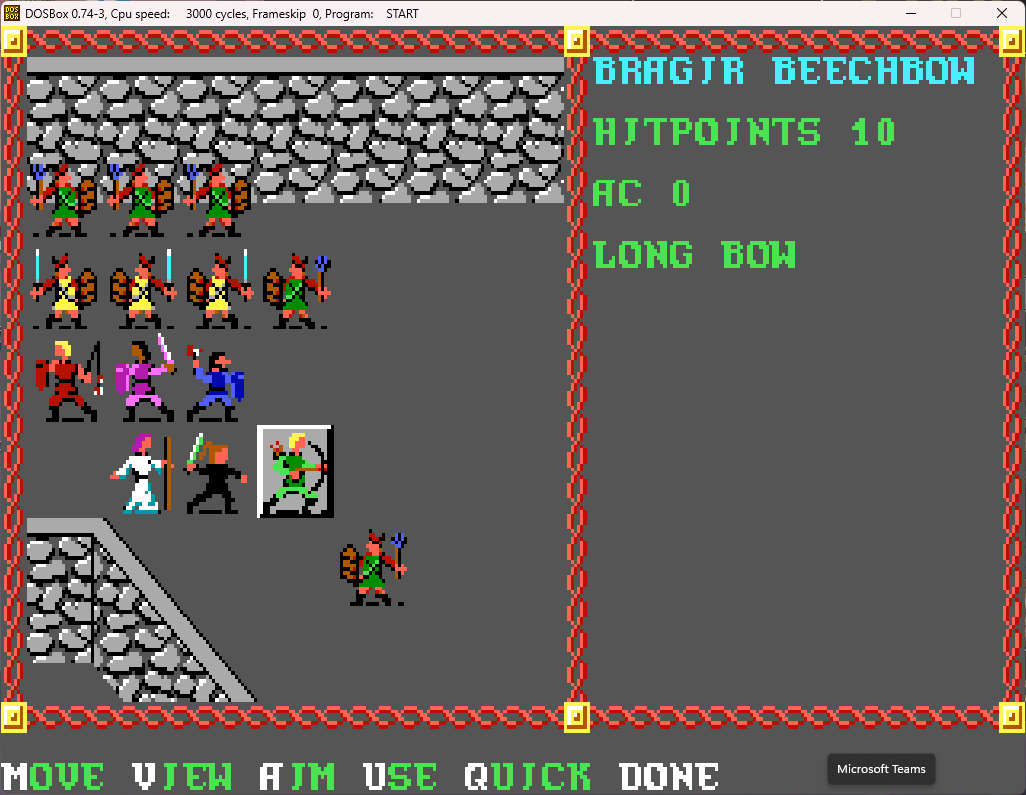
Ugh, random goblin flanked the party again. This really sucks when it happens, as it's annoying to have to switch everything around in the inventory. This is well before games made it easy to toggle between ranged and melee.
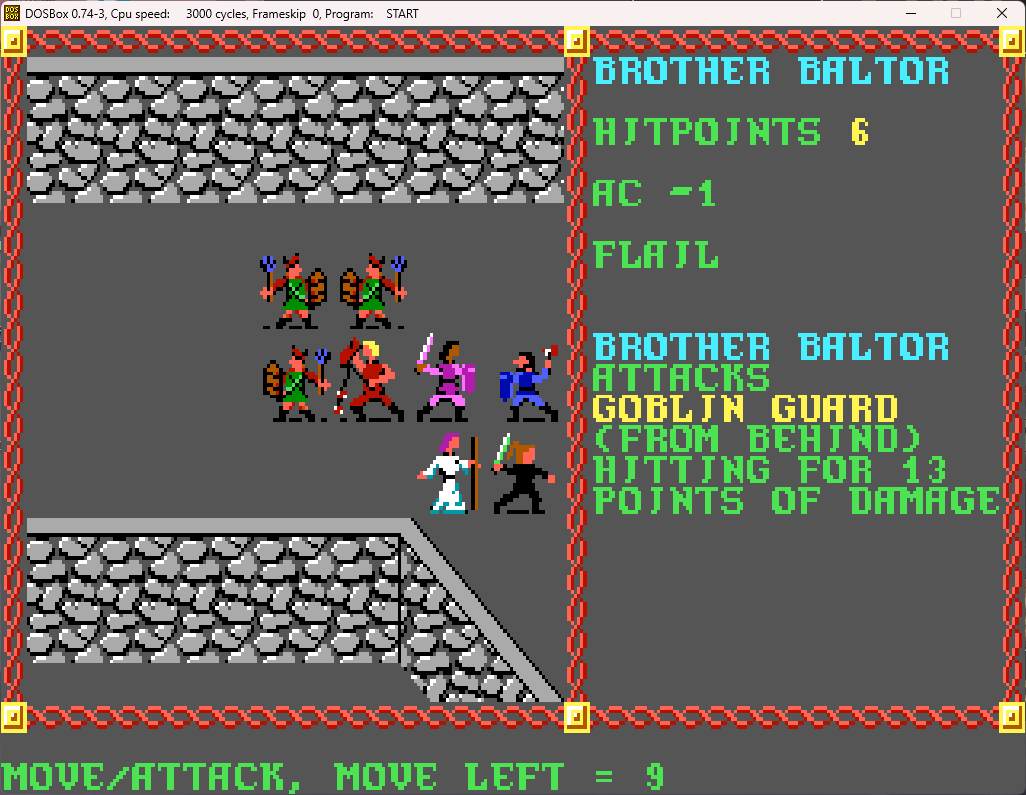
The goblins have failed their morale and are now running away. This is the message you get when one runs out of melee combat - you get a free attack from behind. Brother Baltor is more than happy to make the goblin pay for doing so. The screenshot was a second too quick to get the skull and crossbones, because that goblin is very dead.
No wonder he was so mad, he's been hit again, and is low on HP yet again. He and Bant will be the ones getting the most hits, as they are in the front on the flanks, but usually battle positions tend to favor each equally through the luck of the draw. He's just had some bad luck in where the battles have occurred and the position of the foes, meaning more enemies have been able to hit him, and, thus, doing more damage to him.

Sigh, time to cast his cure light wounds spells.

The first one gives him just a single hit point back, but the second one, conversely, gets him back up to full health! Time to make a run back to our closest safe resting spot, which will be the room where we defeated the goblin set encounter. We head west, then north, and actually reach it with no further encounters. Time to rest, as everyone is now completely out of spells (both magic-users each used their sleep spell during the proceeding encounters).
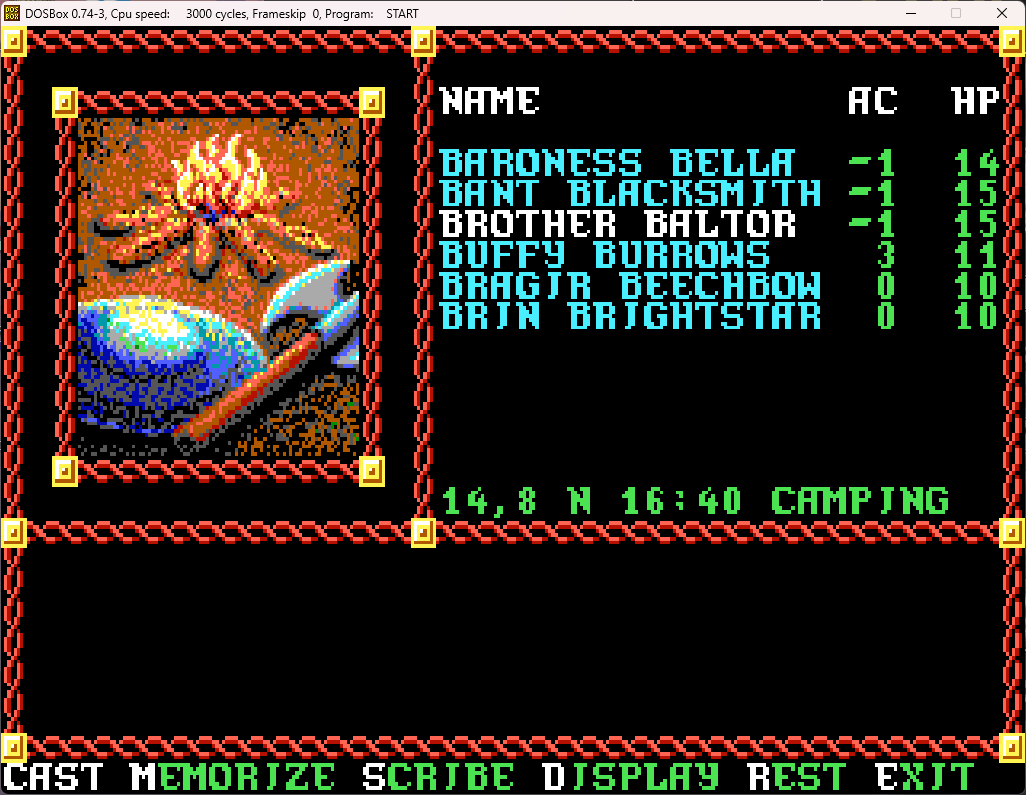
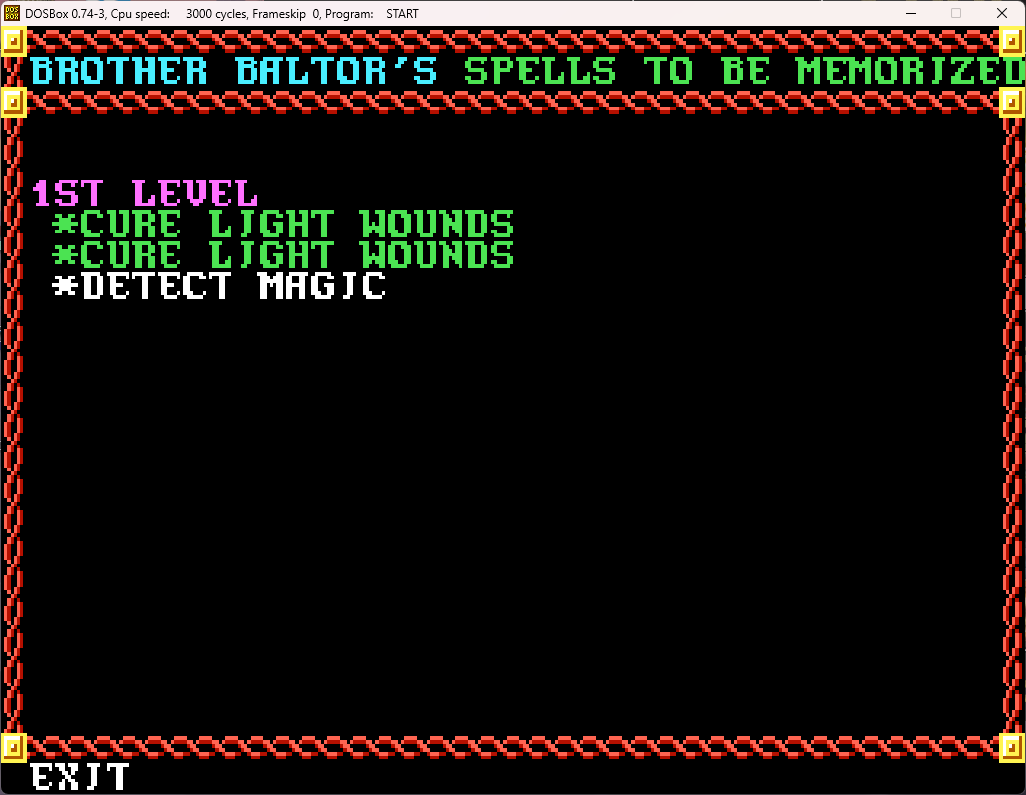
Spells memorized, and everyone fully rested, time to make a run back to the gate back to the city. Here's a map of the parts of the Slums we have explored so far:
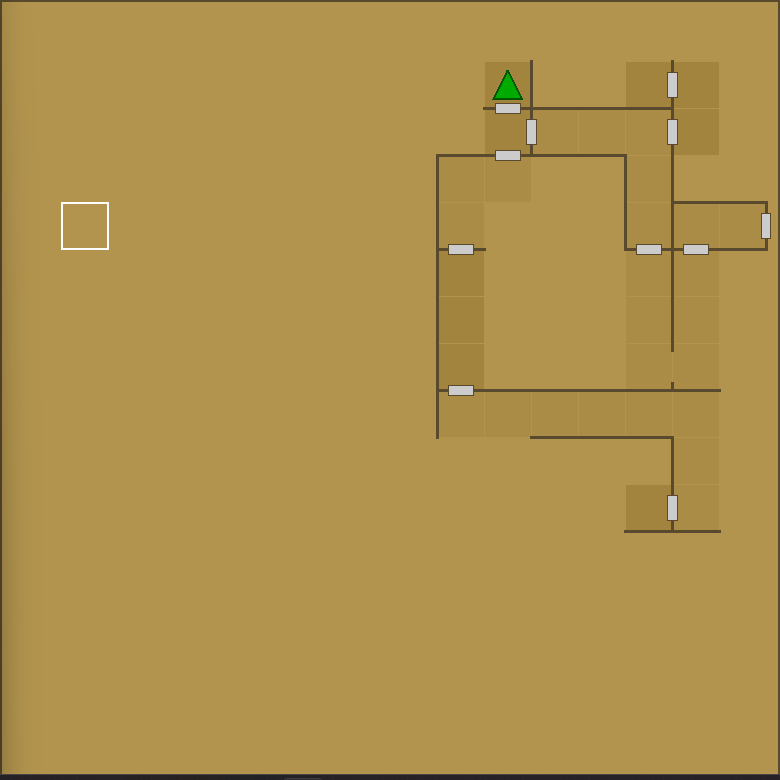
We are currently in the goblin set encounter room, and Ohlo was down to the south, east, and then south. Our goal is to get back to the gate to the city, which is the door on the far right. We want to get back because we've already got enough loot that it's beginning to affect characters' encumbrance, and they are getting slowed down in combat:
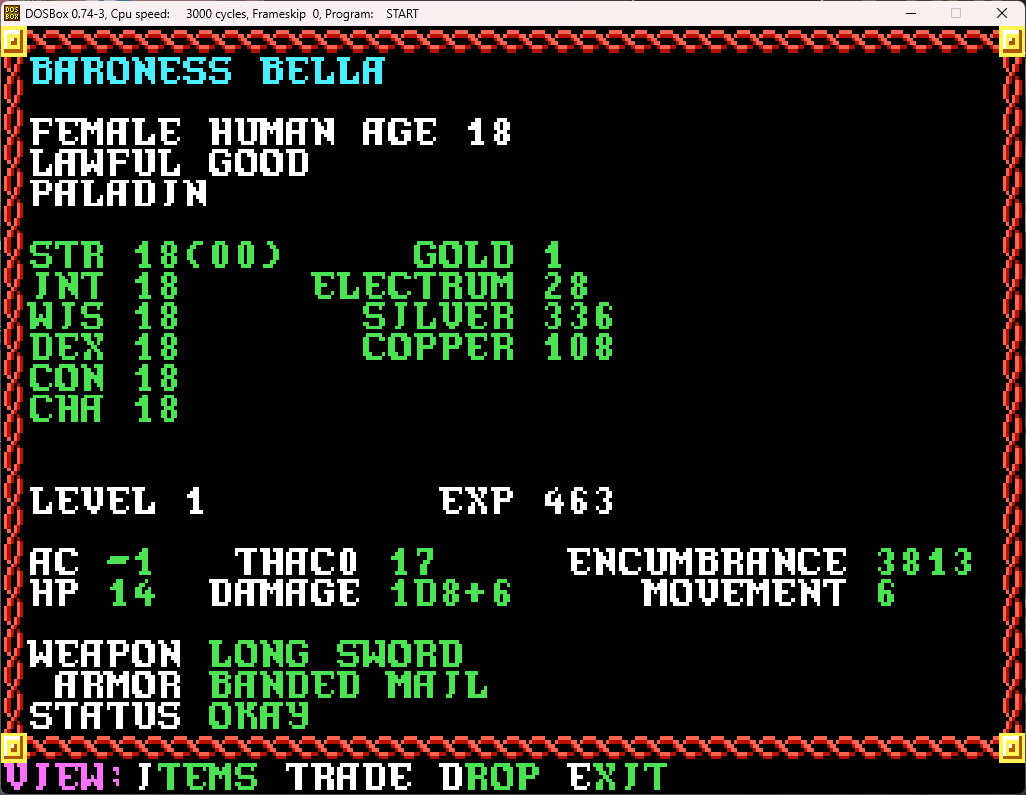
Baroness Bella's movement is usually 9, but she's carrying so much that it's been reduced to 6. It can go down to 3, or even 0 (which you really don't want during combat) should she get even more encumbered. Conversely, things such as the haste spell or boots of speed can increase the movement. An unencumbered character with both of those can have a movement of 48!
So, it's a run for the gate, and, surprisingly, we almost make it there before we have a random encounter:
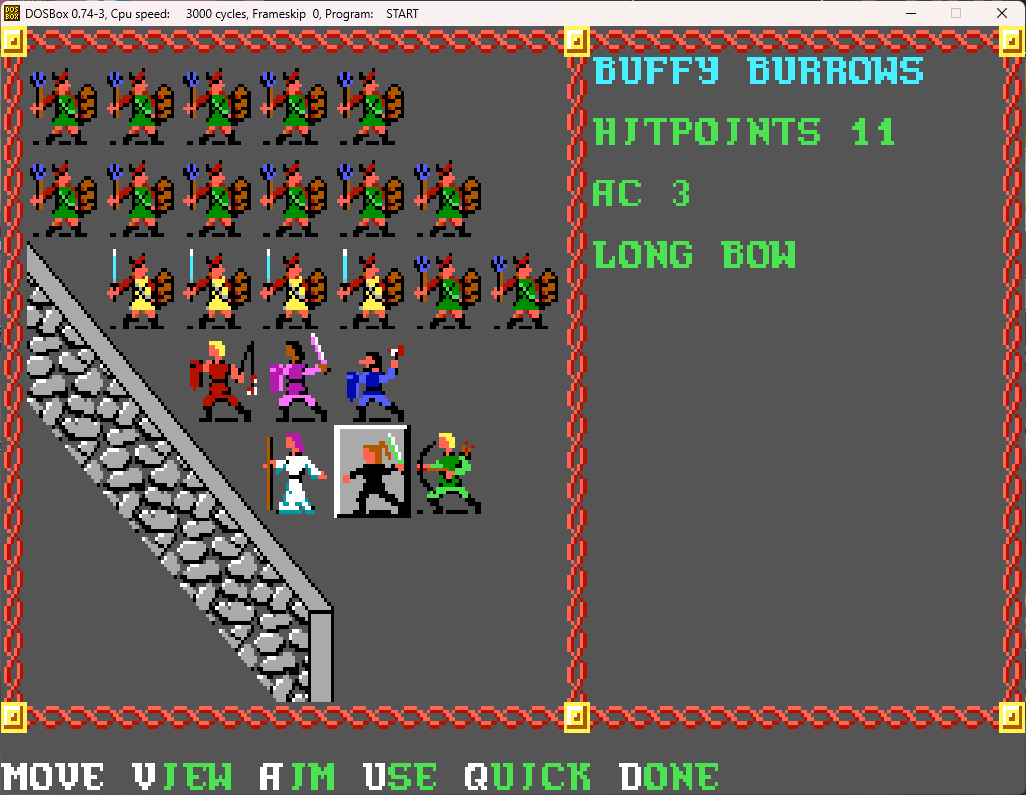
A sleep spell and normal battle prowess makes quick work of the goblins, and we're finally back to the civilized area of Phlan! Let's head to the shop and sell our loot!
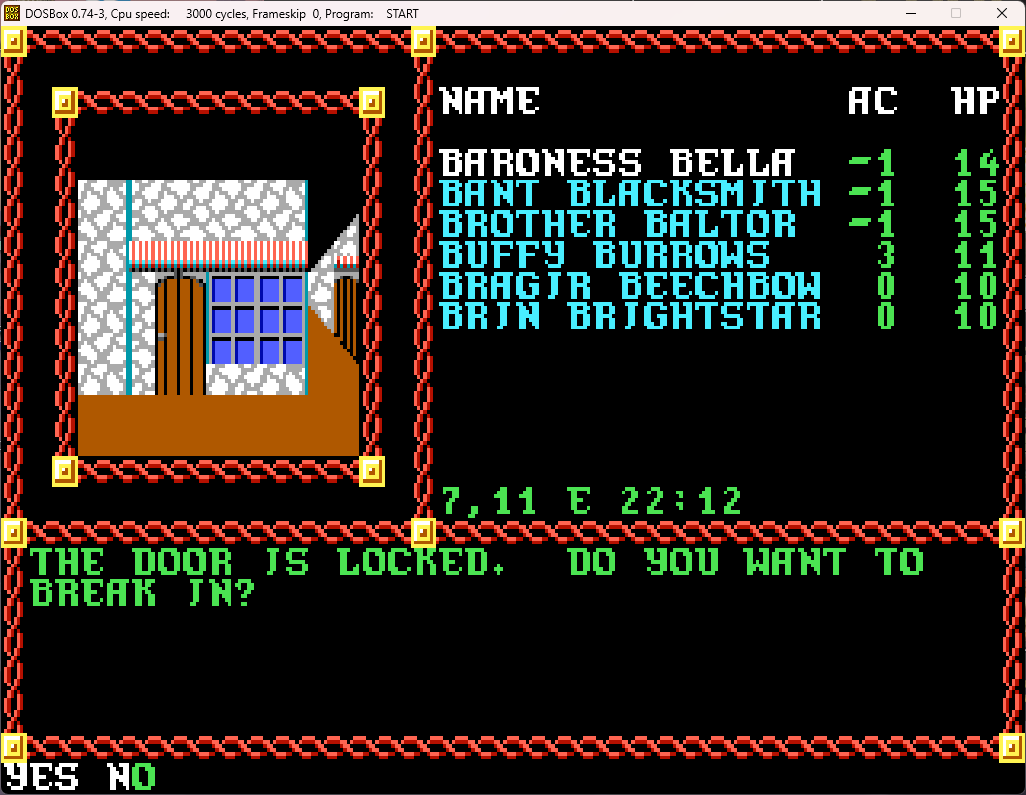
Well, darn. They actually close shops at night in this game, which is something of a novelty for CRPGs in this era. It's 22:12 (if you haven't noticed, the coordinates on the usually 16 x 16 map grid, the direction the party is facing, and the time are all right there below the party info), and in this game, dawn is at 00:00, so we're just a bit too early. Well, we just cast a sleep spell in the combat before the gate, so we can just go over to the inn to rest and re-gain it. If we didn't have any spells to memorize, we could just go to the inn and choose an amount of time to rest so that the stores (and other places like the town hall) will be open.
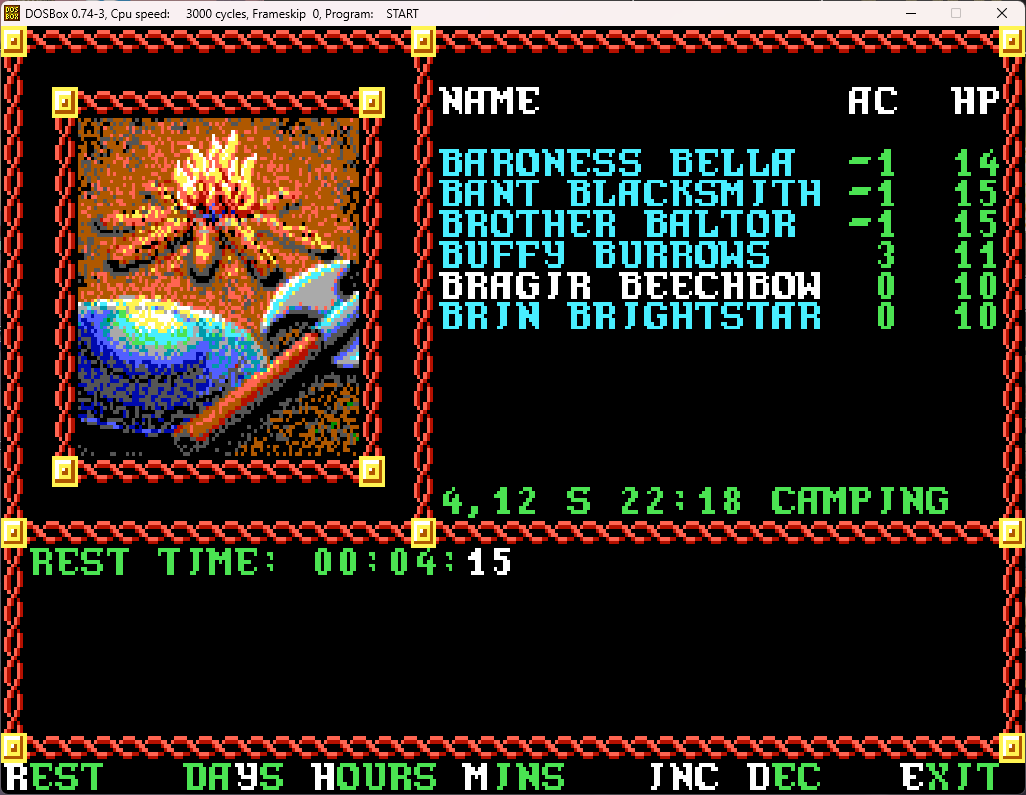
One short rest later:
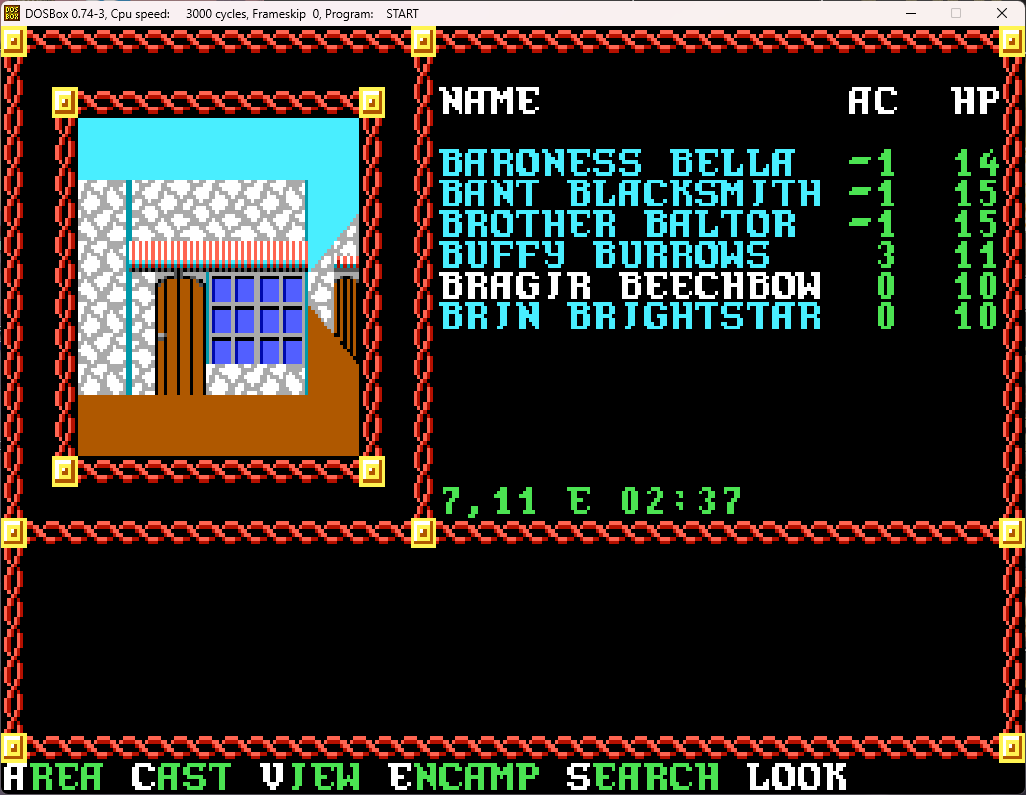
And the store is now open!
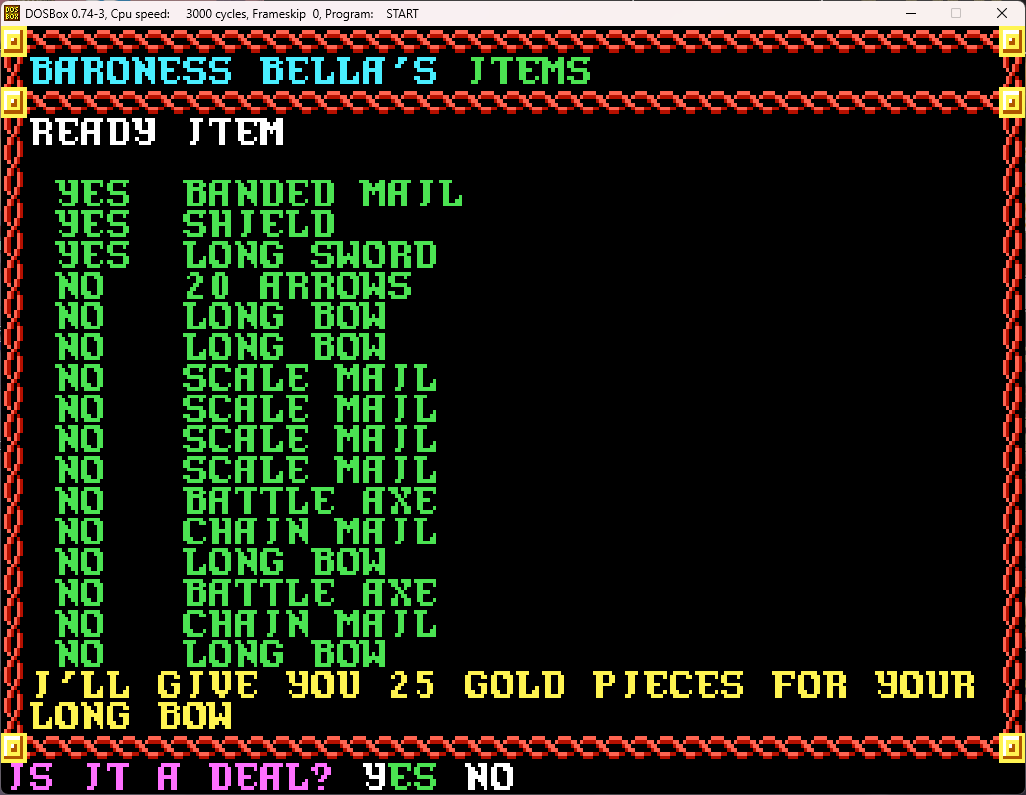
Not bad!
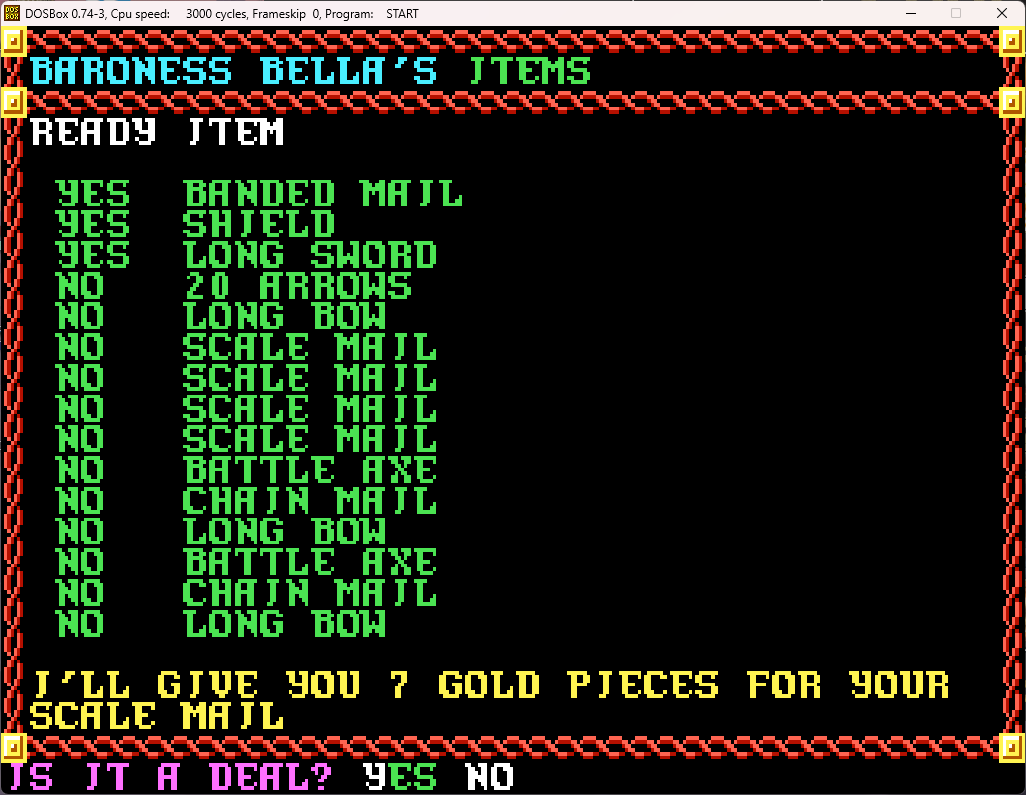
Ooof. The battleaxes are even worse, going for just 2 gp. The chainmail at least goes for 12, so it was sort of worth dragging back here. But really, only the longbows were really worth it.
But, we sell all our loot, and since our money is pooled, here's what our funds look like:
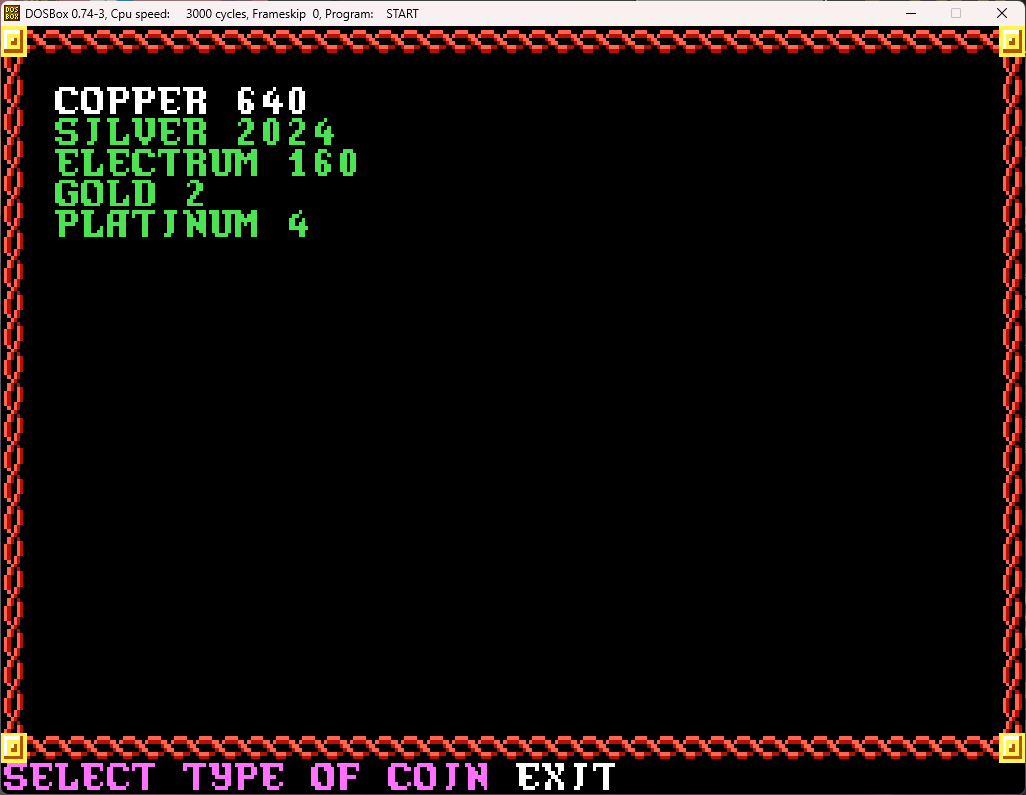
(The silver was definitely not helping out with our encumbrance!)
What we do now is buy 10 arrows for 1 gp. Since our funds are pooled, the money will come from that, and then, suddenly, our pooled funds are nicely rounded:
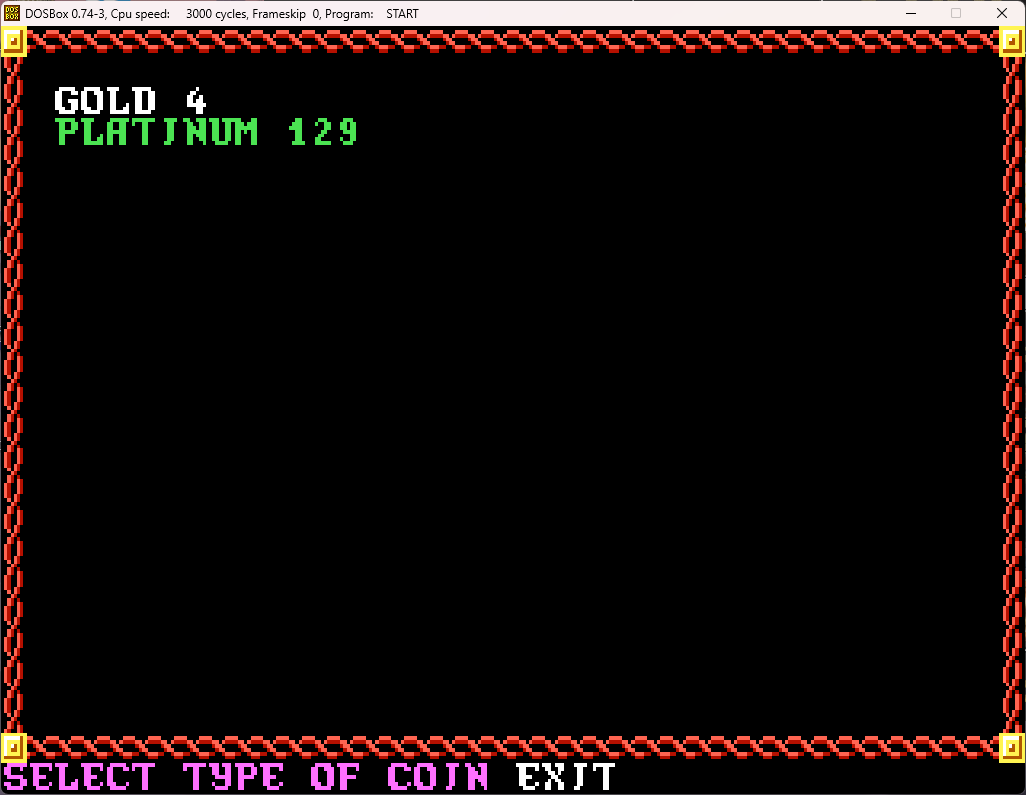
That's far less encumbering! We can split the pooled funds, with everyone getting an equal share, and then leave the store much richer and lighter. It's time to head back to the Slums for further adventure. But that's for the next post...

(Here is what the party's experience bars look like now. Although progress is slow, several characters are roughly at 20% the xp necessary to get to the next level. This will start to move up dramatically in the very near future.)
All rested, healed up, and spells memorized, it's time to head further into the Slums! If you look at the map at the end of the last post, we go out the door, go south, go out the next door, and head down the corridor headed west (where the highlighted square is). We go through another door a short distance down, and there we have doors to our left and right, and a corridor continuing straight ahead to the west (again, I'll include a map at the end of this post). We try to go through the door to the right (north), and...
Well, that's why we have a thief around (and for the occasional backstab, which are unfortunately very hard to set up in these games - I'll definitely be bragging about the rare times I can pull one off successfully, trust me!). We have Buffy pick the lock and...
This set encounter will be a bit tougher than the one with just 4 orcs, but it's not too tough, being all rested up and ready to go. Time for some of them to take a quick nap...
Since I slowed the game down to get some better screenshots, here is Baroness Bella killing a goblin, with the skull and crossbones effect that results when a foe (or one of your own characters!) dies. You'll see that in the middle right section any time you attack, telling you if you missed ("Baroness Bella attacks Goblin Guard and misses"), or how much damage was done. It looks the same for when an enemy attacks one of your characters.
If you kill a sleeping or otherwise helpless enemy, you'll see this (I wasn't quite fast enough to get the skull and crossbones for this screenshot). One thing to note, if you're killing helpless foes with bows, you only get one shot a round, instead of two, while doing so.
The goblins go down quickly (including the goblin leader that was offscreen to the left), so it's treasure time. But this time, let's scroll down to Brother Baltor in our list:
Now we have the "Detect" option showing up only for him, since he has detect magic memorized. Let's cast it and see what the results are:
What's that asterisk next to the leather armor? Why... it's magical! Since we only have one person who wears leather armor, Buffy picks it up and (since we have Auto ID on):
We definitely equip it, and now Buffy's AC (which is the worst in the party) goes down by 1. (The asterisk will go away shortly once the detect magic spell duration ends).
All done here, we turn around, go back out the door, cross the corridor, and go through the door headed south, when:
At this point, Brother Baltor is, again, pretty beaten up.
Time for healer to heal himself. I want to reserve the spells for emergencies, so let's use that scroll we got a short time ago.
Even after casting both cure light wounds available, the results aren't particularly spectacular.
(note all the various types of coinage we've picked up so far. And each coin contributes to encumbrance, so it's best to be exchanged out whenever at a store for larger currencies)
We go through another door, heading generally south, until we get to what looks like a large plaza with a building in it. We turn east to head around that building, the south, looking for a door...
The kobolds are taken care of fairly quickly, and we find a door to enter the building. It's locked though, so Buffy picks the lock, and:
(He never comes closer, so he's presumably yelling at us from across the room)
I guess we accept. Nothing like a good old fashioned fetch quest!
The Rope Guild, right. Sounds like a nice, pleasant place that will be easy to get to and navigate through, with no trouble waiting inside at all! We take our leave and head back north. We've got a fair amount of loot now, so it's probably best to head back to the civilized area and sell what we've gathered.
We've barely gotten two steps outside his door when it's time for another random patrol (#6 if I'm counting correctly)
Ugh, random goblin flanked the party again. This really sucks when it happens, as it's annoying to have to switch everything around in the inventory. This is well before games made it easy to toggle between ranged and melee.
The goblins have failed their morale and are now running away. This is the message you get when one runs out of melee combat - you get a free attack from behind. Brother Baltor is more than happy to make the goblin pay for doing so. The screenshot was a second too quick to get the skull and crossbones, because that goblin is very dead.
No wonder he was so mad, he's been hit again, and is low on HP yet again. He and Bant will be the ones getting the most hits, as they are in the front on the flanks, but usually battle positions tend to favor each equally through the luck of the draw. He's just had some bad luck in where the battles have occurred and the position of the foes, meaning more enemies have been able to hit him, and, thus, doing more damage to him.
Sigh, time to cast his cure light wounds spells.
The first one gives him just a single hit point back, but the second one, conversely, gets him back up to full health! Time to make a run back to our closest safe resting spot, which will be the room where we defeated the goblin set encounter. We head west, then north, and actually reach it with no further encounters. Time to rest, as everyone is now completely out of spells (both magic-users each used their sleep spell during the proceeding encounters).
Spells memorized, and everyone fully rested, time to make a run back to the gate back to the city. Here's a map of the parts of the Slums we have explored so far:
We are currently in the goblin set encounter room, and Ohlo was down to the south, east, and then south. Our goal is to get back to the gate to the city, which is the door on the far right. We want to get back because we've already got enough loot that it's beginning to affect characters' encumbrance, and they are getting slowed down in combat:
Baroness Bella's movement is usually 9, but she's carrying so much that it's been reduced to 6. It can go down to 3, or even 0 (which you really don't want during combat) should she get even more encumbered. Conversely, things such as the haste spell or boots of speed can increase the movement. An unencumbered character with both of those can have a movement of 48!
So, it's a run for the gate, and, surprisingly, we almost make it there before we have a random encounter:
A sleep spell and normal battle prowess makes quick work of the goblins, and we're finally back to the civilized area of Phlan! Let's head to the shop and sell our loot!
Well, darn. They actually close shops at night in this game, which is something of a novelty for CRPGs in this era. It's 22:12 (if you haven't noticed, the coordinates on the usually 16 x 16 map grid, the direction the party is facing, and the time are all right there below the party info), and in this game, dawn is at 00:00, so we're just a bit too early. Well, we just cast a sleep spell in the combat before the gate, so we can just go over to the inn to rest and re-gain it. If we didn't have any spells to memorize, we could just go to the inn and choose an amount of time to rest so that the stores (and other places like the town hall) will be open.
One short rest later:
And the store is now open!
Not bad!
Ooof. The battleaxes are even worse, going for just 2 gp. The chainmail at least goes for 12, so it was sort of worth dragging back here. But really, only the longbows were really worth it.
But, we sell all our loot, and since our money is pooled, here's what our funds look like:
(The silver was definitely not helping out with our encumbrance!)
What we do now is buy 10 arrows for 1 gp. Since our funds are pooled, the money will come from that, and then, suddenly, our pooled funds are nicely rounded:
That's far less encumbering! We can split the pooled funds, with everyone getting an equal share, and then leave the store much richer and lighter. It's time to head back to the Slums for further adventure. But that's for the next post...
(Here is what the party's experience bars look like now. Although progress is slow, several characters are roughly at 20% the xp necessary to get to the next level. This will start to move up dramatically in the very near future.)
Last edited:
Sword of Spirit
Legend
These were both some of my early formative computer game experiences, and my early formative D&D experiences!
Recently, I started playing Fell Blade: Arbiter's Mark, which is inspired by Final Fantasy Tactics (which I never played but hear is good). When I first started I played on the Beginner setting recommended for those without experience in such tactical RPGs. But, despite the fact that I'm normally not very good at challenging games, after playing a little I restarted under the Veteran difficulty and haven't been having any problems. And that's because the Gold Box games gave me the same sort of tactical RPG skills needed to do well at this sort of game.
As far as challenge went, anytime the enemies included clerics in a Gold Box game, the tactical challenge increased by leaps and bounds, because any attack after you got hit with hold person would kill you (no attack roll required). And even with the primitive AI the enemies did not pull any punches. They would target you with those hold persons, interrupt your casters, and really try to take you down.
You just didn't get this sort of party-based tactical battlefield movement game play in any other contemporary games I'm familiar with.
Parmandur
Book-Friend, he/him
My experience of games from this era is Bard's Tale, Dragon Wars, and Wasteland (Interplay 10th anniversary great when O was 9), and they were definitely more "theater of the mind" in approach.You just didn't get this sort of party-based tactical battlefield movement game play in any other contemporary games I'm familiar with.
Similar Threads
- Replies
- 77
- Views
- 15K
- Replies
- 80
- Views
- 16K
- Replies
- 16
- Views
- 8K
- Replies
- 2
- Views
- 798
- Replies
- 238
- Views
- 38K
Enchanted Trinkets Complete
Recent & Upcoming Releases
-
December 9 2025 -
June 18 2026


