D&D General Demetrios1453 Plays the Gold Box Games

Pool of Radiance (Part 33): The Kobold Caves (Part 1)

All rested up, it's time to deal with the kobold issue. I have a feeling they won't be as receptive to negotiations like the nomads were.
Screenshot 2024-03-31 191919.png


Back to the east.

Screenshot 2024-03-31 191939.png

Screenshot 2024-03-31 192004.png


We move north, more or less along the river.

A short way up, and...
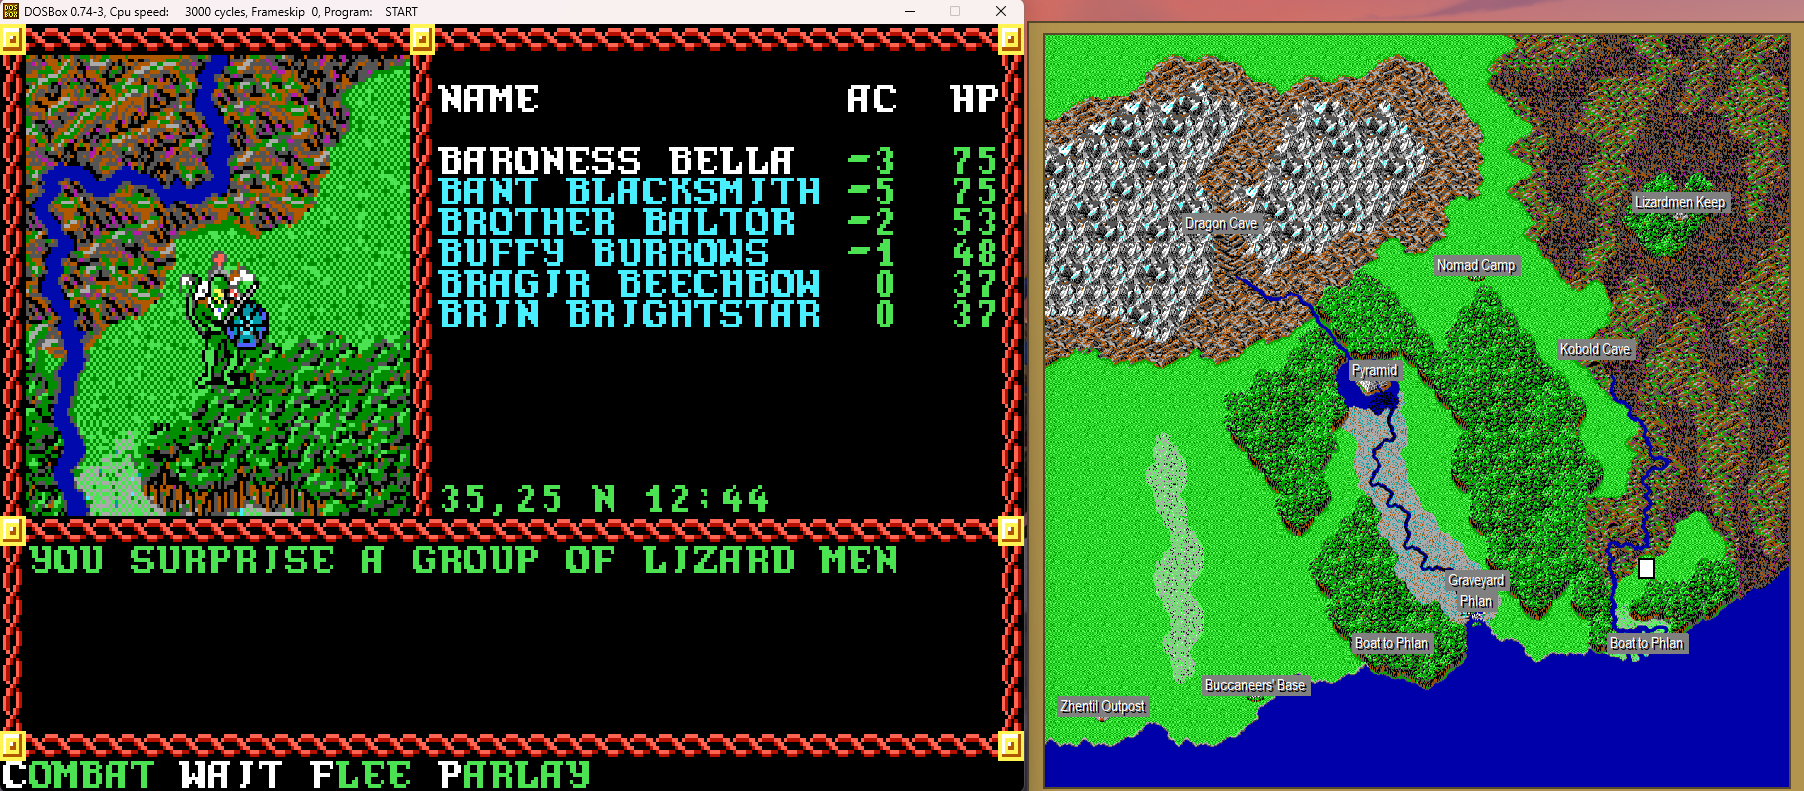
Screenshot 2024-03-31 192025.png


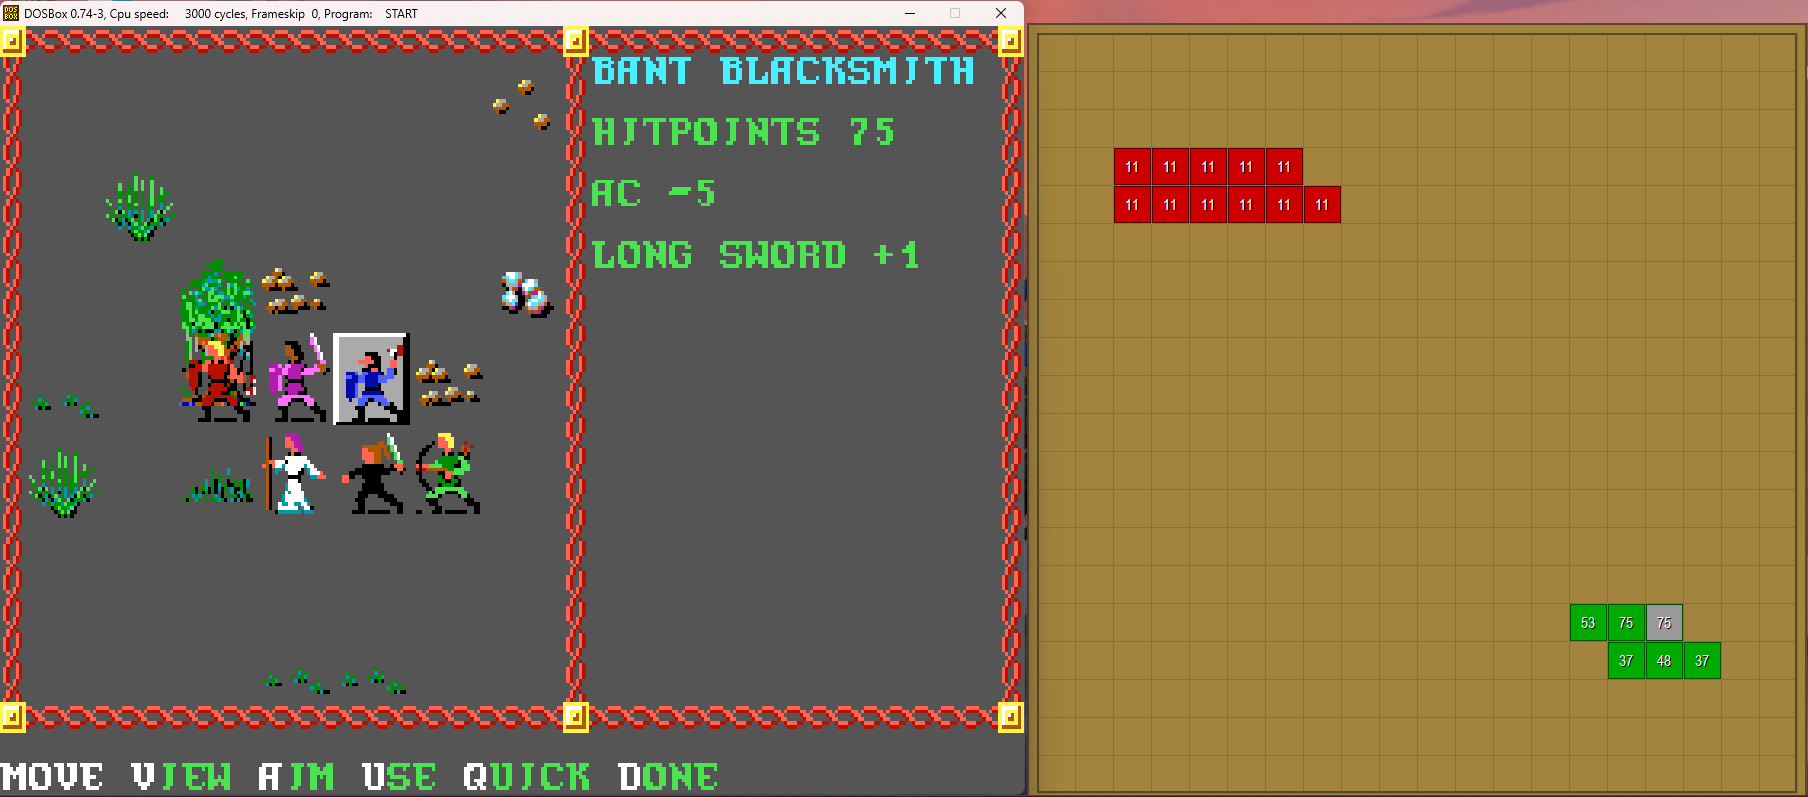
Our first outdoor combat!

Screenshot 2024-03-31 192049.png


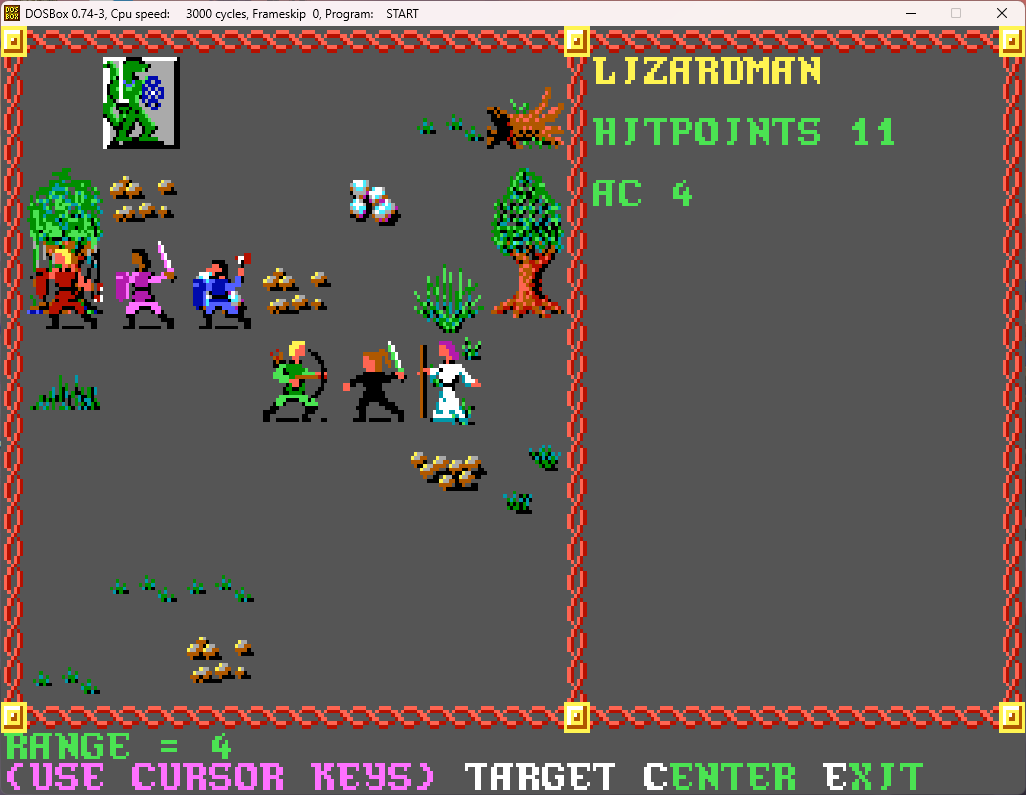
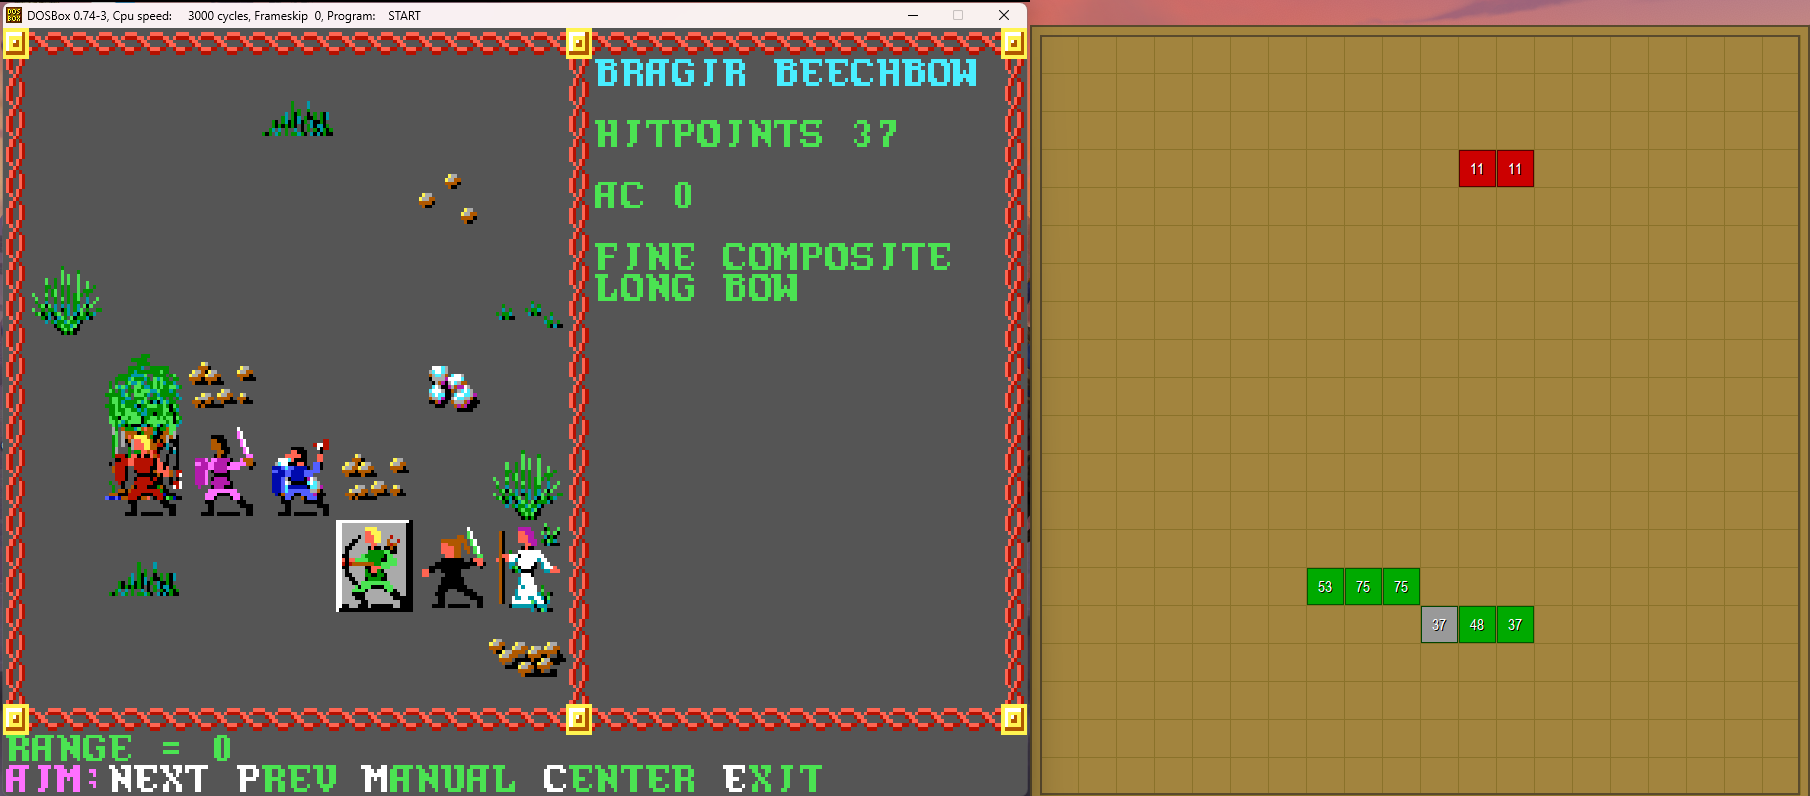
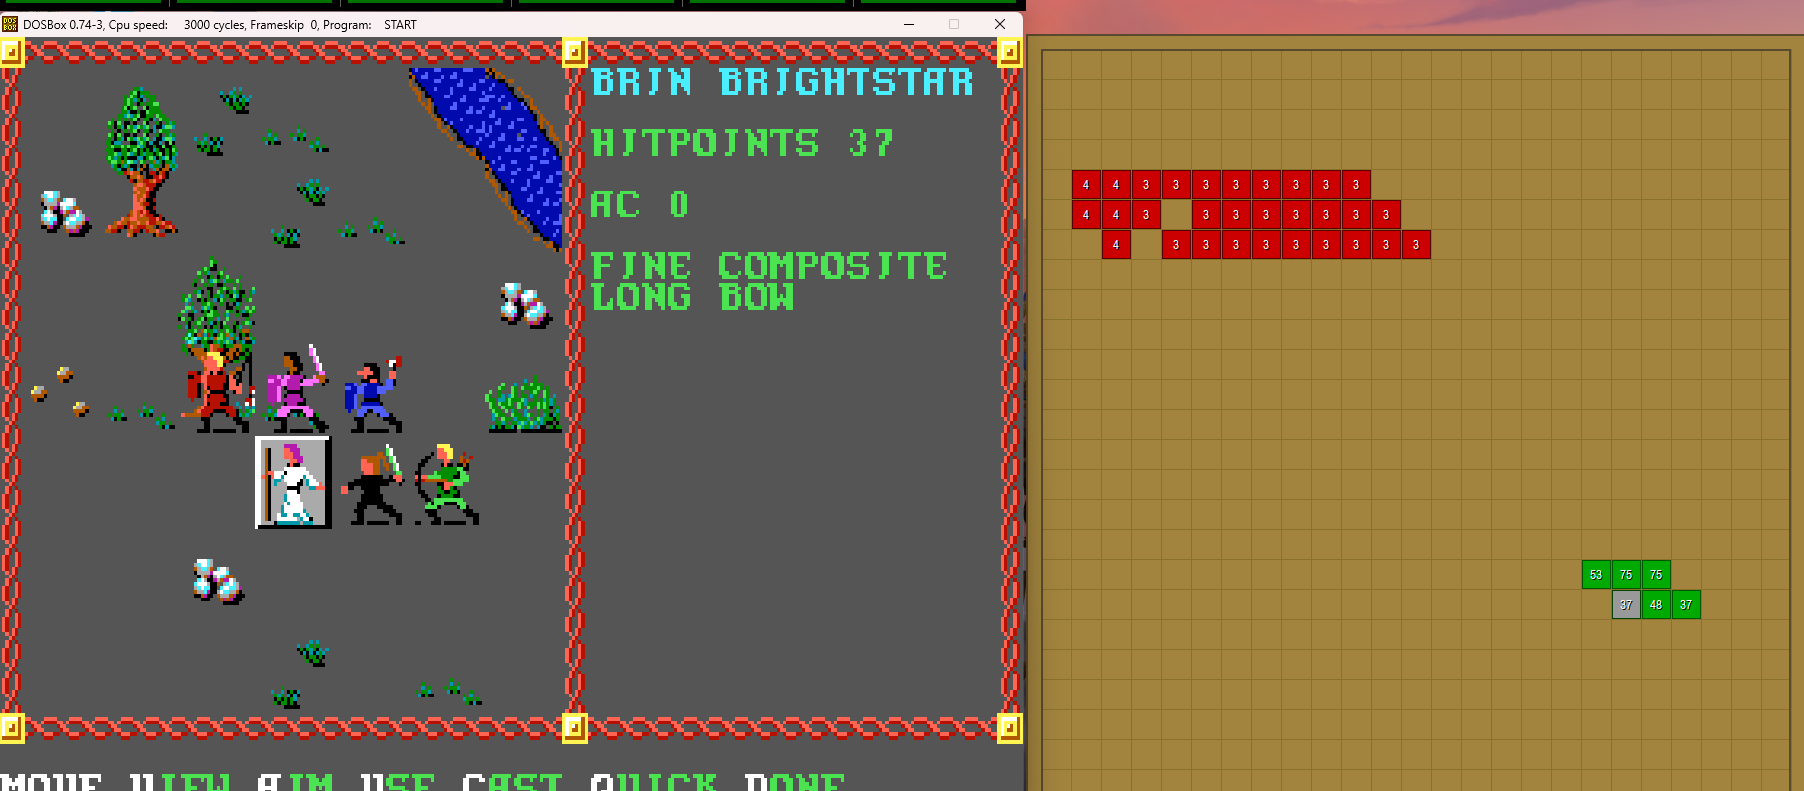
These often start at a distance, so it's usually best to let the melee just guard while the ranged take out foes as they approach. I did attempt to have the front three go ranged for a bit, but their shortbows, even magical, didn't have the range to reach the lizardmen (the fine longbows had no such issue). So, instead of taking extra time switching weapons back and forth, I just set them to guard (which gives them a free hit once something comes within melee range).

The tree in front of Brother Baltor is causing issues with my ranged attacks, blocking the ability to target the lizardmen in many cases. This is a common occurrence in outdoor combat, as trees are liberally scattered about. You can't move through the upper square of a tree or aim through it. Also, there are bushes, logs, and rocks which will force you to move around them, as well as streams (sometimes) which will block movement completely outside of certain crossing points (but will allow ranged attacks to pass, which makes them pretty nice in situations where you're on one side and the foes are on the other, forcing them through a chokepoint while you pepper them with arrows).

In order to target better, I move some of my ranged so the tree isn't blocking them so much.
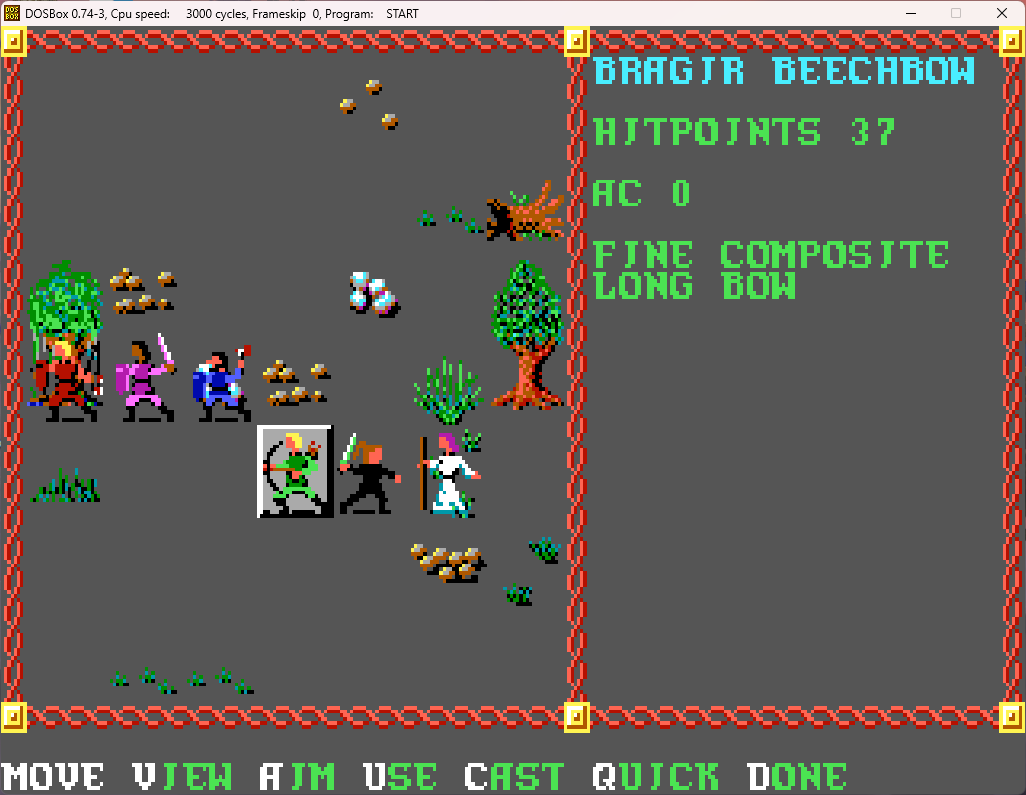
Screenshot 2024-03-31 192237.png


We target individual lizardmen as they draw close. The obstacles on the field as well as other lizardmen getting in the way tend to slow them to a trickle moving forward, letting my ranged characters concentrate on the closer ones as they draw near.
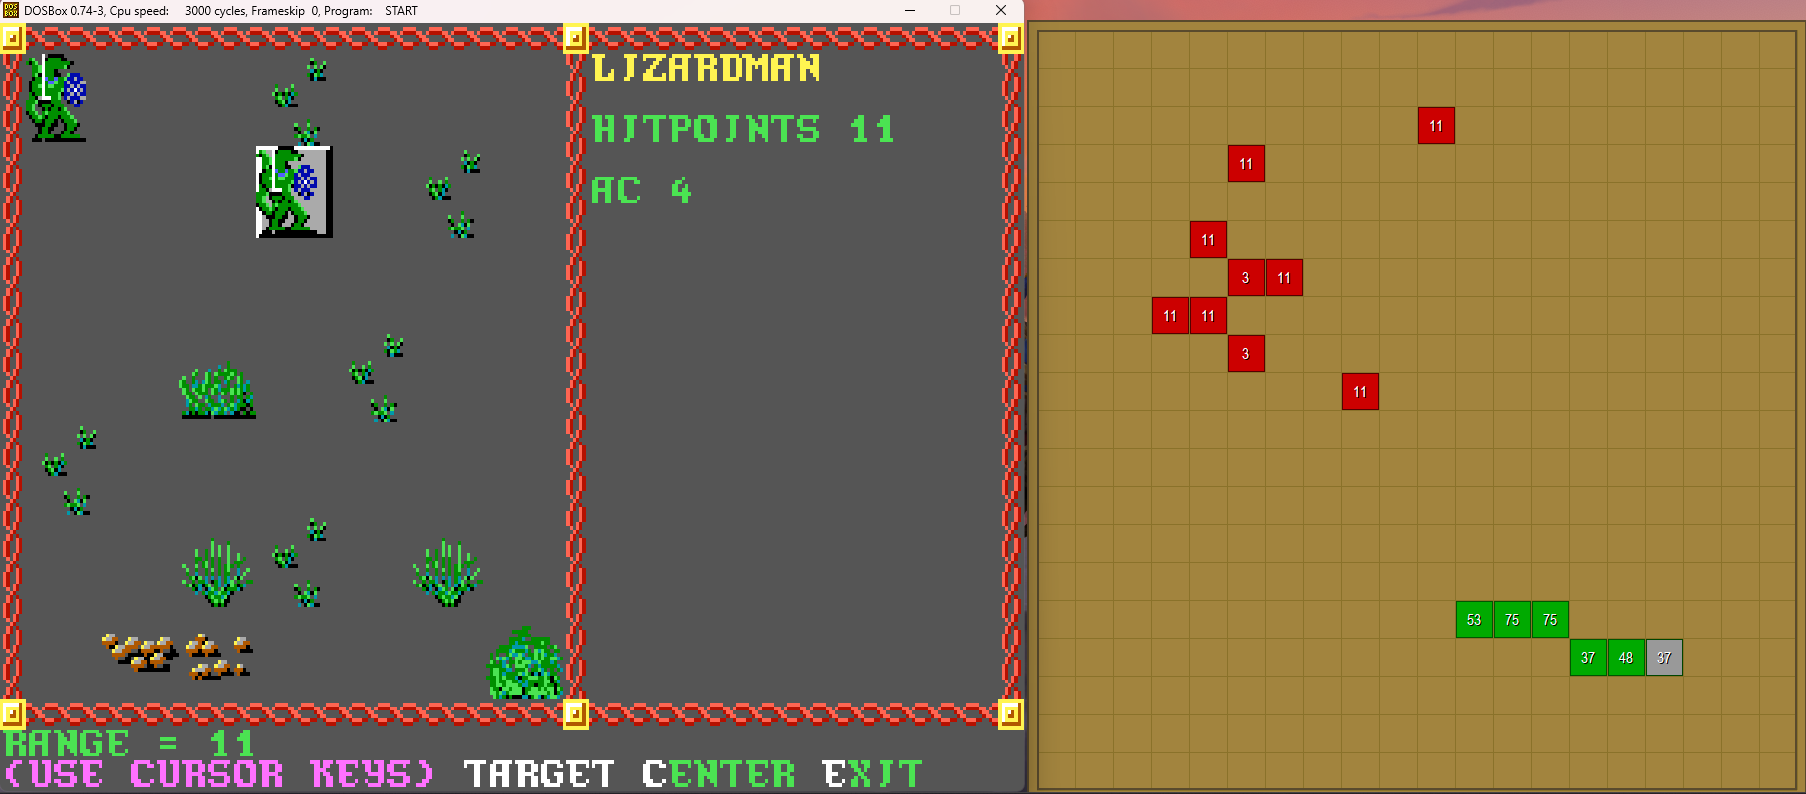
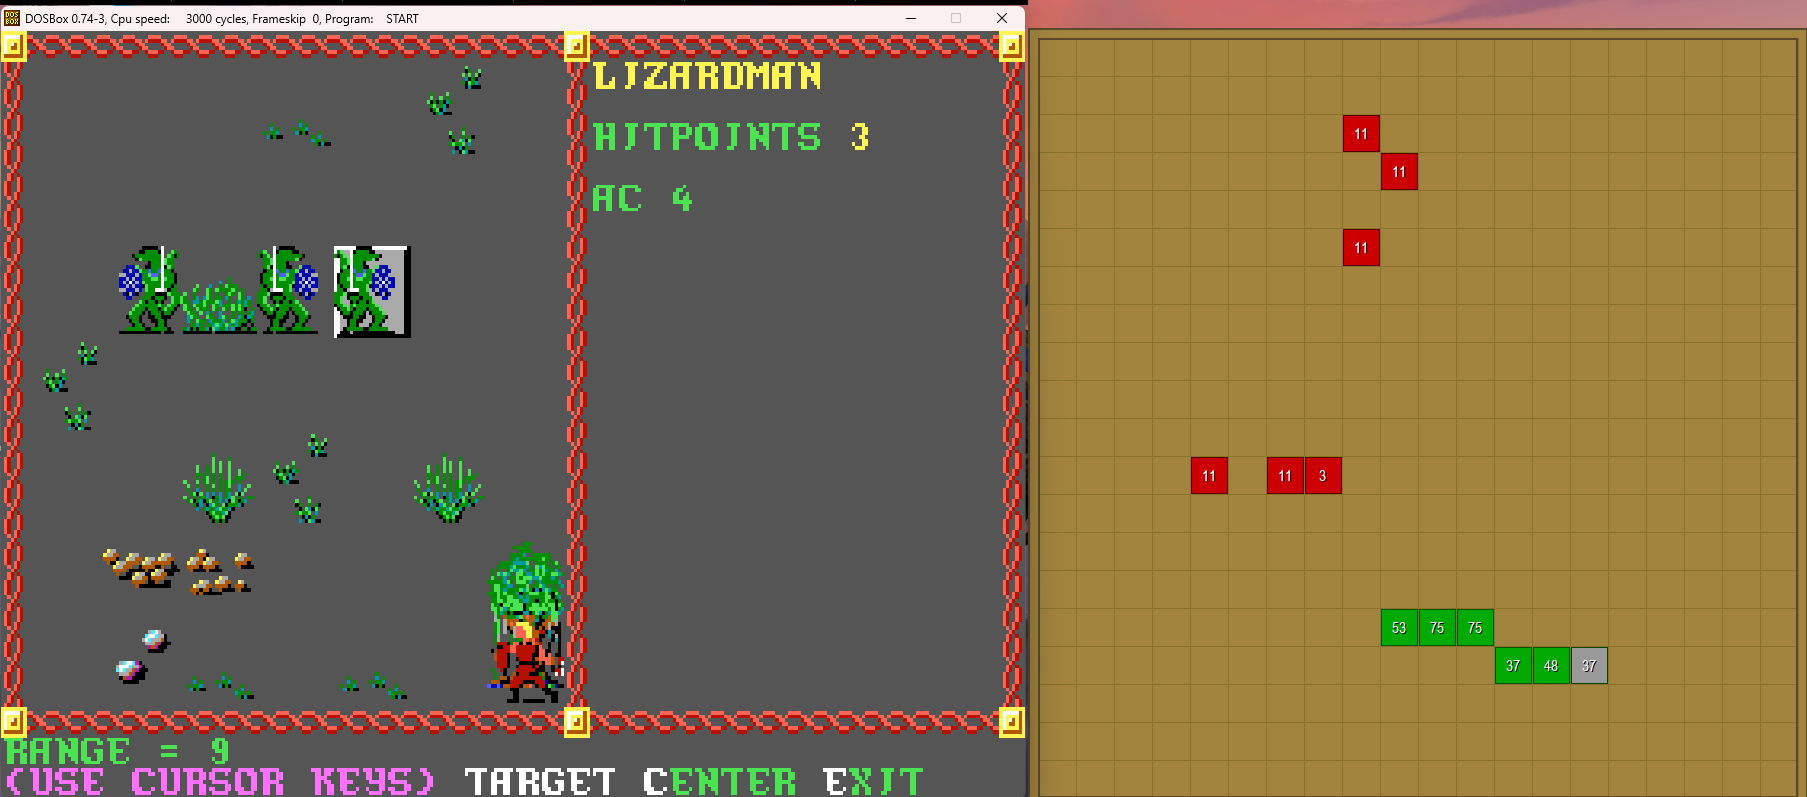
Screenshot 2024-03-31 192412.png

Screenshot 2024-03-31 192510.png

Screenshot 2024-03-31 192531.png

Screenshot 2024-03-31 192610.png


And soon enough, the battle is over.
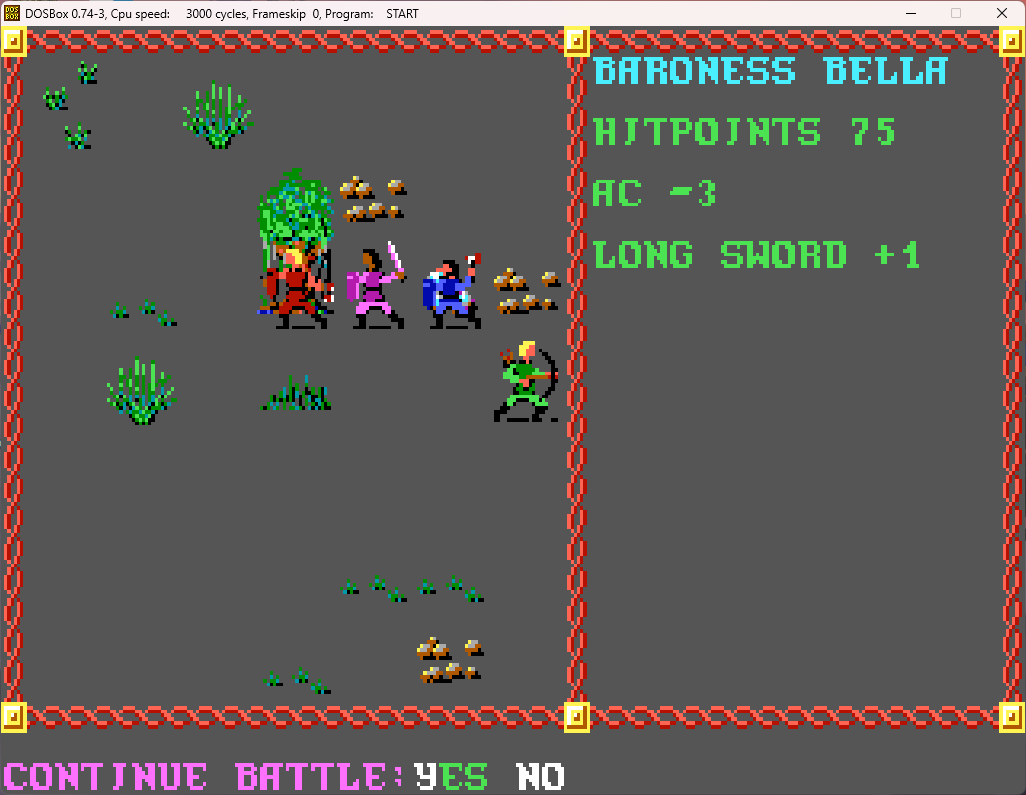
Screenshot 2024-03-31 192646.png


Battle won, we move north again.

But literally one square up...
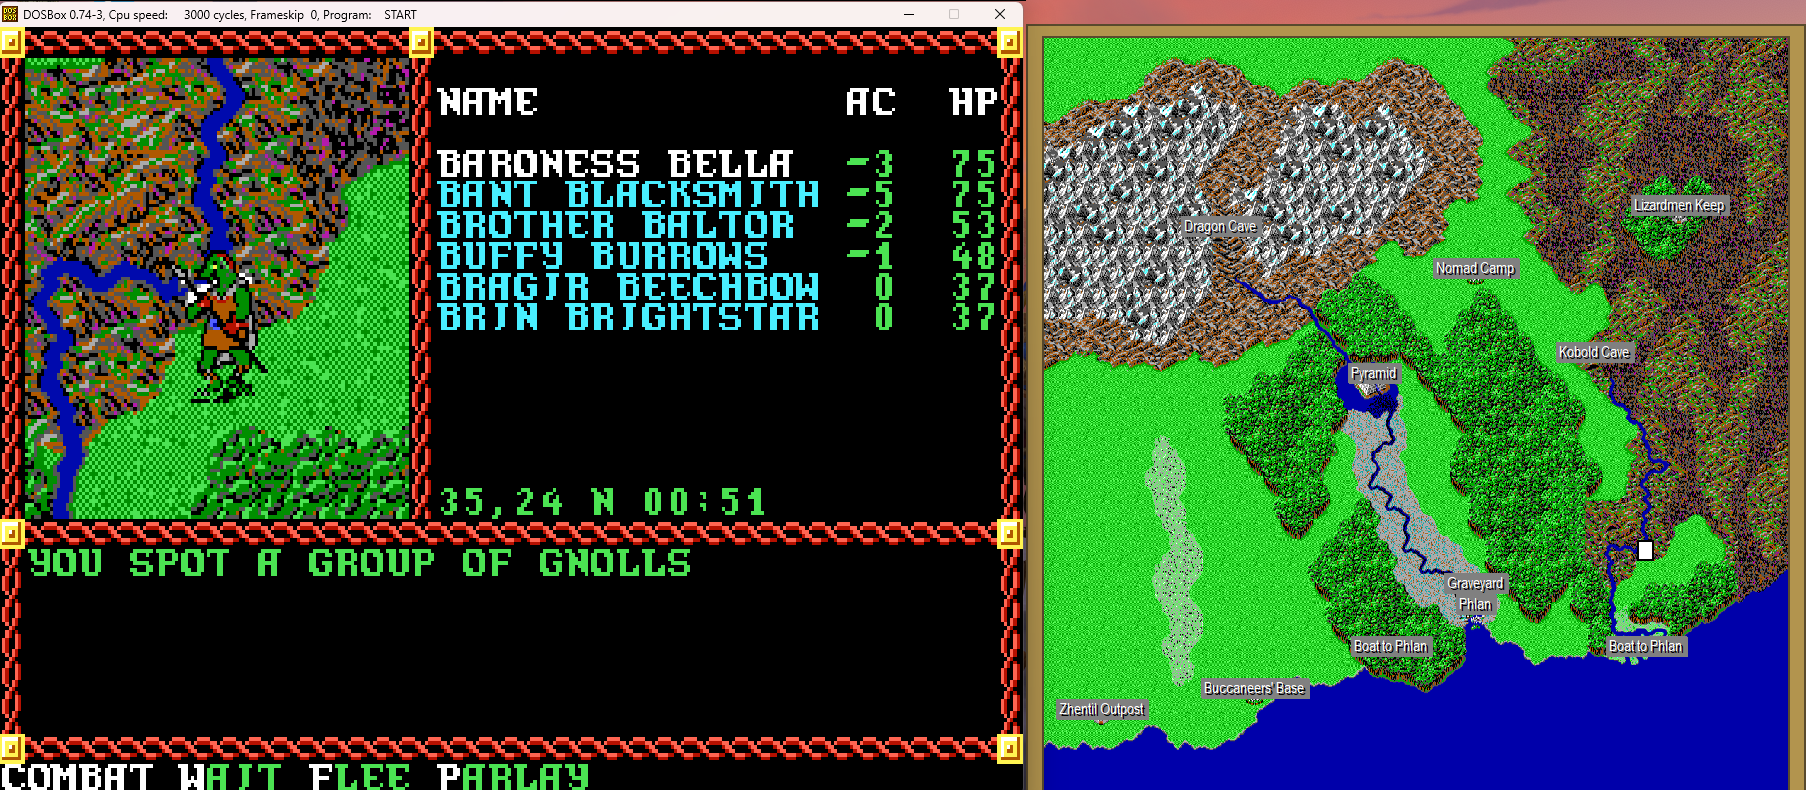
Screenshot 2024-03-31 193013.png


I guess random overland map encounters are like buses - you wait forever for one, and then two come right together.
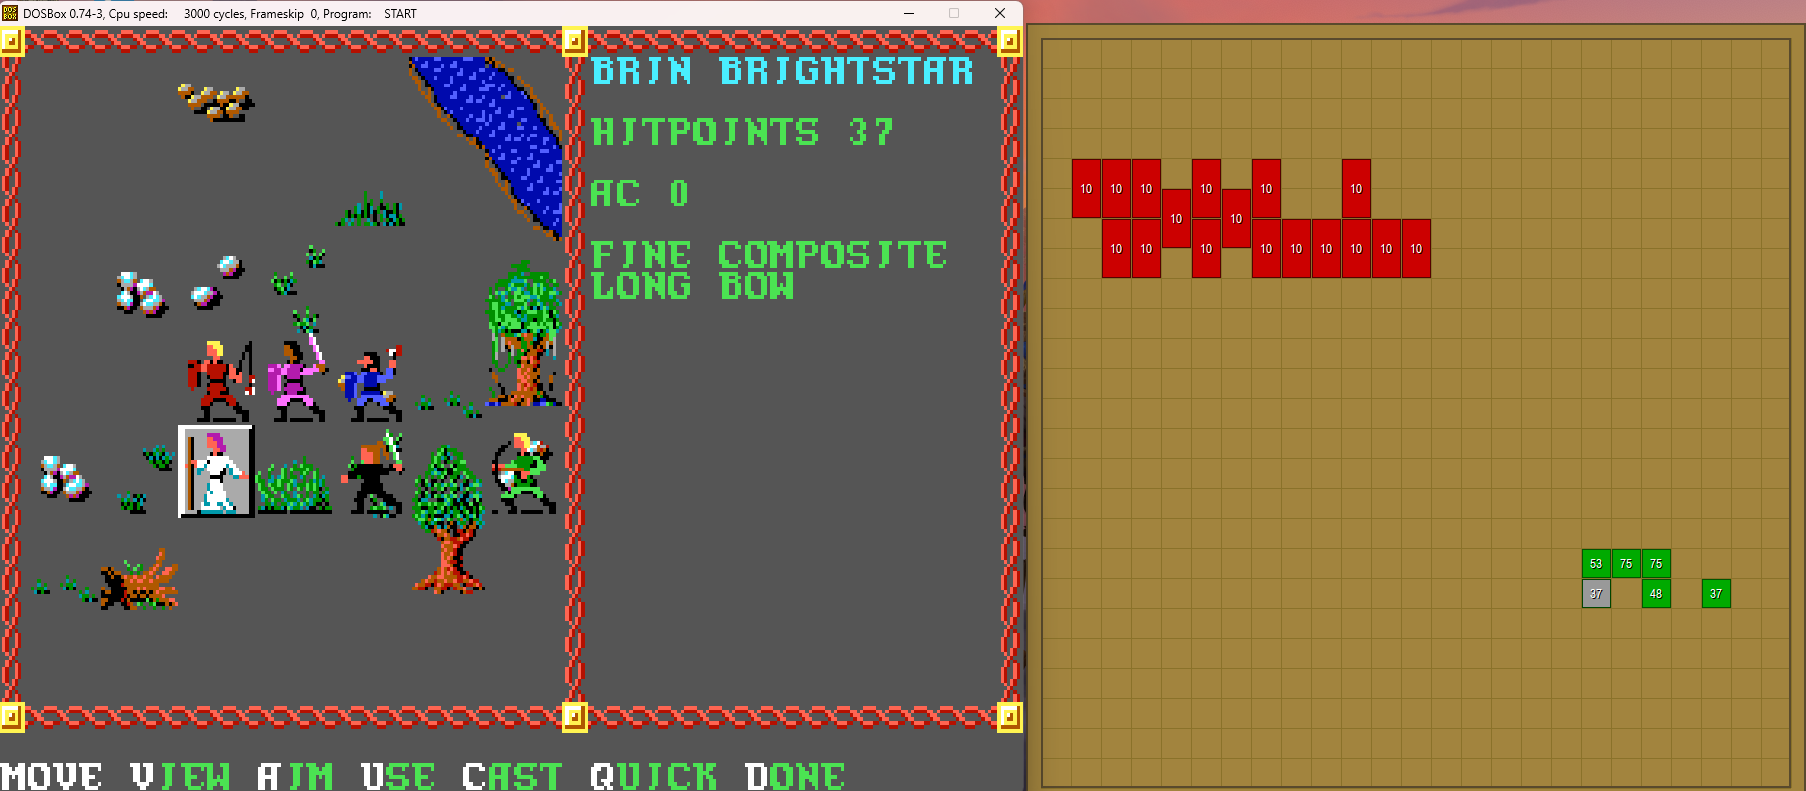
Screenshot 2024-03-31 193032.png


The gnolls are at a serious disadvantage compared to the lizardmen - they take up two squares instead of one, so obstacles will be even more of an issue for them moving around. (This gets quite amusing when you have four-square creatures like dragons in this situation; they have real trouble getting to melee range at times.)

Also note the stream to the upper right. It's a pity we're on the same side of it as the gnolls.
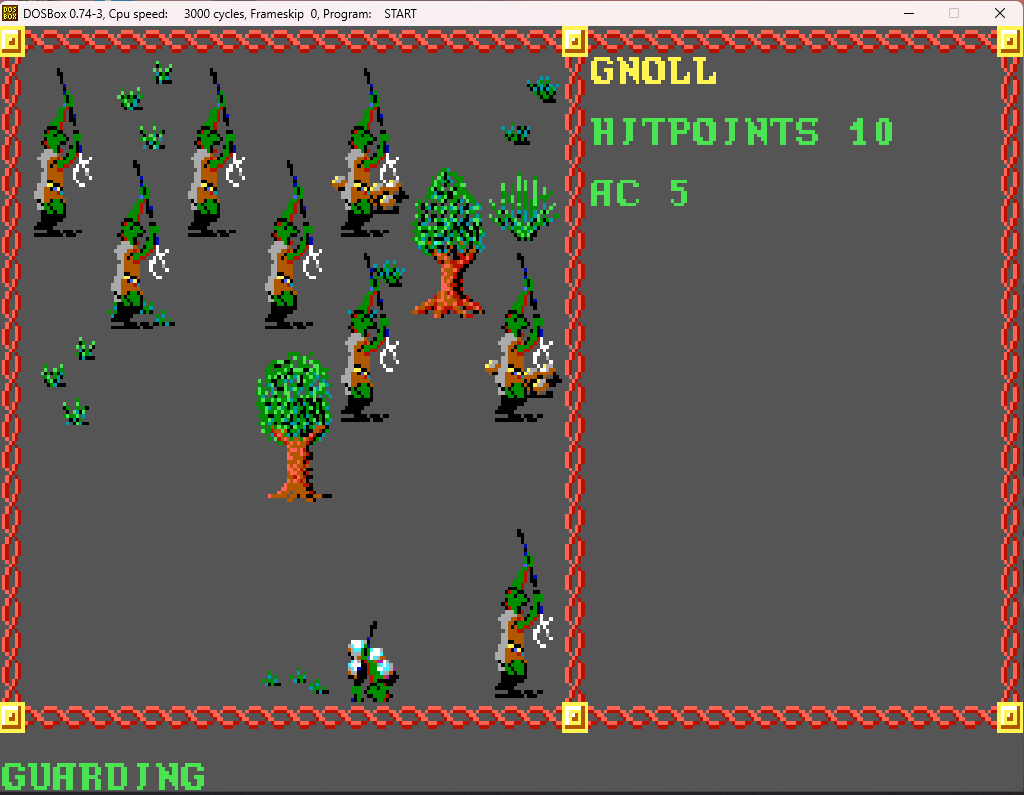
Screenshot 2024-03-31 193129.png


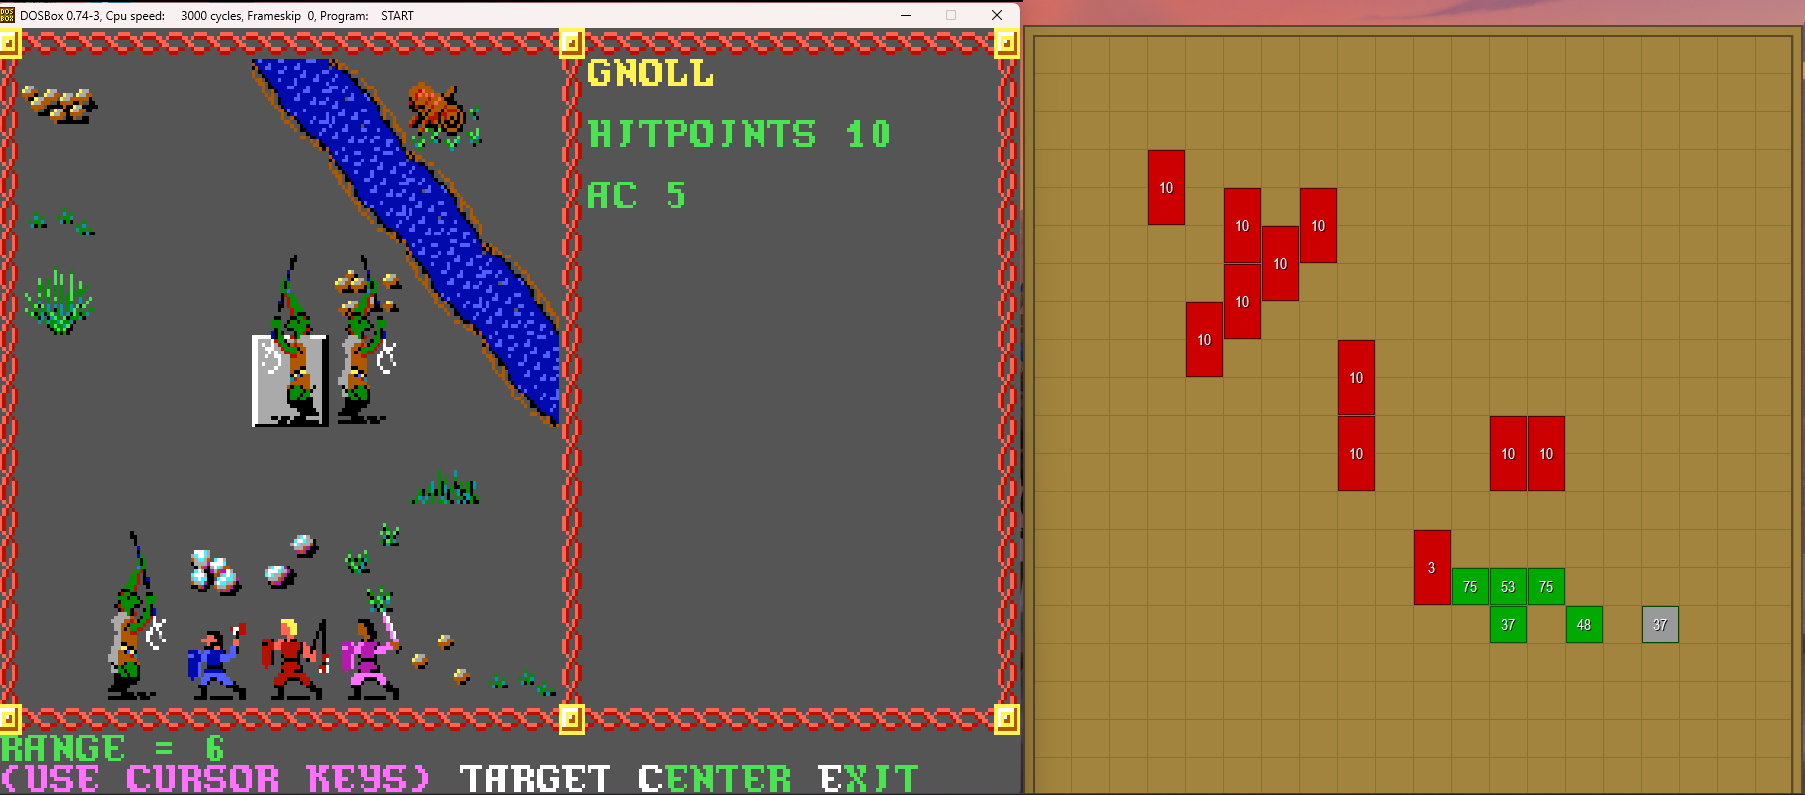
The gnolls are indeed stuck among some trees, so they are going to only be able to trickle down to me individually or in small groups. However, they started closer than the lizardmen, so some will indeed get with in melee range fairly quickly.
Screenshot 2024-03-31 193402.png


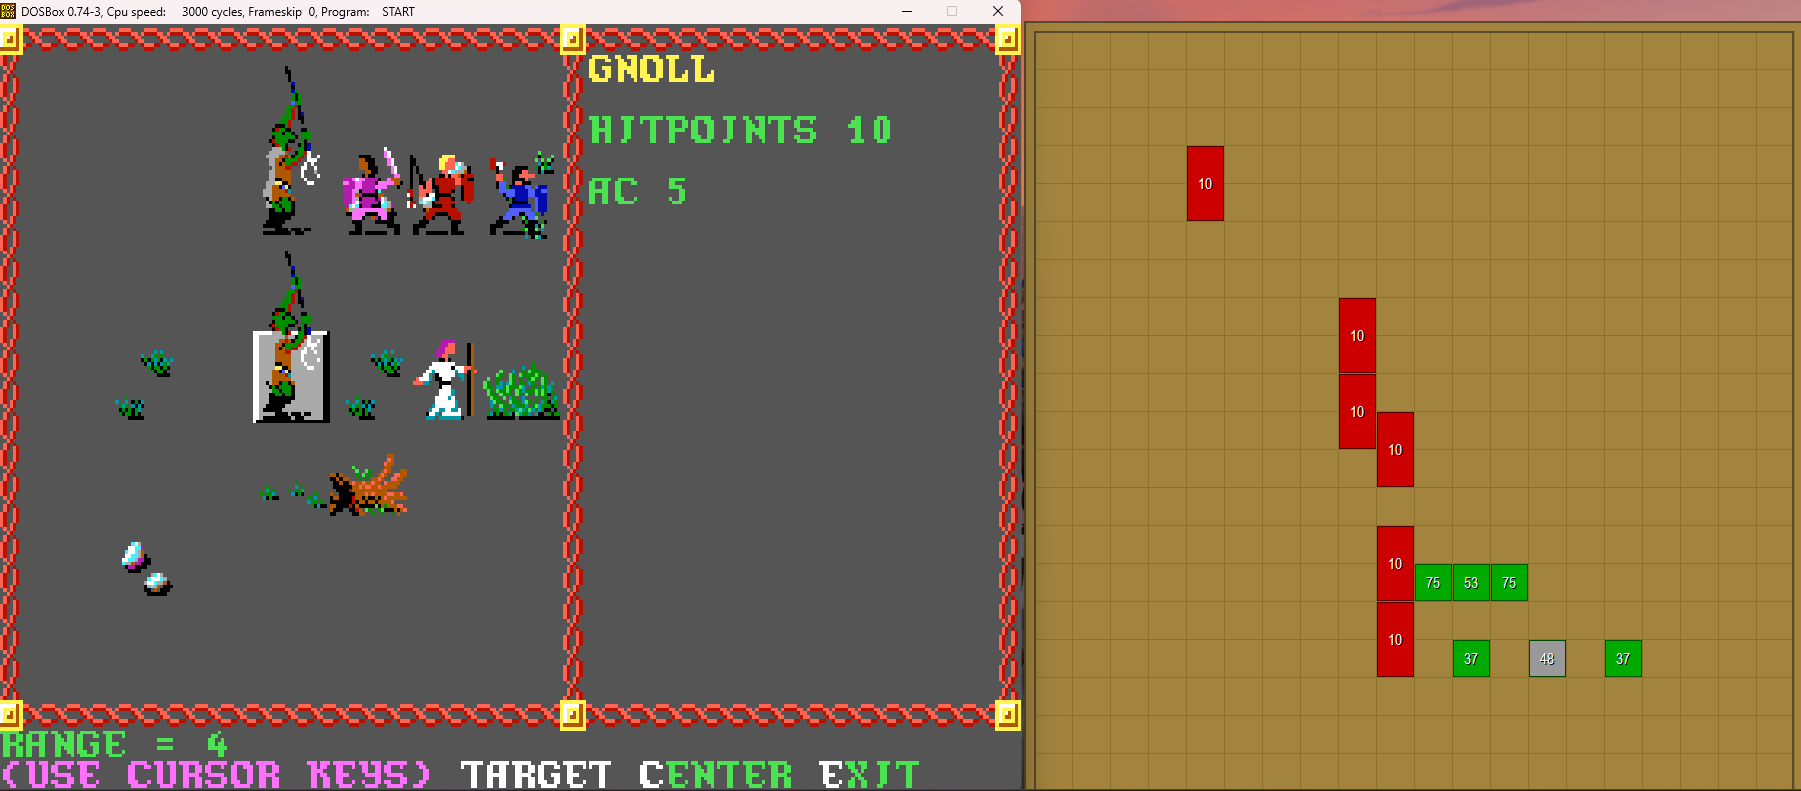
But we're able to handle them with little issue, since they only have 10 HP each, which means in many cases, even a single shot will take one down.
Screenshot 2024-03-31 193527.png


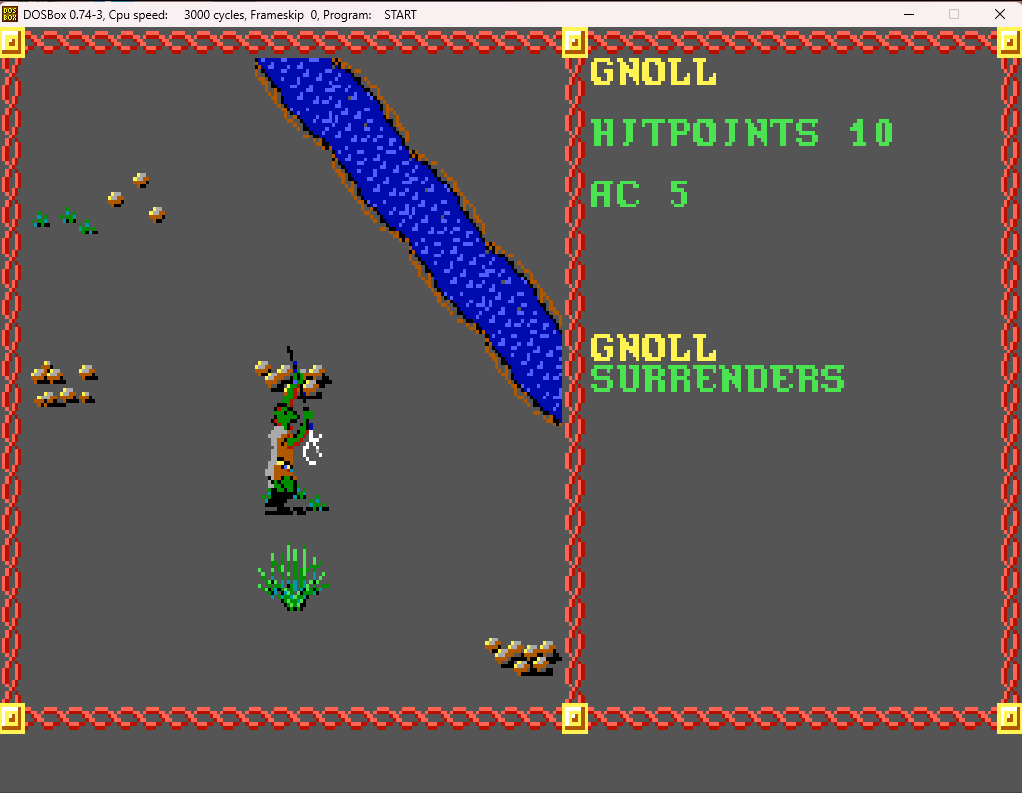
And soon, they begin to surrender, and the battle is over.
Screenshot 2024-03-31 193610.png


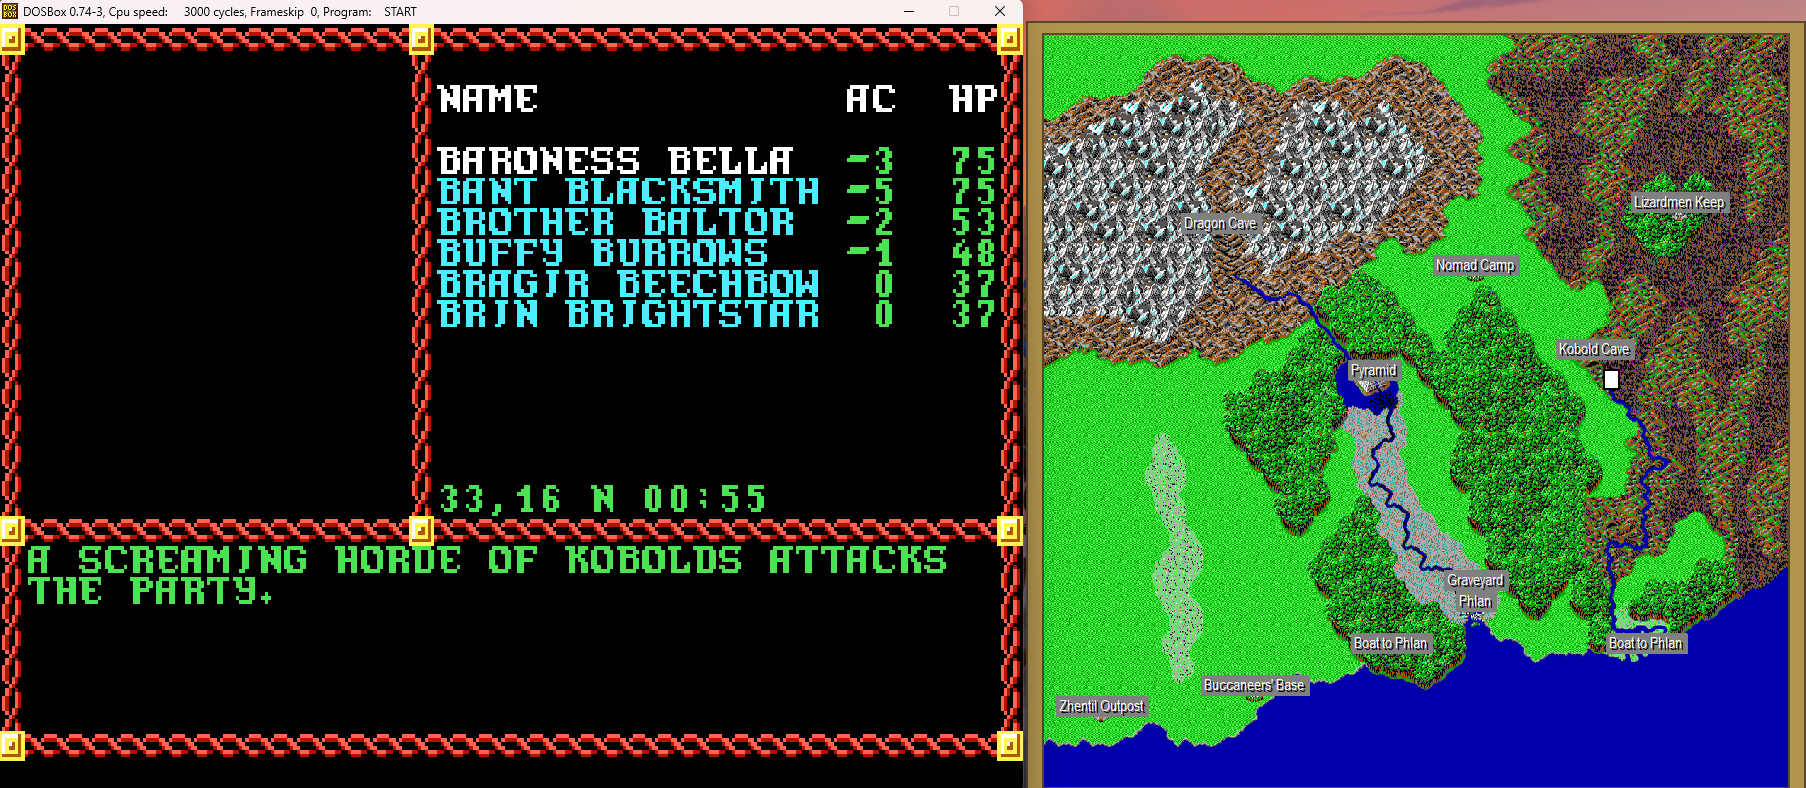
We move further north along the river. Just as we are nearing the cave...
Screenshot 2024-03-31 193702.png

Screenshot 2024-03-31 193714.png


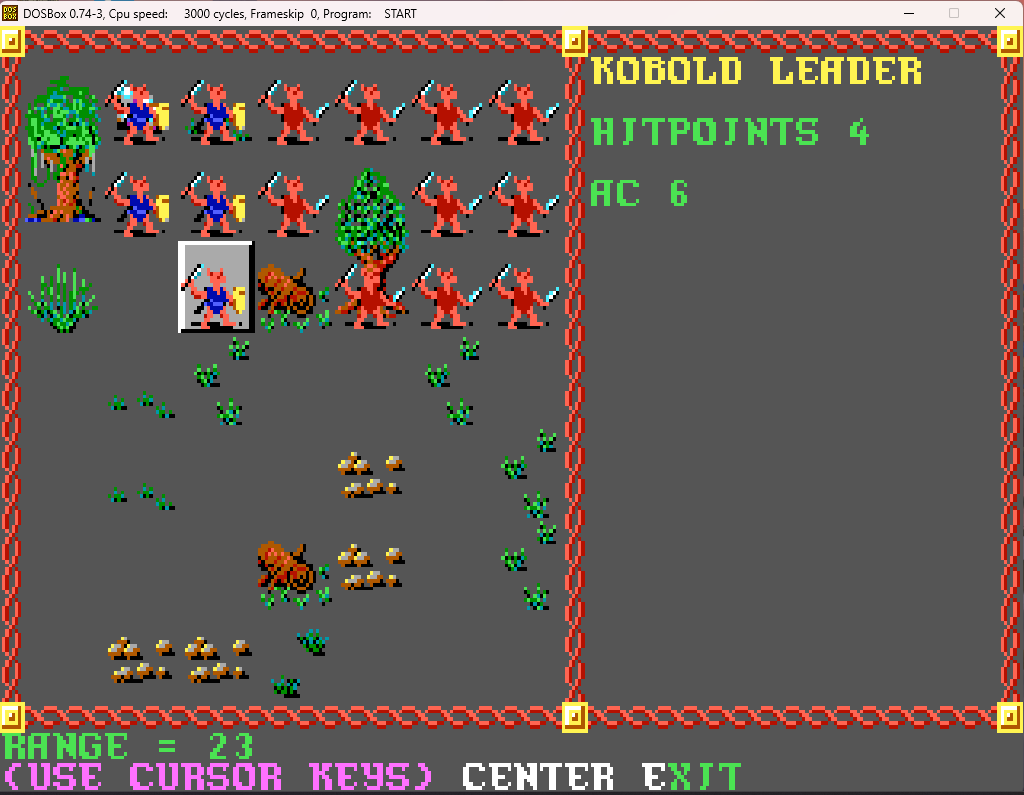
This is a set encounter for when you get near the cave. And again, we have some badly placed trees, which hinder our ranged targeting.
Screenshot 2024-03-31 193727.png


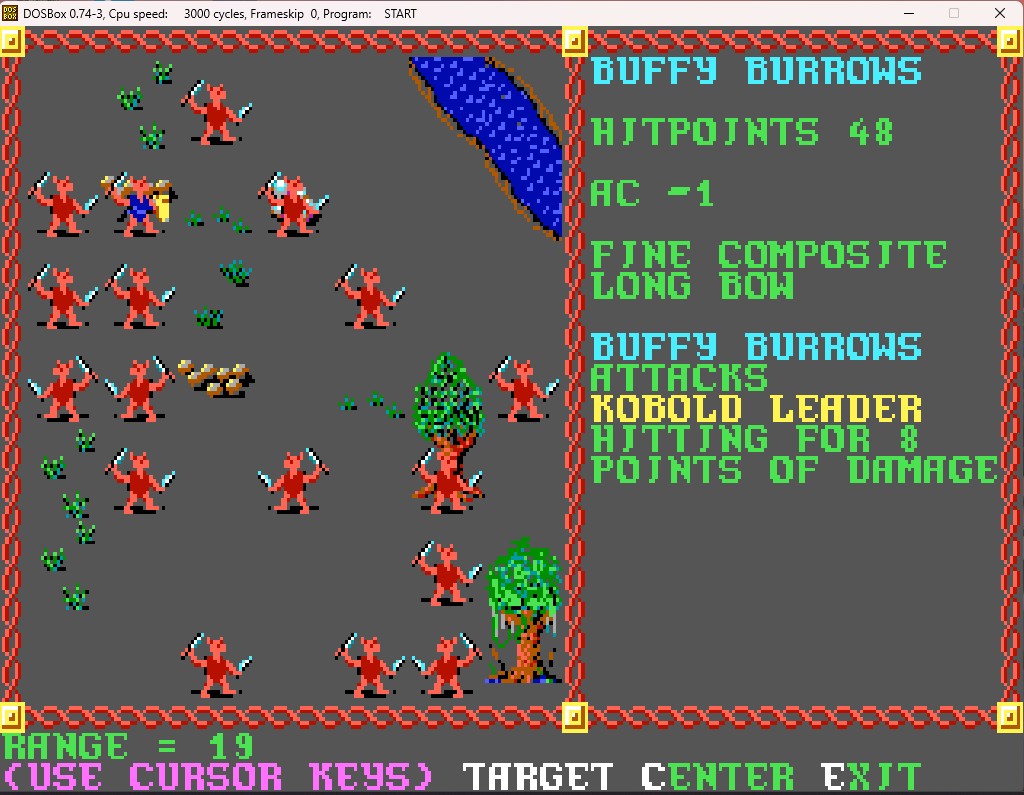
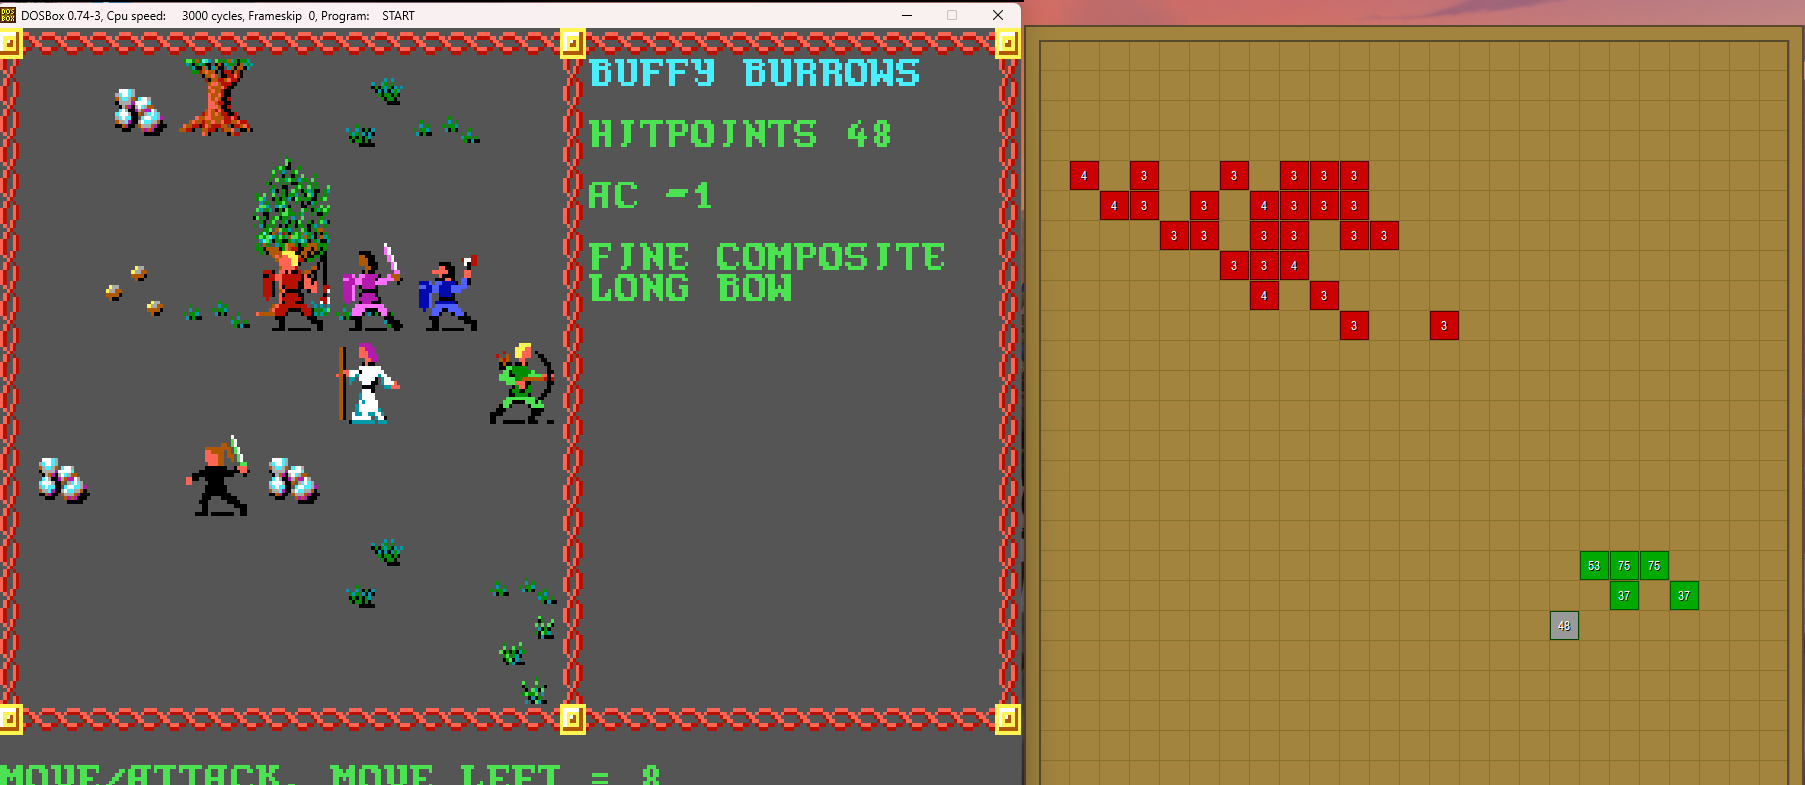
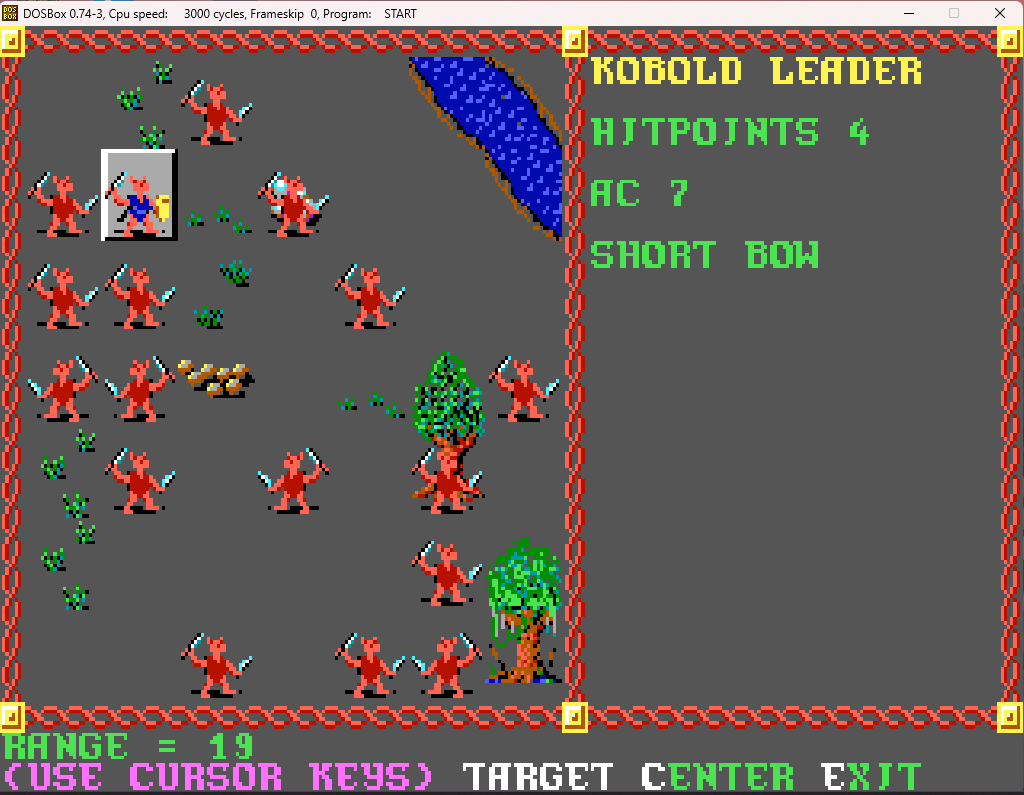
I'd really like to take out this leader, for example, but, as you can see, "Target" is not an option due to line of sight being blocked. So I'm going to have to move my ranged around again to get better angles.
Screenshot 2024-03-31 193914.png

Screenshot 2024-03-31 194036.png

Screenshot 2024-03-31 194044.png


Now that's better!

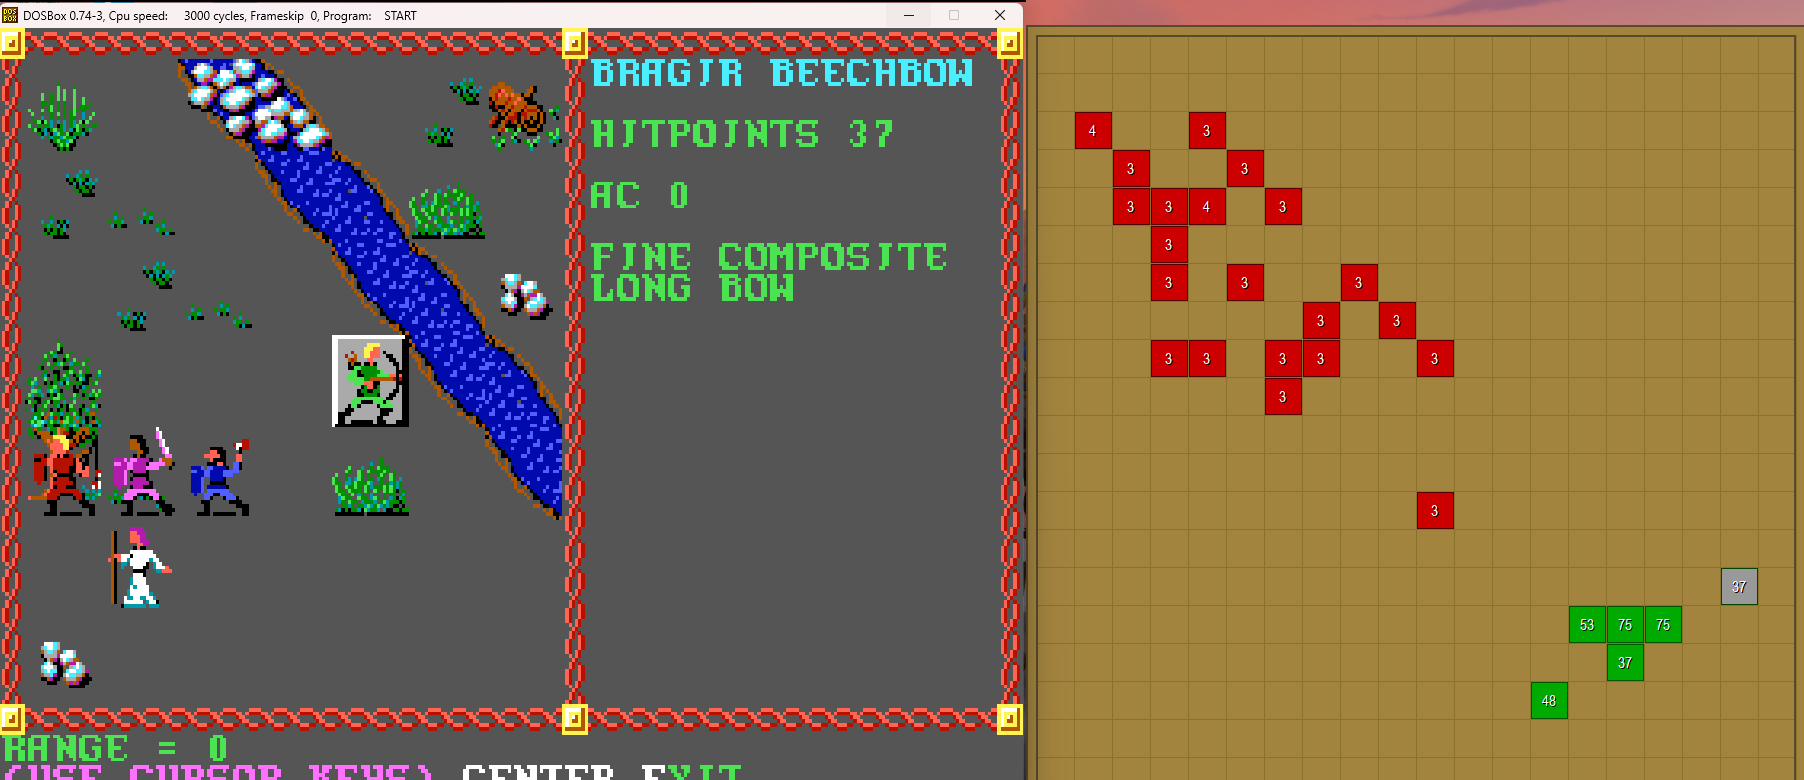
Bragir also moves around for better positioning, to the right in his case.
Screenshot 2024-03-31 194151.png


(Note the rocks in the stream, which would be the only place where crossings would be able to occur).

We target kobolds as they move forward with no discernible organization through all the obstacles...
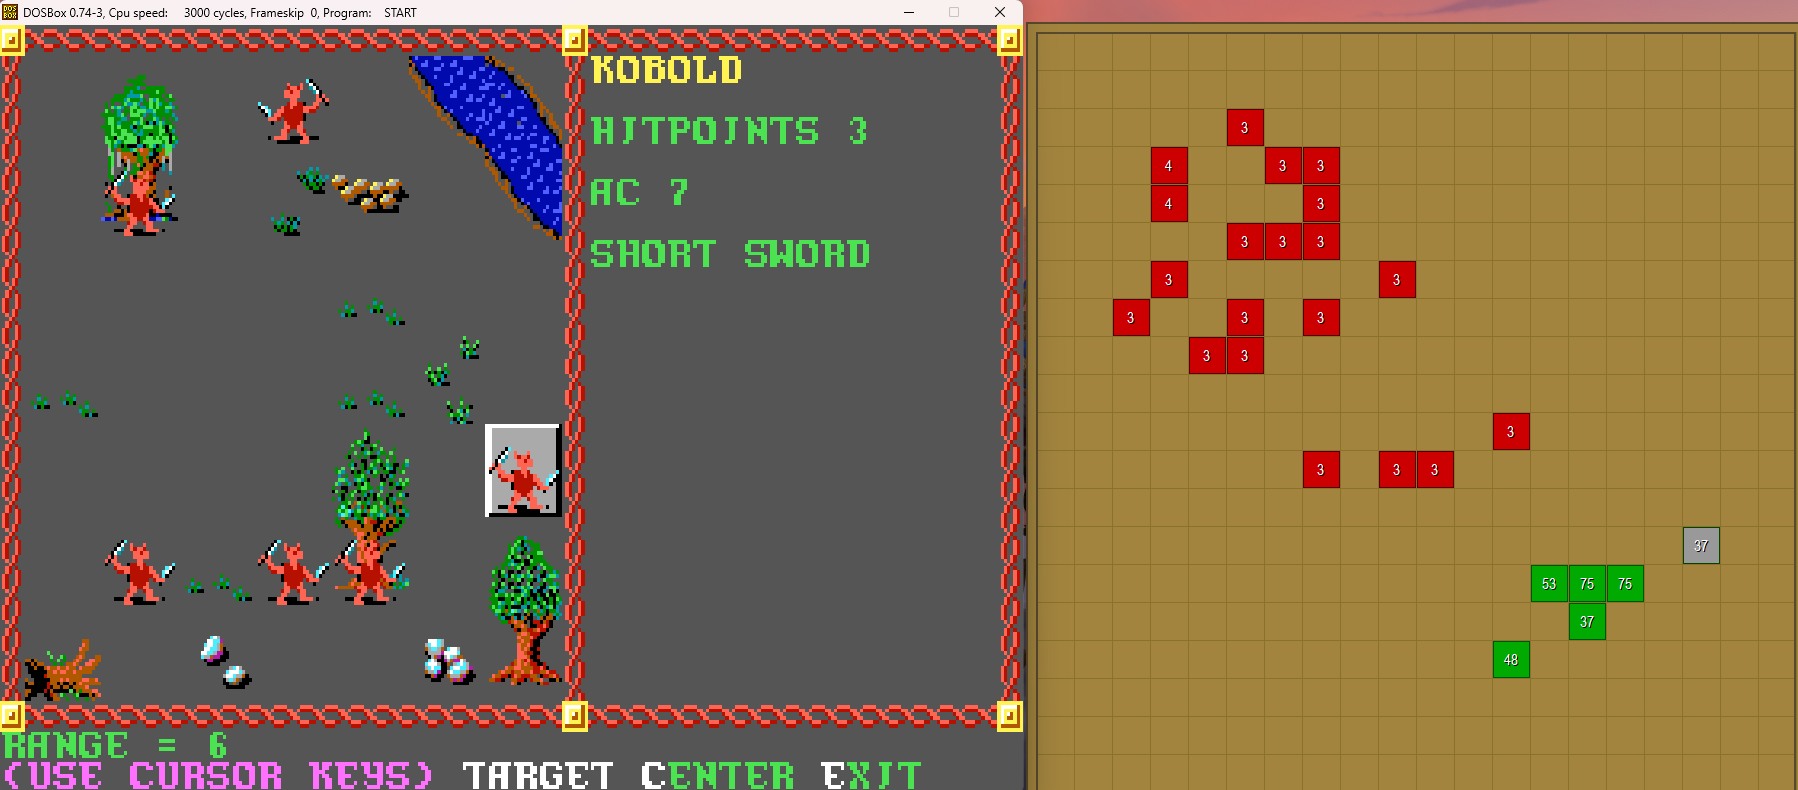
Screenshot 2024-03-31 194254.png


And soon they are surrendering as well...
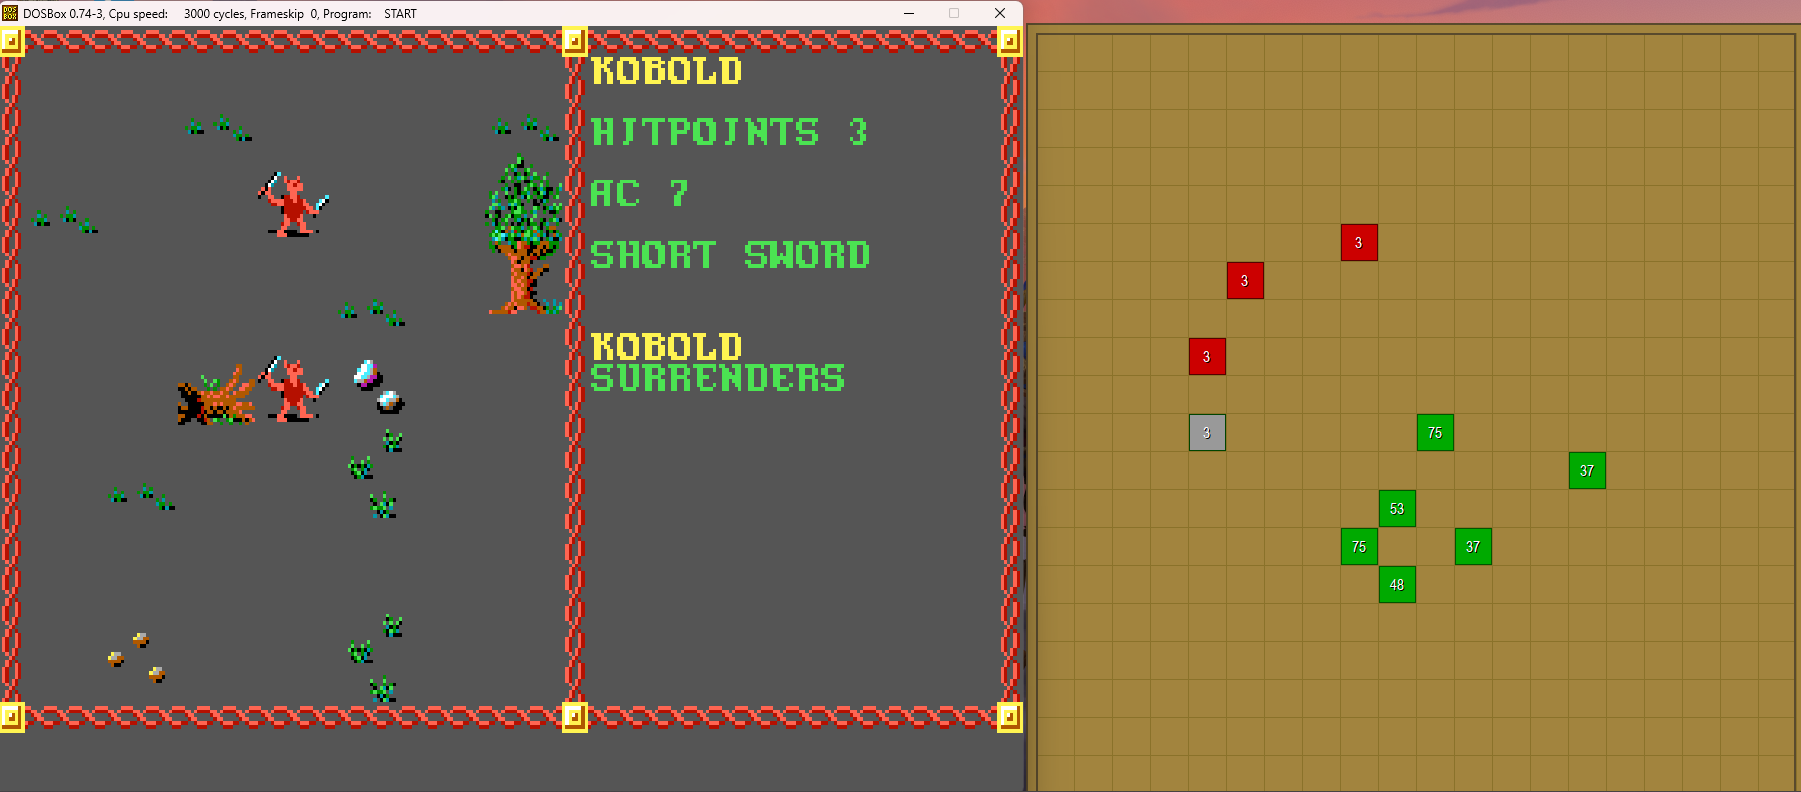
Screenshot 2024-03-31 194522.png

And the battle is over.

We move towards the cave they came from...
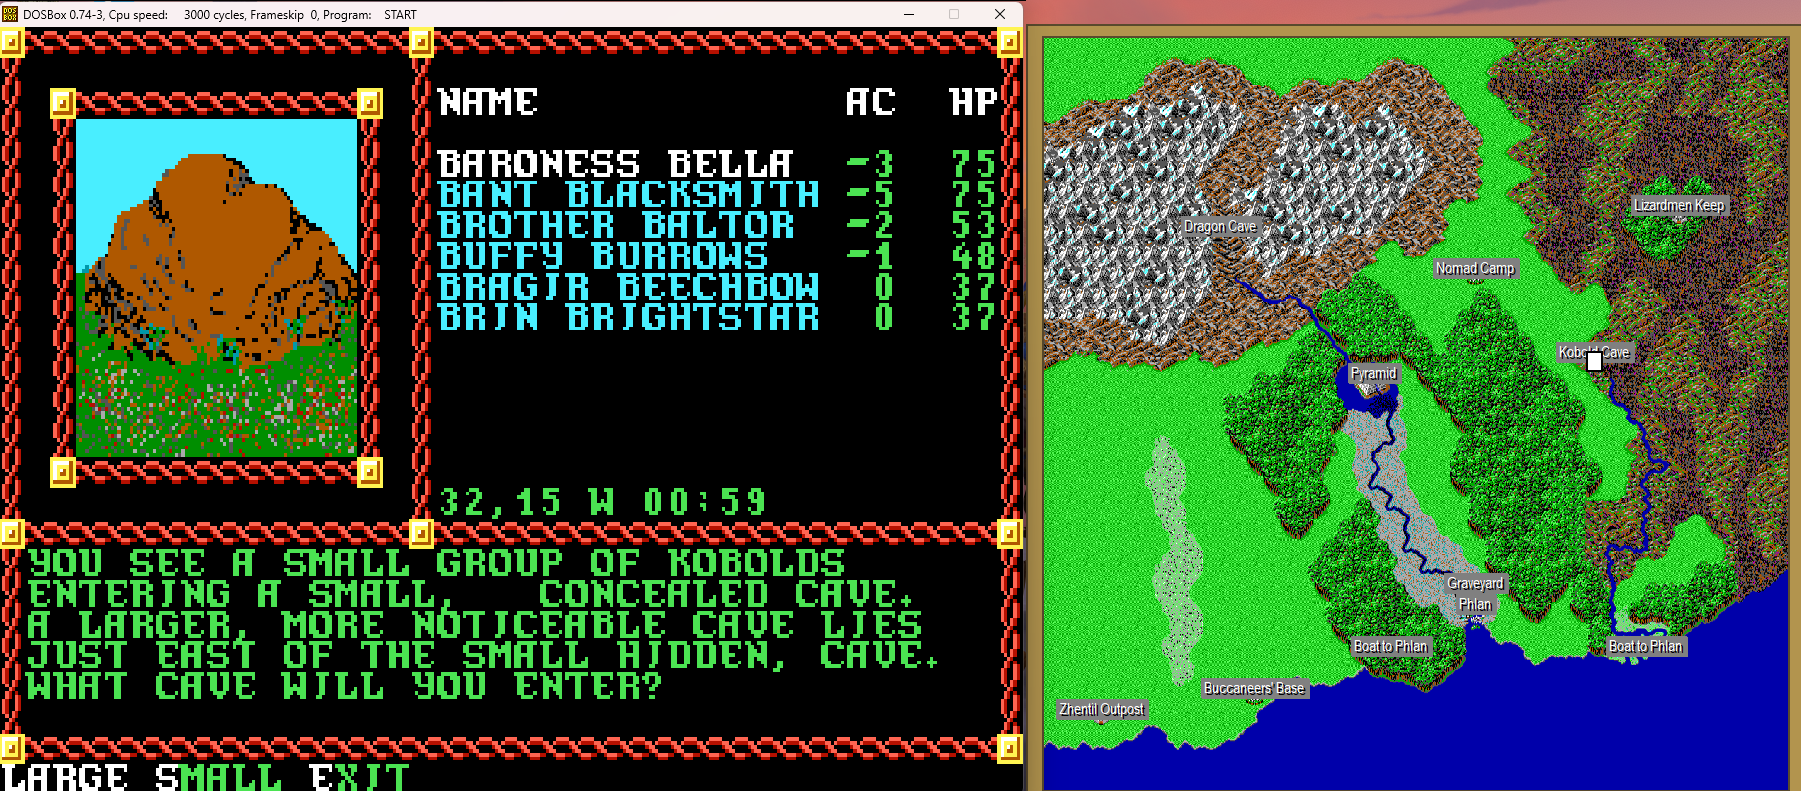
Screenshot 2024-03-31 195312.png


We'll go into the larger cave to the east.
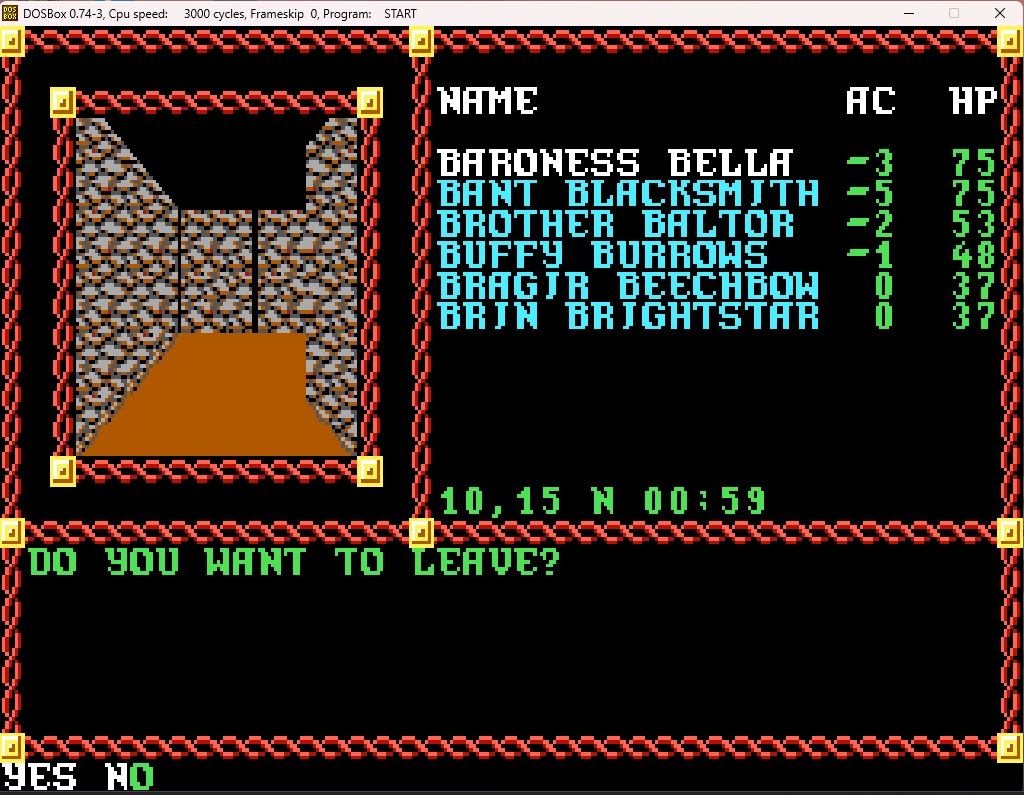
Screenshot 2024-03-31 195327.png


No. We forge ahead, heading into a larger room, where...
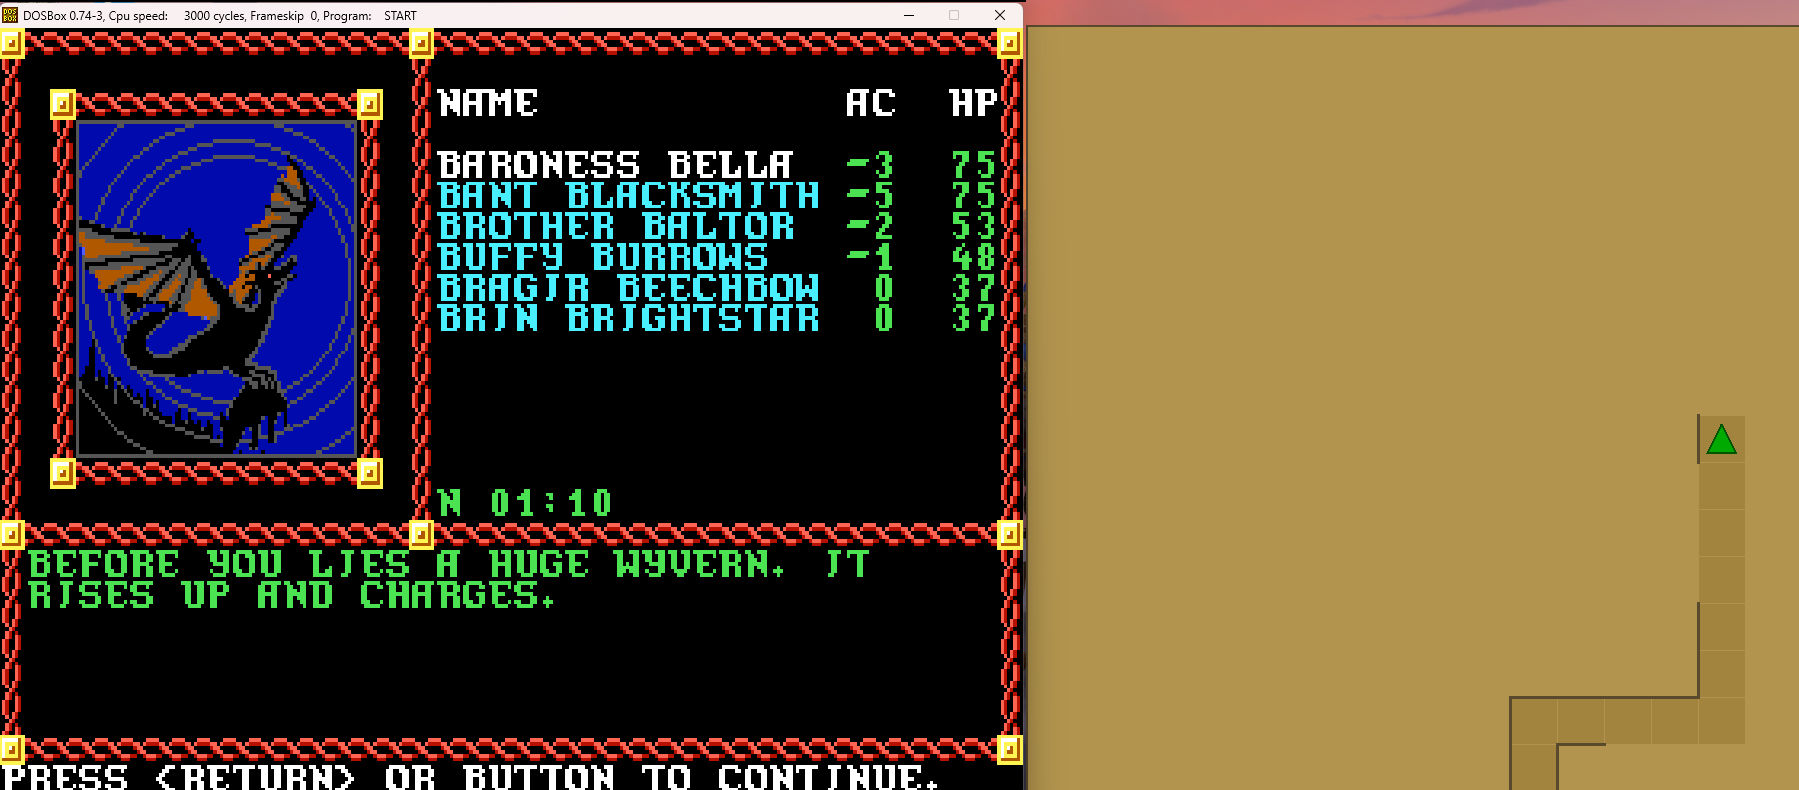
Screenshot 2024-03-31 195425.png


Uh-oh. We need to kill it quickly, because its tail attack is poisonous!
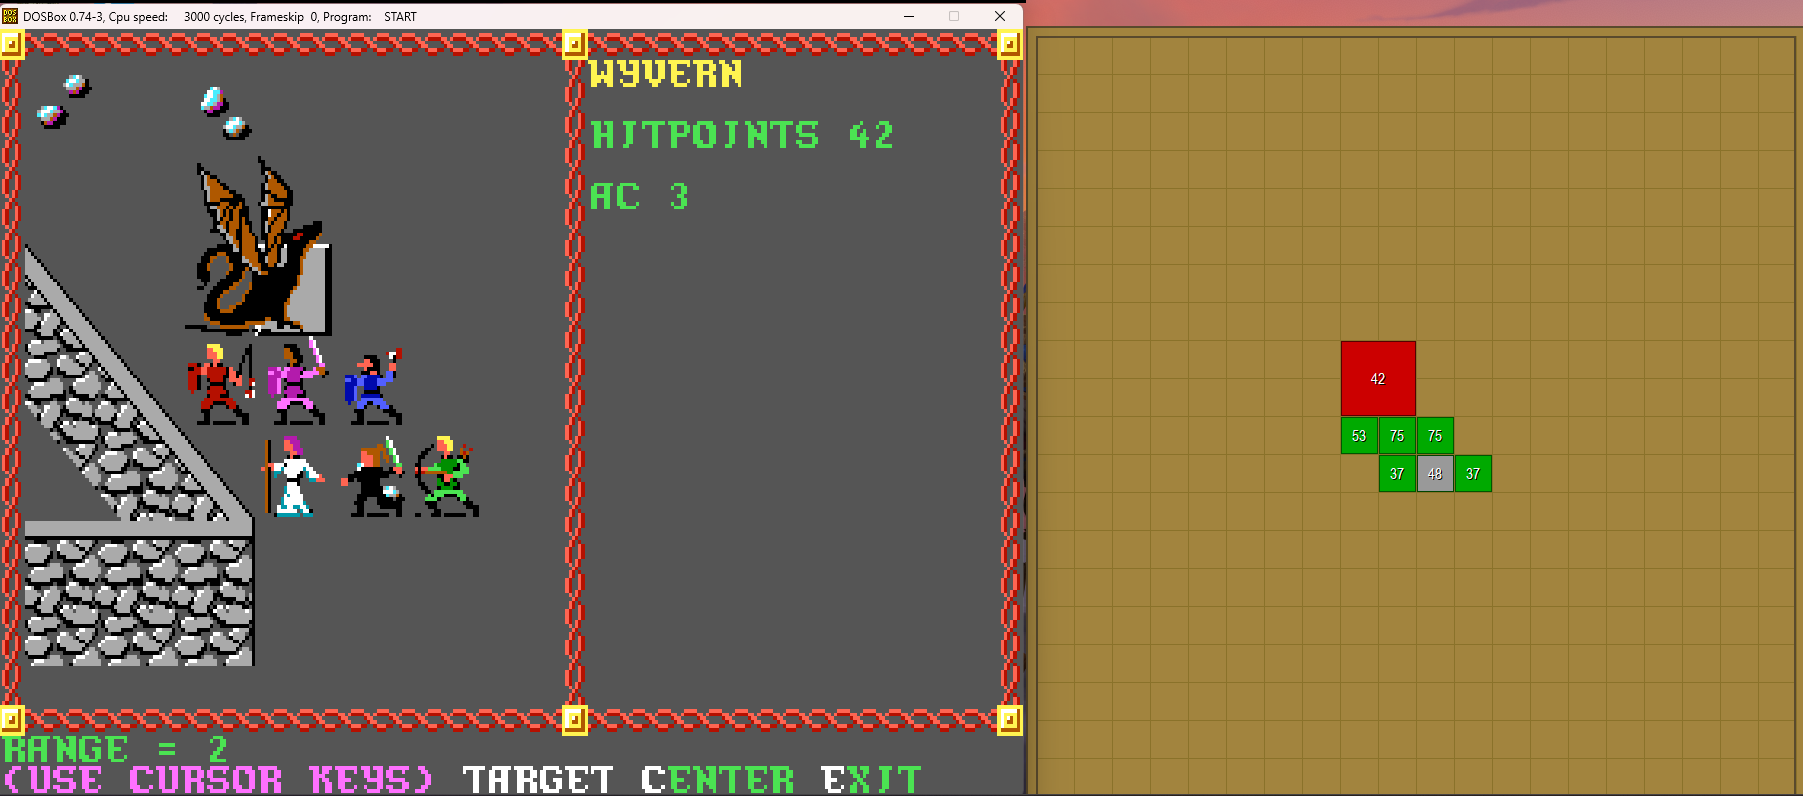
Screenshot 2024-03-31 195446.png


It goes first. It hits Brother Baltor, and he instantly dies of poison. 1e didn't pull any punches, folks!

So, there's not much I can do other than re-load, because there's no way to neutralize that poison short of dragging the body all the way back to a temple in Phlan. Luckily, because I'm trying to get as much text and action in my screenshots as possible, I'm save scumming like no one's business, and have a save right before this fight. Honestly, given how brutal these games can be, it's not a bad strategy to save as often as possible. If you think "Should I save now?" the answer is always: "YES!"

Round 2!
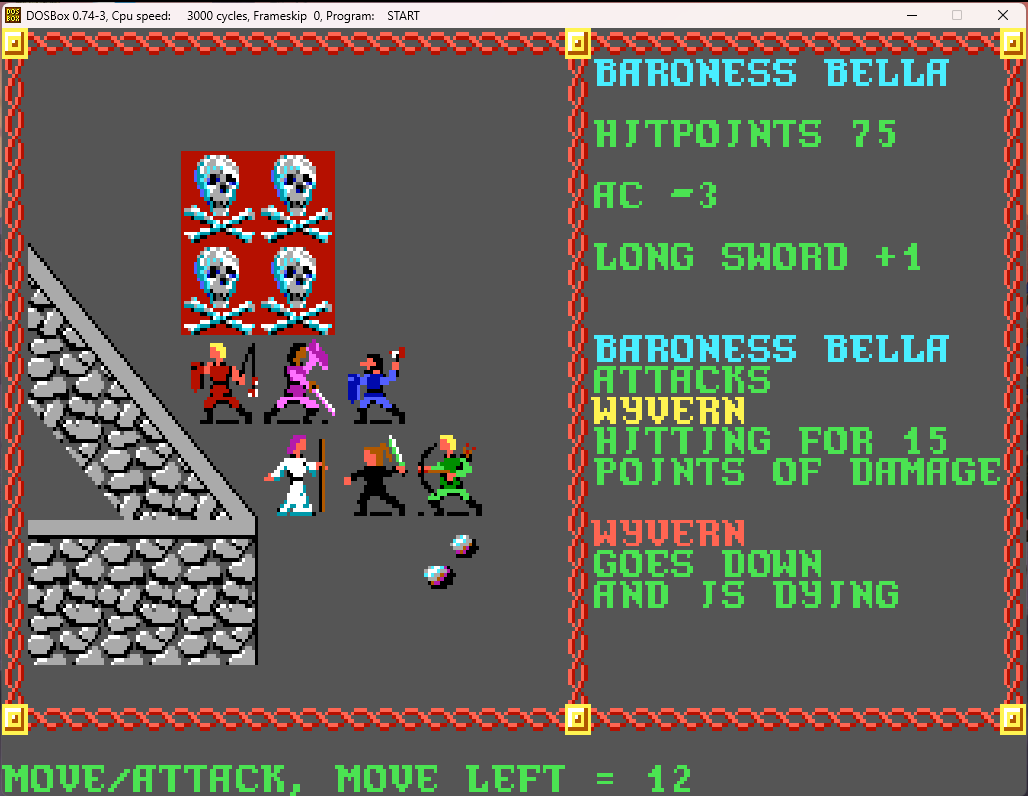
Screenshot 2024-03-31 195613.png


We get better initiative, and take it down before it can even scratch us this time. Whew! (I'm also quite proud of getting that screenshot, since getting the skull and crossbones is really hard to time properly)

A short distance beyond the body, we find its hoard!
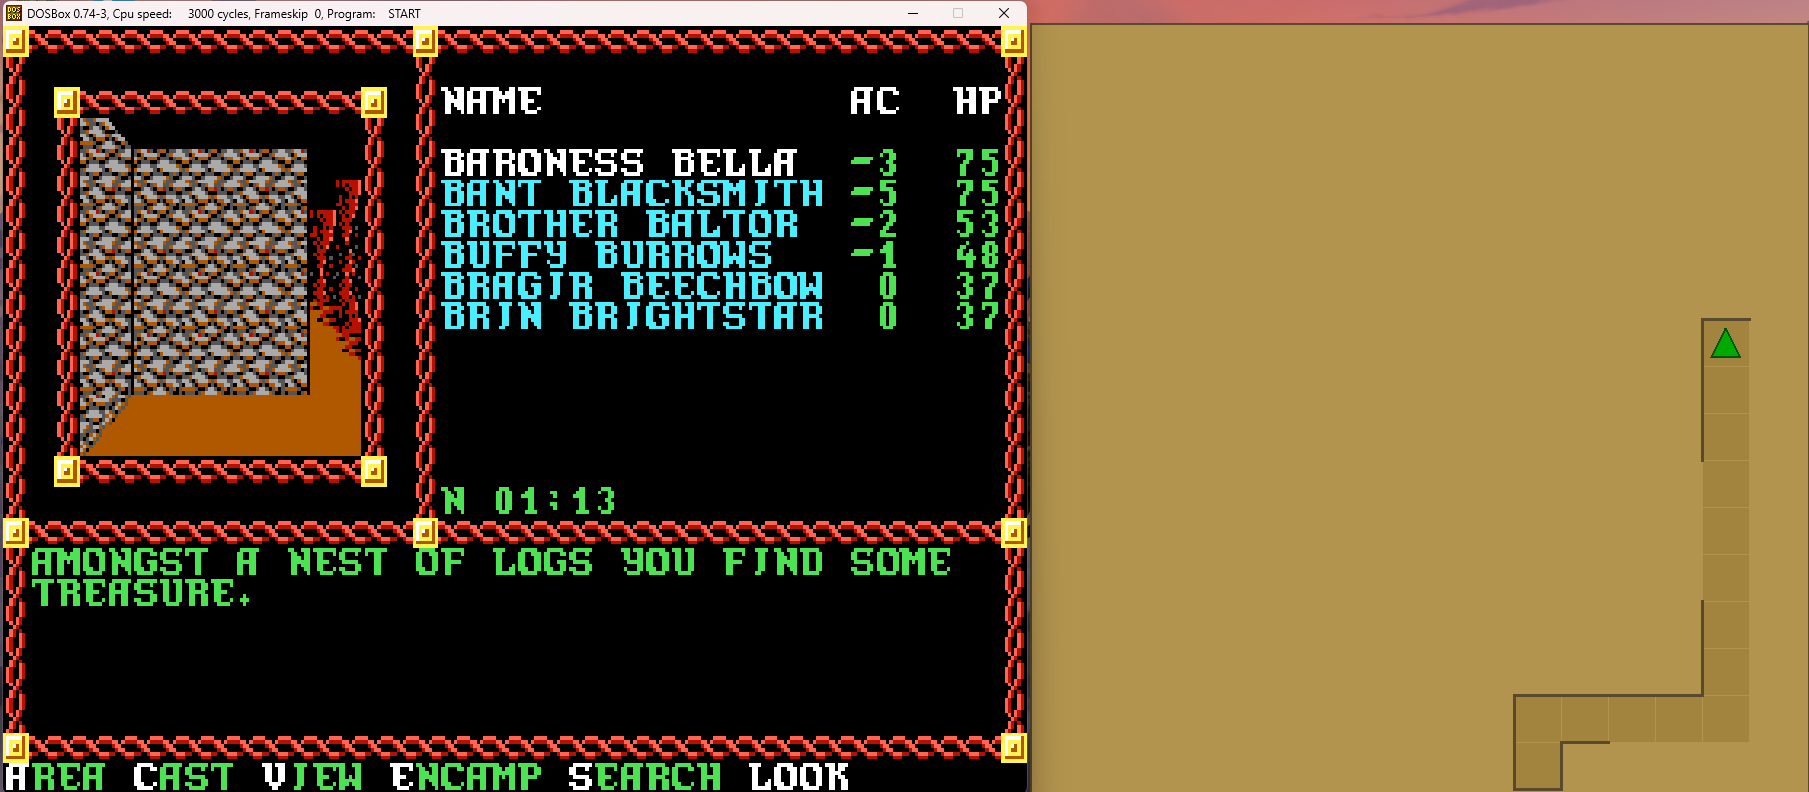
Screenshot 2024-03-31 200119.png

Screenshot 2024-03-31 200359.png

Screenshot 2024-03-31 200412.png


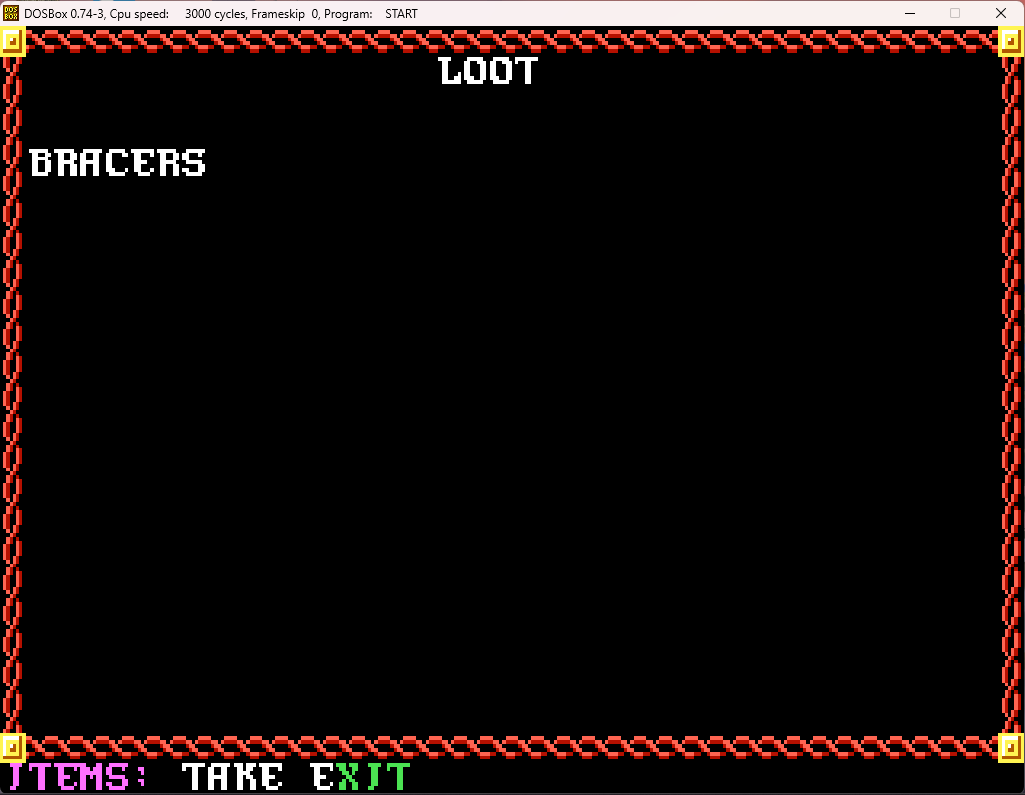
Not bad at all on the cash side of things!
Screenshot 2024-03-31 200421.png


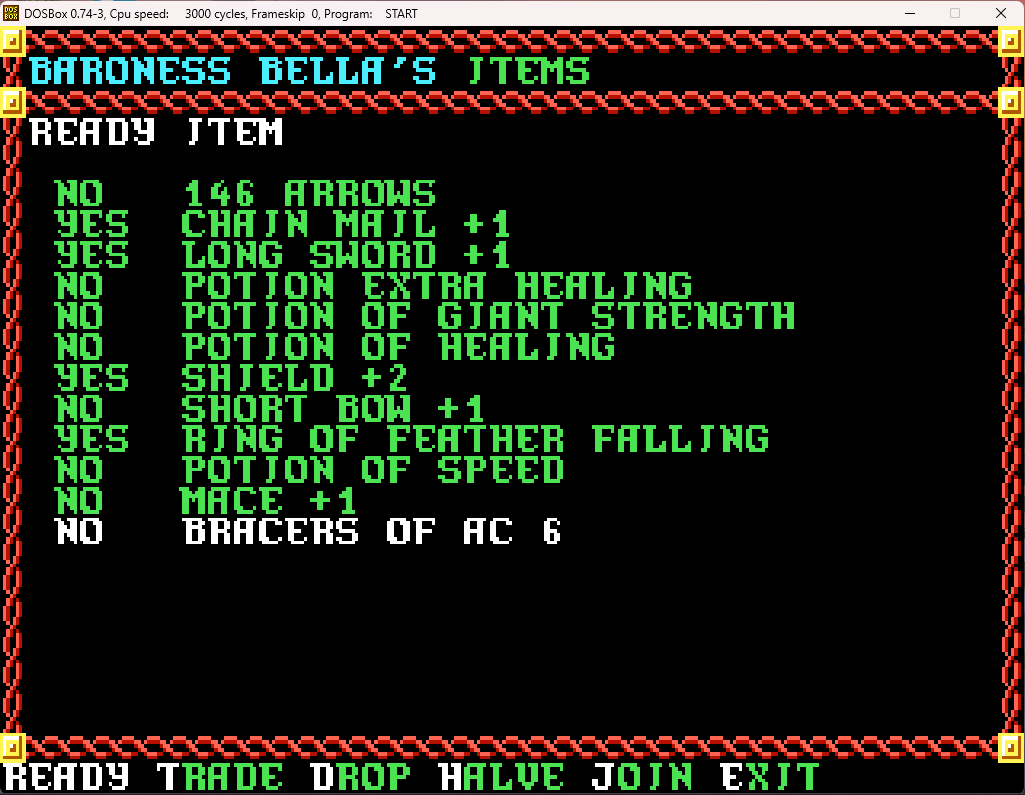
Interesting! Let's see how powerful they are.
Screenshot 2024-03-31 200435.png


Meh. At least they will sell well.

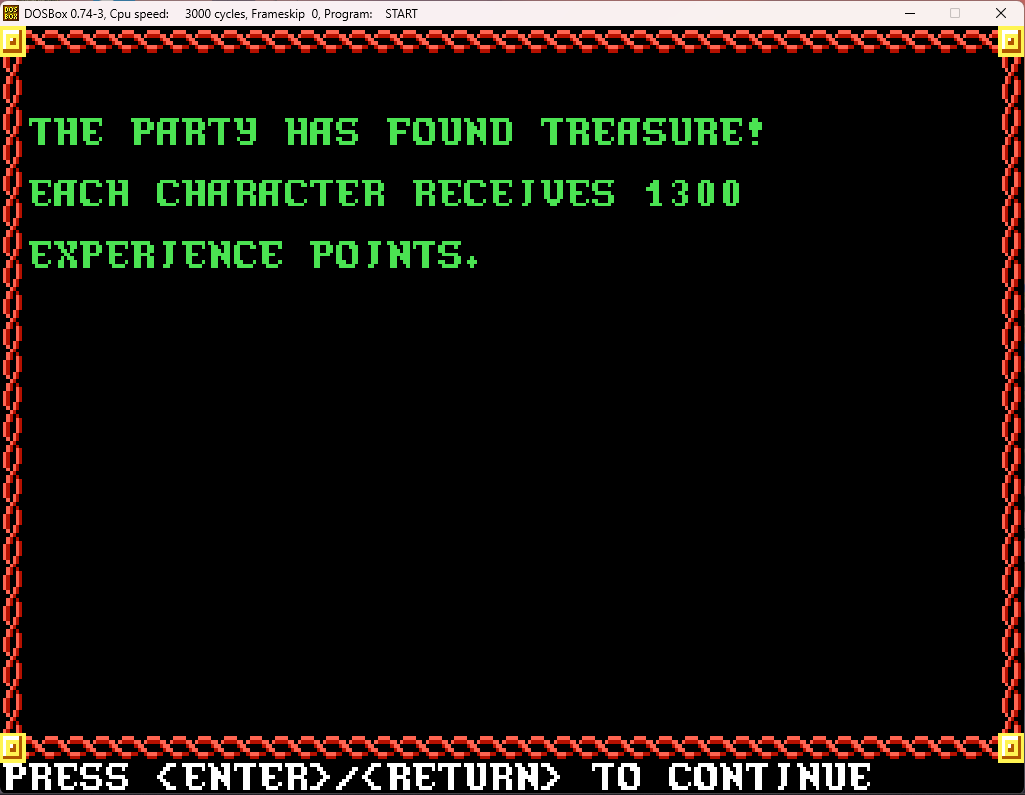
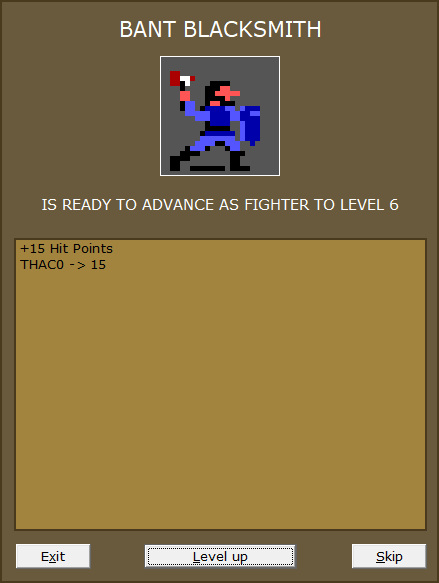
And, having them in the hoard has other benefits, since, because gp value = XP, Bant now is able to level up!

Screenshot 2024-03-31 200440.png

Screenshot 2024-03-31 200512.png


90 HP now! He's quite the tank at this point.

We search further back in the wyvern's cave.
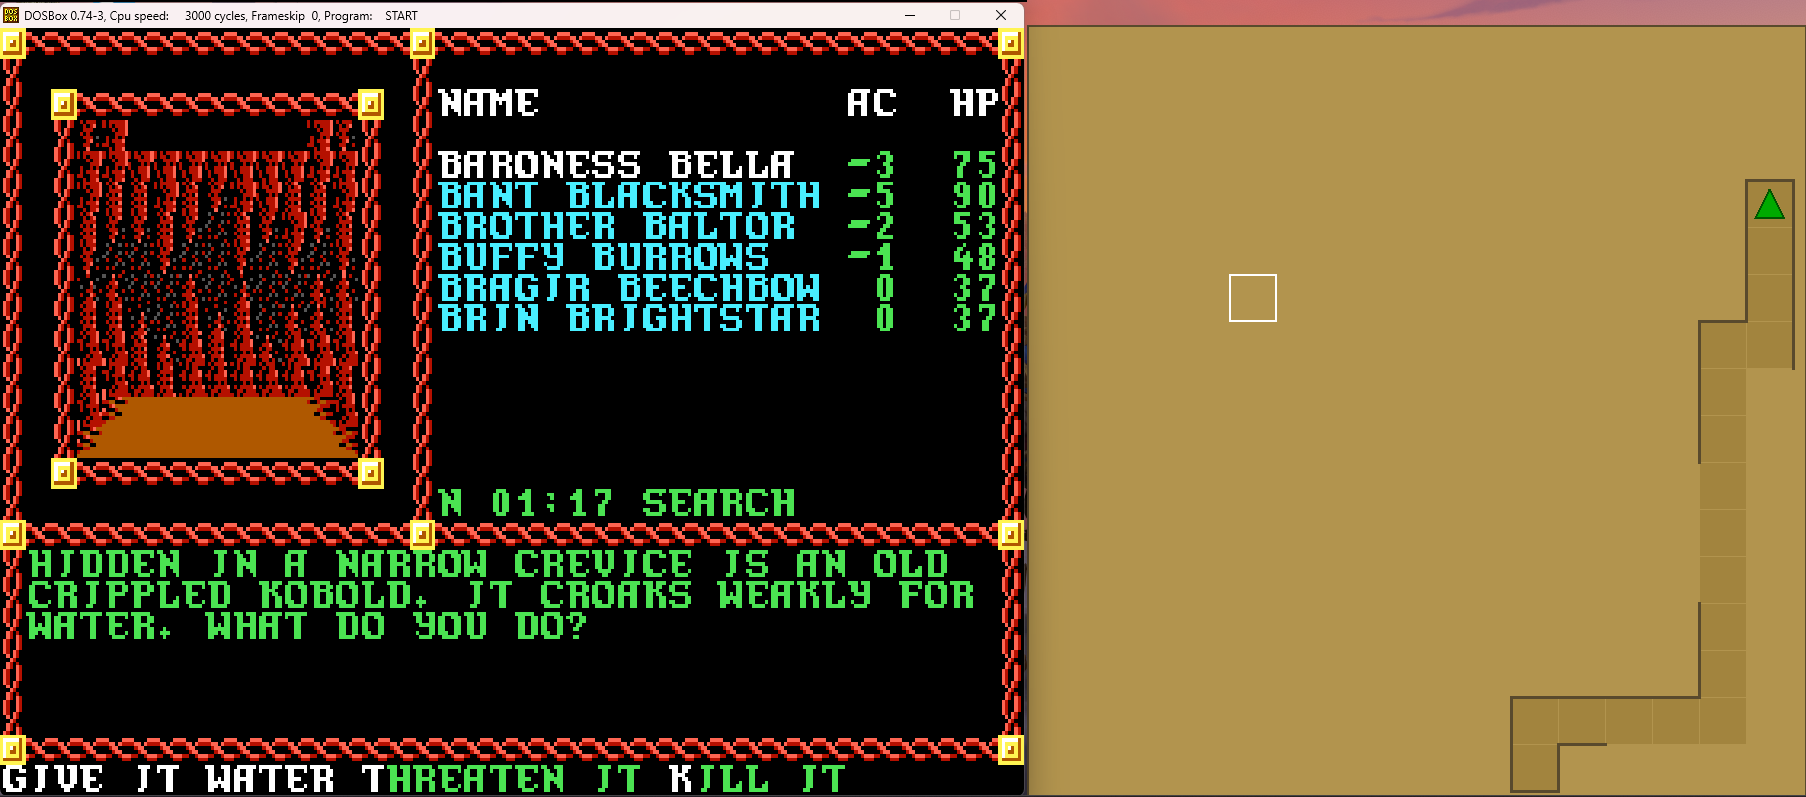
Screenshot 2024-03-31 200614.png


Eh, what harm can it do?

Screenshot 2024-03-31 200623.png

Screenshot 2024-03-31 200744.png


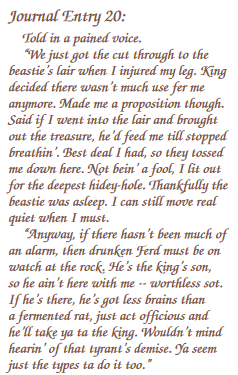
Hmmm, tricking the drunk son of the kobold king sounds as decent a plan as any.
Screenshot 2024-03-31 200833.png


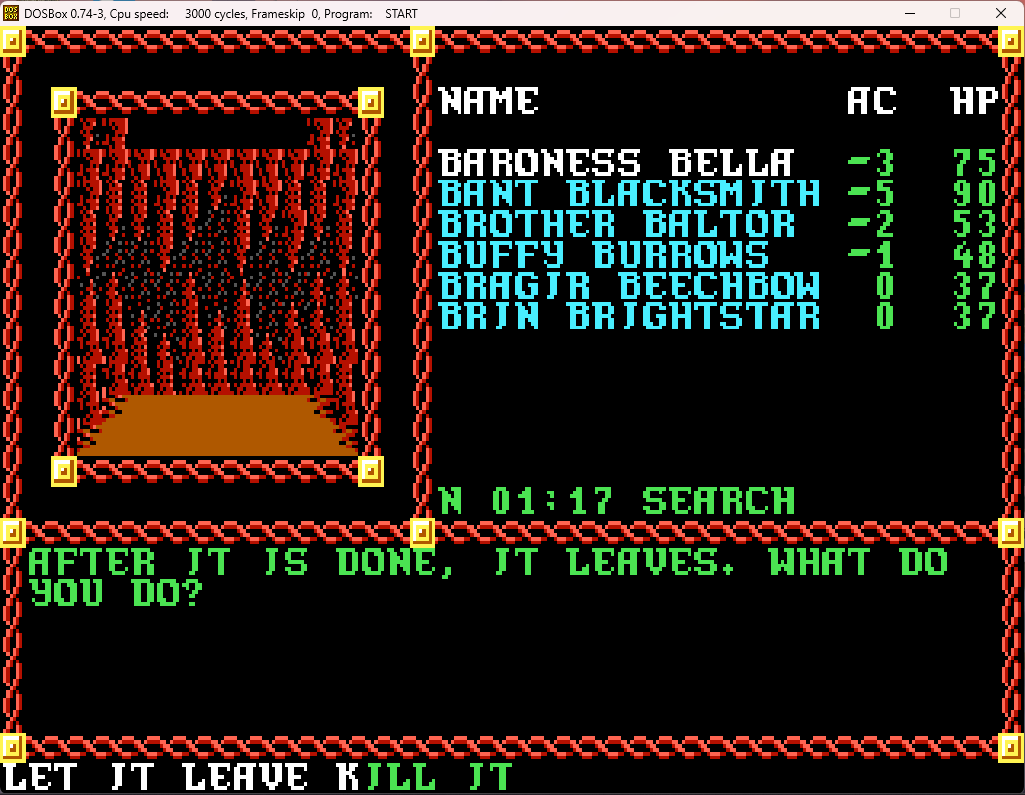
After giving us such useful advice, we make like Elsa and let it go.

So let's head back to where the drunk kobold is and then continue on into the main part of the caves. We'll pick up there at the start of the next post!
 
Last edited:

log in or register to remove this ad

Inspired by this, and have never used the GBC I have started again. 5 cleric magic users and 1 magic user thief
Have a ridiculous amount of hours powering through and am just ahead of you
With 11 spell casting classes I can spam out endless sleep, clw, stinking cloud, HP and fireballs.
For the massive fight you have coming it I was very pleased how we handled it
Really enjoying your play through
 

Attachments

  • Pyramid.jpg
    Pyramid.jpg
    320.1 KB · Views: 28

Inspired by this, and have never used the GBC I have started again. 5 cleric magic users and 1 magic user thief
Have a ridiculous amount of hours powering through and am just ahead of you
With 11 spell casting classes I can spam out endless sleep, clw, stinking cloud, HP and fireballs.
For the massive fight you have coming it I was very pleased how we handled it
Really enjoying your play through
How are you liking GBC? I really think it helps out with playing the game immensely.

And good luck with your play through!


Pool of Radiance (Part 34): The Kobold Caves (Part 2)

Having let the old kobold go, we retrace our steps to a scree slope near where we killed the wyvern.

Screenshot 2024-03-31 200922.png


We head up, and quickly find the drunk kobold prince.

Screenshot 2024-03-31 201007.png

Screenshot 2024-03-31 201033.png


Well, hard to fool him into leading us to his father the king unless we wake him. Which we then do.

Screenshot 2024-03-31 201045.png


Uh, yes! We are those envoys! And we do wish an escort to the king!

We start our journey through the cave system. Periodically, the kobold will perform some strange actions...

Screenshot 2024-03-31 201100.png

Screenshot 2024-03-31 201113.png


(What he's doing is disarming traps so we don't have to deal with them or accidentally miss them and set them off).

Soon enough, we reach the wide throne room cavern!

Screenshot 2024-03-31 201137.png


Hmmm... Let's explore around a bit before we confront the kobold king.

We backtrack a short ways, and look into a room...

Screenshot 2024-03-31 201214.png


Hmm, there doesn't seem to be much here other than frightened noncombatants. We head a bit further south and then west.

Screenshot 2024-03-31 201342.png


These, on the other hand, are definitely combatants!

By this point, though, combat with even 20 or so kobolds is hardly a problem.

Screenshot 2024-03-31 201400.png

Screenshot 2024-03-31 201529.png


A few try to run, but we take care of them as well.

Screenshot 2024-03-31 201644.png

Screenshot 2024-03-31 201724.png


And soon the battle is over.

We explore around a bit more in this area.

Screenshot 2024-03-31 201756.png


Yummy.

Screenshot 2024-03-31 201813.png


I guess this is where they serve their famous rongeurs séchés aux racines moisies to the appreciative and hungry populous. I'll be generous and rate the dining with half a star.

After leaving this fine establishment, we head west and then north. After traveling a bit, we hear a scuffle in the next room...

Screenshot 2024-03-31 201927.png


(I like how "barbarian finery" is a robe and a wand)

Screenshot 2024-03-31 201941.png

Screenshot 2024-03-31 202000.png

Screenshot 2024-03-31 202022.png


I like her. She's got a bit of fire and spirit!

Screenshot 2024-03-31 202034.png


Sure, an extra target... er... fighter will always be of use. We agree, and she shows up in our party lists.

Screenshot 2024-03-31 202053.png


33 HP. Not good, not bad. Let's take a look at her character sheet.

Screenshot 2024-03-31 202101.png


Good strength, and at least she's got a weapon and armor, unlike our last NPC, even if they aren't particularly impressive. No missile weapon though, which is wasting a perfectly good 18 DEX, in my opinion.

Hmm, those roving bands of kobolds had better armor among their loot, as well as missile weapons. Let's wander around a bit and trigger some random patrols to equip her a bit better.

We move north, to the northwesternmost corner of the caves.

Screenshot 2024-03-31 202140.png


Although the game doesn't say it, the cluebook does - this was Princess Fatima's cell before she broke free. And she took out six kobolds doing so - not bad!

We backtrack a bit and look into a doorway we passed before...

Screenshot 2024-03-31 202209.png

Screenshot 2024-03-31 202229.png


Basically, this is the plan for the kobold attack on the nomad camp from the previous section.

We wander about a bit now, hoping for some kobold patrols. After a bit, we finally encounter one.

Screenshot 2024-03-31 202515.png


These go down as quickly as expected, although Buffy gets stuck out in the front line again since we have a new NPC.

Screenshot 2024-03-31 202533.png

Screenshot 2024-03-31 202626.png

Screenshot 2024-03-31 202811.png


Well, the studded leather is better than just plain leather for Princess Fatima, so we pick up one for her and equip it. We also grab the arrows. But, frustratingly, no missile weapons drop.

A short time later, we run into another patrol.

Screenshot 2024-03-31 203042.png


Another quick battle...

Screenshot 2024-03-31 203057.png


One tries to run away, but it's of no use...

Screenshot 2024-03-31 203356.png

Screenshot 2024-03-31 203416.png


Let's see what this group had...

Screenshot 2024-03-31 203451.png


Just more arrows.

Perhaps third time will be a charm?

Screenshot 2024-03-31 203601.png

Screenshot 2024-03-31 203612.png


Backs against a wall, they die particularly quickly.

Screenshot 2024-03-31 203722.png

Screenshot 2024-03-31 203807.png


When the loot screen comes up....

Screenshot 2024-03-31 203831.png


Success! Shortbow acquired!

Princess Fatima is geared up at least a bit better, especially after donating a few more arrows.

Screenshot 2024-03-31 204005.png


Now that we've wasted ample time trying to gear up an NPC who will be gone in a very short time, it's time to go back and confront the kobold king.

But the long, epic battle that will occur then will be in the next post!


Pool of Radiance (Part 35): The Kobold Caves (Part 3)

We head back to the barracks to catch the kobold king a bit off guard by coming in from the side instead of straight across the main room. This will help out by giving us only one open flank instead of two.

Screenshot 2024-04-03 180704.png


Time to buff up a bit, as this is a pretty tough fight!

Screenshot 2024-04-03 180320.png

Screenshot 2024-04-03 180542.png


Taking a deep breath, in we go!

Screenshot 2024-04-03 180724.png

Screenshot 2024-04-03 180736.png

Screenshot 2024-04-03 180755.png


The kobolds really wouldn't be an issue, but those four trolls sure are! In order to hurt some of those trolls and clear out a bunch of kobolds so we aren't waiting forever between turns, it's time to pull out the secret weapon I've been holding back using until this point...

Screenshot 2024-04-03 180823.png


Yep, it's time for the big guns! I currently have four fireball spells on scrolls - two I'm keeping to scribe once I reach 3rd level for each magic-user, but that leaves two for fights like this in the meantime!

Screenshot 2024-04-03 180921.png


Targeting fireball in these games is a bit tricky at first, but once you learn how to do it correctly, you'll become a pro at aiming them to damage as many enemies as possible while avoiding, as much as you can, your own characters. I've chosen that particular unfortunate kobold as the center of the spell, as it will clear out a whole bunch of kobolds (since the spell, cast from a scroll, will do 6d6 damage, and they have either 3 or 4 hit points), as well as damage the three trolls. It will not however, hurt Brother Baltor or Baroness Bella. This is because fireball hits all squares in the window, except for the three squares next to each of the four corners. So, in this instance, Baroness Bella is in the lower right corner, so her square is safe. Brother Baltor is in the square to the left of that corner, so he's safe as well, as is the lucky kobold immediately above Baroness Bella. The kobold above Brother Baltor, however, is in a square the fireball will hit. The same will happen in the three other corners as well, so the three kobolds near the upper left corner will be safe as well. As you can see, I've targeted this to take advantage of my characters and empty squares not being in the radius, while there are no empty squares within the radius. To be honest, shooting off well-placed fireballs is truly one of the great joys of the Gold Box games!

Bragir intones a few words, and the spell is cast!

Screenshot 2024-04-03 180934.png


On a full screen like this, it takes a bit of time as each individual kobold dies. But it is very satisfying. The only thing better is in later games when you get to see an actual full fireball graphic taking up most of the screen; unfortunately here you just see a quick flame as the damage to each target is stated.

Also, 29 damage! Average damage would be 21 for 6d6, so we got some good rolls. The trolls, with 36 HP, could definitely be hurt badly should they fail their saves.

Screenshot 2024-04-03 181108.png


Which they all three do. 7 HP trolls are much easier to deal with than ones with 36 HP!

Also, fireball is blocked by walls in this game, so the uppermost kobold leader on the left got lucky. Other than that, as you can see, there's now a sizeable smoking hole where there was once a couple dozen kobolds!

As for the other troll, well Brin can help there!

Screenshot 2024-04-03 181144.png

Screenshot 2024-04-03 181202.png


The troll is only coughing, so it's only at negatives to hit and AC, instead of choking which would allow an insta-kill. However, that's still a help and gaurds our open flank.

Everyone else starts picking off kobolds and damaging the trolls. When Brin's turn comes around again, she can't use her bow (since the troll is still there and, annoyingly, not helpless), so time for her wand.

Screenshot 2024-04-03 181355.png


The trolls eventually are taken care of.

Screenshot 2024-04-03 181528.png


Shortly thereafter, the remaining kobolds are taken care of, and the battle is over.

Screenshot 2024-04-03 181657.png


Didn't even take much damage, either.

Screenshot 2024-04-03 181706.png


And got some good XP!

Screenshot 2024-04-03 181717.png


OK, time for the kobold king to give up and we get some nice loot, right?

Screenshot 2024-04-03 181738.png

Screenshot 2024-04-03 181750.png


Ouch! Wait, no! That's unfair!

Screenshot 2024-04-03 181835.png


And we're immediately thrown into the next phase of the battle, no time for rest. Brother Baltor, Buffy, and Princess Fatima got absolutely walloped by those ballista bolts, and are very much seriously hurting going into this!

It's kobolds and wild boars this time. Since again there are a huge number of kobolds to take out, time for Brin to repeat what Bragir did last time...

Screenshot 2024-04-03 181904.png

Screenshot 2024-04-03 182000.png


And soon, we have another big hole in the center where kobolds used to be.

Screenshot 2024-04-03 182117.png


Brother Baltor is in a bad position for the low number of hit points he has, especially after getting hit again, so, rather than attempting to cast a healing spell that might get interrupted, it's time to swig a potion...

Screenshot 2024-04-03 182336.png


It does help a bit.

Screenshot 2024-04-03 182441.png


The boars are irritating. If you kill them, they then "Stand up and grin", and suddenly are back alive with a few hit points. I know this is to indicate them fighting beyond what would normally kill them, but why not just give them the extra hit points from the start? Unfortunately the "Stand up and grin" part flashes by so quickly that I wasn't able to get a screenshot of it.

Eventually we take down the boars and start working on the kobolds. The rest begin to surrender surprisingly quickly - there were still almost half of them left when this started.

Screenshot 2024-04-03 182544.png


And the battle is won! Now it must be the time for the king to surrender or whatever and for us to get the loot, right?

Screenshot 2024-04-03 182758.png


Grr...

No rest break here either before directly going into round three...

Screenshot 2024-04-03 182837.png


At least it's a smaller group, but the trolls and the 45 HP Envoys aren't going to make this easy!

My magic-users cast some spells to help even the odds and control the battlefield.

Screenshot 2024-04-03 182915.png

Screenshot 2024-04-03 182952.png

Screenshot 2024-04-03 183023.png


Brother Baltor takes another swig of that potion. Buffy is taking a serious beating as well.

Screenshot 2024-04-03 183309.png


But by this point, we've worn them down quite a bit, and three kobolds are still helpless from the sleep spell. Soon, we're down to just one troll and the helpless kobolds...

Screenshot 2024-04-03 183413.png


And soon, the battle is over! Although we have several characters in very rough shape! We haven't been hurt this bad since the party's days in the Slums!

Screenshot 2024-04-03 183519.png


Let's check out the gear on those Envoys.

Screenshot 2024-04-03 183544.png

Screenshot 2024-04-03 183613.png


The swords are magical, but not the armor, sadly.

Screenshot 2024-04-03 183634.png


Grumble. We'll catch up to him later. We need to take a rest after that!

Screenshot 2024-04-03 184331.png

Screenshot 2024-04-03 184348.png

Screenshot 2024-04-03 184436.png


Spells memorized and all healed up, we go further into the caves to track down the fleeing kobold king! But that will be for the next post...
 

Pool of Radiance (Part 36): The Kobold Caves (Part 4) - Kobold Caves completed!

Rested up, we pursue the kobold king into the furthest depths of the caves. Going through one of the doors at the back of the throne room, we enter his private quarters, and...

Screenshot 2024-04-03 184528.png


Good thing we rested up, or this fight might have been a real problem.

Screenshot 2024-04-03 184605.png


This one is a combination of kobolds, three boars, and three trolls. While we need to concentrate on the trolls and take them down quickly, all those kobolds nicely grouped up do make a tempting target...

Screenshot 2024-04-03 185159.png

Screenshot 2024-04-03 185210.png


With a bunch of kobolds now helpless, Bragir completes the protection of our upper flank with a spell of his own...

Screenshot 2024-04-03 185329.png


Nice. That boar is soon going to be pork chops!

Now we can concentrate on the more dangerous trolls. They actually go down fairly quickly, between all the melee and ranged attacks. Within a short time, we've taken them out, and now it's just mop-up work...

Screenshot 2024-04-03 185557.png

Screenshot 2024-04-03 185747.png


And soon, the king's guard is no more.

Screenshot 2024-04-03 185824.png


Still no sign of the king though. I wonder where he's gotten to? Let's go through the next doorway...

Screenshot 2024-04-03 185919.png


That was utterly anticlimactic...

Well, nothing left to do other than see what treasures he may have hidden back here.

Screenshot 2024-04-03 185946.png


As if we're going to pass something like that up!

Screenshot 2024-04-03 190059.png

Screenshot 2024-04-03 190104.png


Uh... no? That's a weirdly specific question though.

Screenshot 2024-04-03 190206.png


Uh... okay? We have a weird efreet who doesn't want to be out of his bottle unless there's a vampire around to murder. To each their own, I guess.

We'll take the bottle for now.

Screenshot 2024-04-03 190217.png


We continue to search around nearby. Right around the corner, we notice shiny things!

Screenshot 2024-04-03 190454.png


Excellent! I'm sure they have mounds of coins!

Screenshot 2024-04-03 190508.png


Er... that's not the mound of coins we were hoping for.

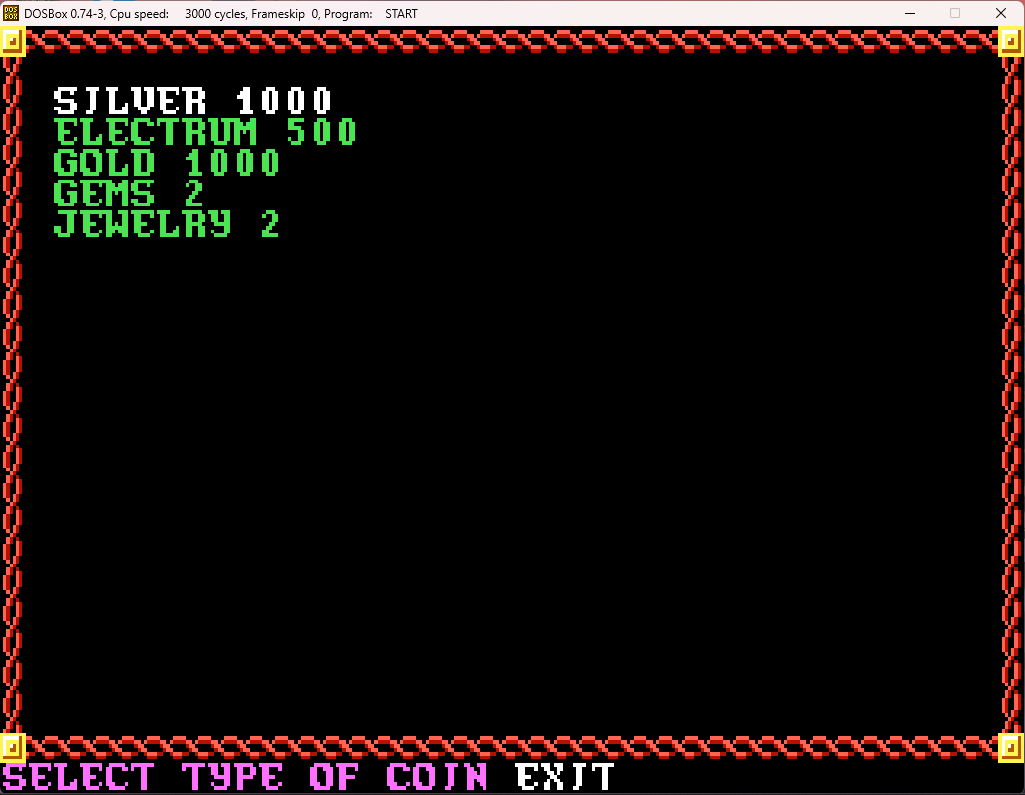
(The funny thing is that by this point, most players will just be automatically hitting the "Share" button when the treasure screen comes up without checking what the exact coins or amounts they are sharing out actually are. So, players, including myself until I caught on here, would just unsuspectingly "Share" and as a result pick up as much of that copper as the characters' encumbrance would allow, causing immediate overloading and max capacity, and then grumbling as we would have to go through all the inventories to drop all the extraneous copper).

We just pick up the gems and jewels and leave all that copper to gather dust.

The kobolds have other items in this pile of "treasure" besides the currency as well.

Screenshot 2024-04-03 190543.png


Obviously, we just grab the scrolls and the silver items. As for the rest?

Screenshot 2024-04-03 190624.png


No. Definitely no.

Let's check out those scrolls.

Screenshot 2024-04-03 190716.png

Screenshot 2024-04-03 190726.png


Eh, nothing spectacular, other than a few spells we can scribe to fill out the magic-users' spellbooks.

Even if the pile of kobold treasure is pretty sub-par (which is something we, honestly, should have expected), it is enough to help some characters level up.

Screenshot 2024-04-03 190745.png

Screenshot 2024-04-03 190752.png

Screenshot 2024-04-03 190807.png

Screenshot 2024-04-03 190817.png


It's only in their fighter levels, but more hit points, lower THAC0s, and better saves are still nice.

With nothing much else here, we start to make our way out of the caves.

Remember when the kobold prince (well, presumably now king - of a much diminished kingdom. That's going to be a huge mess for him to deal with when he wakes up with an inevitable hangover. At least we left him with a decent treasury I guess) was disarming the traps for us? Well, now we're running into them again on the way out, without the benefit of having him around to deal with them. So, we'll have to disarm them ourselves...

Screenshot 2024-04-03 190924.png

Screenshot 2024-04-03 190950.png


(We're exiting back through the wyvern cave since going out through the other entrance, which is located in the south-central part of the map, has a good chance of a character falling into a water trap and losing money and/or items. And we definitely don't want that!)

Finally, we reach the exit.

Screenshot 2024-04-03 191014.png

Screenshot 2024-04-03 191025.png


Um... farewell! We'll always fondly remember the 20 minutes or so we spent with you!

Screenshot 2024-04-03 191040.png


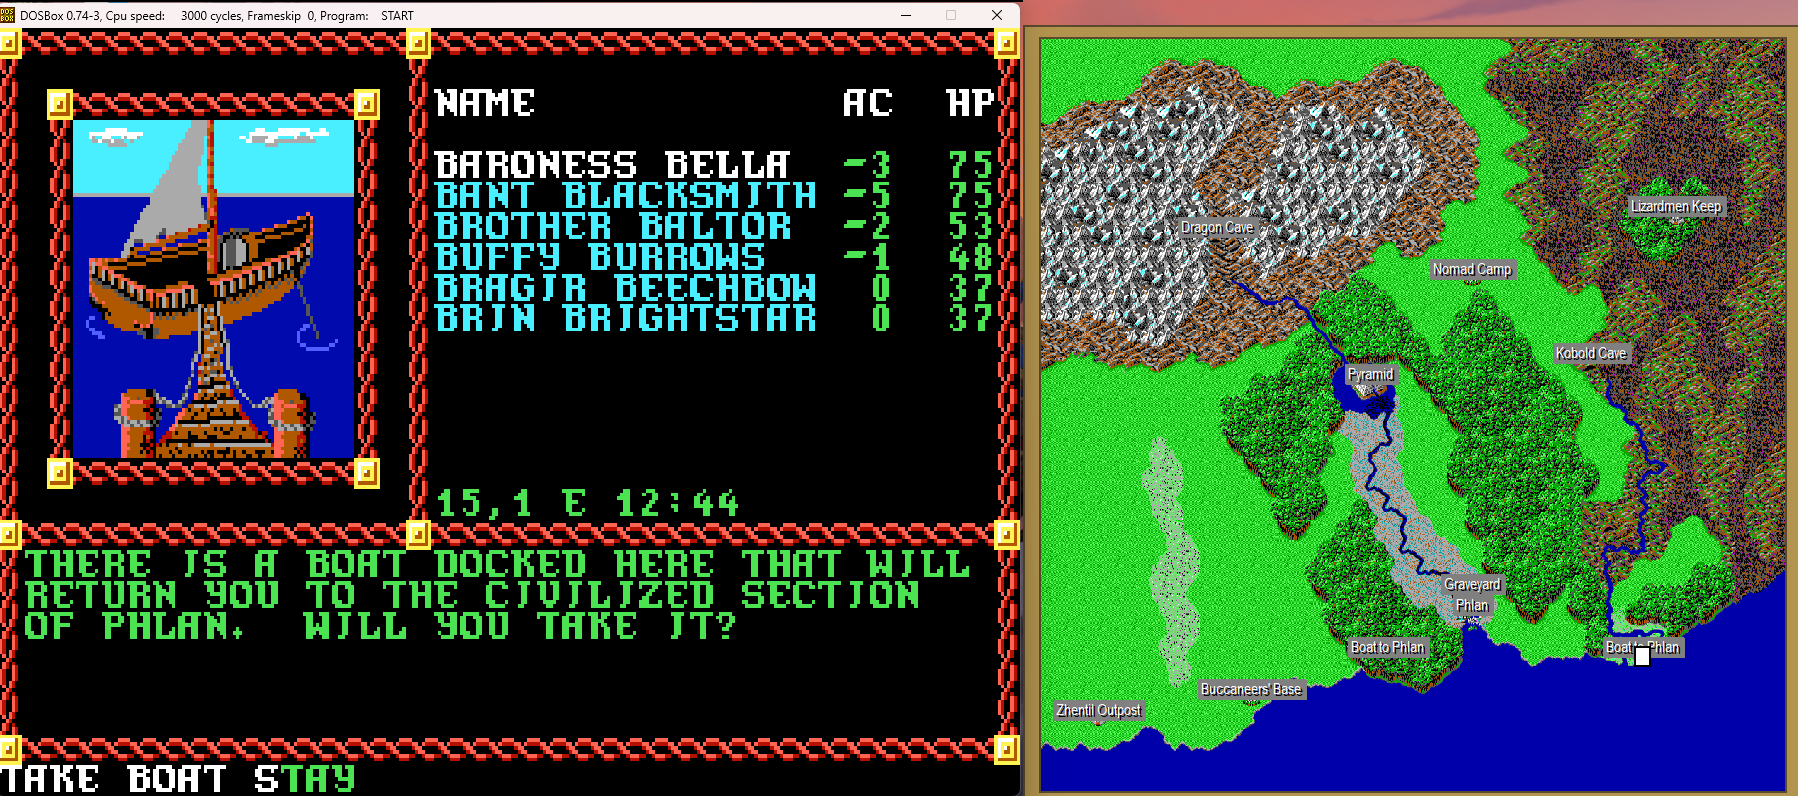
We head south towards the boat waiting to take us back to Phlan.

On the way, we stumble across a couple of encounters:

Screenshot 2024-04-03 191121.png

Screenshot 2024-04-03 191142.png


Since I surprised them both times, and since they are not new, exciting monsters, and since, moreover, I just want to get back to town and get the reward for completing the commission, I choose "Wait" each time, and the monsters move on without combat.

We reach the boat and head back to Phlan.

Screenshot 2024-04-03 191203.png

Screenshot 2024-04-03 191310.png


Time to visit the City Clerk!

Screenshot 2024-04-03 191340.png

Screenshot 2024-04-03 191347.png

Screenshot 2024-04-03 191358.png


Nice. 25 gems will likely have a good appraisal value.

She again mentions the polluted river and the lizardmen commissions, but now has a new one to replace the one we just completed:

Screenshot 2024-04-03 191416.png


Interesting. But that's for the future as we already have two previous commissions to complete first.

With that, we leave the City Clerk's office and head to the weapons shop.

Screenshot 2024-04-03 191948.png

Screenshot 2024-04-03 192010.png


Oh, very nice. It is a deal indeed, good sir.

Screenshot 2024-04-03 192026.png


Wait, the "Plate" dropped from the two envoys, and you would think it meant their armor (as no other heavy armor dropped in that fight, and they had very good ACs), but 5gp for plate armor is ludicrously low. Were they like holding actual plates, as if they were sampling some rat hors d'oeuvres when we burst into the throne room? Well, in any case, we sell them for that minimal price.

Screenshot 2024-04-03 192047.png


Meh. Other than those bracers, it's a disappointing trip to the shop all around.

Our funds after selling our extra loot:

Screenshot 2024-04-03 192253.png


Well, yet again we're close to the purchase price a new fine longbow, and definitely can sell off some gems and jewelry to make up the difference. We head off to the silver shop.

Screenshot 2024-04-03 192313.png


We sell off Baroness Bella's shortbow +1 since she'll be getting a shiny new fine longbow...

Screenshot 2024-04-03 192336.png


We sell off a few gems, and soon...

Screenshot 2024-04-03 192420.png

Screenshot 2024-04-03 192429.png


And another fine longbow is ours!

So, all that's left to do is go to the inn, scribe and memorize spells, and rest up. We'll start there next time, with our next goal: to find out what is polluting the river.

The Sorcerer's Island awaits!
 
Last edited:


Pool of Radiance (Part 36): The Sorcerer's Island (Part 1)

Time to rest up before our next adventure. We have some new spells to scribe!

Screenshot 2024-04-03 192607.png

Screenshot 2024-04-03 192820.png


My magic-users' spellbooks are looking pretty nice now, although they will look much nicer once they can gain and memorize 3rd level spells. They aren't too far away from that now...

Bragir's spellbook:

Screenshot 2024-04-03 192940.png

Screenshot 2024-04-03 192944.png


Brin's spellbook:

Screenshot 2024-04-03 192951.png

Screenshot 2024-04-03 192956.png


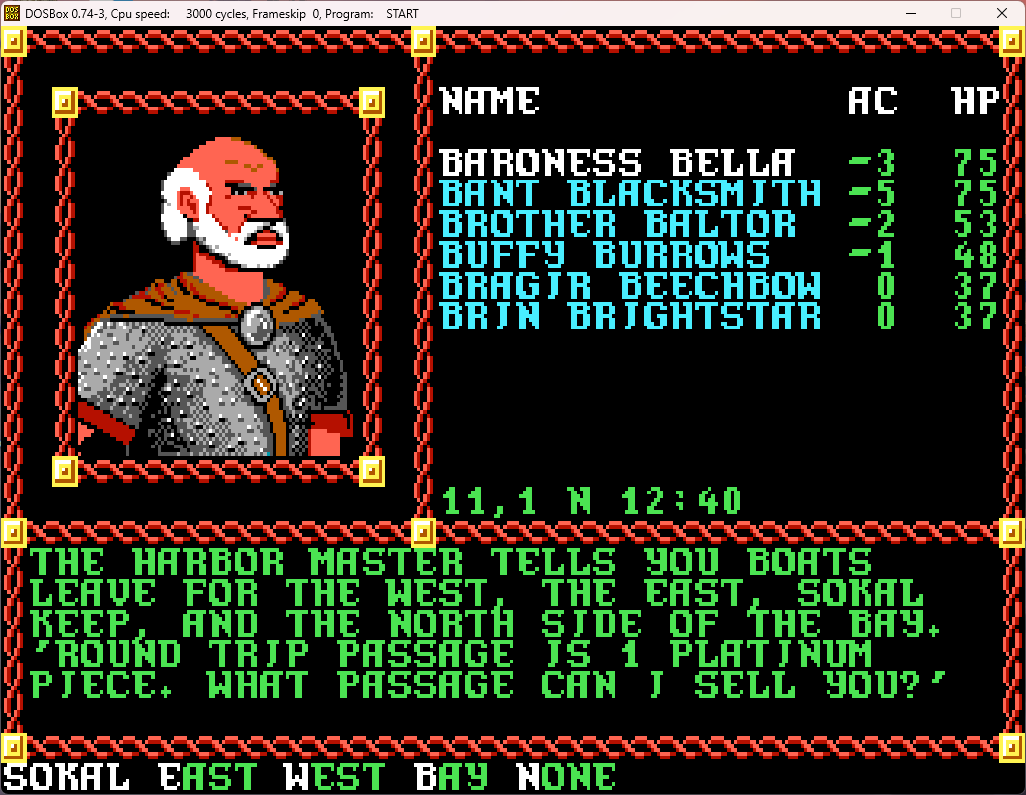
With that, we rest up, and start out fresh to head up north along the river to find the source of its pollution. Time to catch a boat to the other side of the bay...

Screenshot 2024-04-06 151750.png

Screenshot 2024-04-06 151806.png

Screenshot 2024-04-06 151824.png


We head north along the river through the gray polluted zone.

A short way up the river, we bump into some monsters, and this time there's no way around combat.

Screenshot 2024-04-06 151947.png

Screenshot 2024-04-06 152003.png


Interesting how we have cacti here. I guess the pollution basically turned the region into a desert instead of a complete wasteland (and, as someone who lives in Arizona, there's definitely a big difference between desert and utter wasteland)

Bumping into wandering monsters is always a pain, but it's just kobolds, so it's more of a minor speedbump than anything.

I was originally planning on just holding back and let them come to me, but they all appear to have bows, so they were just taking potshots and not advancing at all. So I was forced to start moving my melee over. Thankfully, with vegetation being fairly sparse, I could get over there pretty quickly.

Screenshot 2024-04-06 152145.png


(Baroness Bella has just killed a kobold directly in front of her, but I was a moment too late with the screenshot).

We rapidly wear them down...

Screenshot 2024-04-06 152452.png


The last few surrender, and the battle is soon over.

Screenshot 2024-04-06 152535.png


(Again, just a moment too slow to catch the "Kobold surrenders" text)

Kobolds vanquished, we continue north along the river. Soon we reach a lake, and on an island within it there's a very curious structure indeed!

Screenshot 2024-04-06 152630.png


It definitely appears that the pollution is flowing from the top of that pyramidal structure. We move around the lake, looking for some way to cross the water.

Screenshot 2024-04-06 152701.png


"Amoungst"? As you may have noticed, spell-checking, and even sometimes basic grammar, were apparently not a priority during the production of the game.

Anyway, happy to have found a boat, we board it and travel to the island.

Screenshot 2024-04-06 153054.png


Obviously, to fulfill our commission, we have to go in.

Screenshot 2024-04-06 153613.png


We enter, and travel down a long, featureless corridor.

Screenshot 2024-04-06 160120.png


We turn right at the first doorway we find. Hmm, why are there rocks here? But before we even have time to ponder that...

Screenshot 2024-04-06 160130.png


Oh great. It's time for that old CRPG (and regular RPG for that matter) standby: "Fun With Teleporters".

Screenshot 2024-04-06 160150.png


And even more fun, the whole place is a maze of featureless corridors. At least you get a warning (other than the first time) when you're about to enter a teleporter due to the rocks there. I have no doubt that the maddening combination of maze and teleporters helped drive the sales of the cluebook for the game immensely.

To make matters simpler, and to save the people reading this thread the tedium of having to go through multiple parts of just "the party wanders, and sometimes teleports, randomly through the labyrinth", we'll just take the short route, with a couple of minor detours to see some of the more interesting stuff here. This means skipping the first floor entirely (other than the corridor we entered through), but that's not missing anything terribly noteworthy - there are just random wandering monsters, and a couple of encounters with people who have been trapped in the maze who don't have much to say at all (one has all but broken through the outer wall to create an exit, but we'll be able to exit normally on our own anyway). The first floor is much larger and far more maze-like than the upper levels anyway, so it's pretty much just for the best to pass it over entirely. No doubt everyone will agree once I post the full pyramid map after completing this section of the game.

Anyway, the party goes to the left at the intersection pictured above. Right after we do...

Screenshot 2024-04-06 160322.png


Well, if you find a secret door, you have to go through it, right? So in we go.

Screenshot 2024-04-06 160334.png


Hey, that's not polite!

Screenshot 2024-04-06 160345.png


We advance...

Screenshot 2024-04-06 160458.png


I assure you, we are not! We advance once more...

Screenshot 2024-04-06 160504.png


Huh, they seemed pretty hostile before. We decide to parlay.

Screenshot 2024-04-06 160520.png


Well, that's nice of you. Presumably, before we can get any further info, especially on who this "Yarash" is and what they are doing, the lizardmen leave.

We head back out into the corridor. Before we go much further...

Screenshot 2024-04-06 160617.png


(What's with the weird passive voice in this section? Usually the Gold Box games say "Buffy Burrows (or whoever) found a secret door" in these situations.)

We go through this door as well.

Screenshot 2024-04-06 160629.png

Screenshot 2024-04-06 160641.png


Presuming this is our mysterious Yarash at work, he doesn't seem the particularly pleasant type...

We head back out to the corridor and continue down it further. After several twists and turns, we reach the end of it, but...

Screenshot 2024-04-06 160747.png


In we go again!

Screenshot 2024-04-06 160809.png


Let's look around a bit closer...

Screenshot 2024-04-06 160834.png


I'm sure bathing in whatever that vile liquid is was perfectly harmless and didn't change them in any way, right?

Screenshot 2024-04-06 160901.png


While the use of "mutant" in their name might be cause for some momentary worry, they only have 18 HP, and with only three of them, this fight goes as quickly as one would expect...

Screenshot 2024-04-06 160930.png


Since there's not much more to explore here, we backtrack to the intersection near where we came out of the teleporter, and this time go down the corridor to the right.

Shortly after passing the intersection...

Screenshot 2024-04-06 161023.png


Yet again, we decide to explore what's beyond the mysterious door.

Screenshot 2024-04-06 161035.png

Screenshot 2024-04-06 161044.png


Our opinion of this Yarash keeps plunging with each discovery we find.

We retreat from this room, and head further east down the corridor, until we reach its end.

Screenshot 2024-04-06 161922.png


We're at another teleporter, as indicated by the rocks. This time (and all further times) we aren't instantly teleported through when we get to the square.

And here's the deal with the rocks - each teleporter has two different potential destinations, and they swap out each time something goes through. So, sometimes you'll want to go through the teleporter without throwing a rock through it first, and sometimes you want to go through after throwing a rock through, depending on which destination you want to reach. To get to where we want to go in the most efficient way possible, we will throw a rock through first.

Screenshot 2024-04-06 161934.png


We head through, and...

Screenshot 2024-04-06 161942.png


This time, it's just one long, snaky corridor until we reach the next teleporter.

Screenshot 2024-04-06 162007.png

Screenshot 2024-04-06 162021.png

Screenshot 2024-04-06 162027.png


We again throw a rock first.

Screenshot 2024-04-06 162033.png


And then go forward...

Screenshot 2024-04-06 162040.png

Screenshot 2024-04-06 162046.png


This time it's quick and easy. We just go a few steps through that doorway to find the next teleporter.

Screenshot 2024-04-06 162053.png


Again we throw a rock, and move through ourselves.

Screenshot 2024-04-06 162114.png

Screenshot 2024-04-06 162128.png


We hear strange mechanical and bubbling sounds from around that corner. Our goal must be near. But, as we've reached the upload limit for this post, the mystery at the top of the pyramid will have to wait for the next post..
 
Last edited:

Remove ads

Top