You are using an out of date browser. It may not display this or other websites correctly.
You should upgrade or use an alternative browser.
You should upgrade or use an alternative browser.
D&D General Demetrios1453 Plays the Gold Box Games
Demetrios1453
Hero
Pool of Radiance (Part 20): Podol Plaza (Part 1)
Off we go to Podol Plaza, to investigate the auction that has had the city council so worried.
But first, let's clean out the remaining random patrols in Kuto's Well so I don't need to worry about getting slowed down by them passing through it.
We go through the Slums again with no incident, and get to Kuto's Well and start marching around looking for a patrol. If I counted right, I've defeated seven out of ten, so this should go quickly. After a short bit:
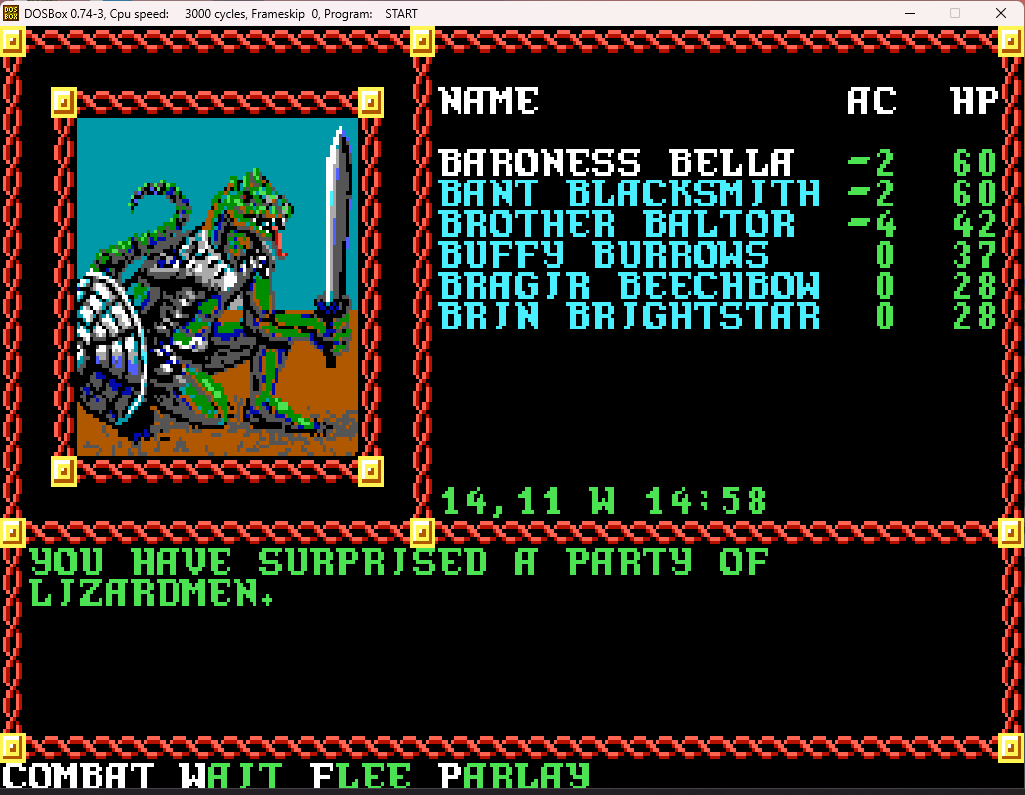
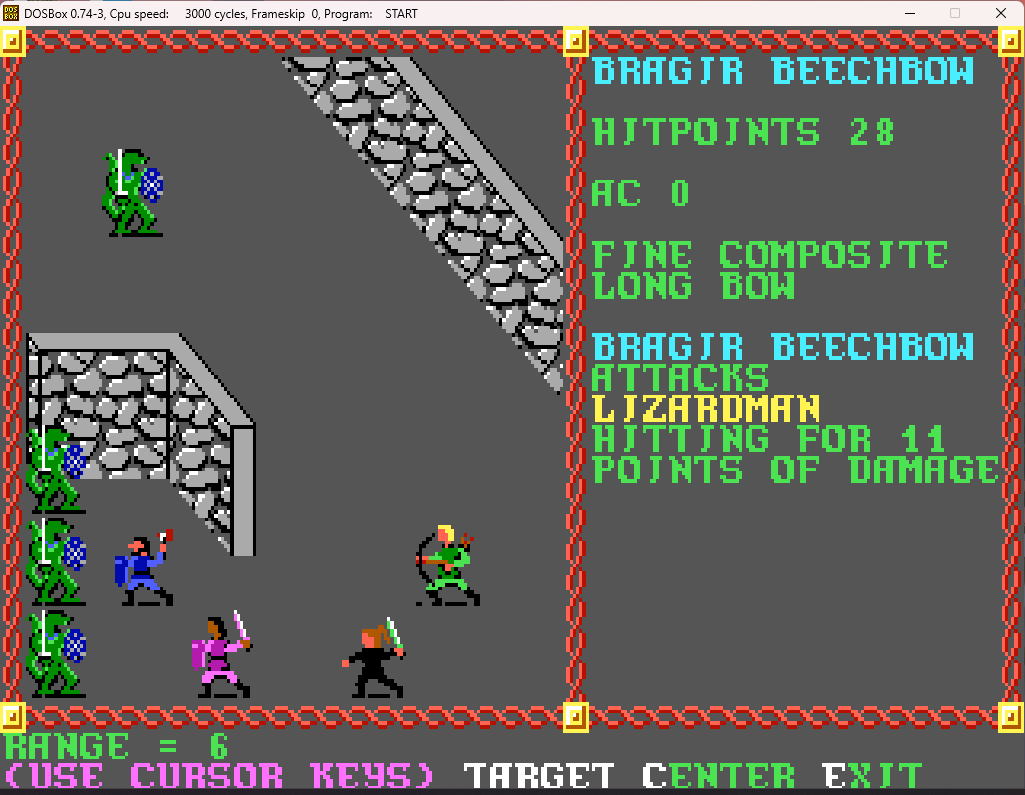
Already the extra damage from Bragir's new bow comes into play, as he's often dropping lizardmen in a single shot:
And soon they're dead.
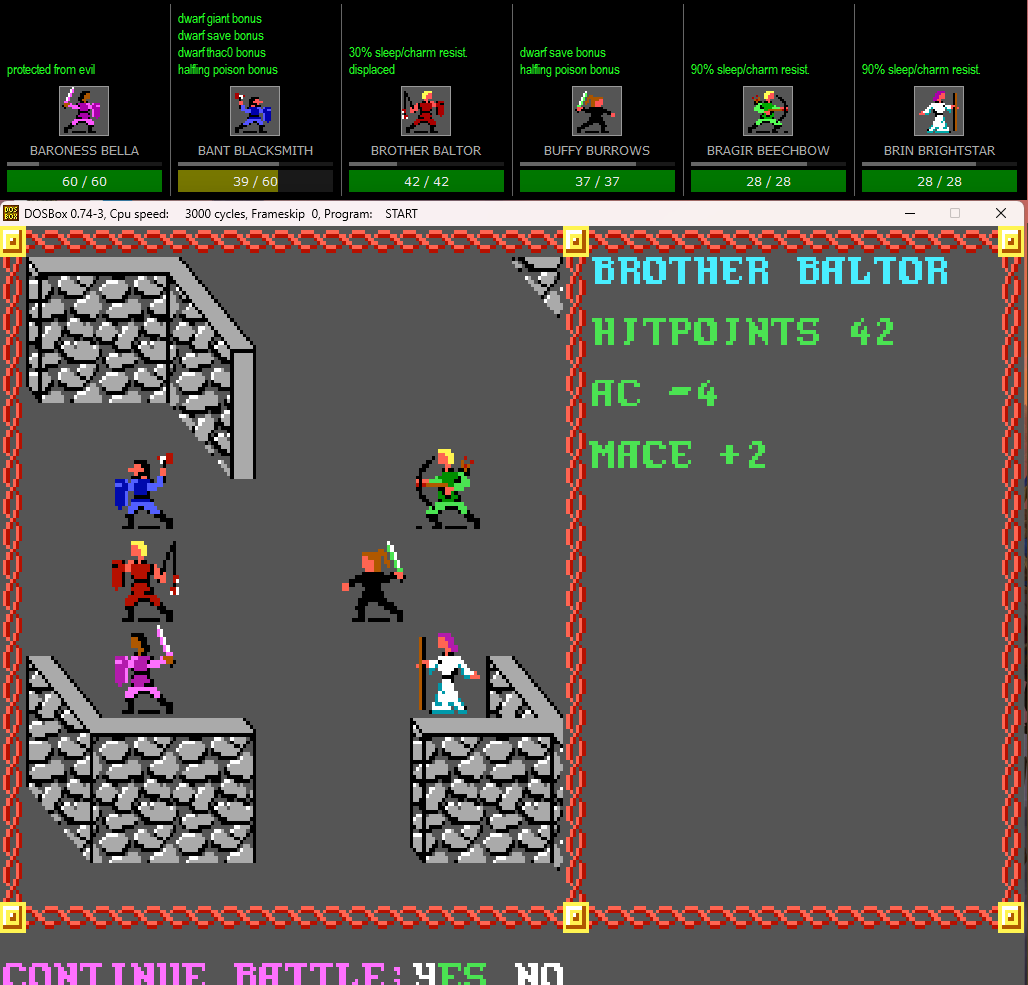
But, yet again, Bant has taken a beating. Time to switch some equipment up:
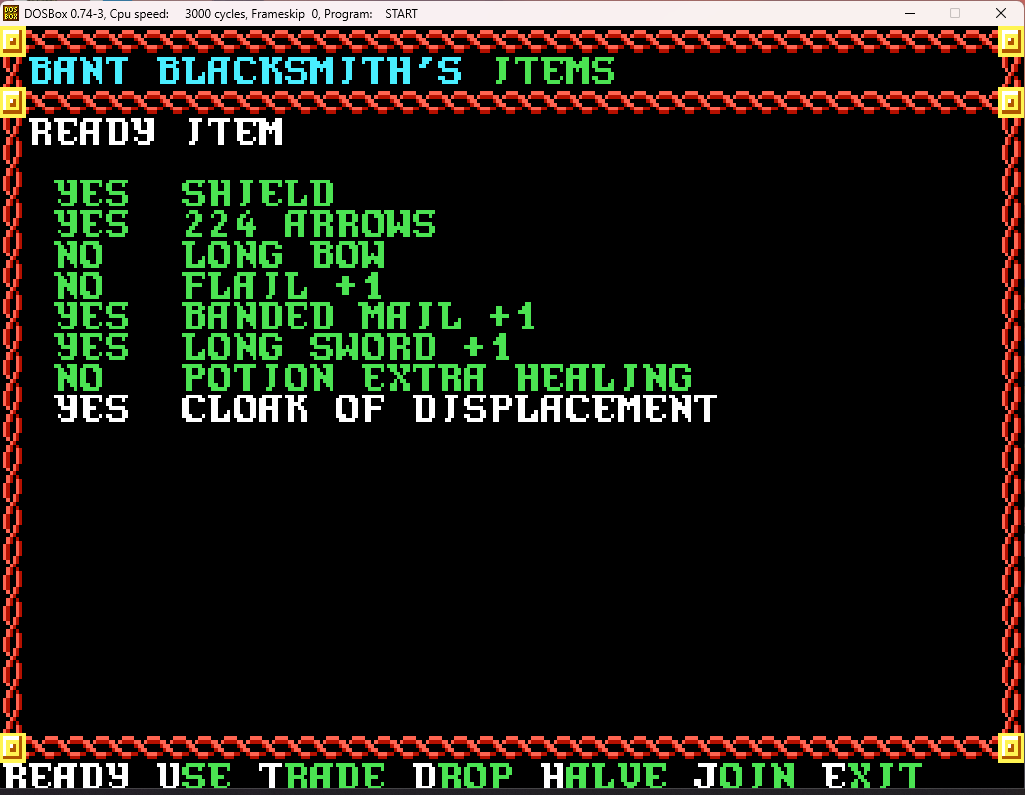
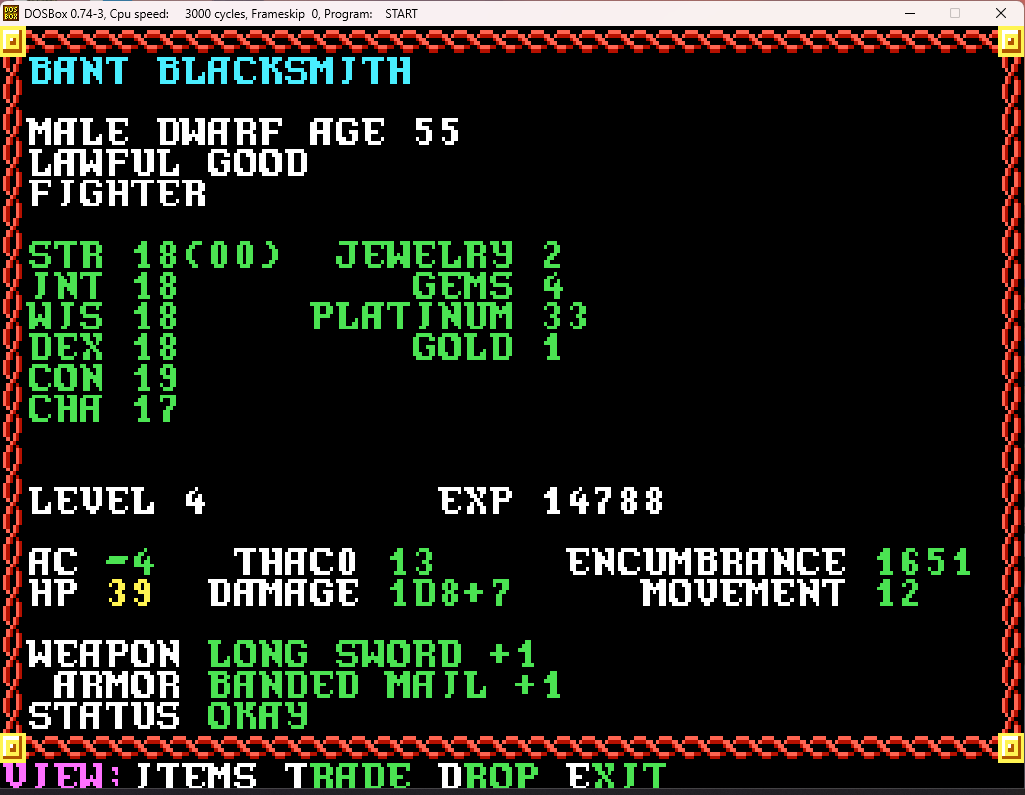
That should keep the damage from piling up so quickly.
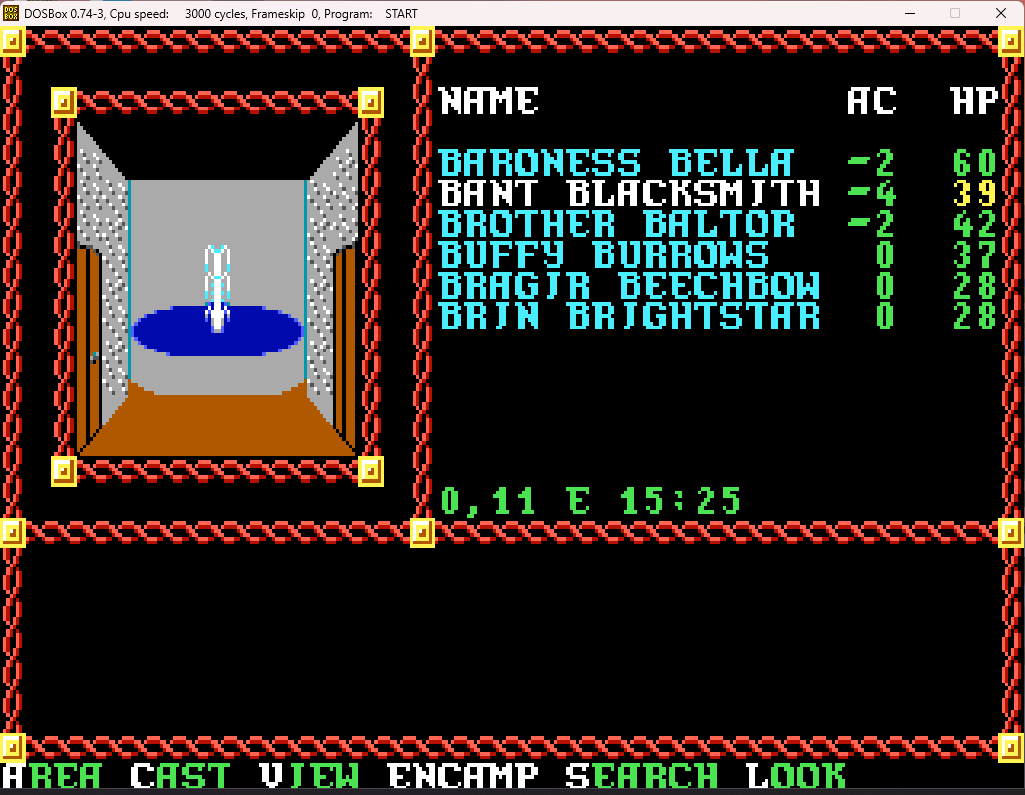
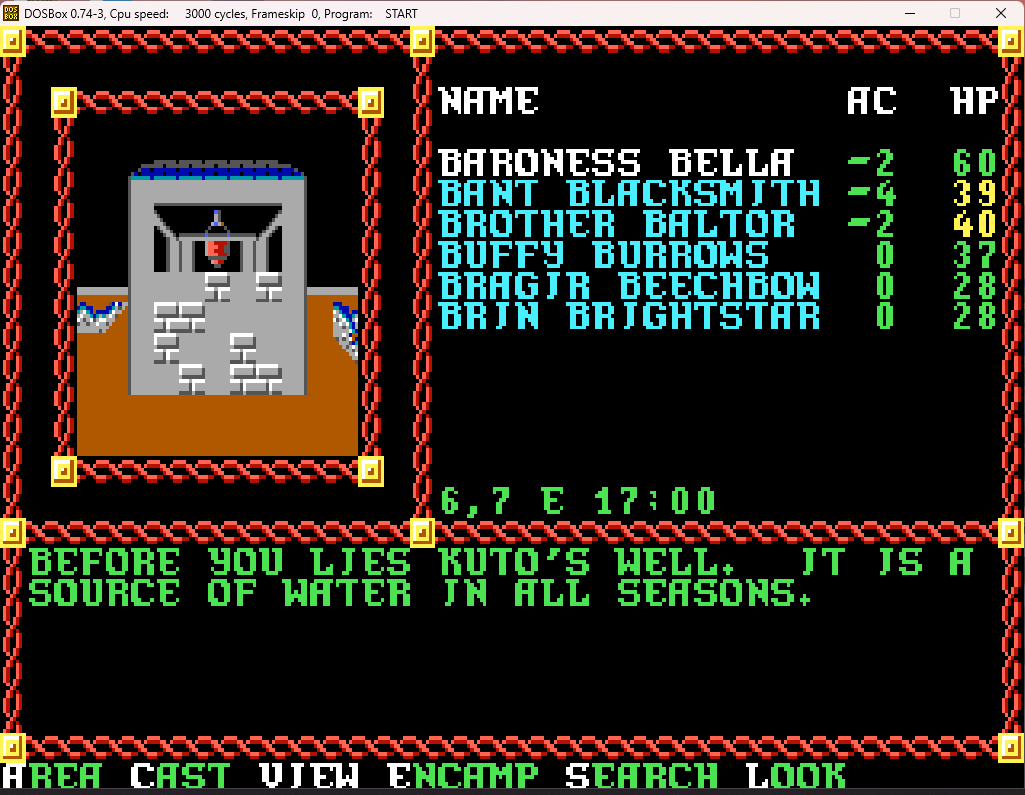
The party continues to march around. We find the southern entrance to Podol Plaza, but we aren't going there quite yet. Oddly, the wall opposite the entrance has this fountain decoration, which isn't like anything else in the game. I've always wondered why it was put here. Or maybe it's an actual fountain, but just looks like a wall decoration due to the two-dimensional nature of the game:
A few steps to the south, and:
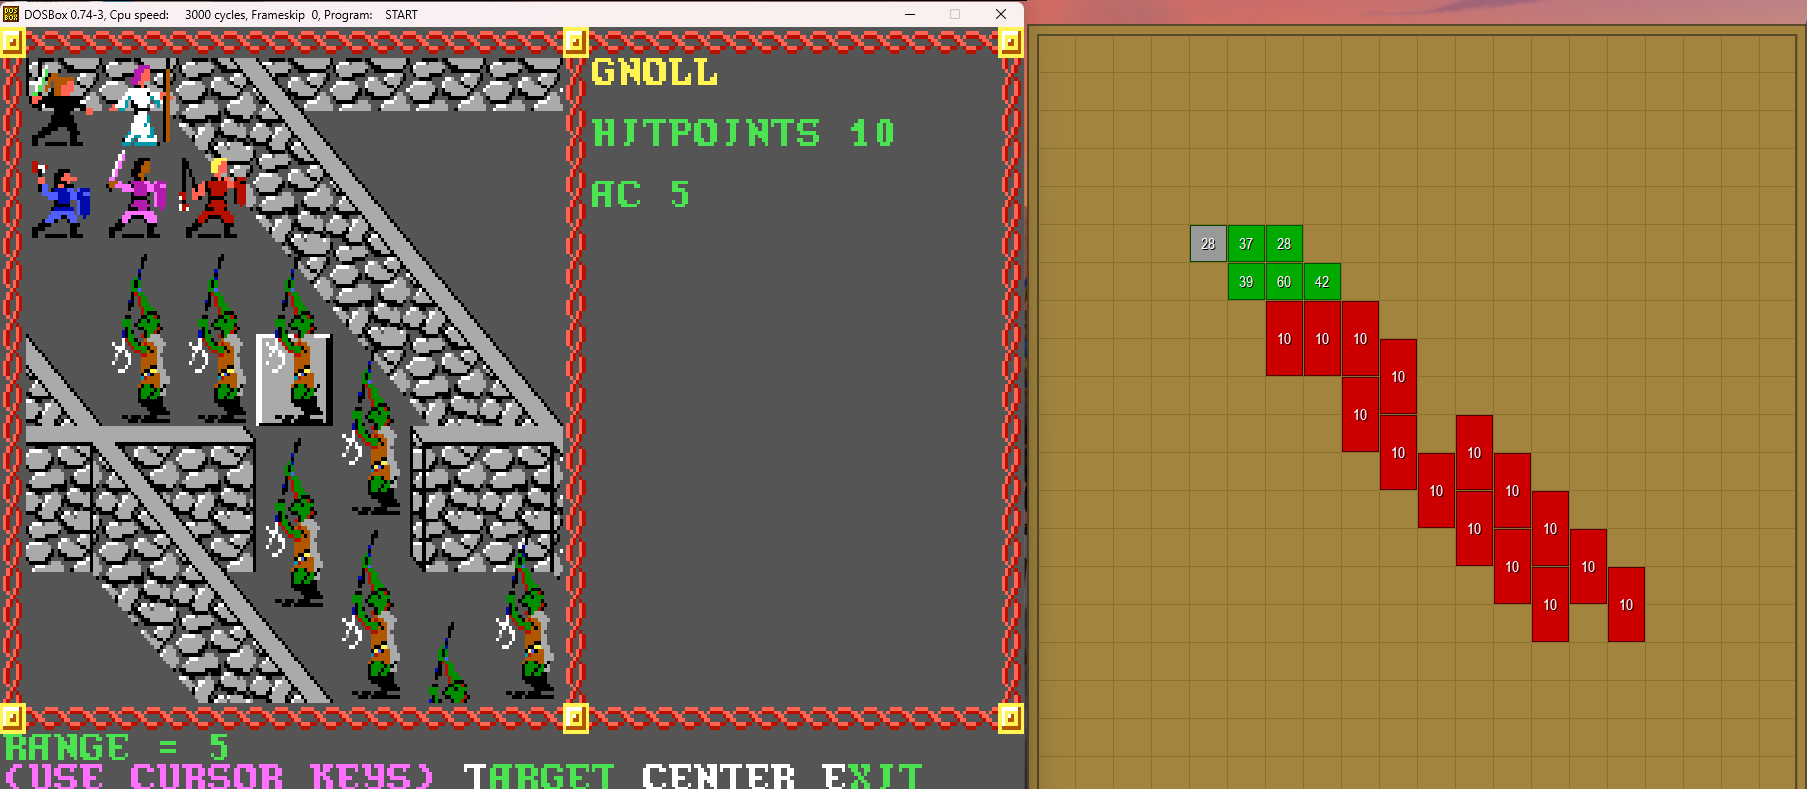
We take care of them pretty quickly, as they are hindered by the door and struggle to get through. Eventually they give up and surrender:
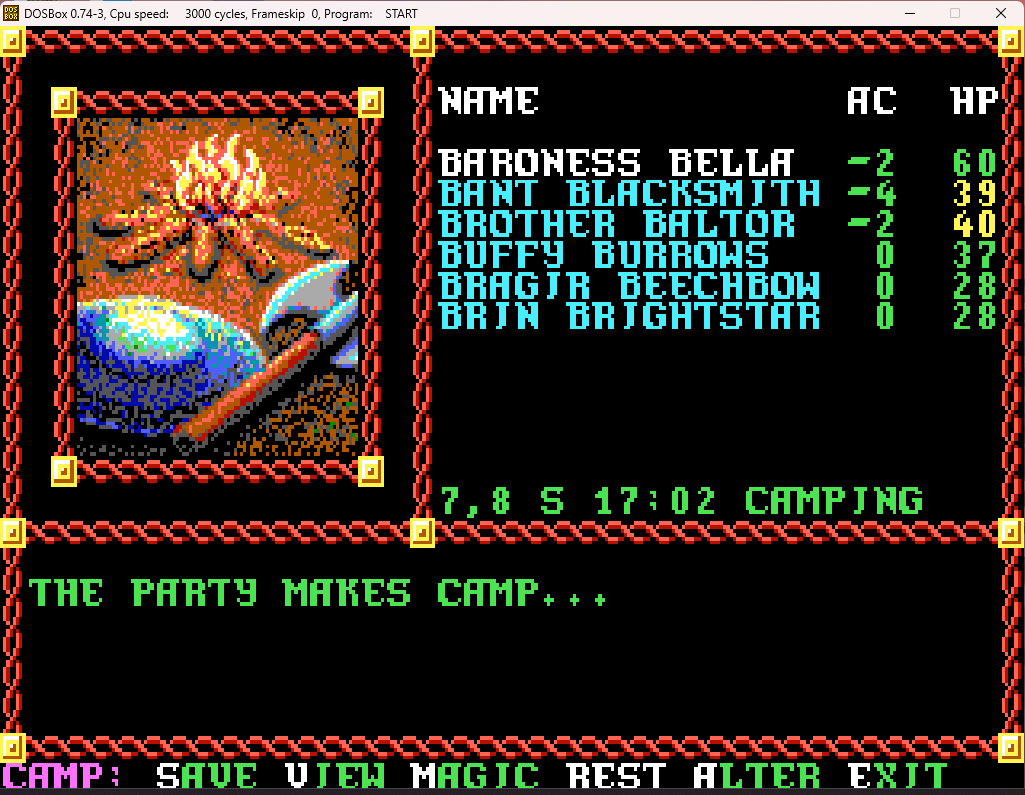
We wander about the area for a bit, but no further encounters appear. Apparently we had only two encounters to go to clear the block. Eventually, we give up and head to the Well to rest and heal up
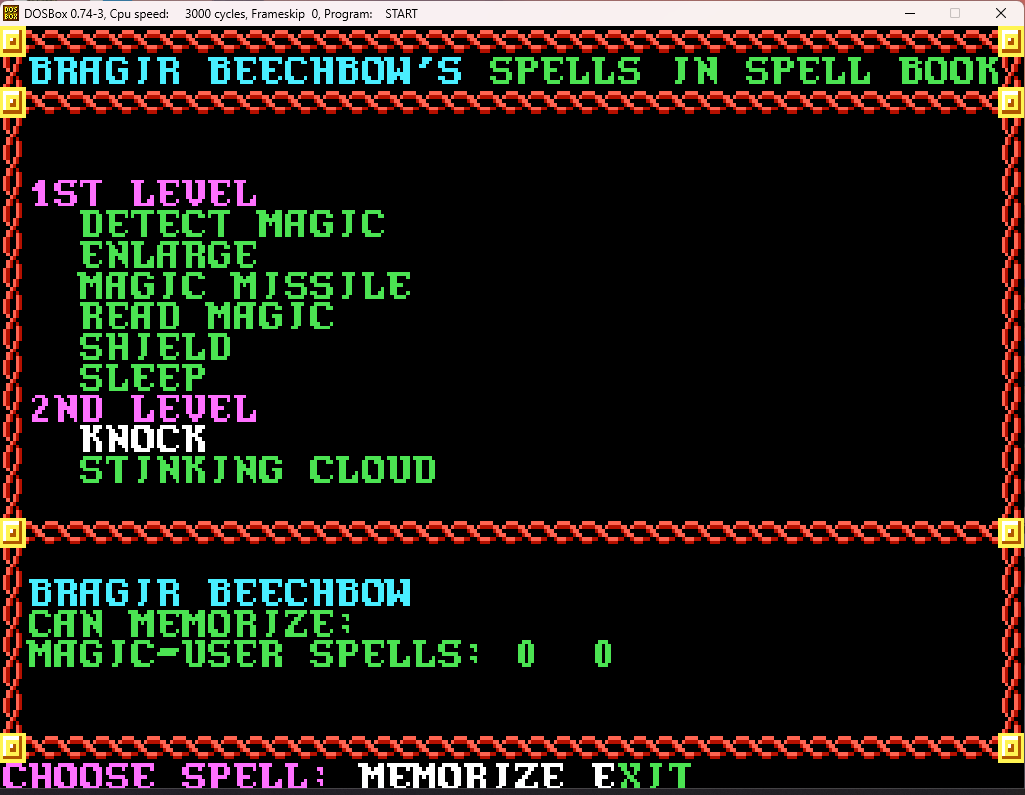
Bragir memorizes knock, which he thinks might come in handy in Podol Plaza:
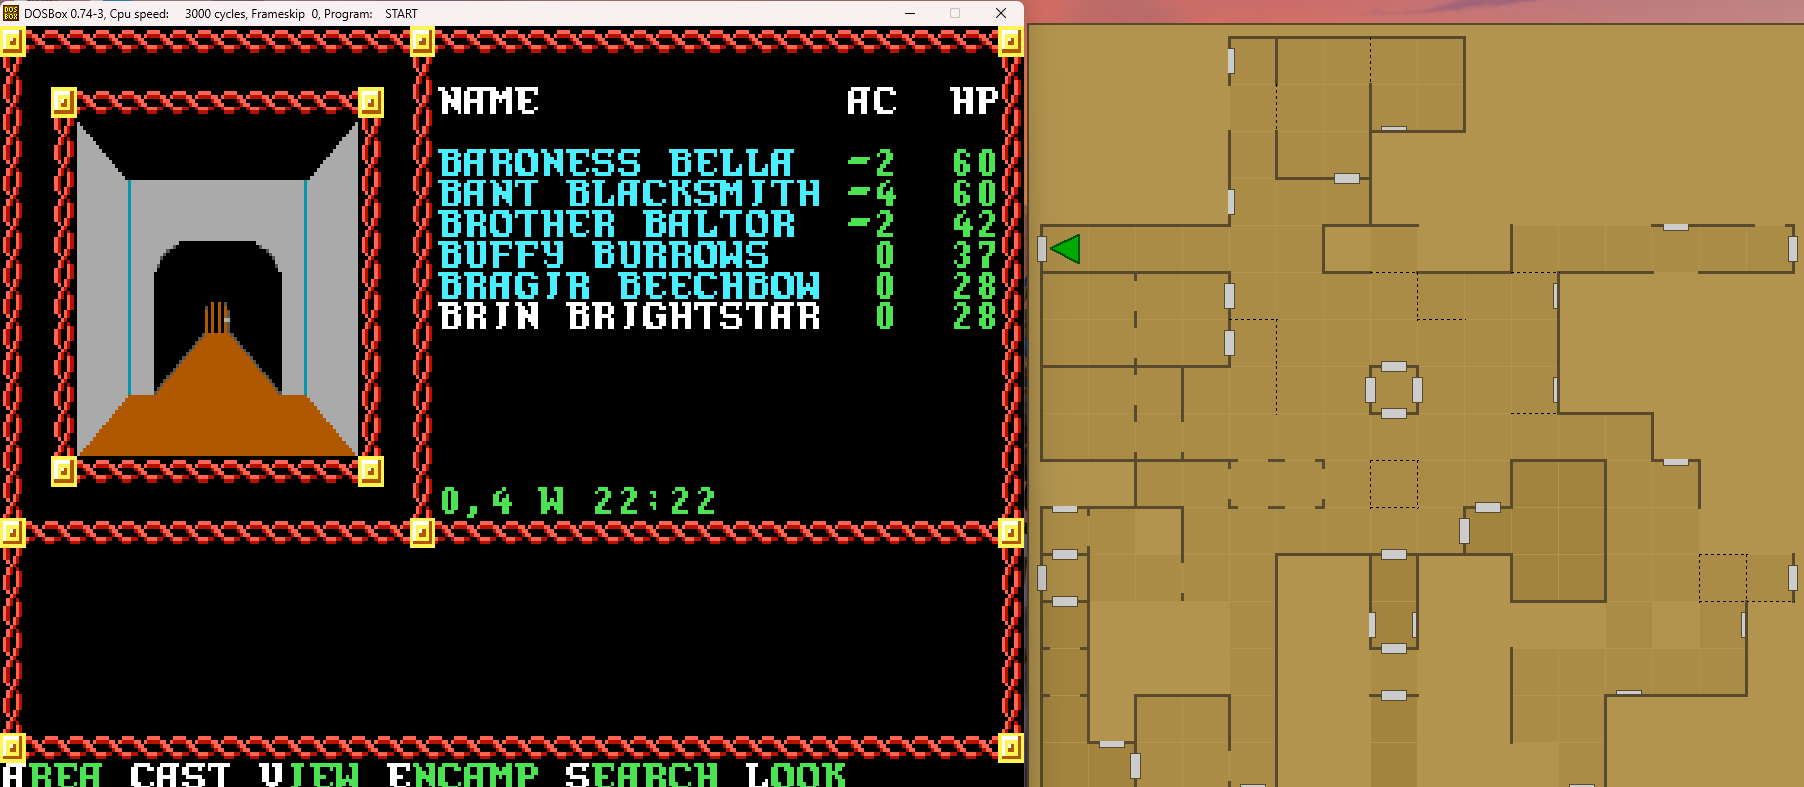
And, off we go, leaving Kuto's Well and entering Podol Plaza through the northern entrance:
Upon entering Podol Plaza, we're given a choice:
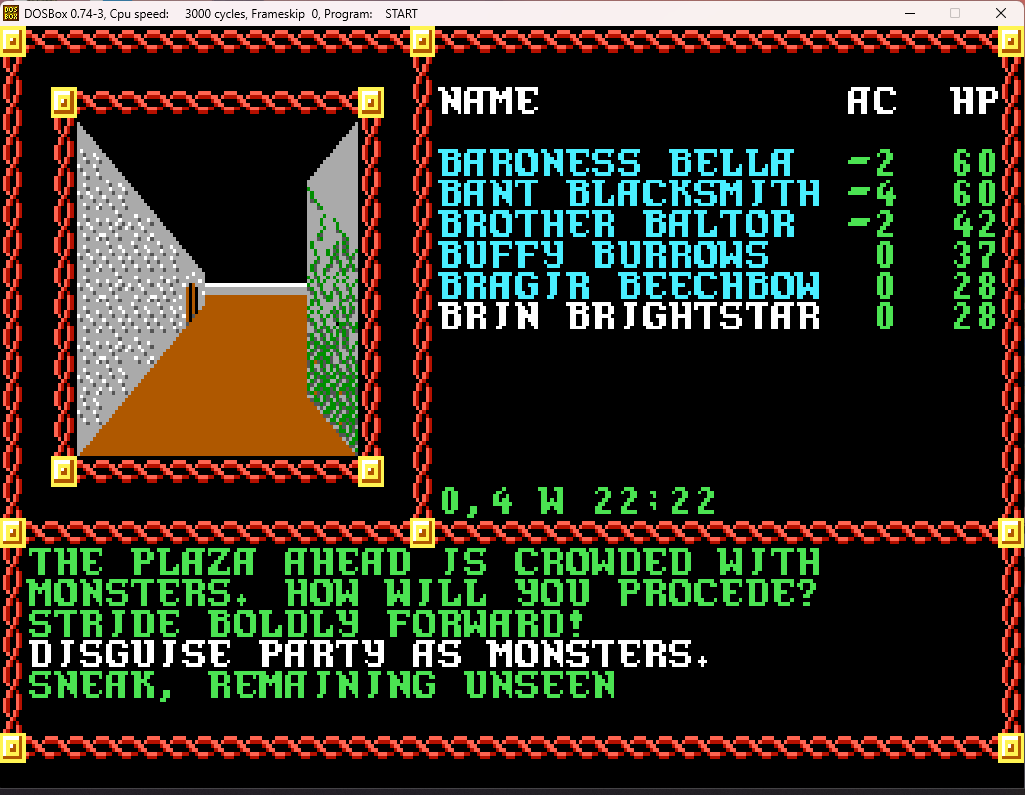
Disguising yourself as monsters is the best way to go here, although it can become tedious as we meet monster groups, as we will see. But it's better than the other two, which can easily blow your mission well before you can even reach the auction area.
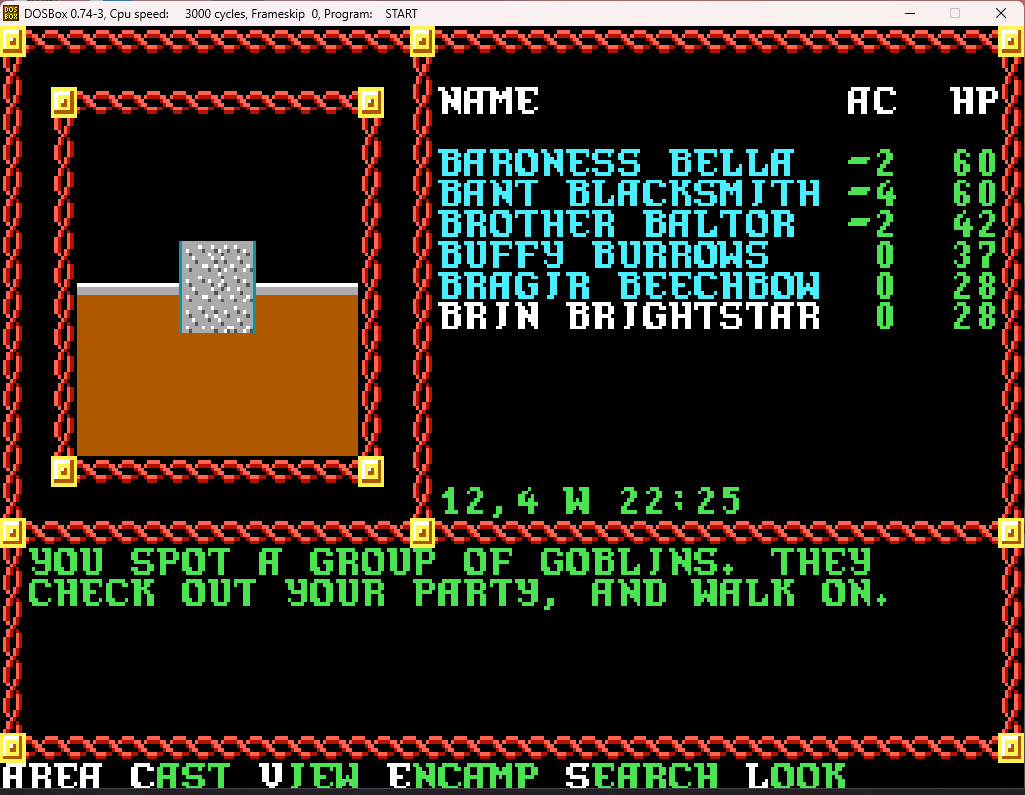
Every few steps we encounter a group of monsters. Some, like these, just basically ignore you, while others:
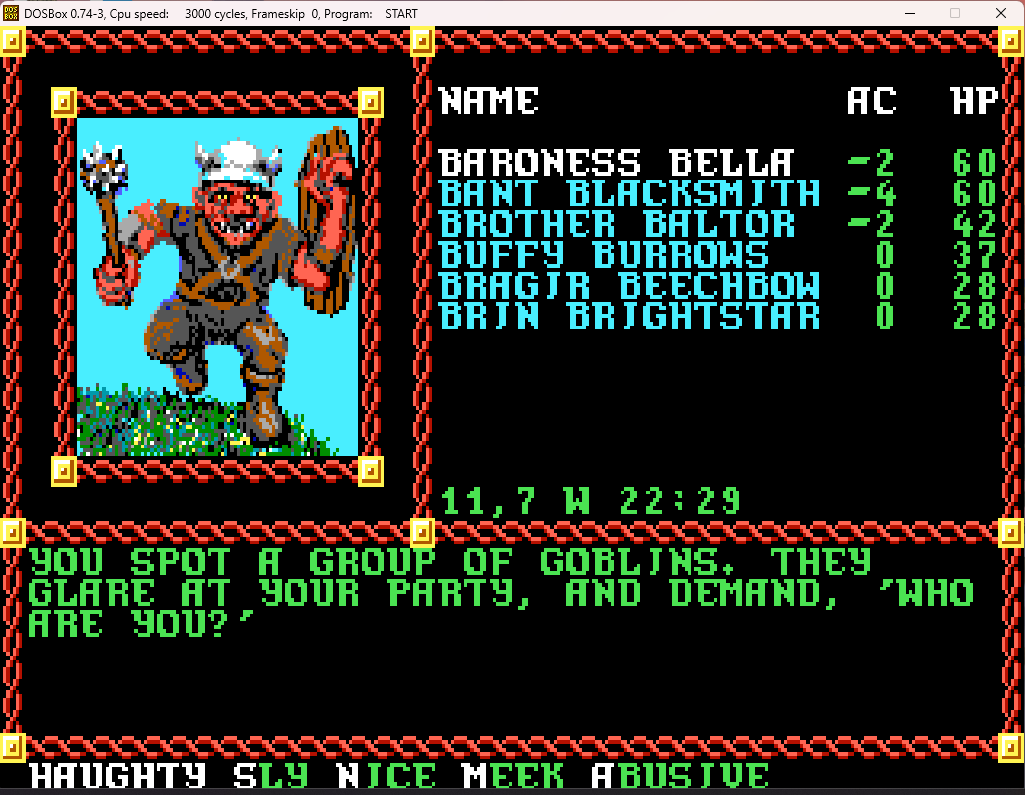
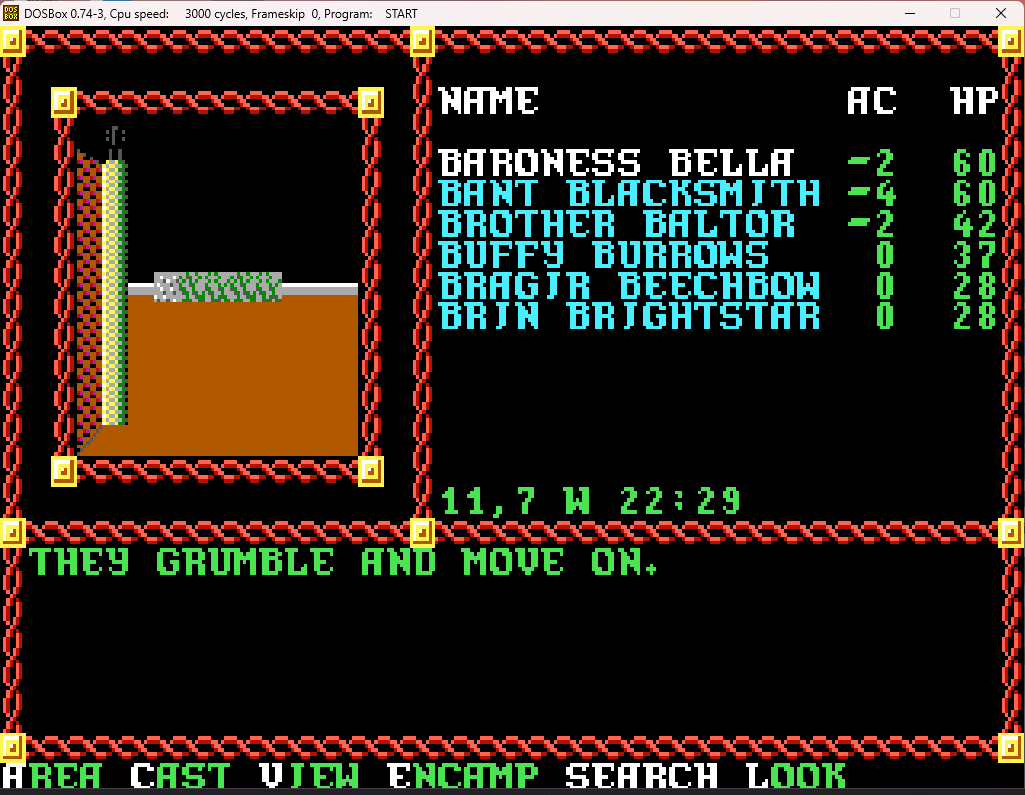
The best choice here, as long as you have a powerful group, is to go "Abusive"
You might also hear some rumors as you make your way to the auction:
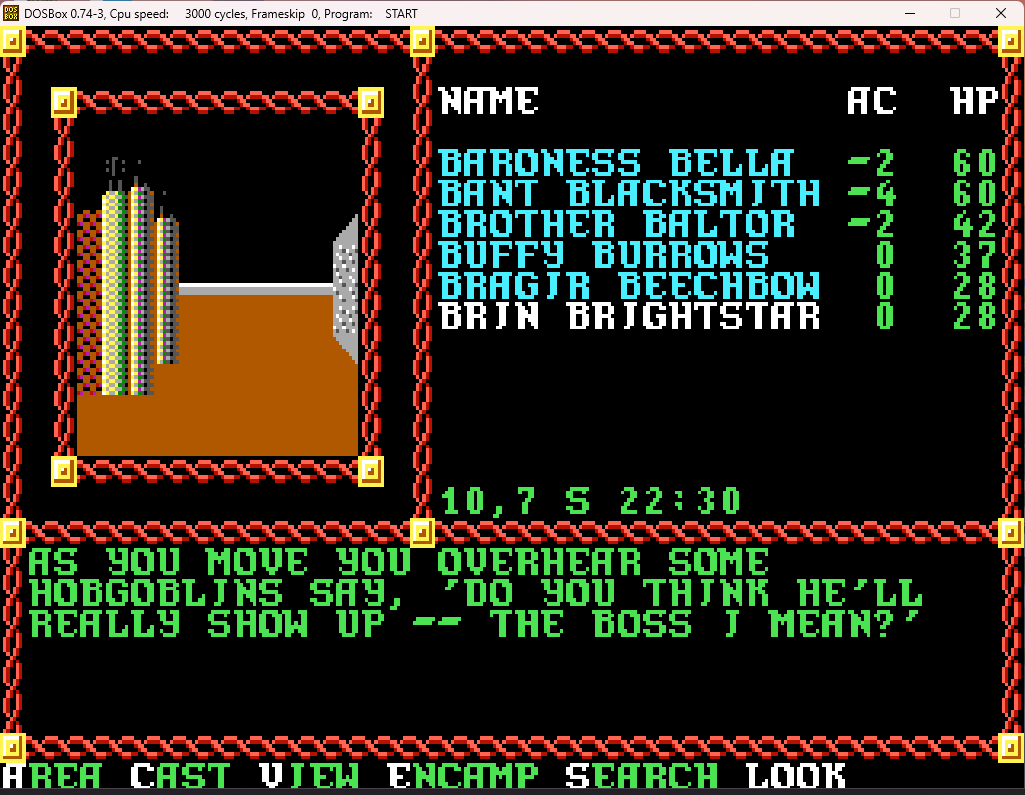
More about our mysterious "Boss", it seems.
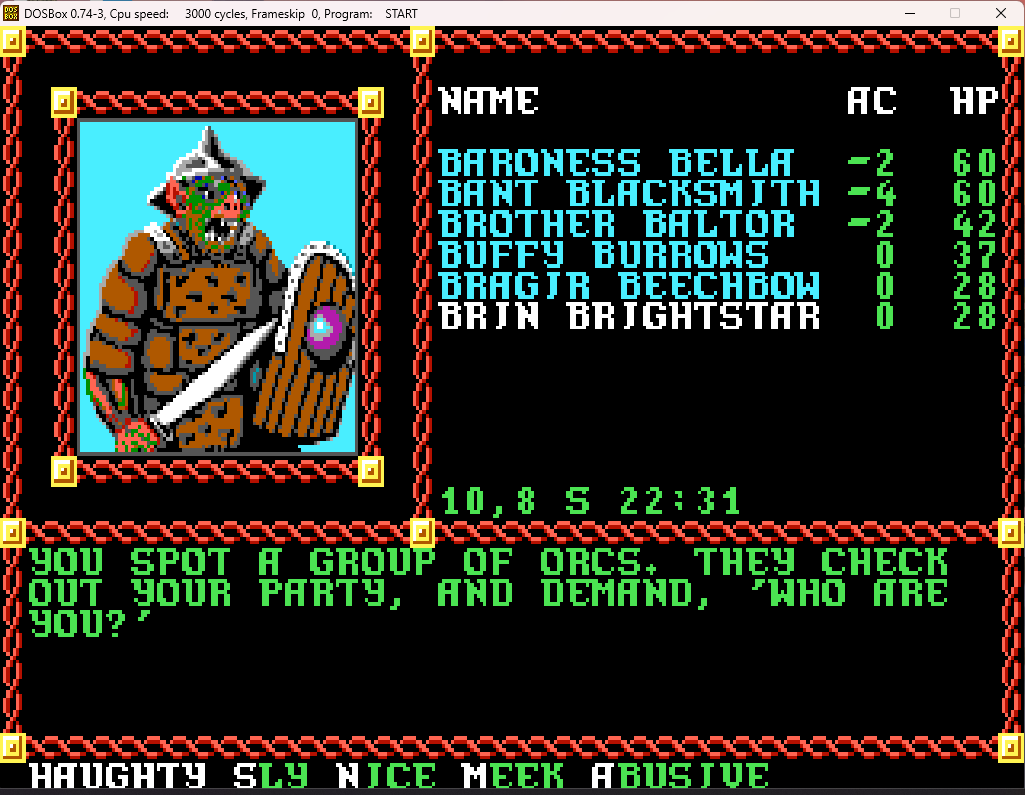
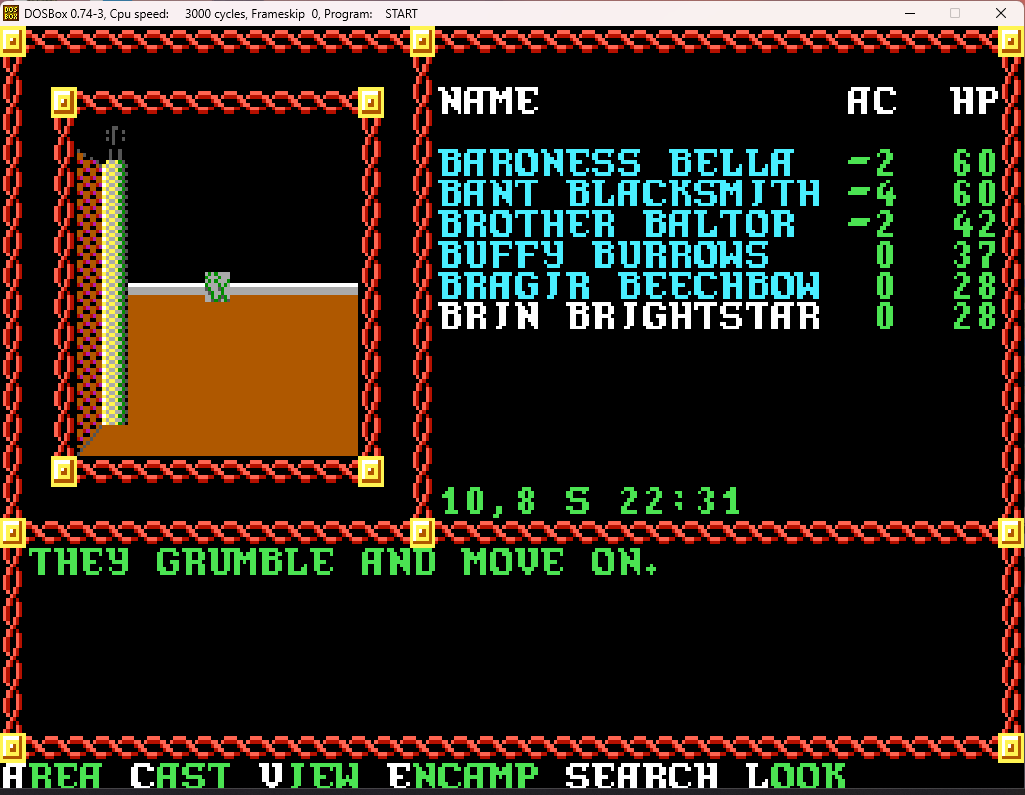
This just keeps happening over and over again. Thankfully, we soon reach the location of the auction, at the center of the zone.
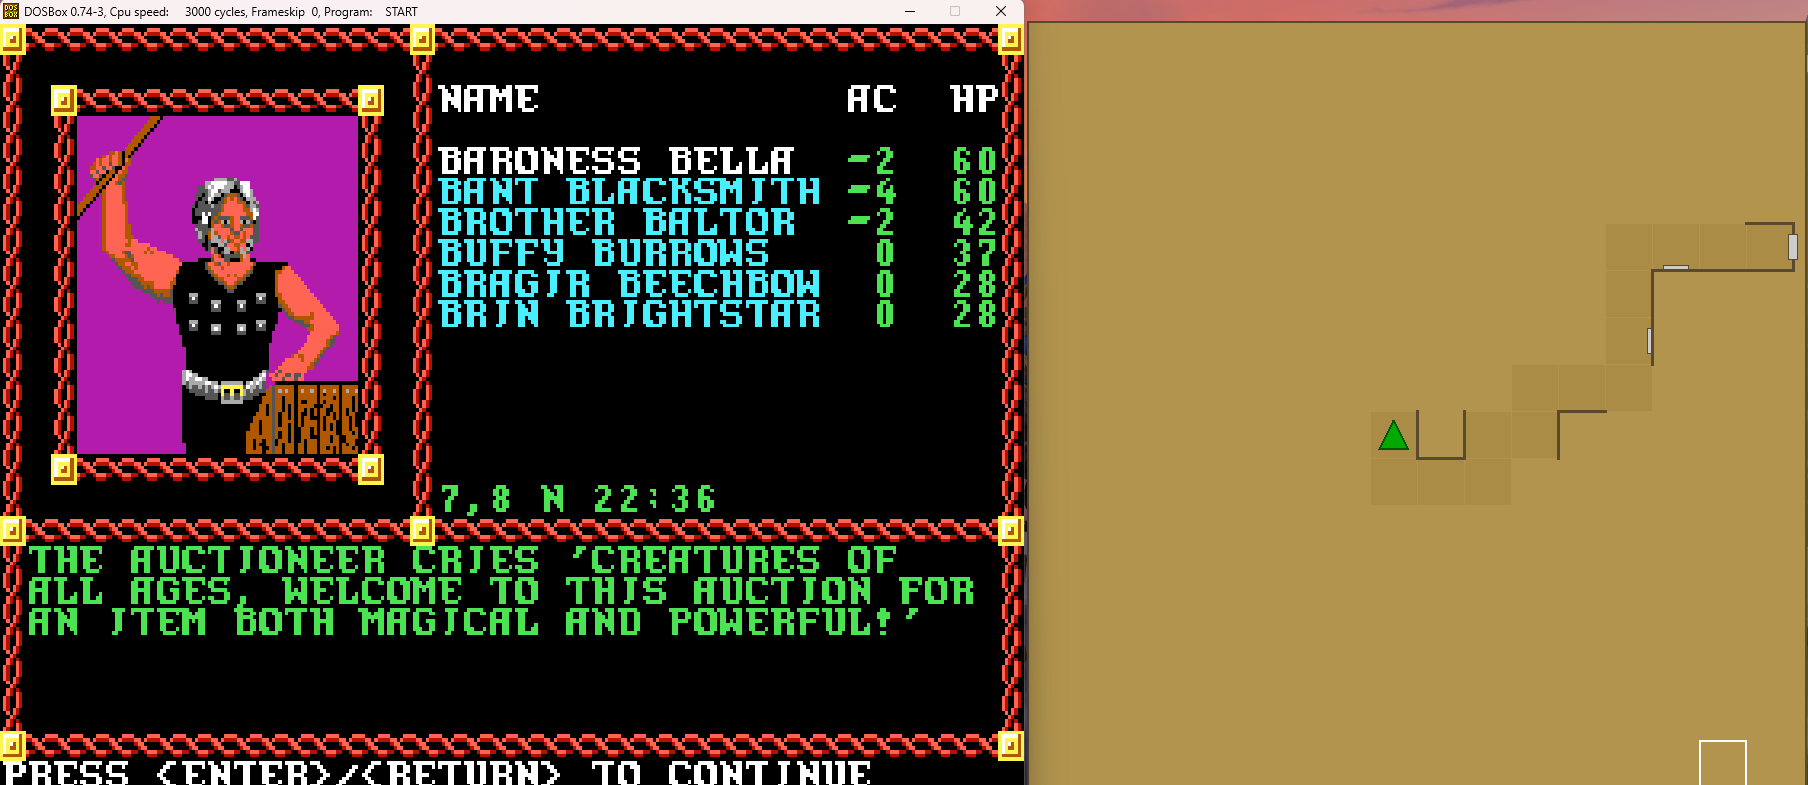
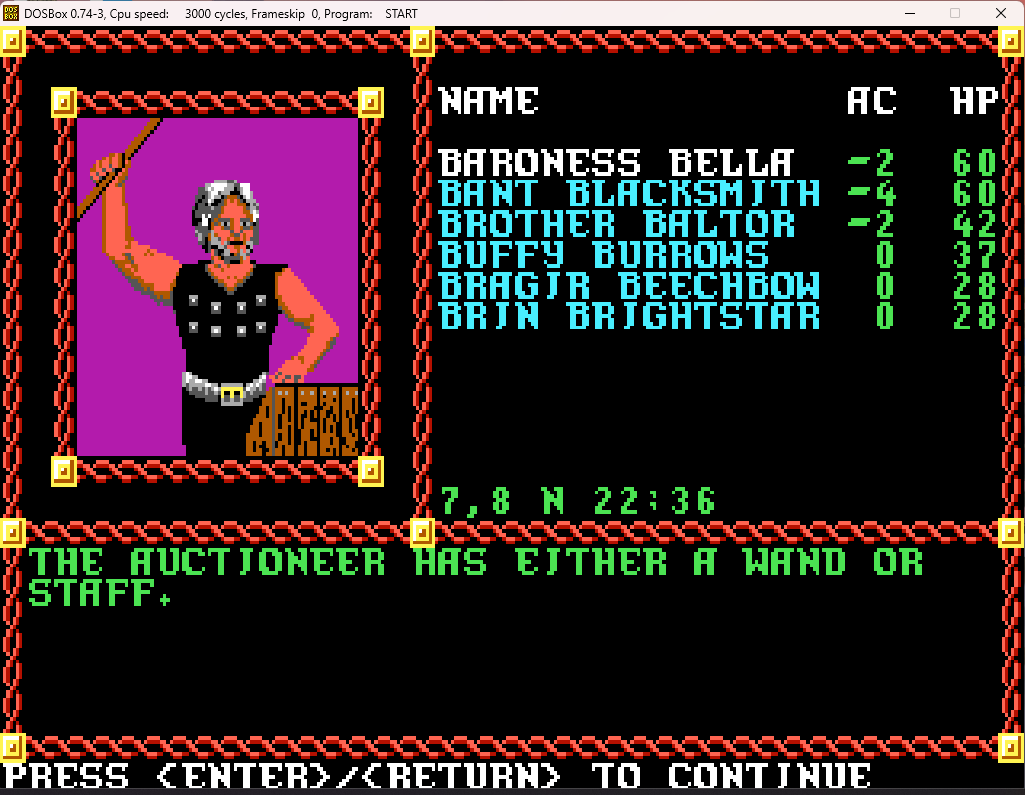
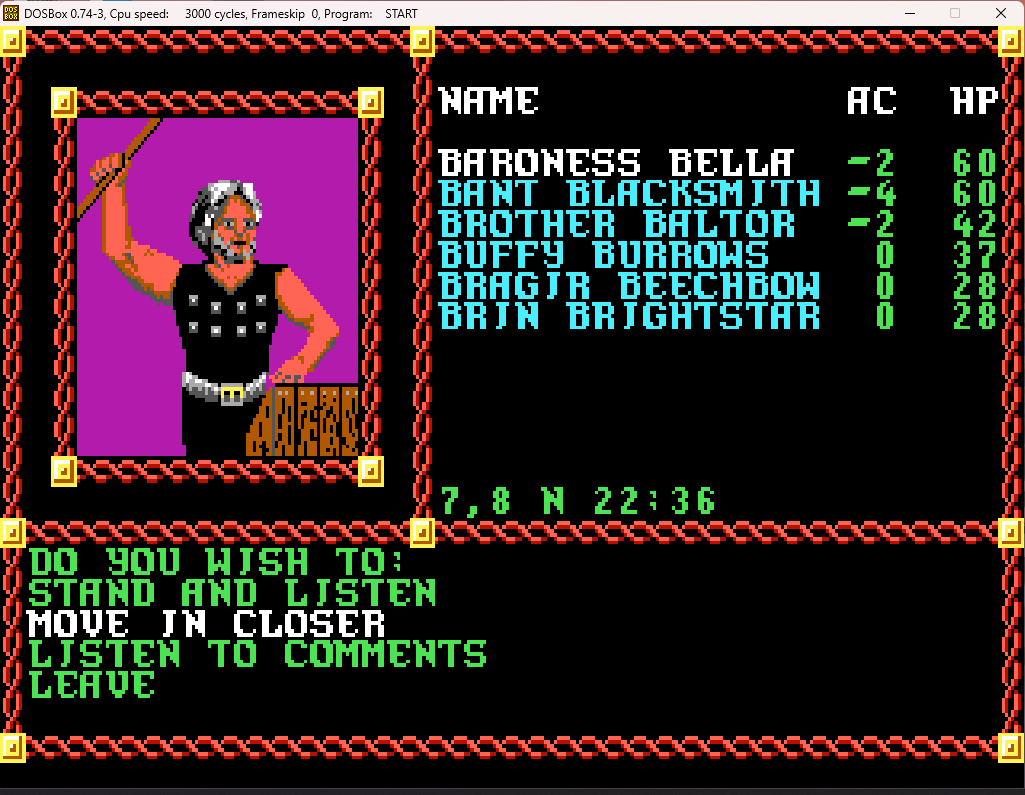
Let's move in a bit.
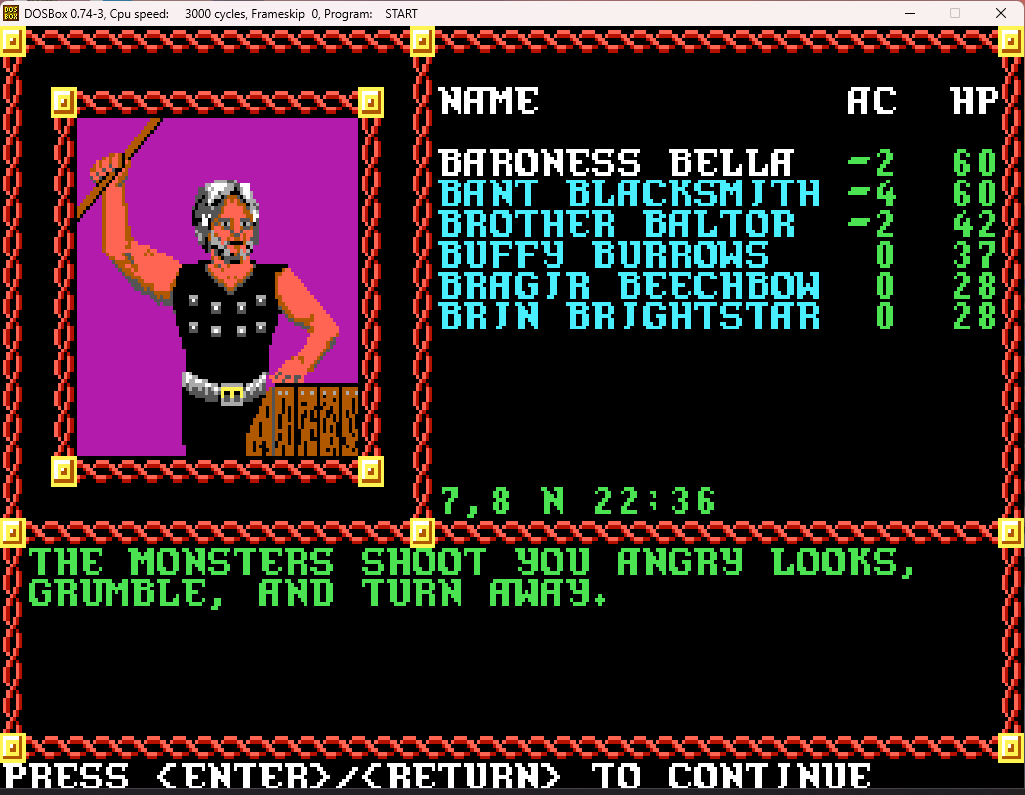
At this point, a message flashes by (without the "Press <Enter>/<Return>" option, so it just continued on to the next screen before I could screenshot it) stating that you can see that it's just a wand of fear.
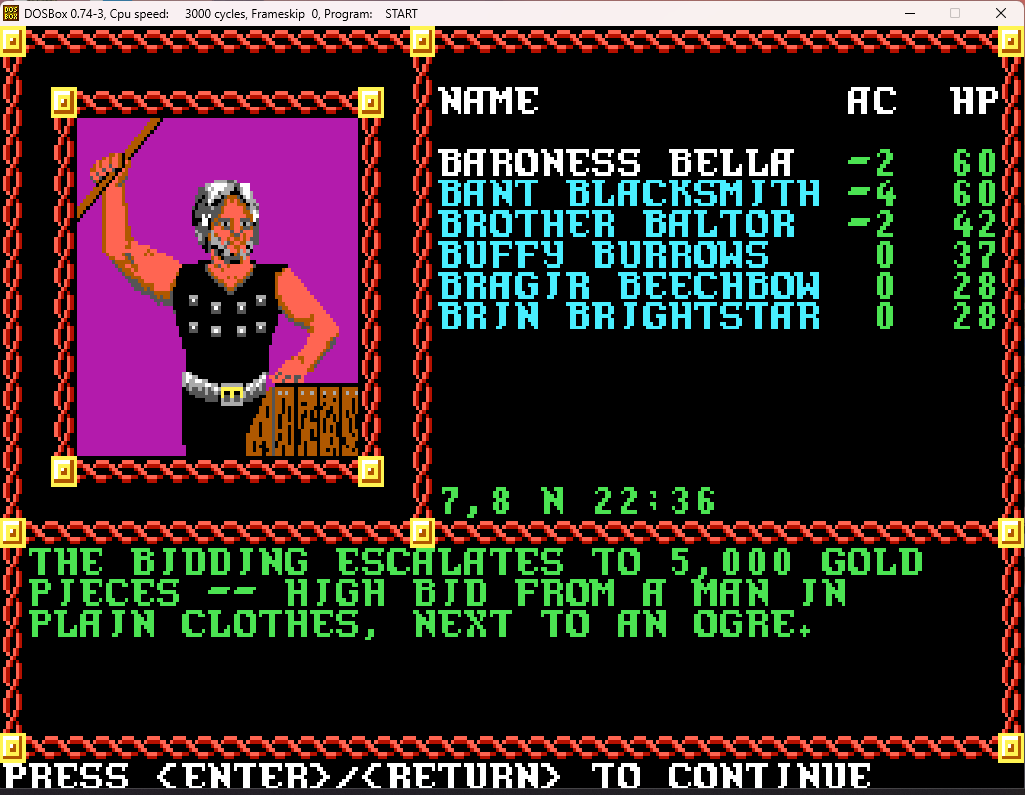
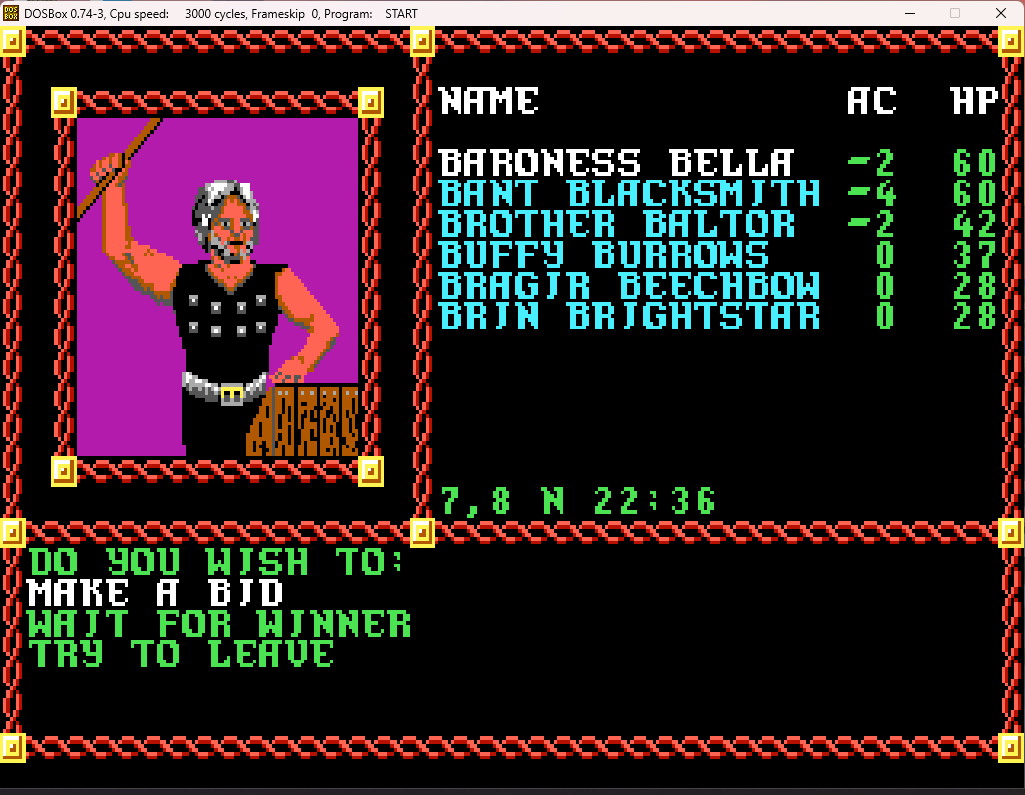
Let's have some fun and make a bid.
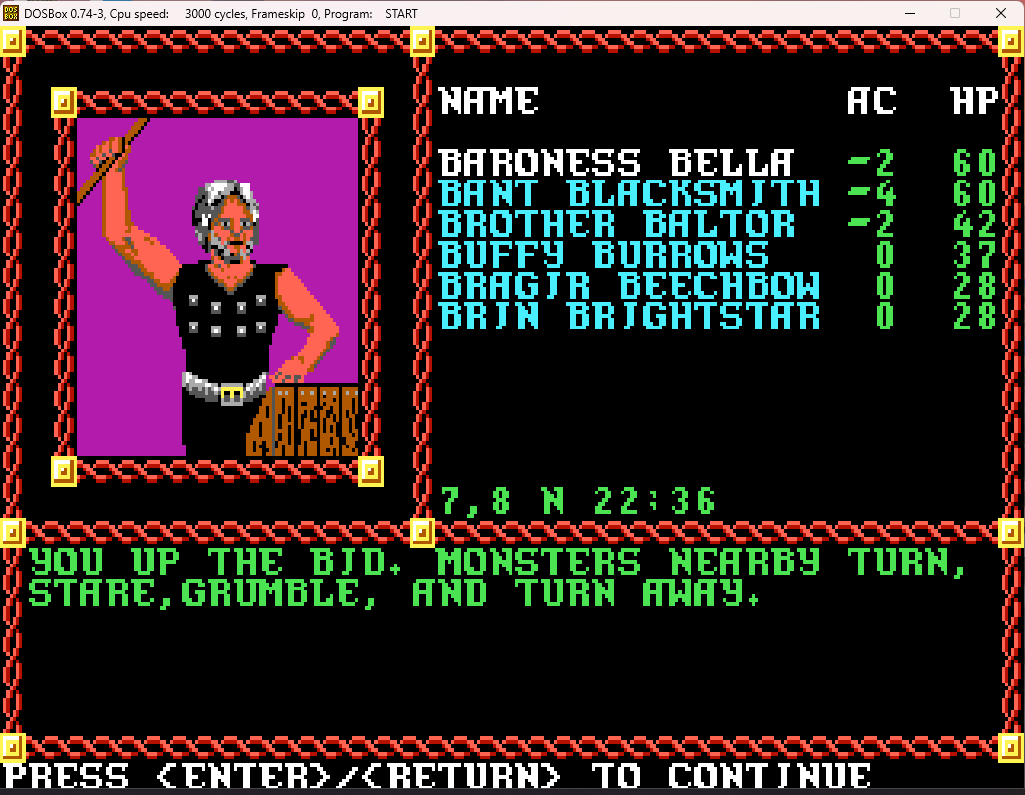
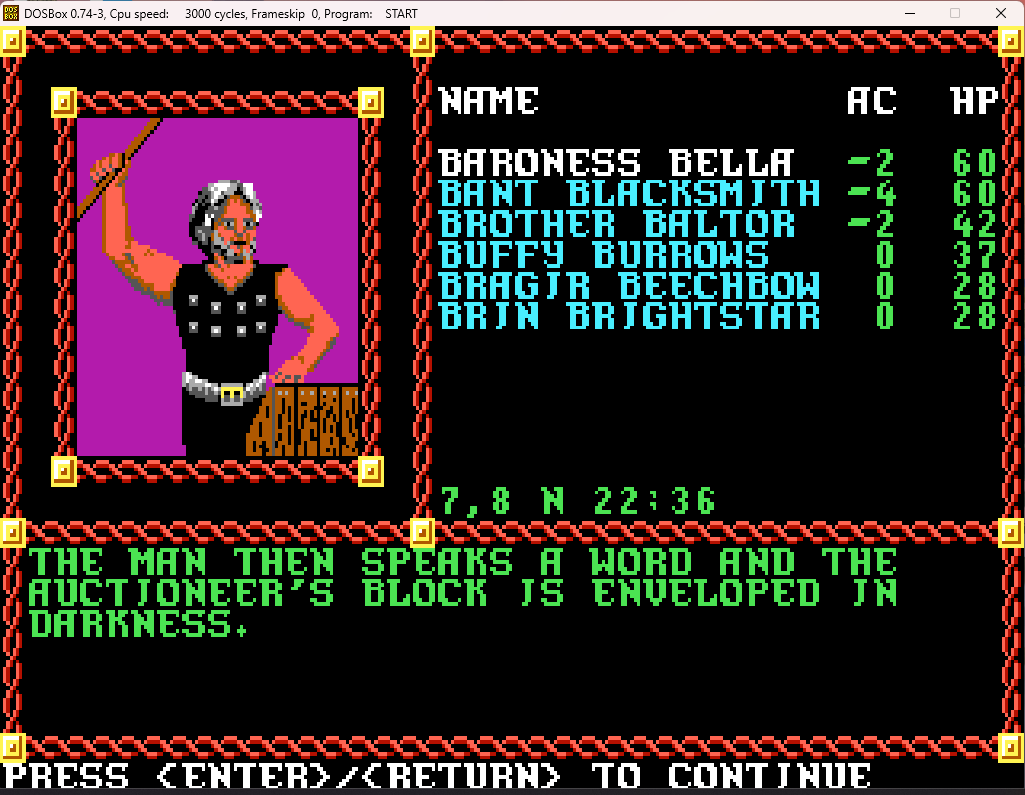
Hey, that's cheating! Totally against the rules of auctions! I expected better from attendees in a monster-infested zone!
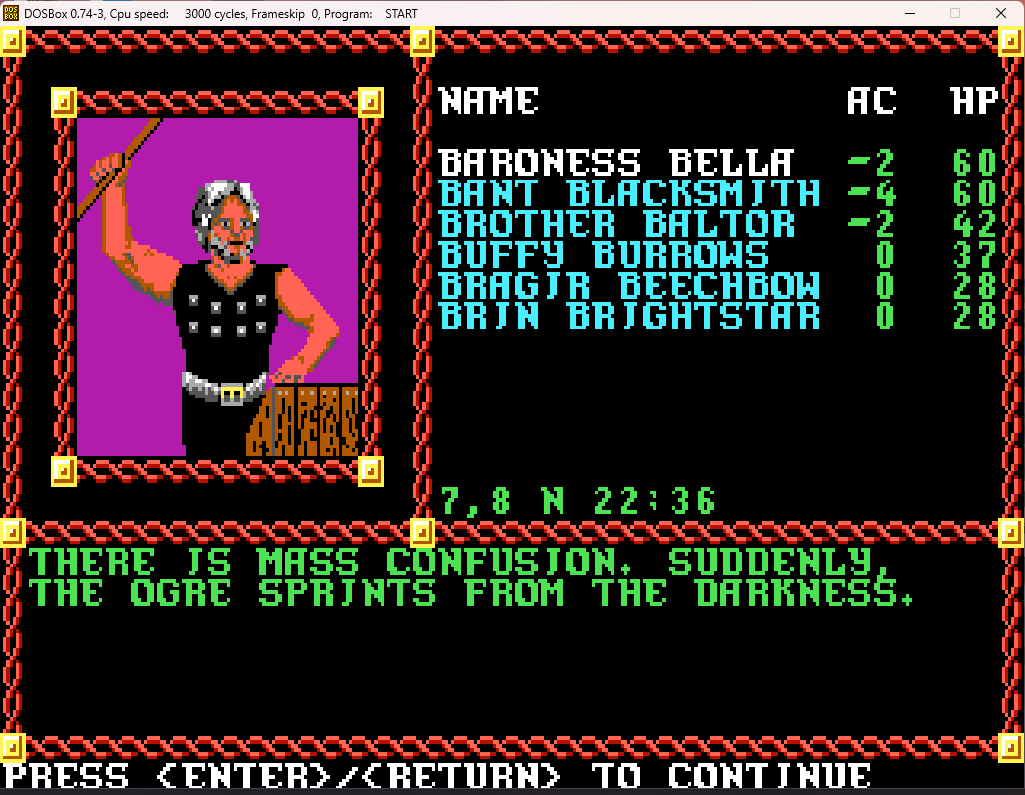
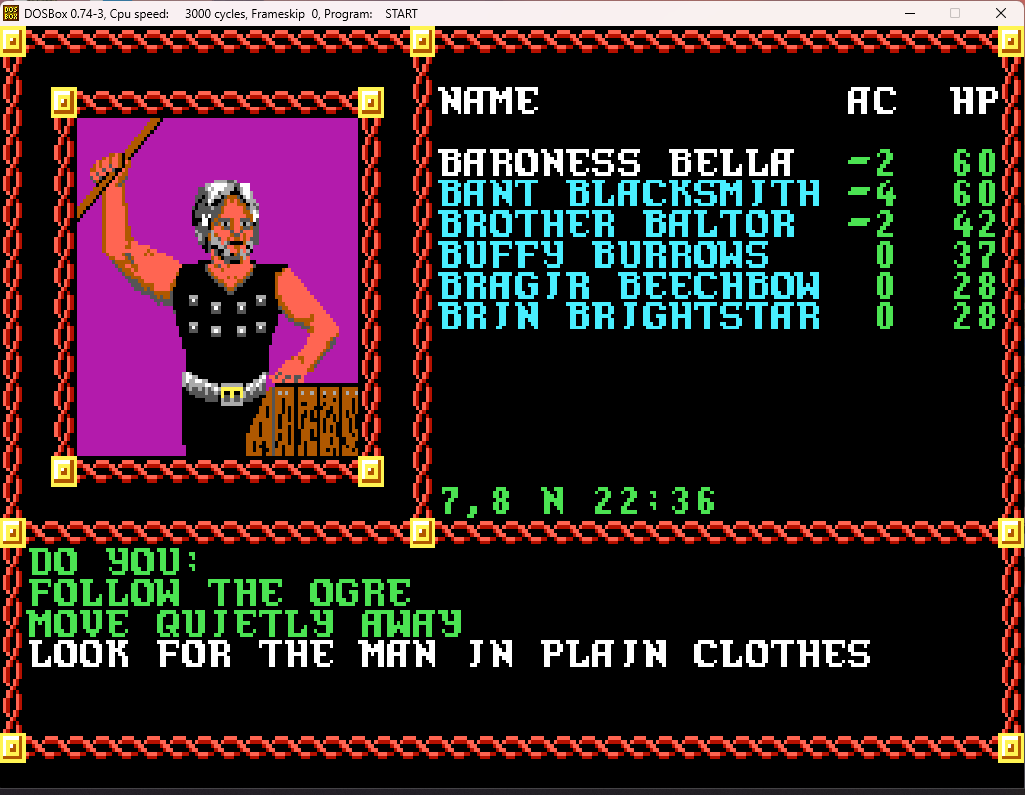
We'll ignore the ogre (obviously a decoy) and try to find the man.
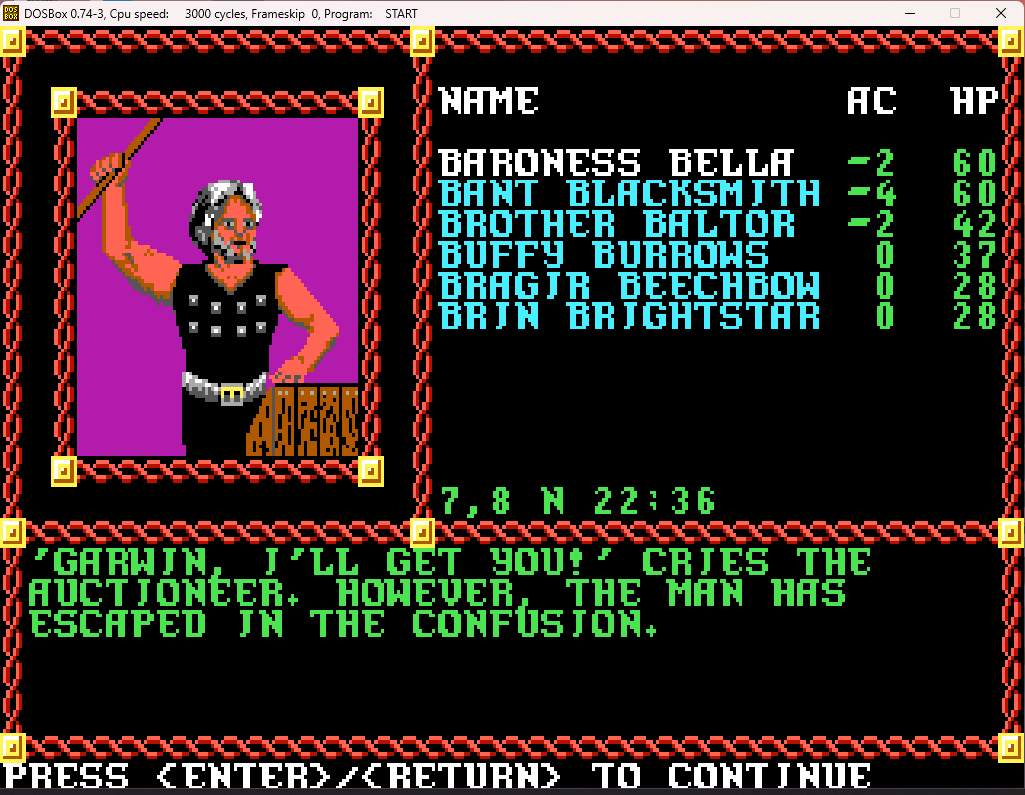
(The game sets you up to fail, no matter how you choose. If you chase the ogre, it turns out he's empty-handed. There's no way to actually gain the item in the game).
Well, that was a bit anti-climatic. We've actually finished the mission now, and could return to the City Clerk for our reward, but let's explore around the Plaza a bit. There's what looks to be a tavern directly across from the auction location...
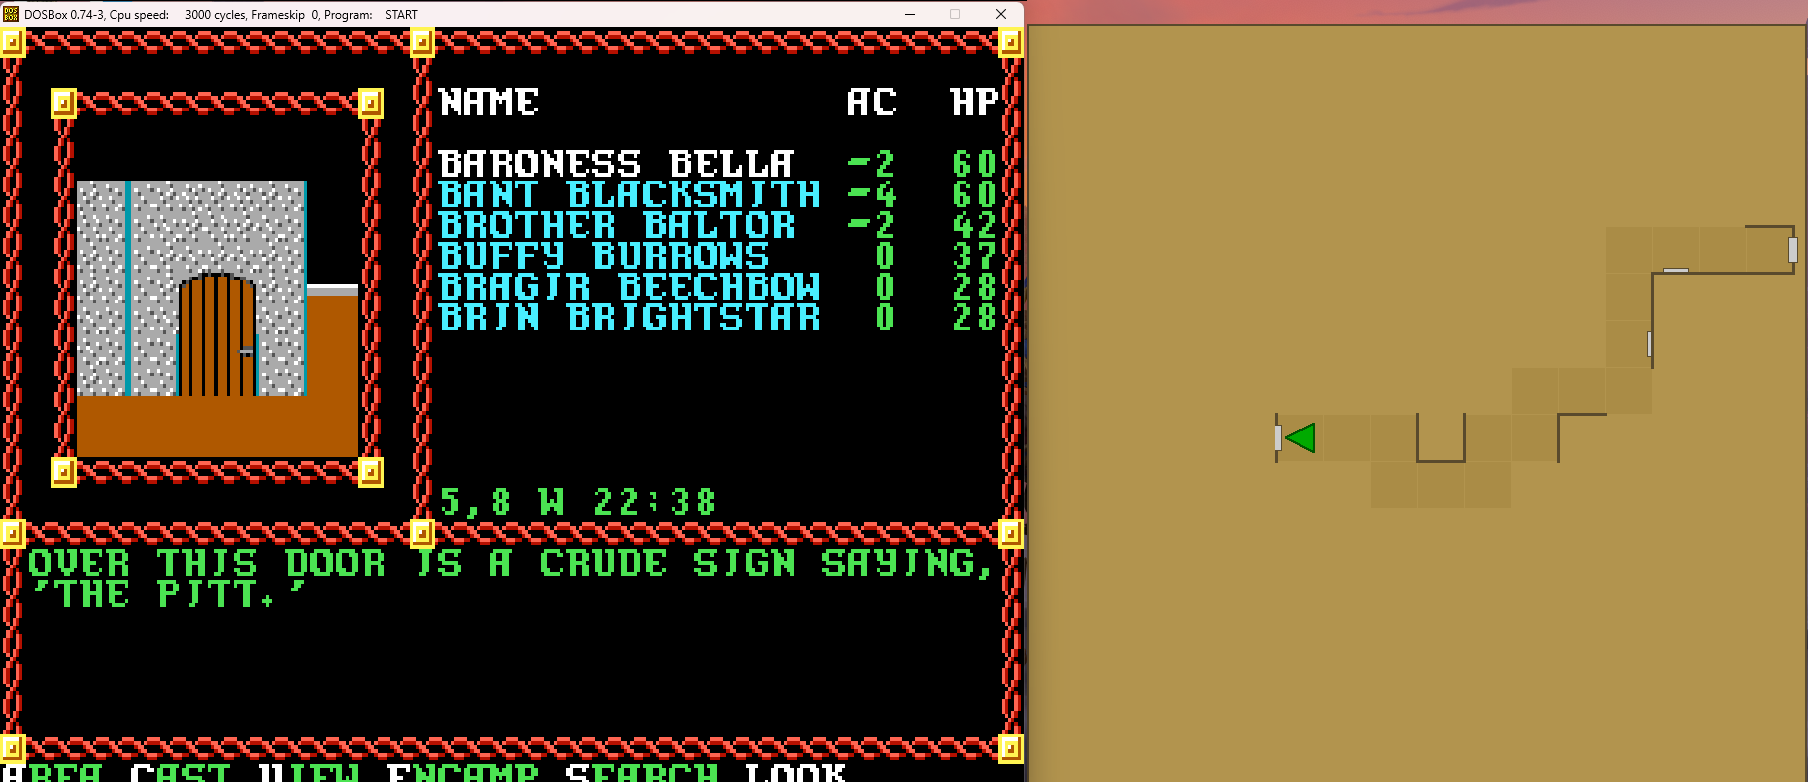
What a quaint and evocative name! I do hope their wine list is good!
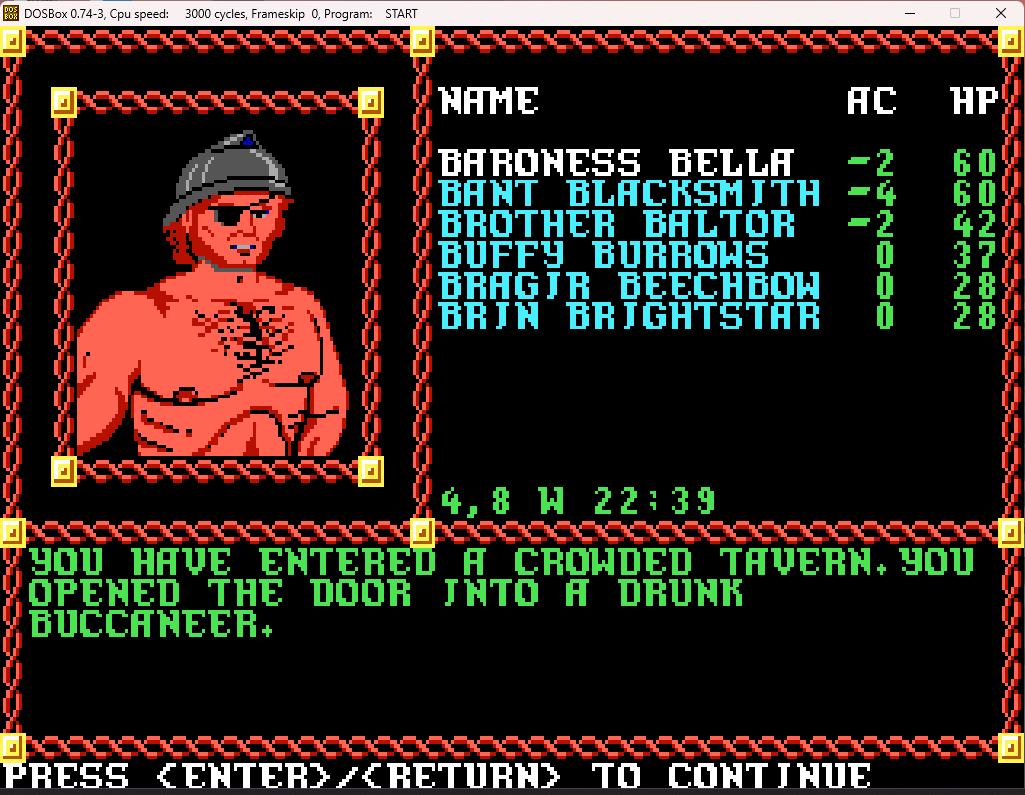
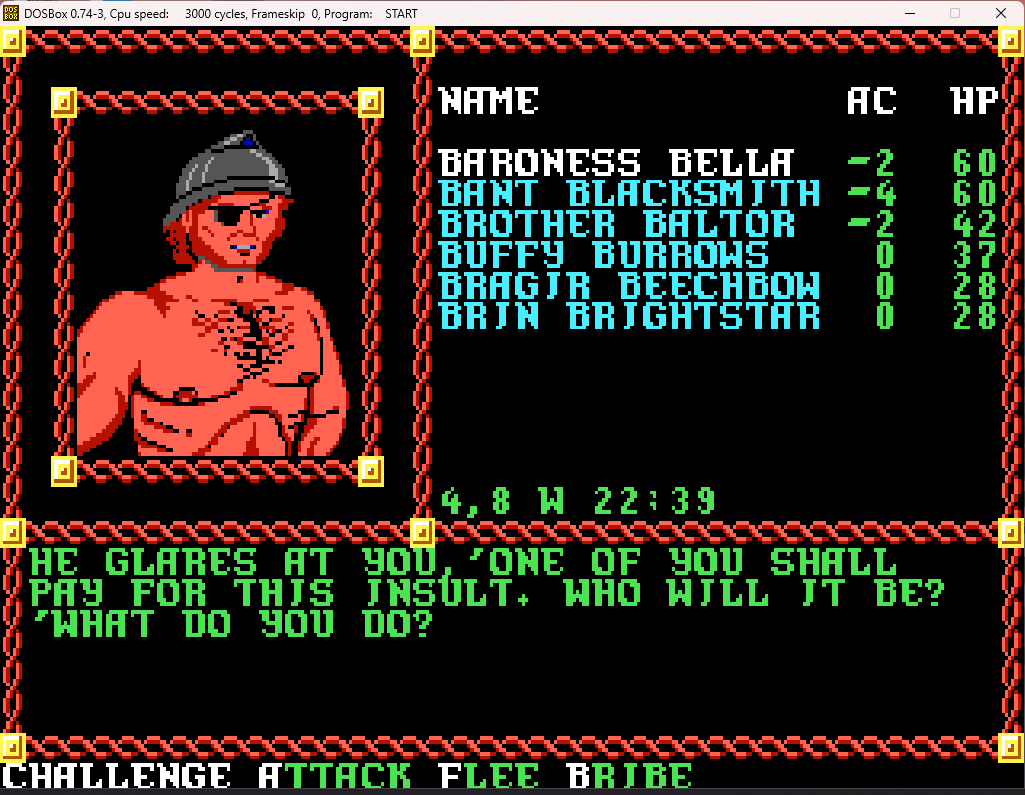
Oh, he's one of those types. Baroness Bella will teach him a lesson.
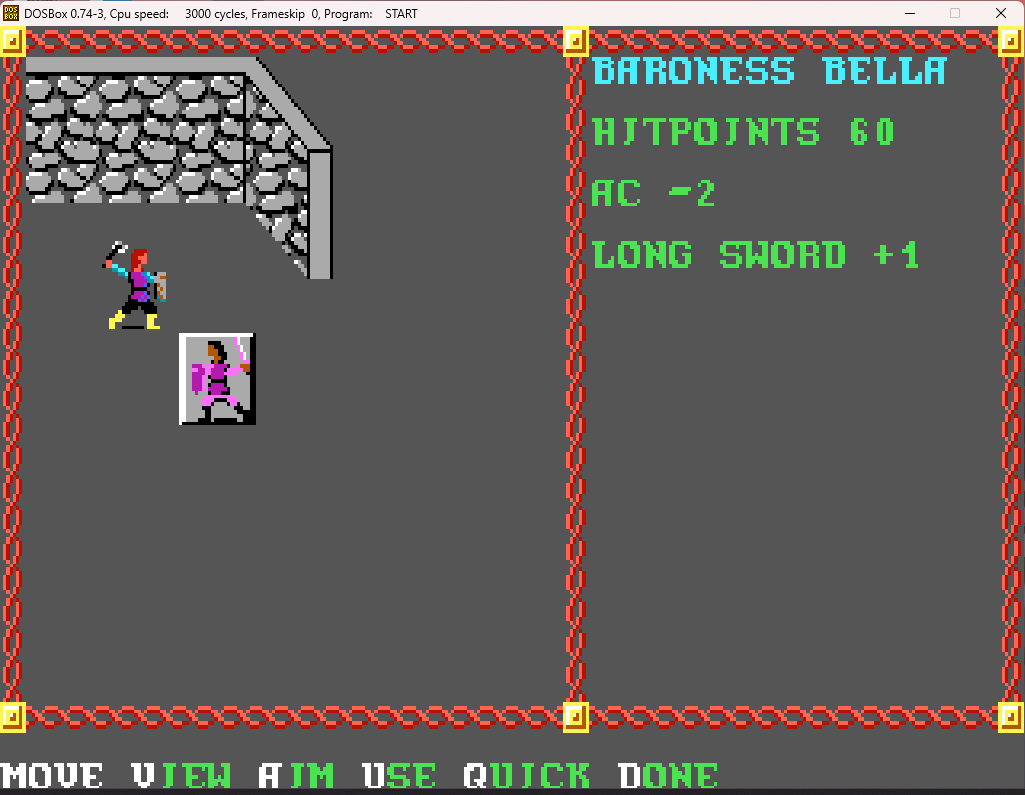
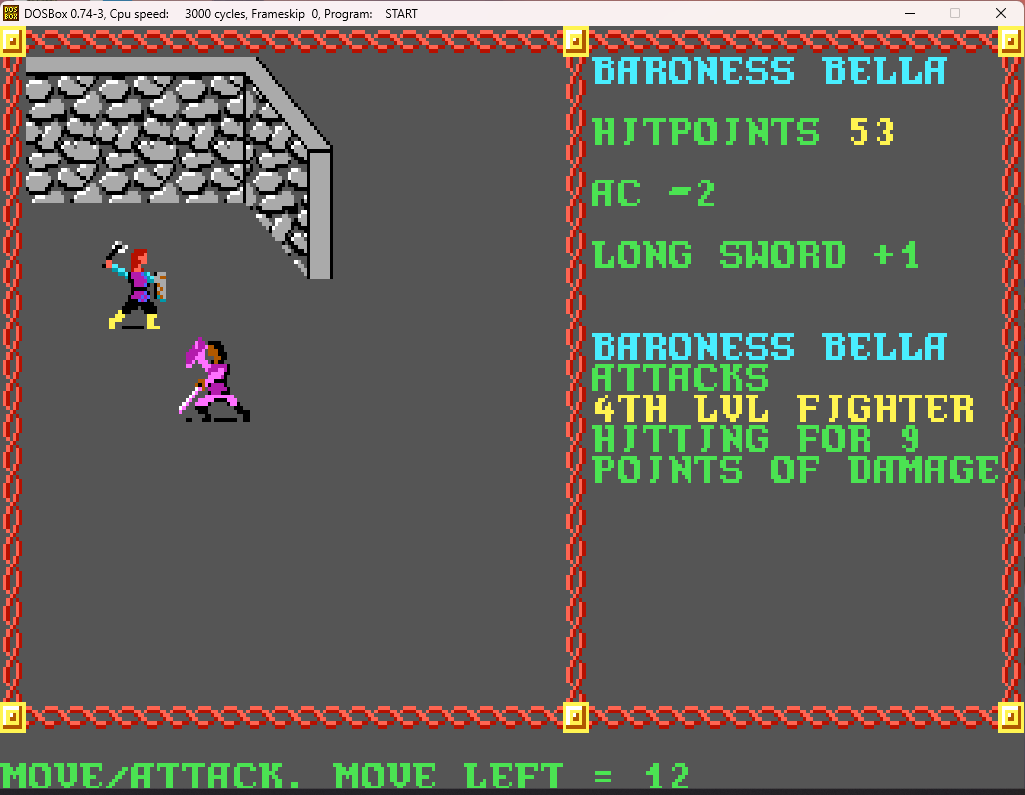
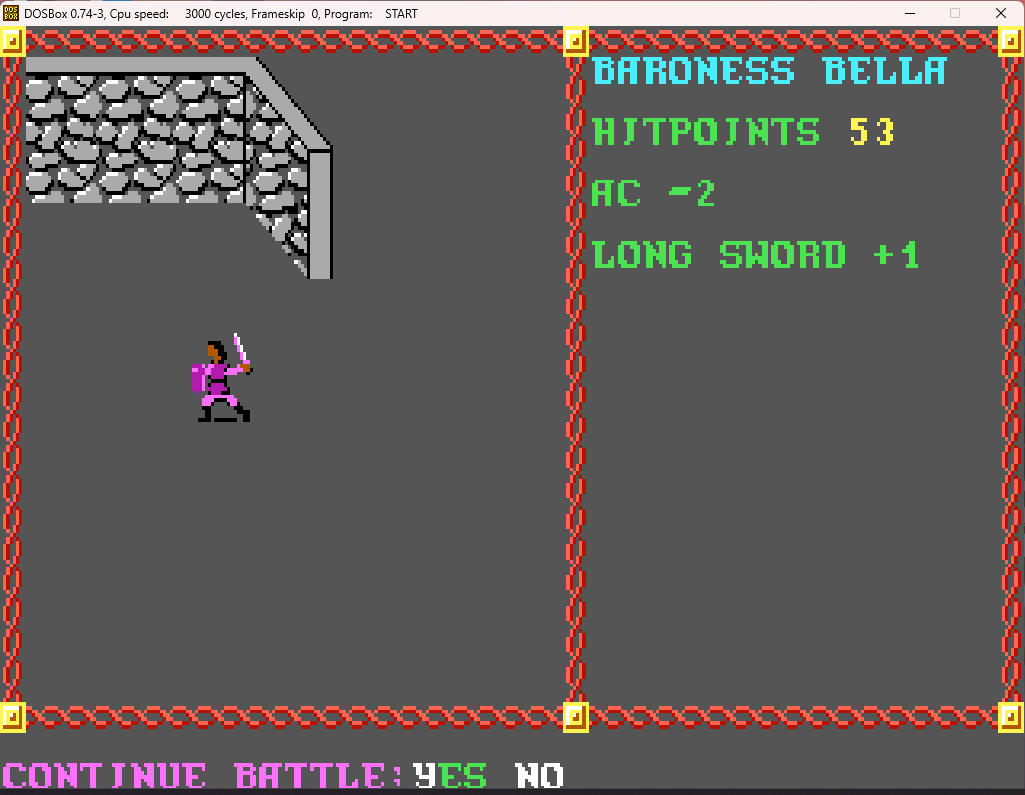
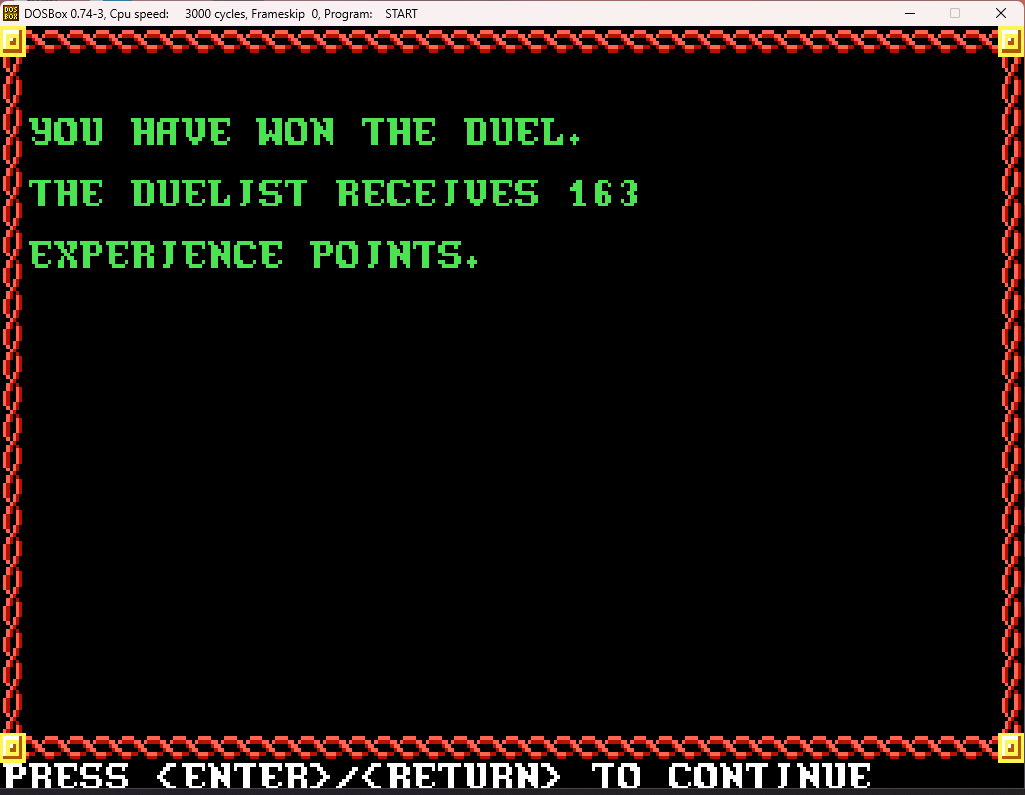
And that is that. Interestingly enough, only Baroness Bella gains XP for this battle, which is treated like a duel in the Training Hall:
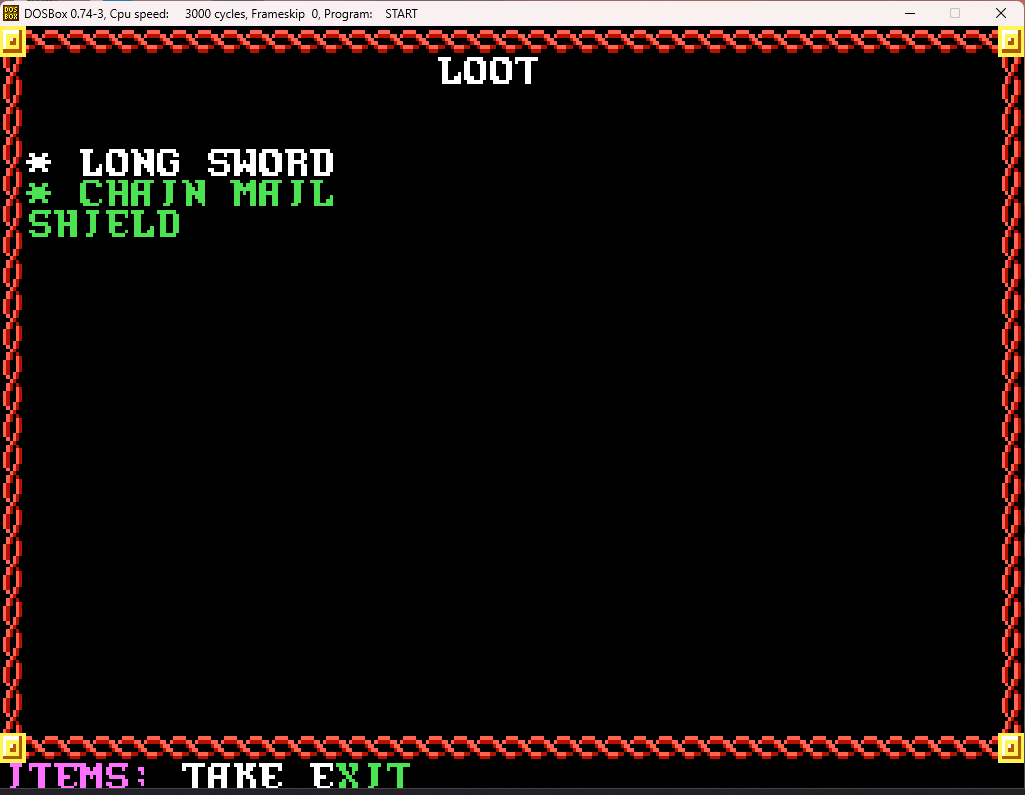
However, our now ex-buccaneer had some nice stuff!
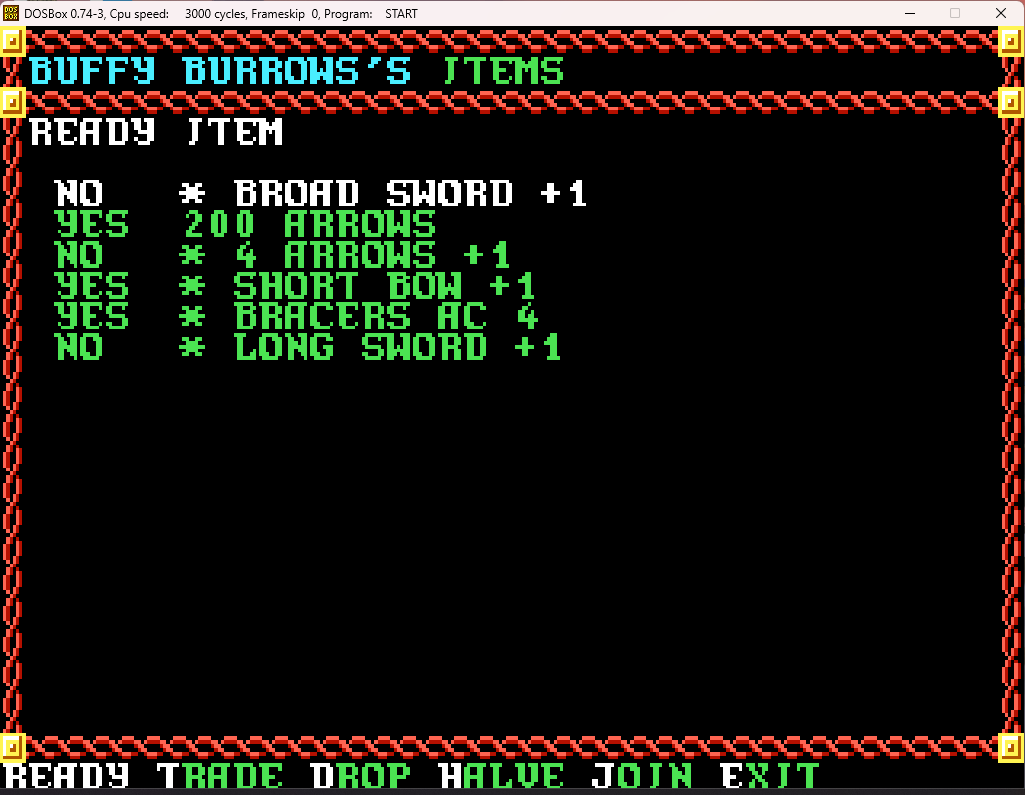
Buffy will get the longsword, as it will replace her old magical broadsword.
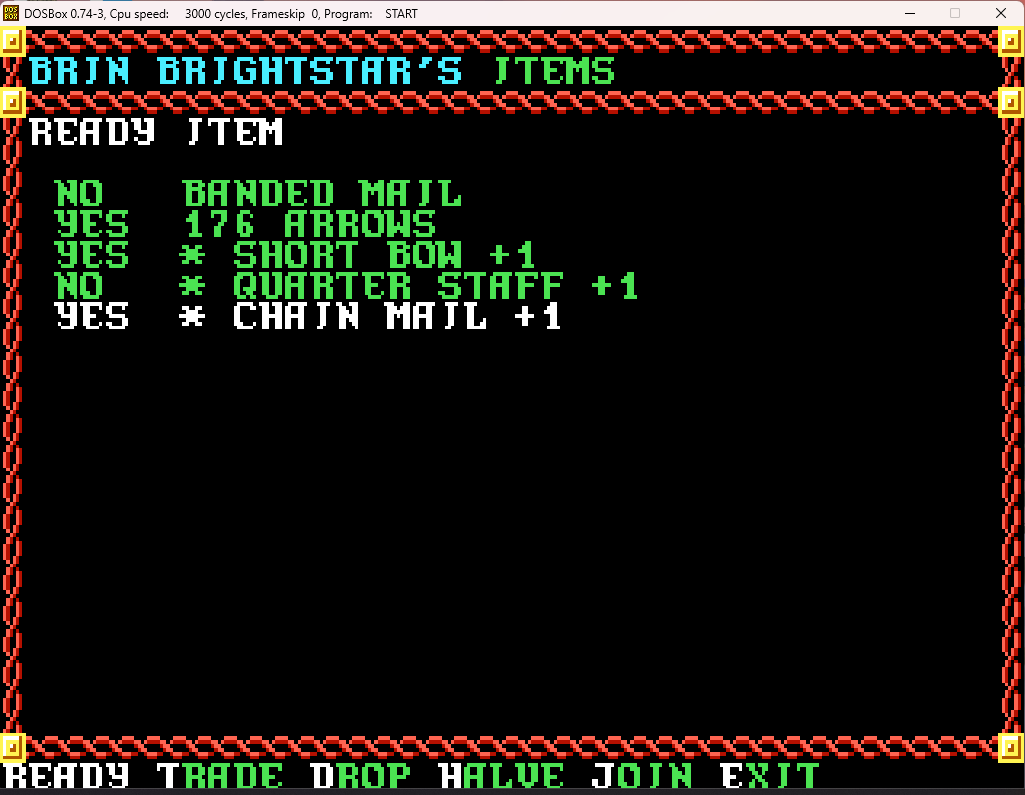
And Brin will get the chainmail, as it will give her a better movement rate than her current non-magical banded.
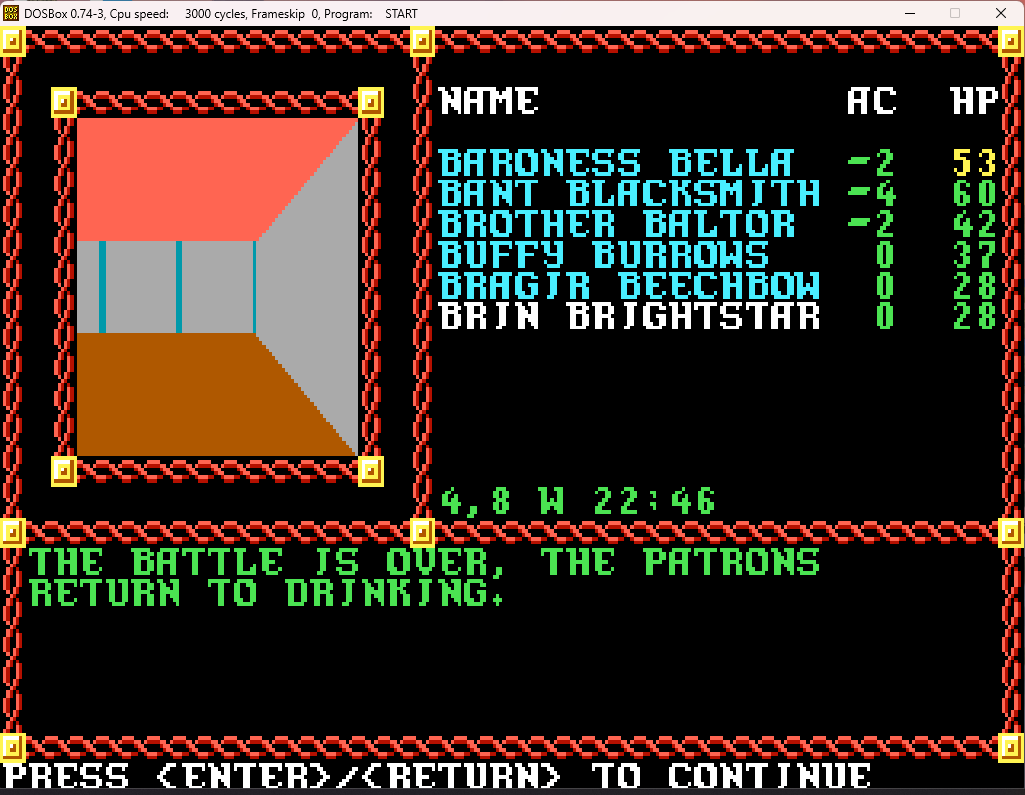
And just in time, too, as the clientele here looks like they could get pretty rowdy after this fight, although they remain calm - for the moment...
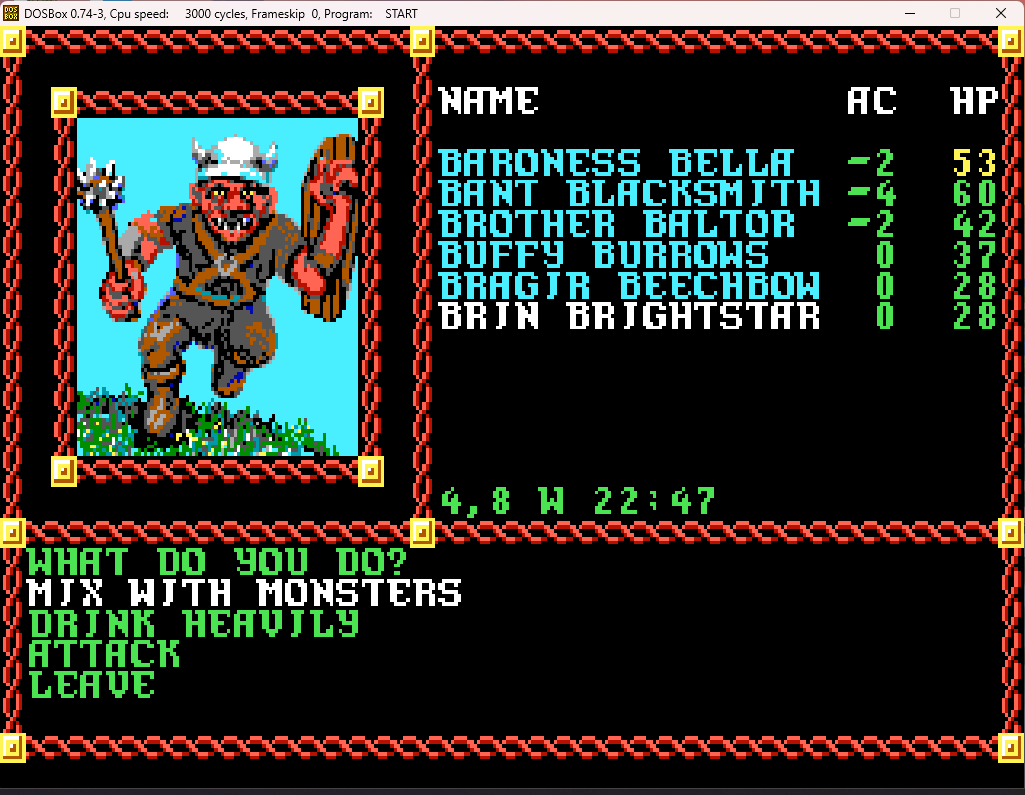
Trying to be friendly and mingling turns out to be a mistake.
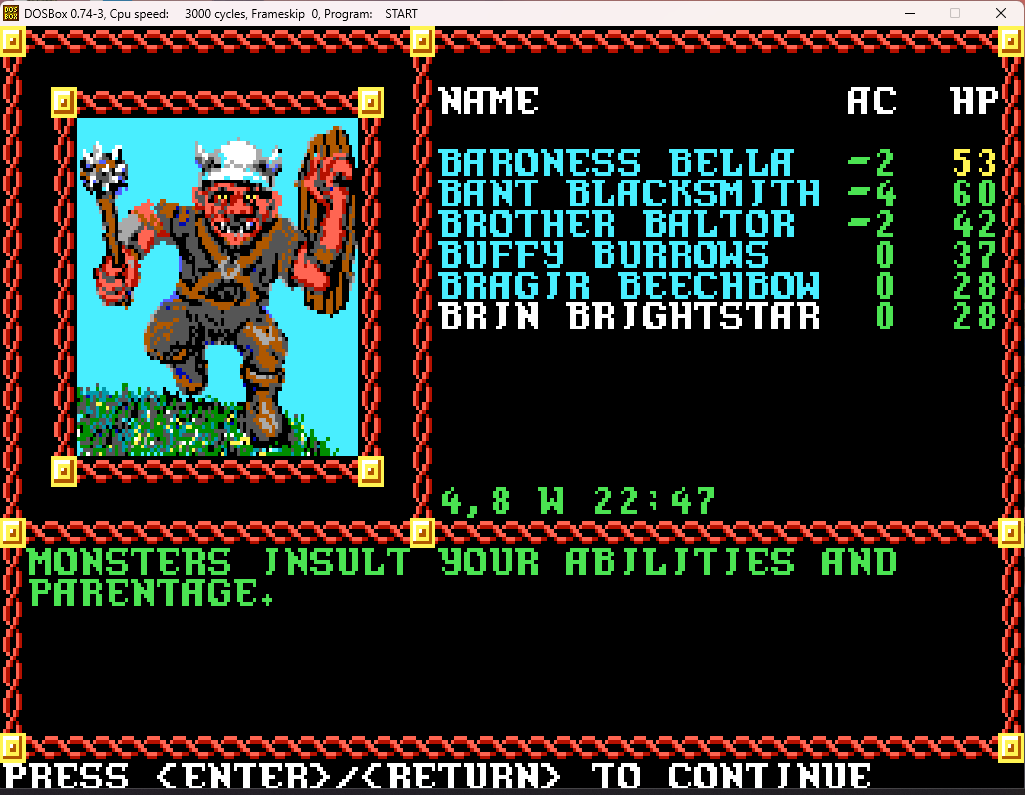
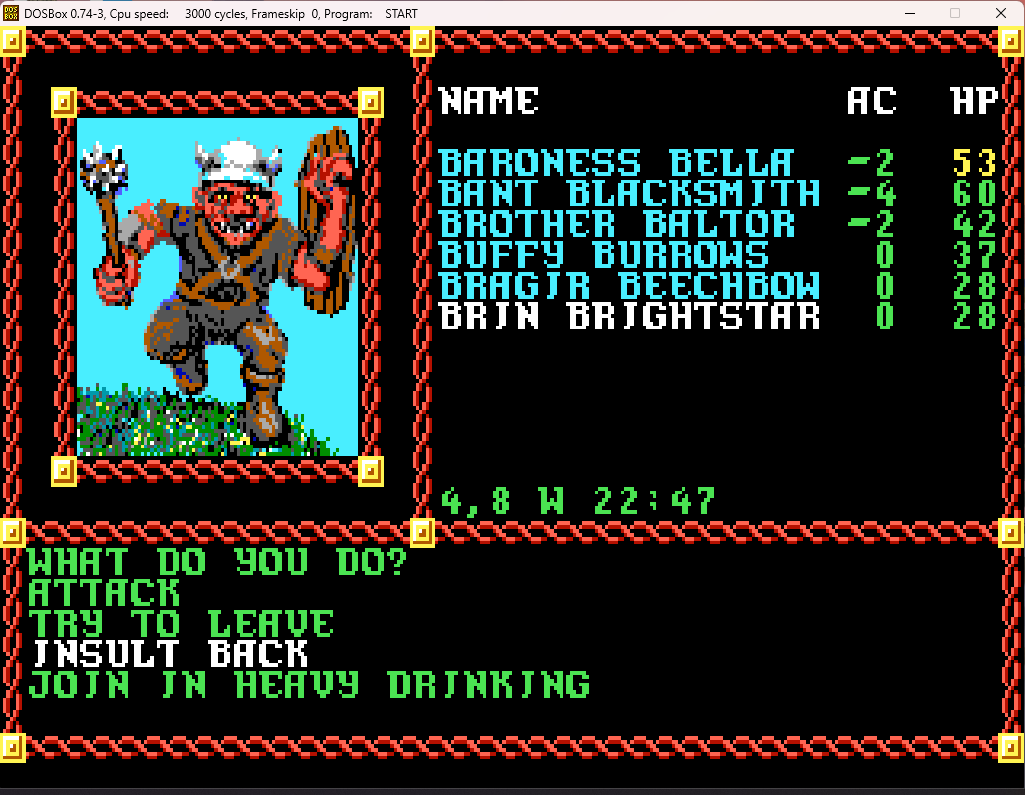
"Attack" and "Insult Back" basically just lead to the same thing, and leaving is no fun at this point. Drinking heavily is just stupid - you'll end up eventually getting thrown out onto the streets with your pockets and inventory somewhat lighter.
But that, and the rest of the exploration of Podol Plaza, will be in the next post...
Off we go to Podol Plaza, to investigate the auction that has had the city council so worried.
But first, let's clean out the remaining random patrols in Kuto's Well so I don't need to worry about getting slowed down by them passing through it.
We go through the Slums again with no incident, and get to Kuto's Well and start marching around looking for a patrol. If I counted right, I've defeated seven out of ten, so this should go quickly. After a short bit:
Already the extra damage from Bragir's new bow comes into play, as he's often dropping lizardmen in a single shot:
And soon they're dead.
But, yet again, Bant has taken a beating. Time to switch some equipment up:
That should keep the damage from piling up so quickly.
The party continues to march around. We find the southern entrance to Podol Plaza, but we aren't going there quite yet. Oddly, the wall opposite the entrance has this fountain decoration, which isn't like anything else in the game. I've always wondered why it was put here. Or maybe it's an actual fountain, but just looks like a wall decoration due to the two-dimensional nature of the game:
A few steps to the south, and:
We take care of them pretty quickly, as they are hindered by the door and struggle to get through. Eventually they give up and surrender:
We wander about the area for a bit, but no further encounters appear. Apparently we had only two encounters to go to clear the block. Eventually, we give up and head to the Well to rest and heal up
Bragir memorizes knock, which he thinks might come in handy in Podol Plaza:
And, off we go, leaving Kuto's Well and entering Podol Plaza through the northern entrance:
Upon entering Podol Plaza, we're given a choice:
Disguising yourself as monsters is the best way to go here, although it can become tedious as we meet monster groups, as we will see. But it's better than the other two, which can easily blow your mission well before you can even reach the auction area.
Every few steps we encounter a group of monsters. Some, like these, just basically ignore you, while others:
The best choice here, as long as you have a powerful group, is to go "Abusive"
You might also hear some rumors as you make your way to the auction:
More about our mysterious "Boss", it seems.
This just keeps happening over and over again. Thankfully, we soon reach the location of the auction, at the center of the zone.
Let's move in a bit.
At this point, a message flashes by (without the "Press <Enter>/<Return>" option, so it just continued on to the next screen before I could screenshot it) stating that you can see that it's just a wand of fear.
Let's have some fun and make a bid.
Hey, that's cheating! Totally against the rules of auctions! I expected better from attendees in a monster-infested zone!
We'll ignore the ogre (obviously a decoy) and try to find the man.
(The game sets you up to fail, no matter how you choose. If you chase the ogre, it turns out he's empty-handed. There's no way to actually gain the item in the game).
Well, that was a bit anti-climatic. We've actually finished the mission now, and could return to the City Clerk for our reward, but let's explore around the Plaza a bit. There's what looks to be a tavern directly across from the auction location...
What a quaint and evocative name! I do hope their wine list is good!
Oh, he's one of those types. Baroness Bella will teach him a lesson.
And that is that. Interestingly enough, only Baroness Bella gains XP for this battle, which is treated like a duel in the Training Hall:
However, our now ex-buccaneer had some nice stuff!
Buffy will get the longsword, as it will replace her old magical broadsword.
And Brin will get the chainmail, as it will give her a better movement rate than her current non-magical banded.
And just in time, too, as the clientele here looks like they could get pretty rowdy after this fight, although they remain calm - for the moment...
Trying to be friendly and mingling turns out to be a mistake.
"Attack" and "Insult Back" basically just lead to the same thing, and leaving is no fun at this point. Drinking heavily is just stupid - you'll end up eventually getting thrown out onto the streets with your pockets and inventory somewhat lighter.
But that, and the rest of the exploration of Podol Plaza, will be in the next post...
Last edited:
Demetrios1453
Hero
Pool of Radiance (Part 21): Podol Plaza (Part 2) - Podol Plaza completed!
When last we had checked in on our intrepid adventurers, they had just triggered a brawl in a monster-filled tavern.
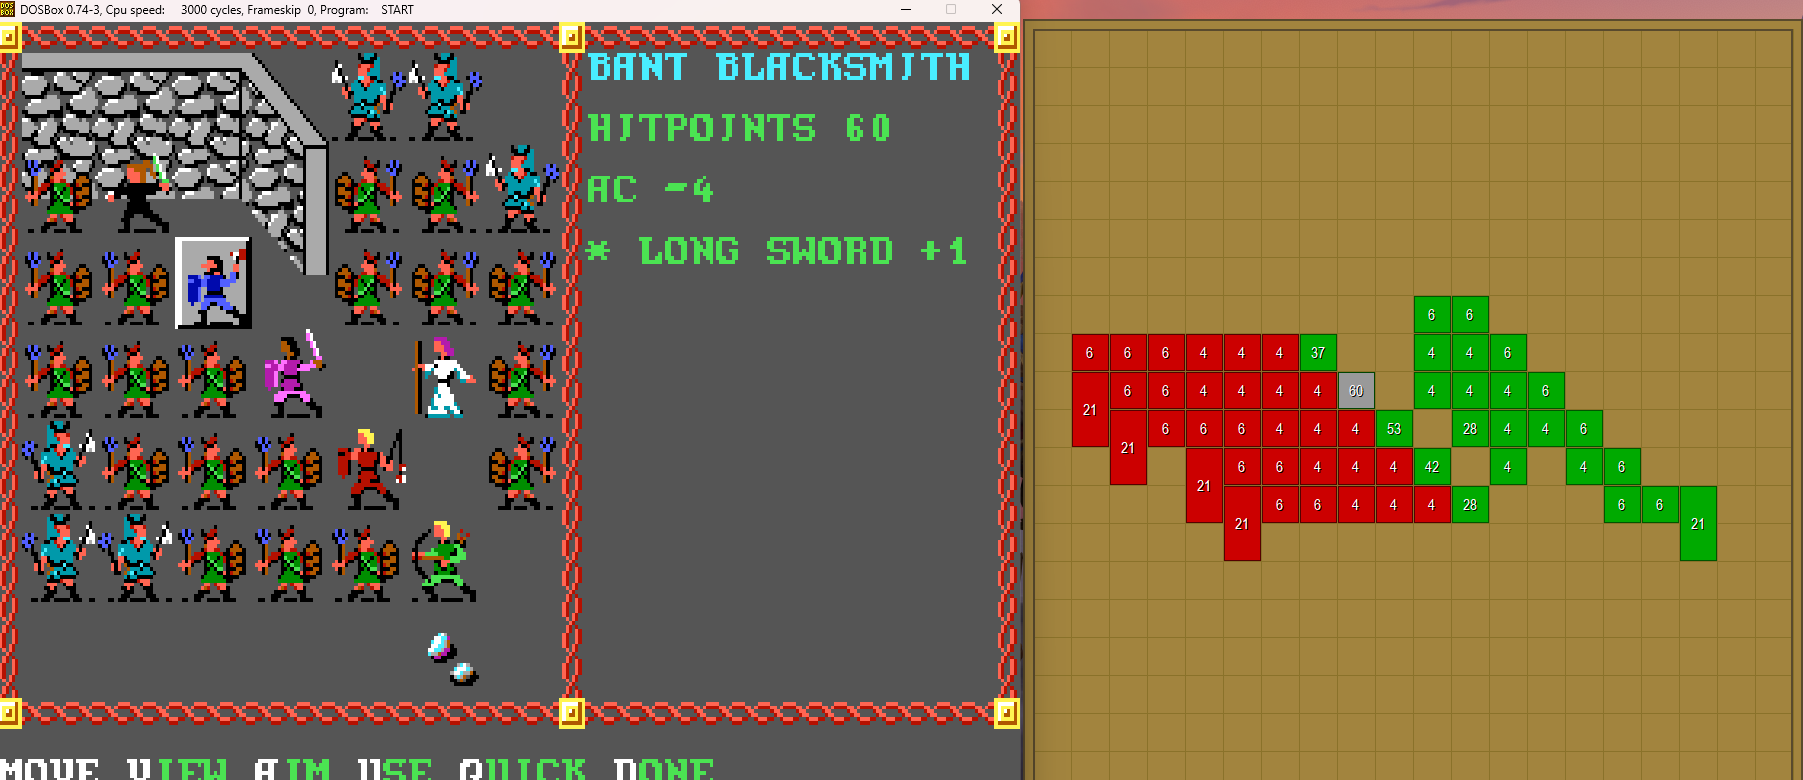
As you can see, you have a significant number of allies on your side (apparently you're the final straw that fractures the drinkers into two groups), which is a pain to keep track of, since the icons don't look any different. This used to be about impossible in the days before GBC; now at least you can confer with the map before attacking someone who was actually an ally.
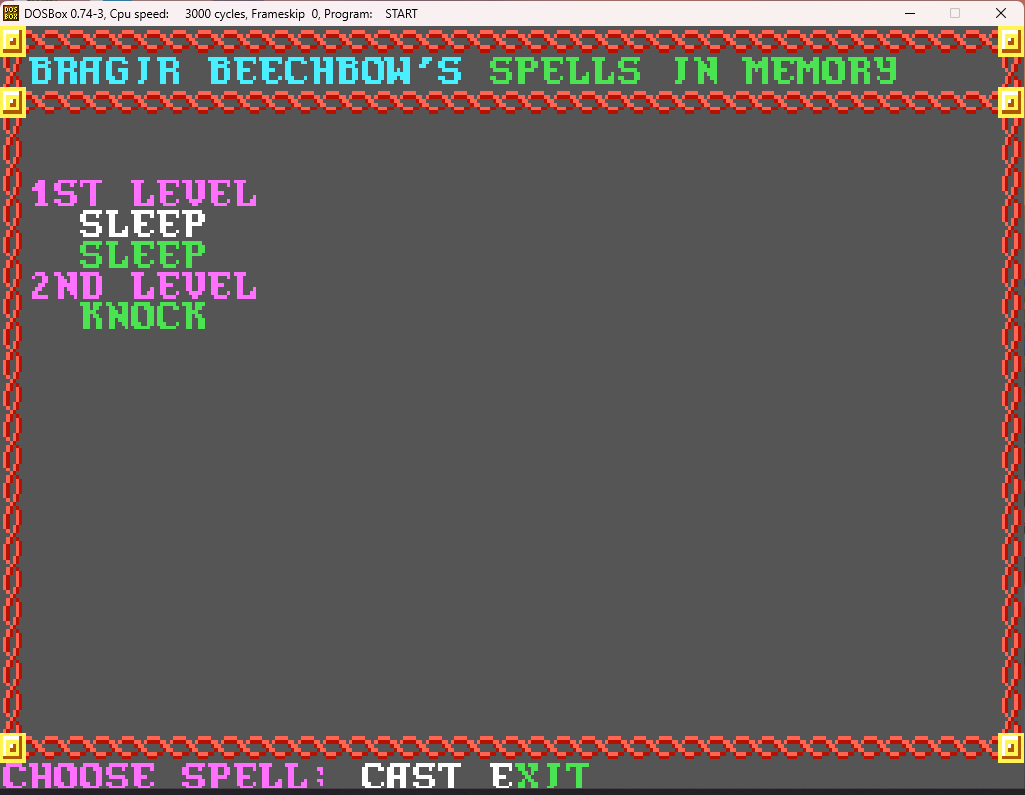
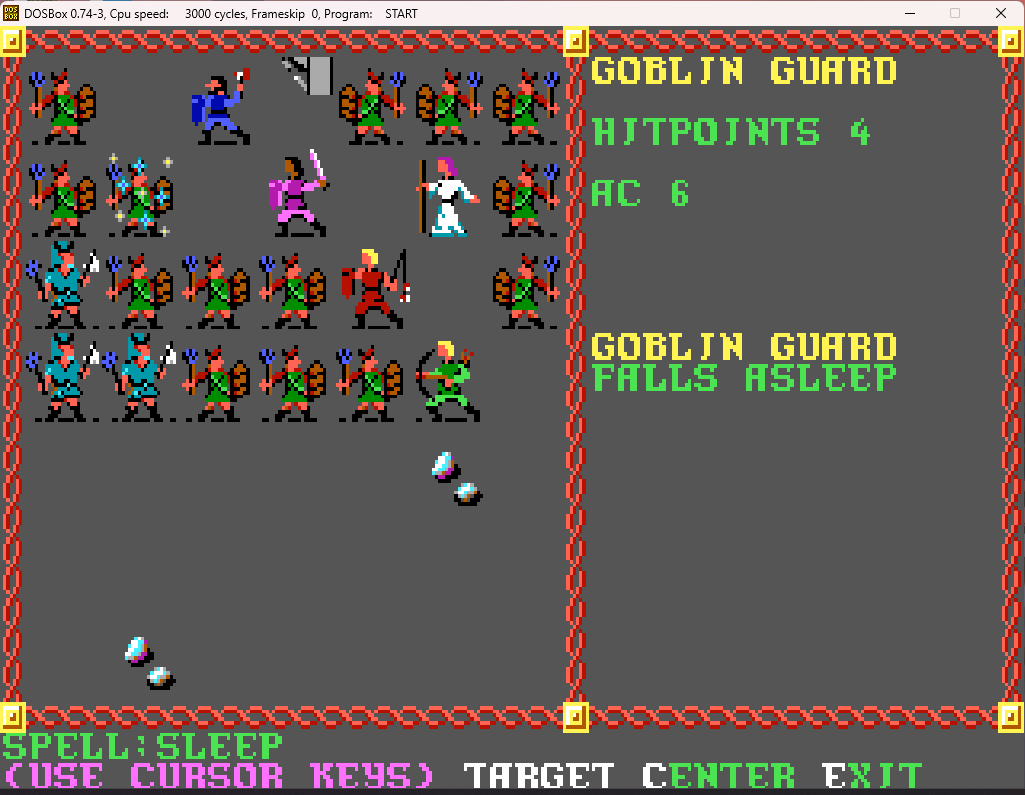
Obviously such a packed group calls for AoE spells:
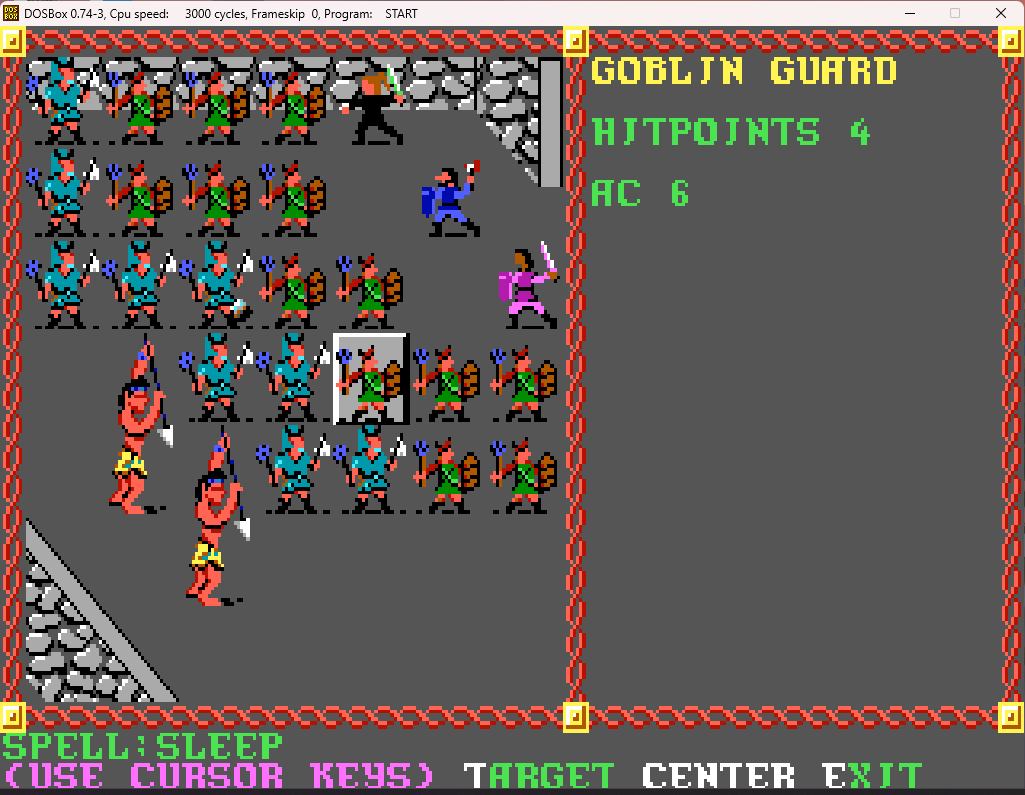
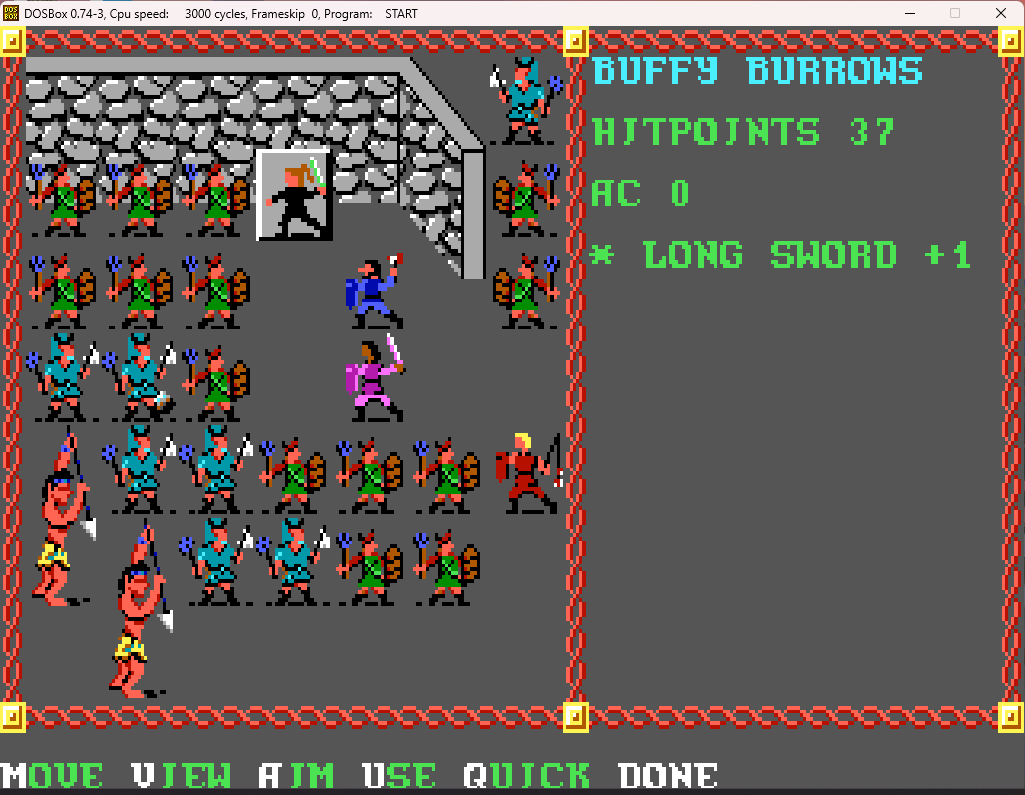
Buffy is stuck in the front row due to the crush, so will need to switch out weapons - she gets to use the recently-deceased buccaneer's magic longsword.
Time for a second sleep spell to take out even more foes:
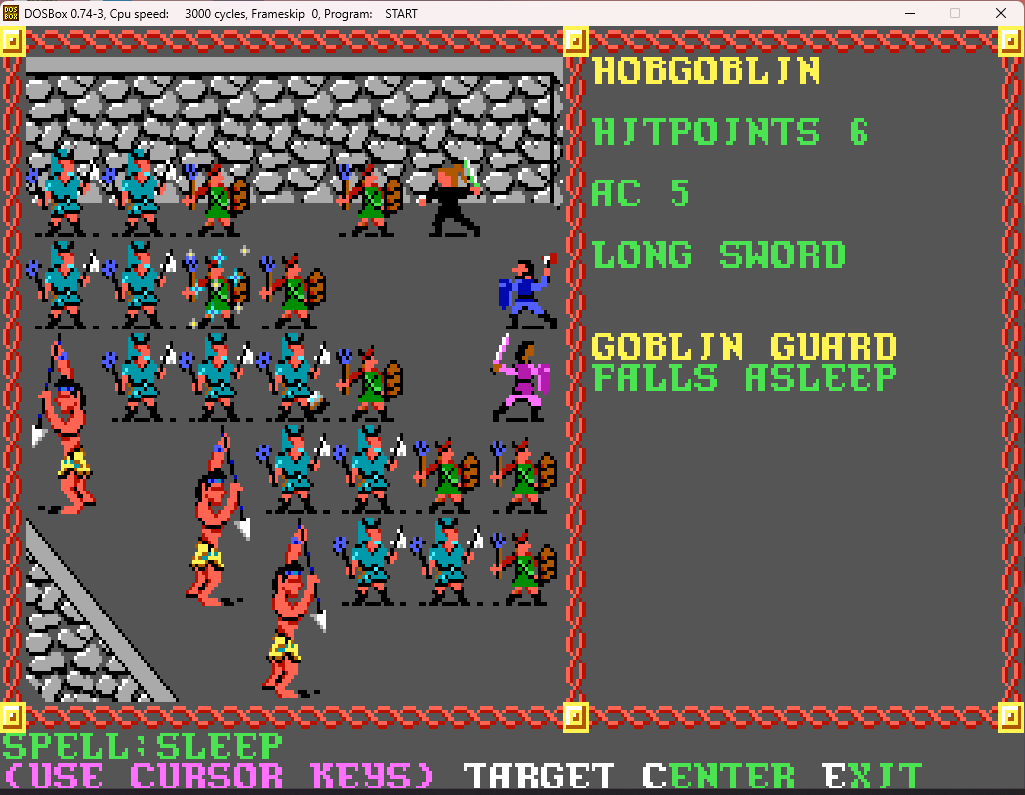
So now a significant part of our opponents are now snoozing on the floor. Which is very helpful in large battles like these, since it can take forever for the AI to go through their turns:
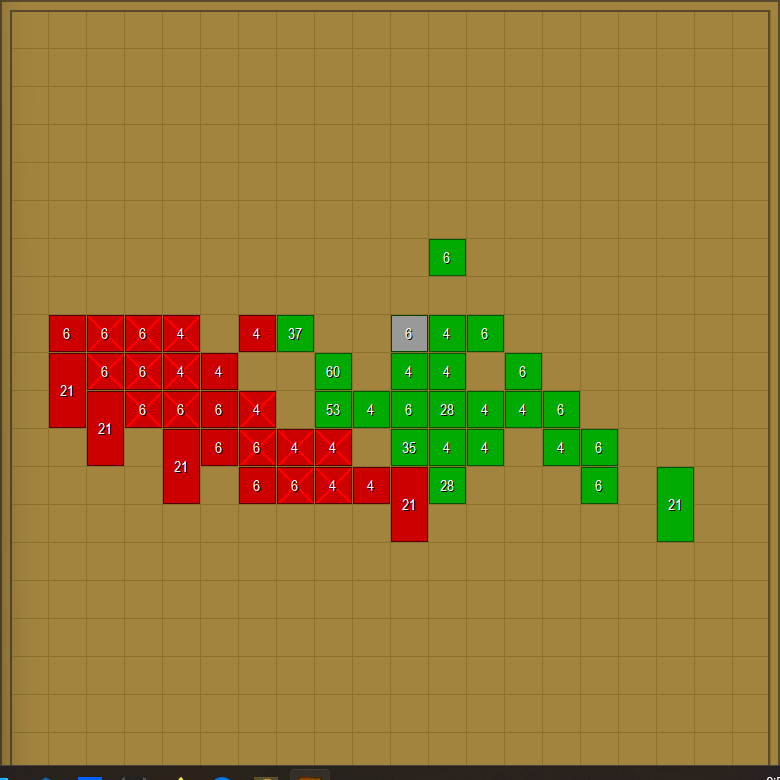
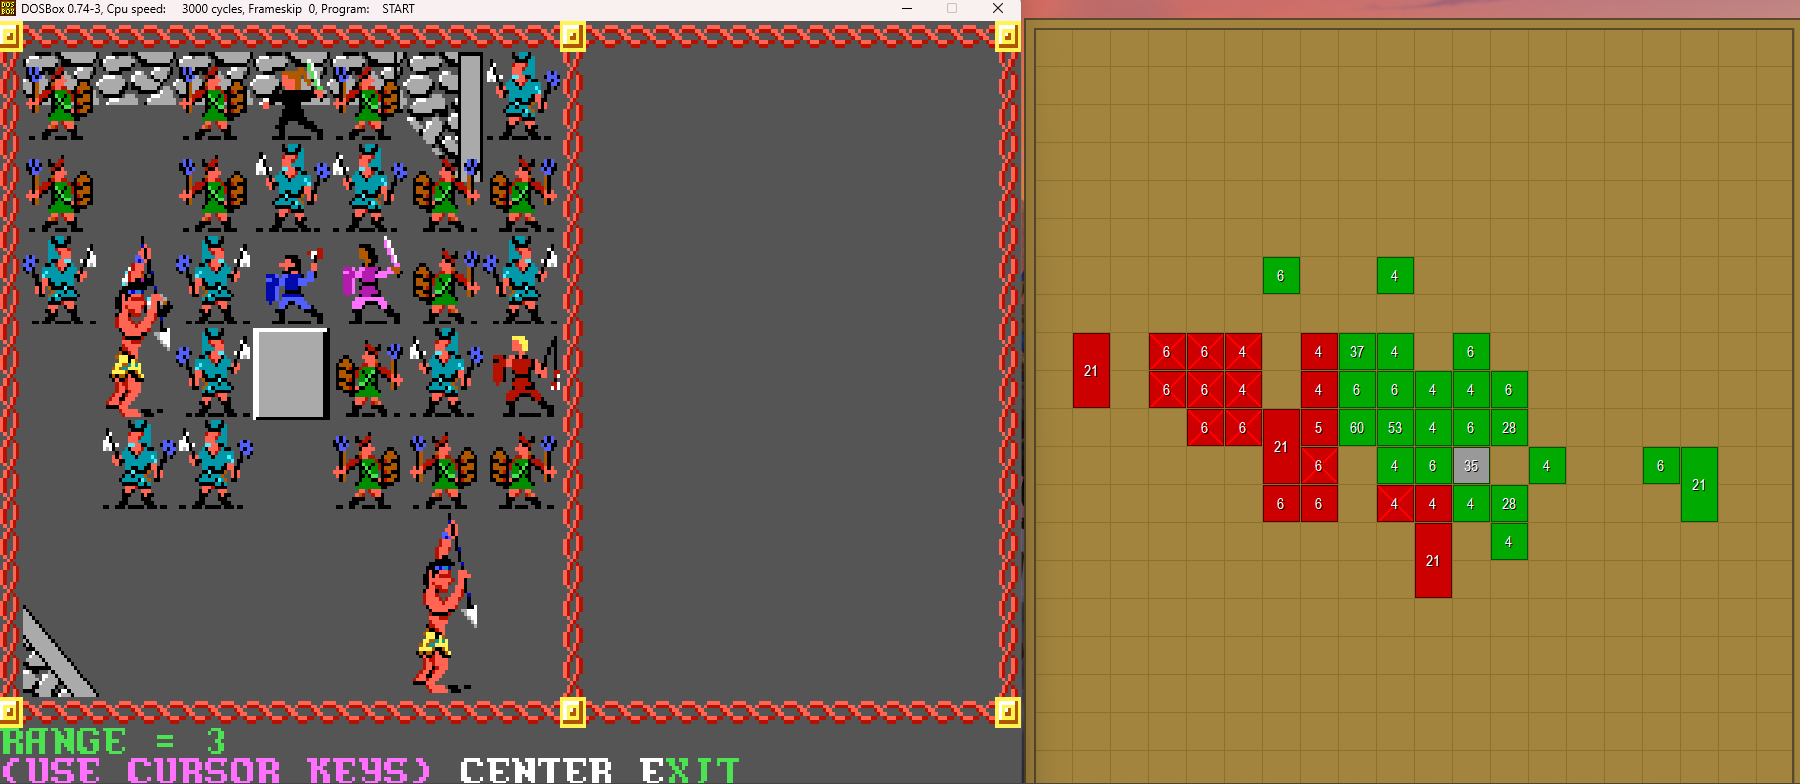
Now for the real problem with this battle - your allies move up and start to get in the way. Whereas my party can clear out foes in a relatively swift manner, they move up, get in the way, and whiff repeatedly. This is especially irritating as they can block sweeps that can take out large swathes of foes.
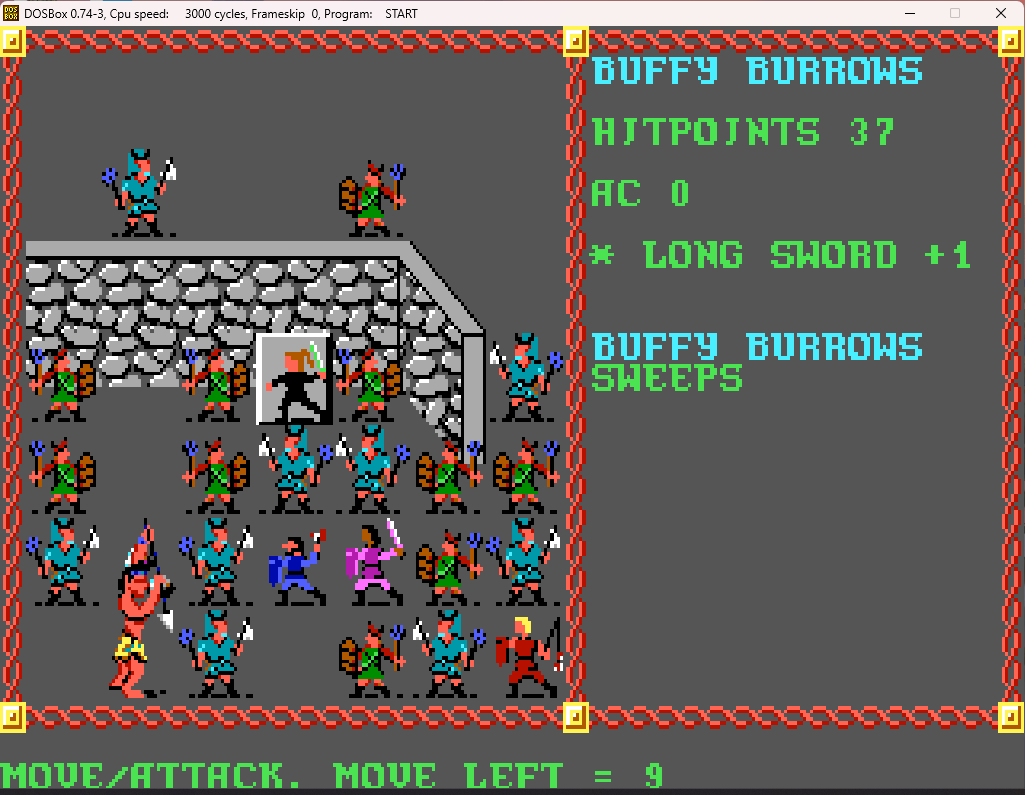
Speaking of sweeps, I managed to get a screenshot of Buffy doing so:
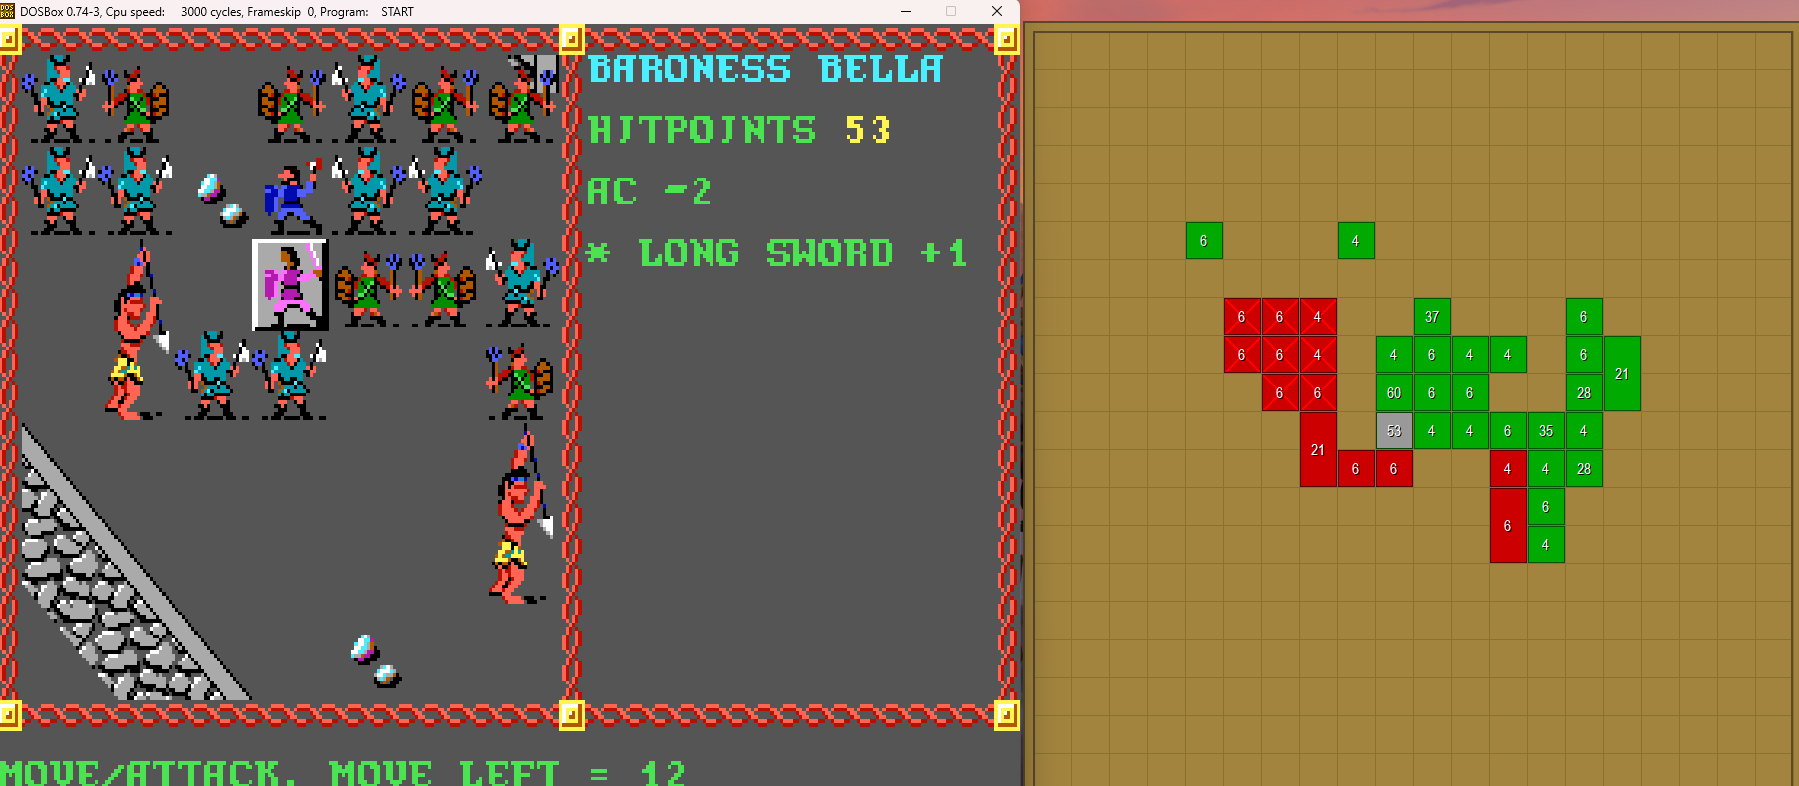
I manage to keep the party members generally in front of the allies, and slowly the opposition is whittled down:
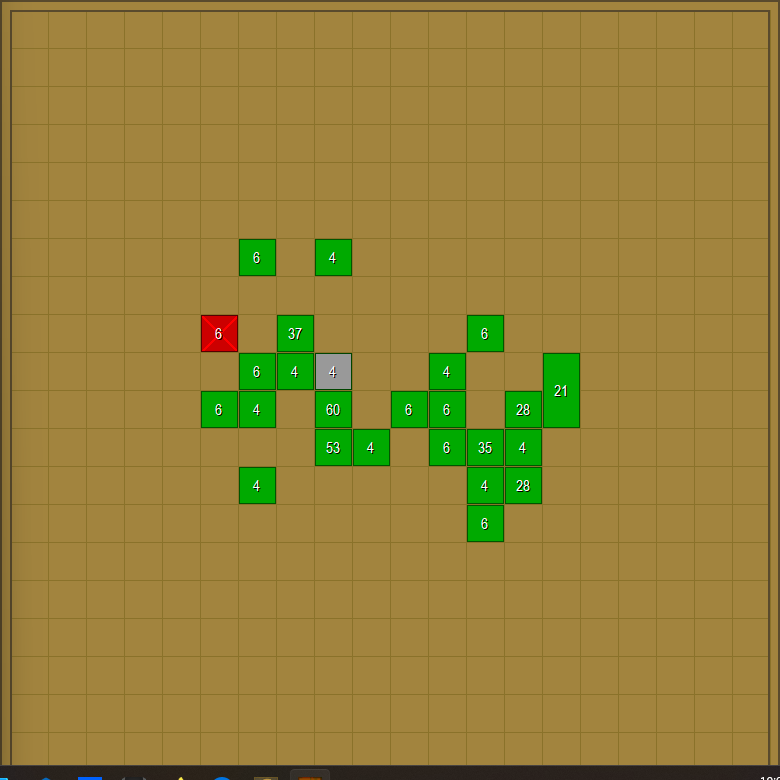
But in the end, it just gets me a relatively small amount of XP, and a lot of trash loot:
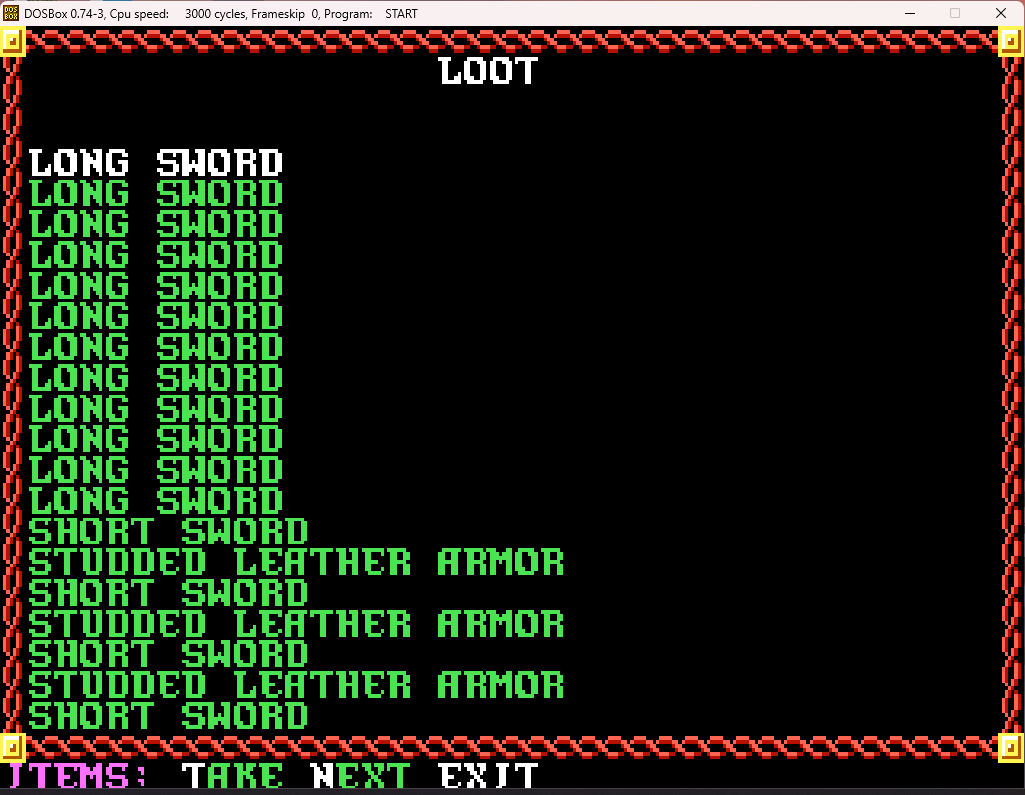
Nothing magical either. I had chosen the wrong choice in the menu earlier when triggering the fight, since if you choose the right one, you'll get the buccaneer's twin brother with the same magical items.
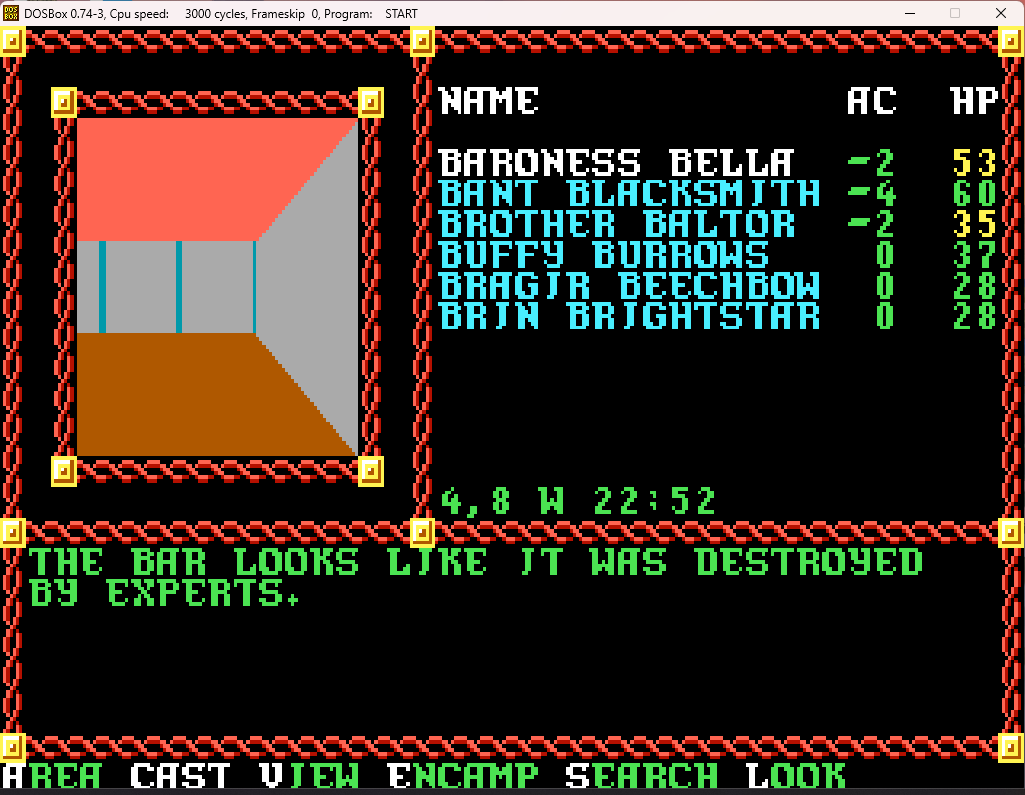
Why, thank you!
We head out, and go back to the east side of the zone, where we find a temple:
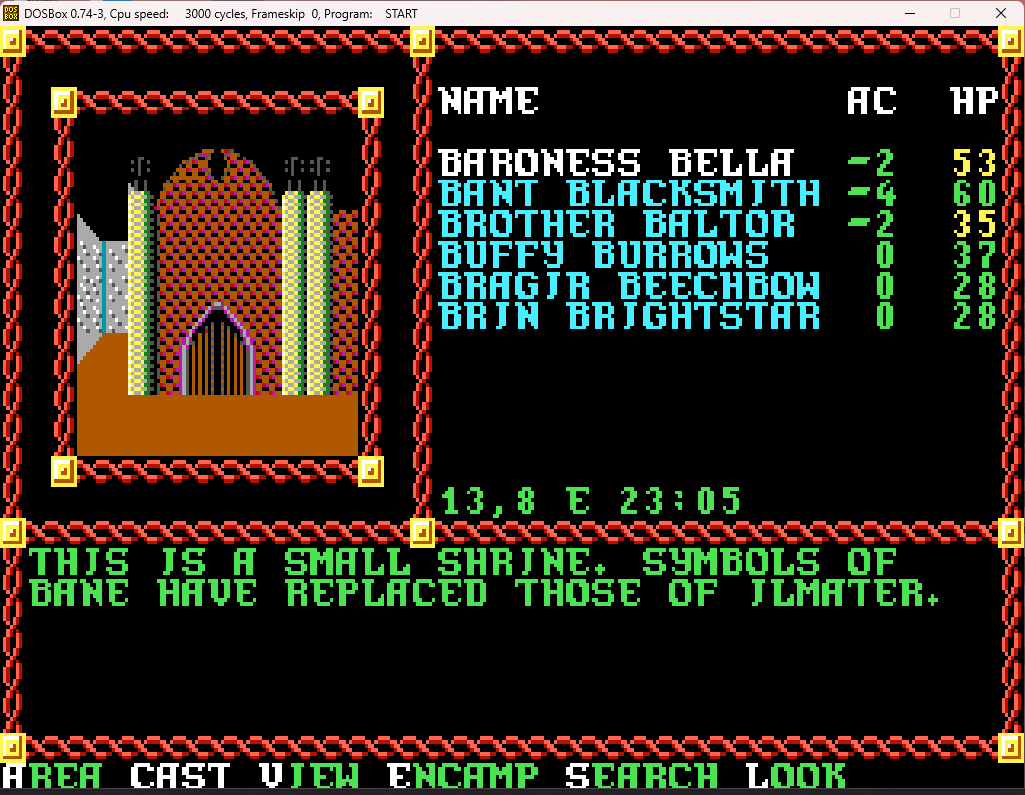
I mean, easy enough to do - Ilmater's symbol is two bound hands and Bane's is a clenched fist. Just smash one hand, and smash down to the first knuckles of the remaining hand, and after minor adjustments you basically have a fist.
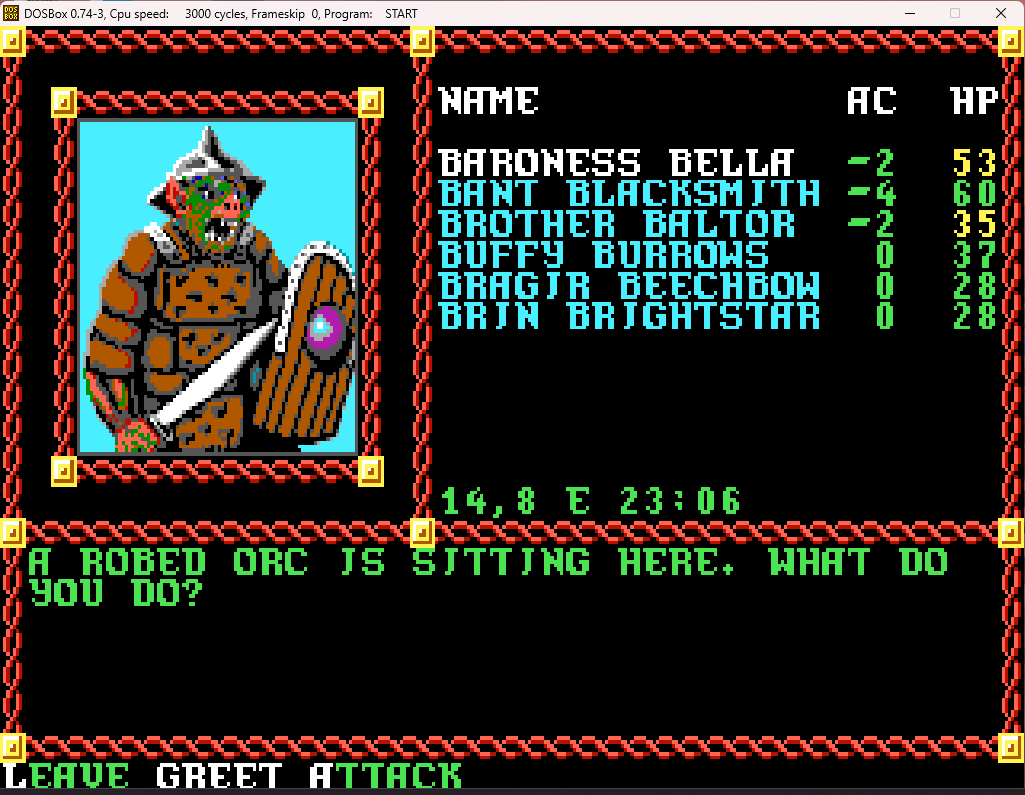
We try "Greet". We are still incognito monsters at the moment.
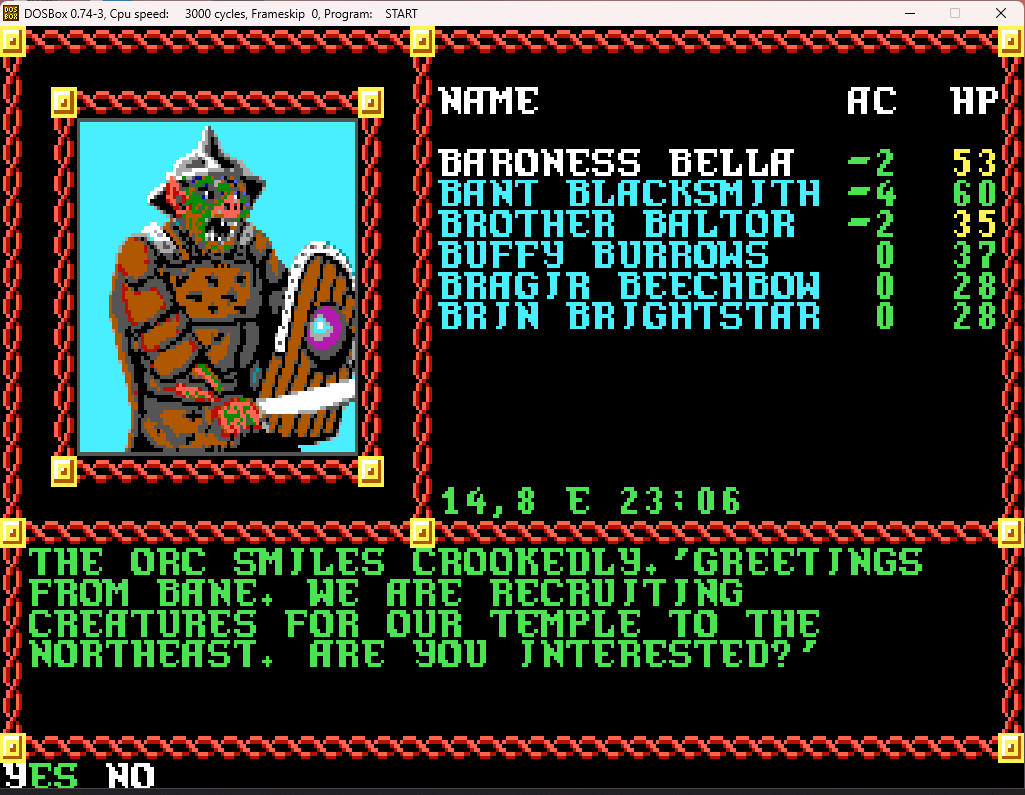
Meh, not really. Especially since we've already received a commission to destroy said temple, and we get to keep the loot.
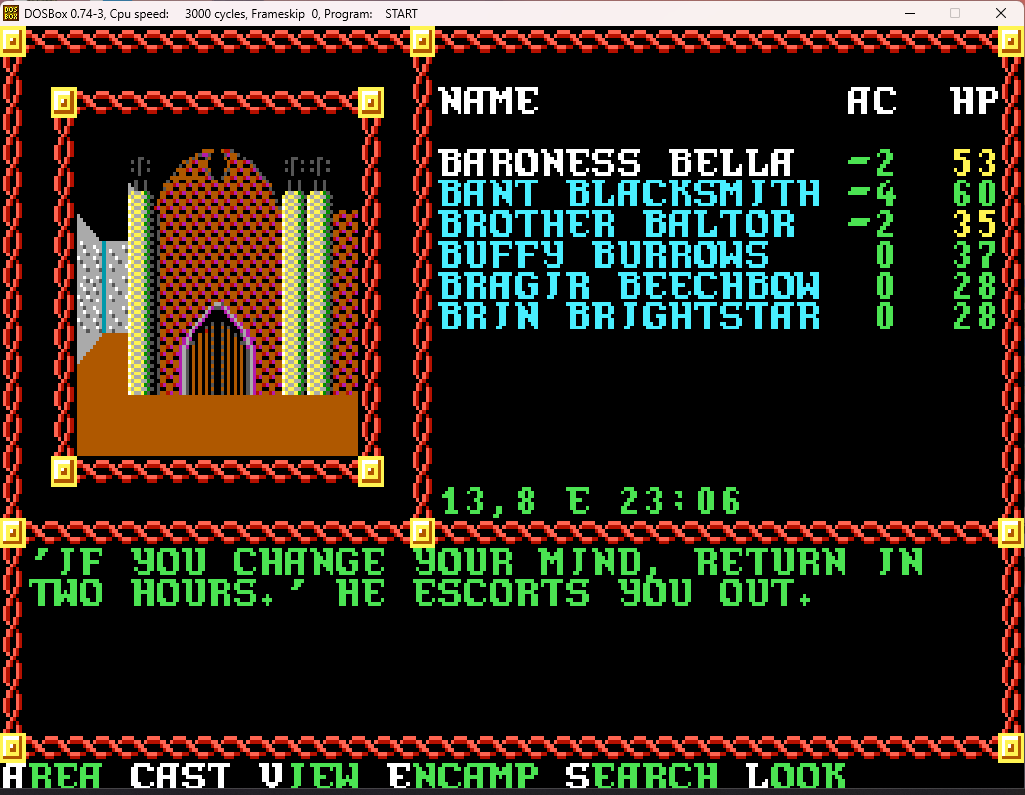
We continue to explore after this, and, as before, we keep bumping into random groups we have to intimidate:
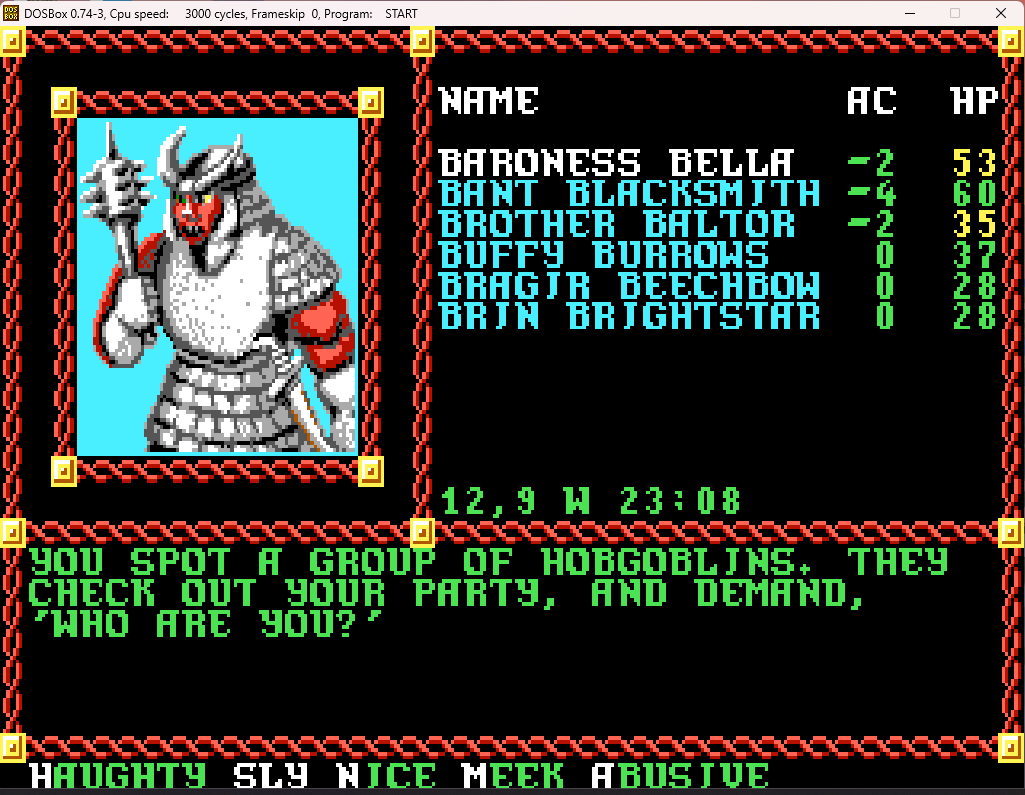
Eventually, we make our way to the soutwestern corner of the zone. There's an intriguing locked door here.
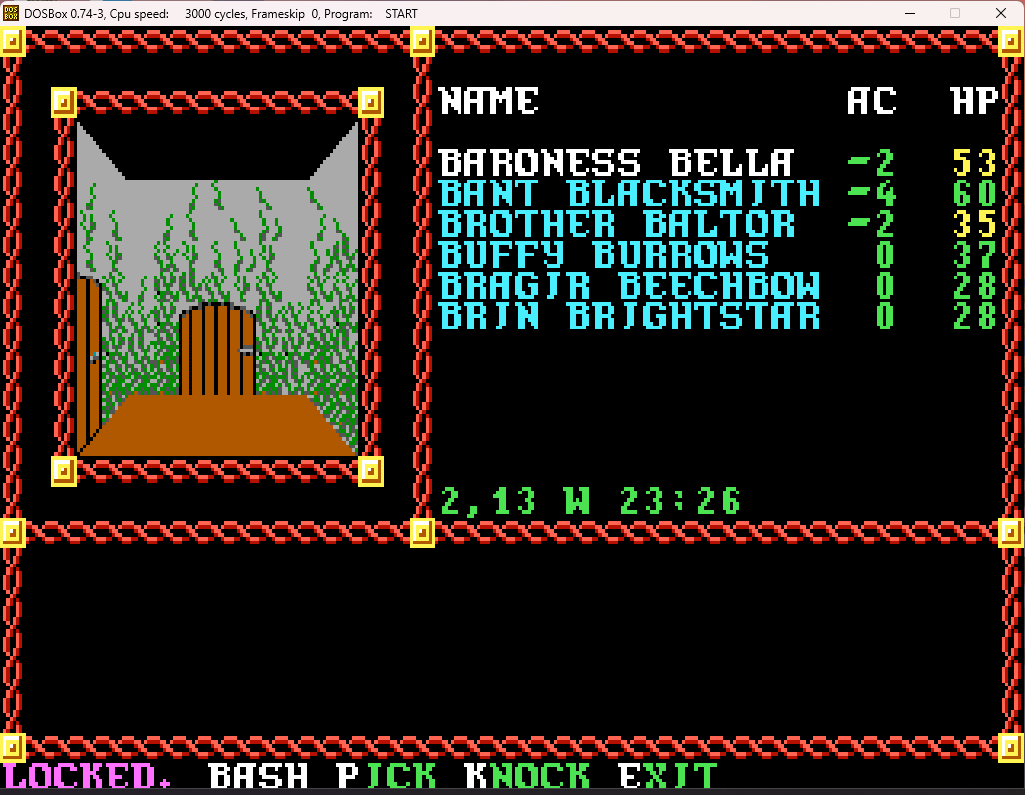
Time for that knock spell!
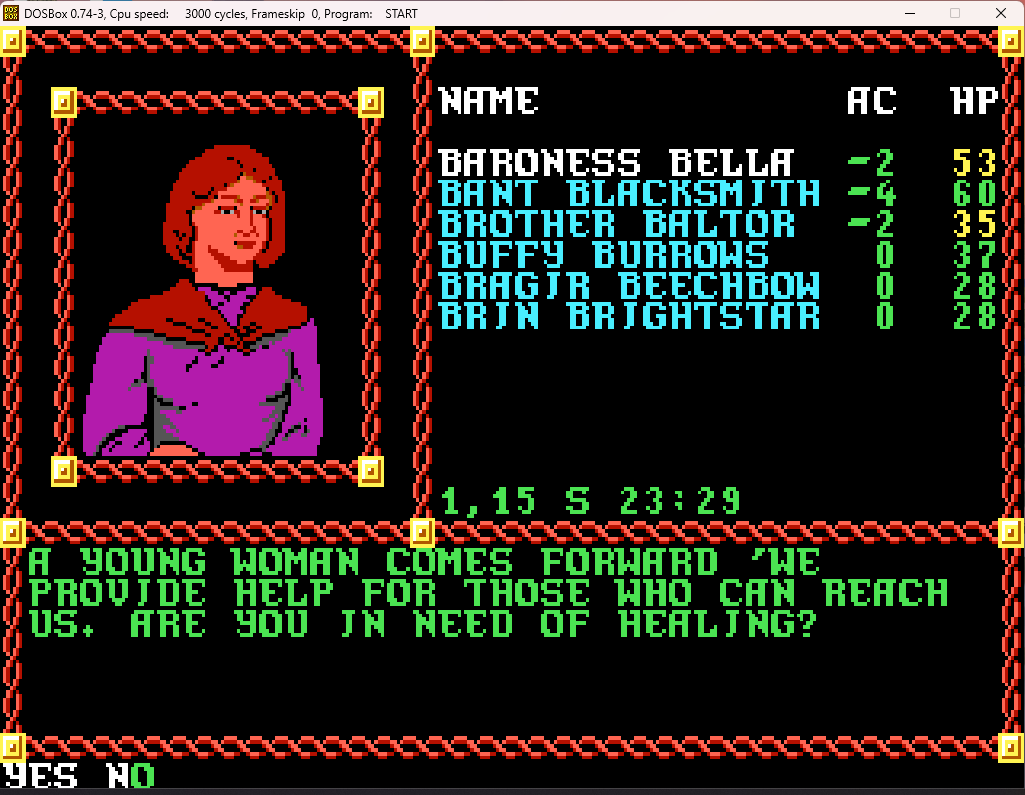
This is a secret temple of Ilmater, set up after the previous one was taken over by Banite forces. We don't need healing now, but this is a safe place to rest in the block. At the moment, with us strutting around disguised as monsters and intimidating everyone who challenges us, we don't need it, but this will come in very handy later, when we no longer are doing so. Once we leave the block and come back, we can't disguise ourselves as monsters again, and any encounter will end in a large battle. And when I say "large", I'm not joking - you usually are confronted by 50 or so enemies in these battles. It takes 10 such encounters to clear the block (this is separate from the auction commission), and it's long and messy. Having this spot to retreat to every few battles is very helpful. The good news is that the Clerk will award you a special bonus for clearing this block (unlike with Kuto's Well), although after all the long battles, it's hardly worth it.
But that's all in the future - right now we're still disguised, but happy to have a place to rest.
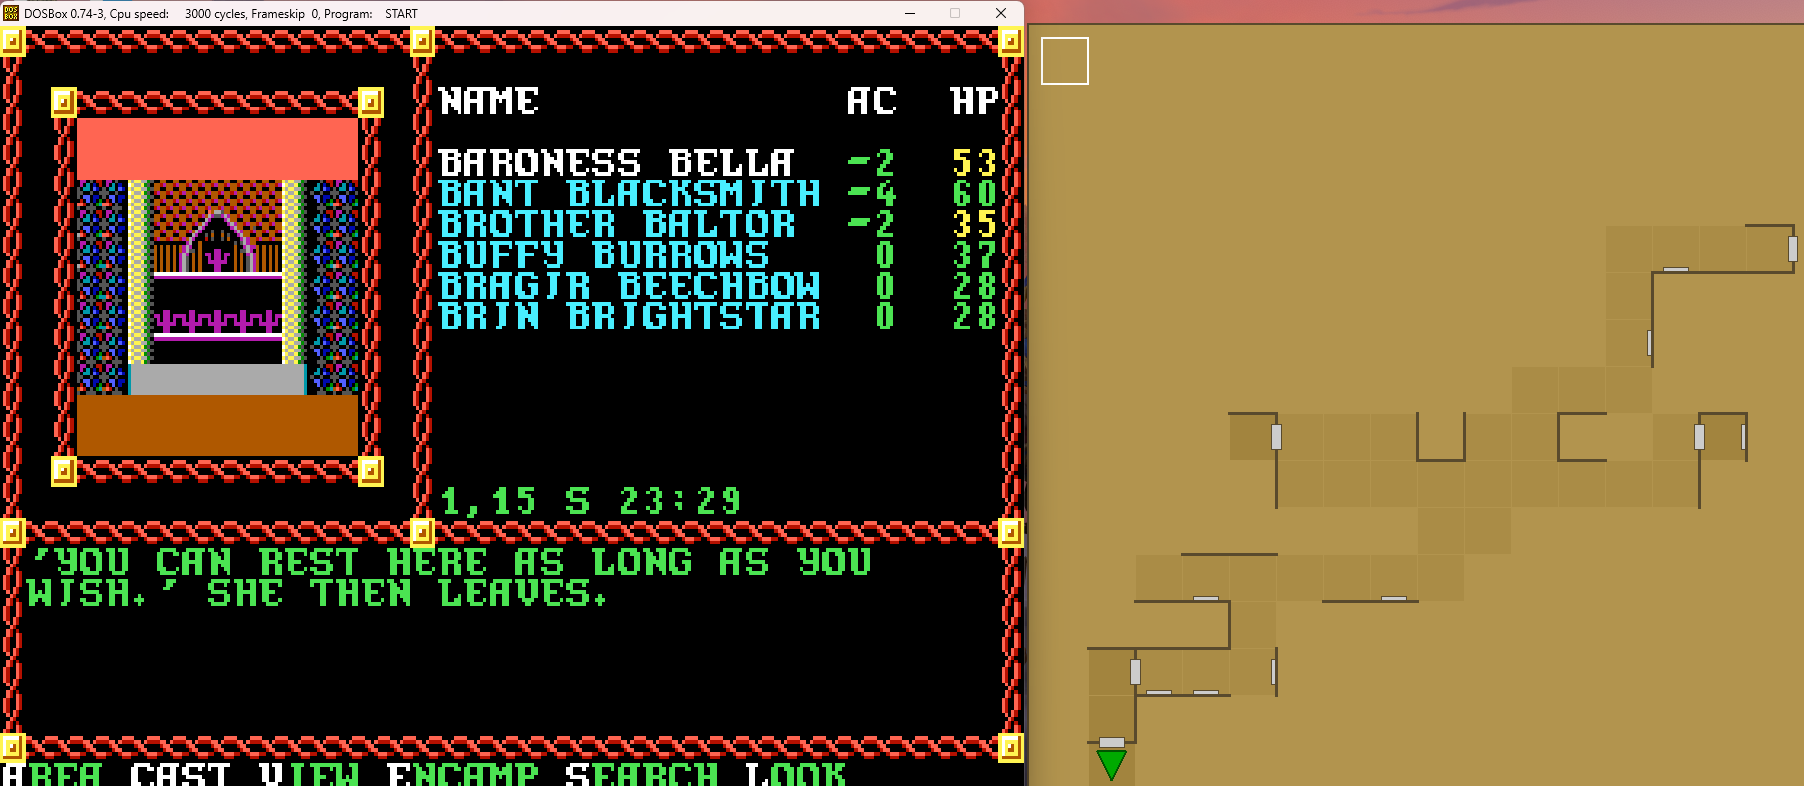
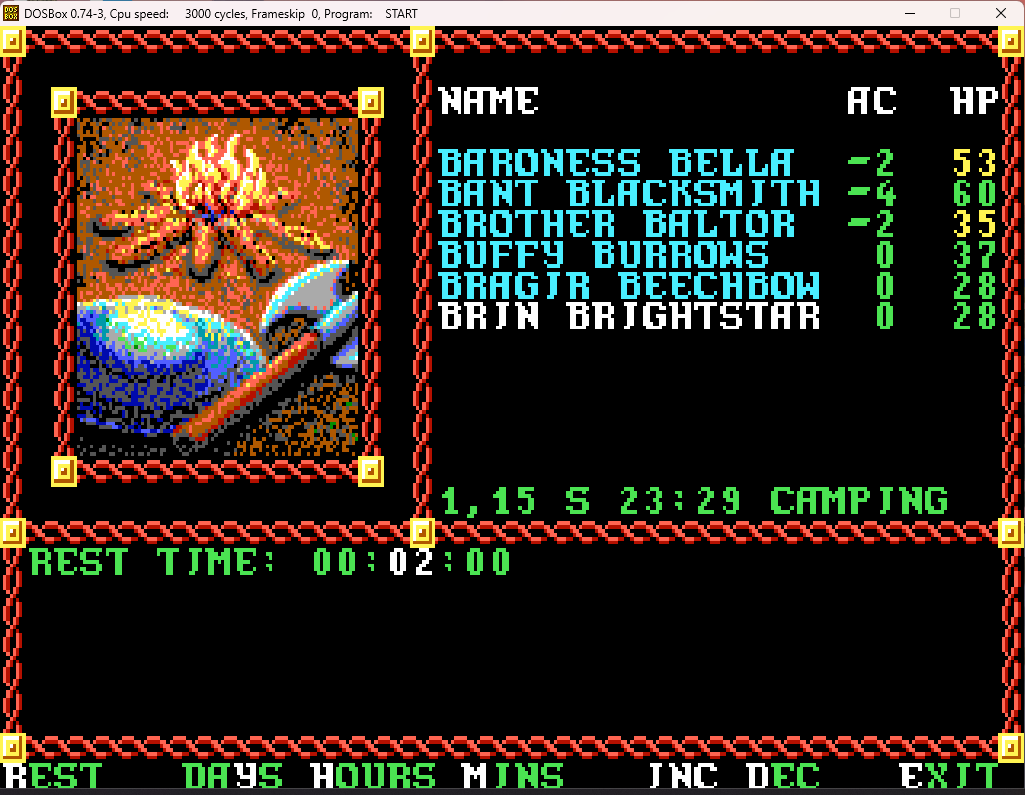
We're just going to rest for the two hours and then head back over to the Temple of Bane. As we head over, we still have to intimidate any patrols we come across.
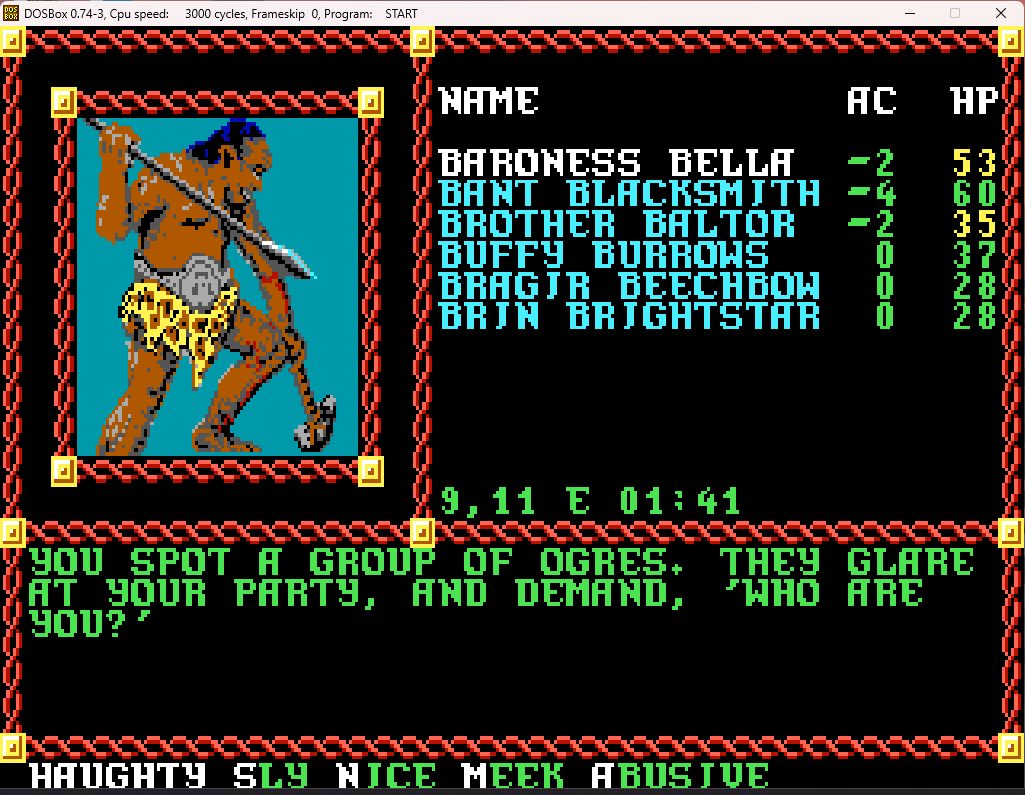
We reach the temple...
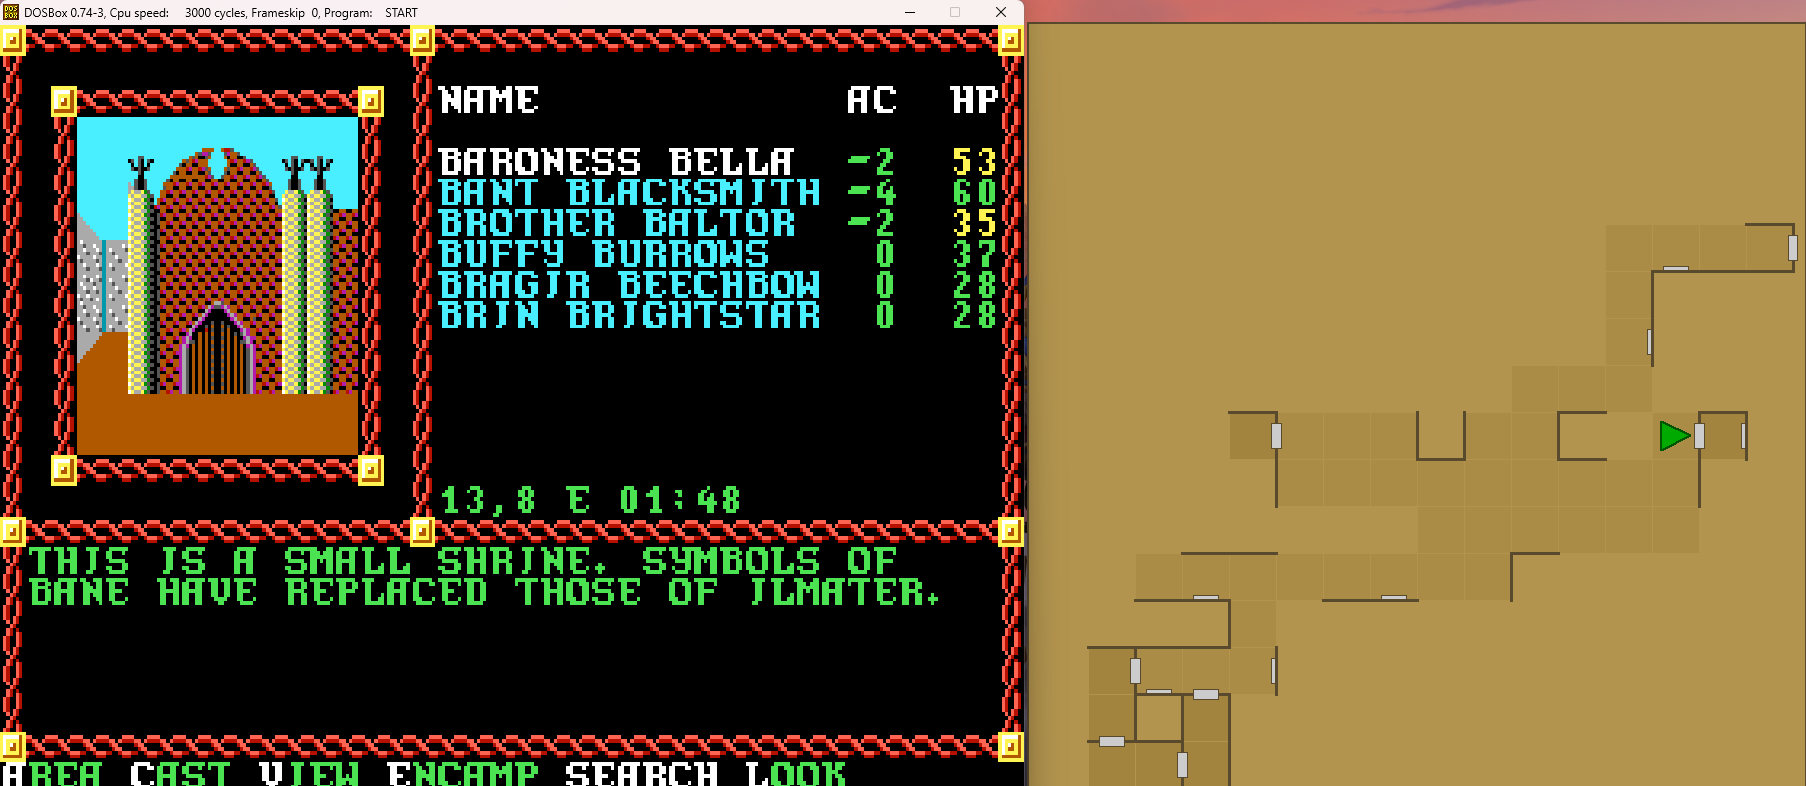
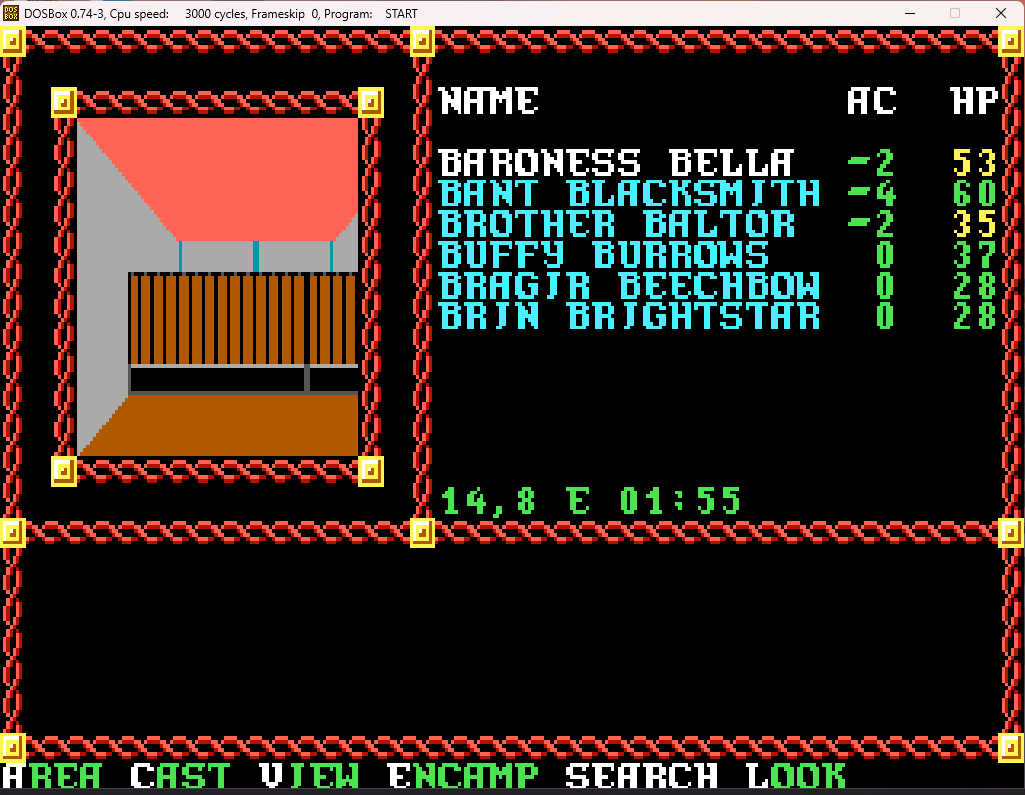
But nothing is going on inside, even after the two hour wait mentioned earlier. I always seem to have problems spawning the encounter here as a result, but it's not a big deal - the only loot worthwhile from it are some holy symbols of Bane that make the later temple section a bit easier, and you can get them elsewhere before then.
So, that's basically it for Podol Plaza, other than coming back here later after the mission to clear the block. So we head back to the civilized area.
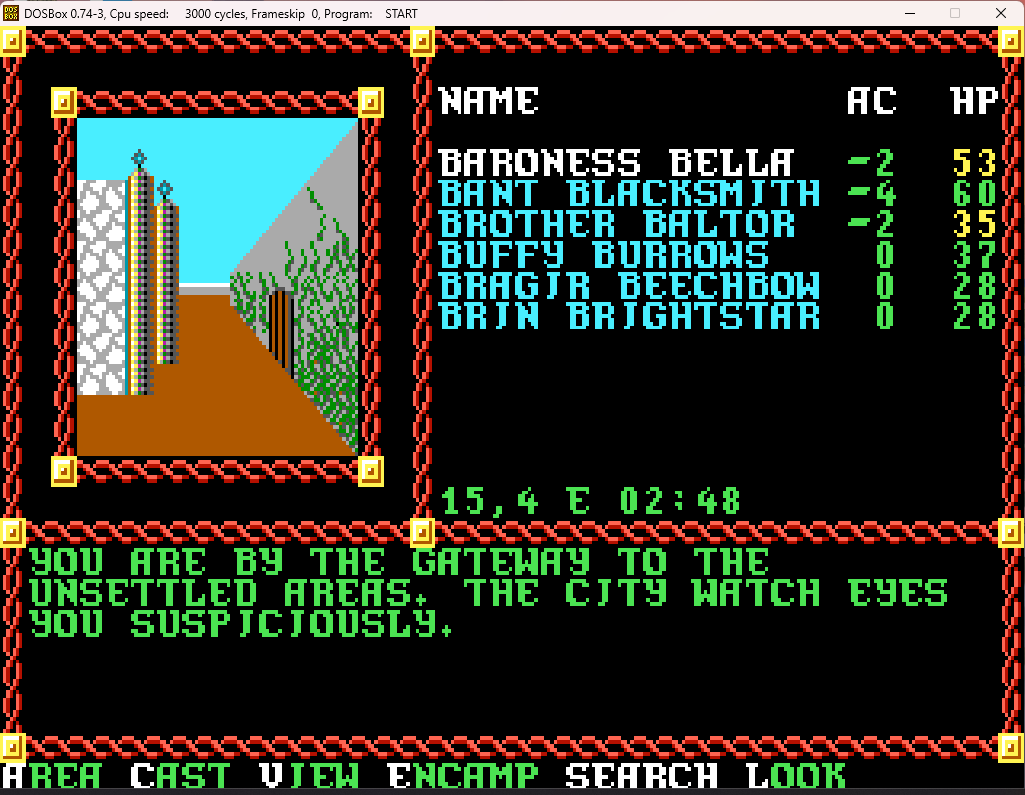
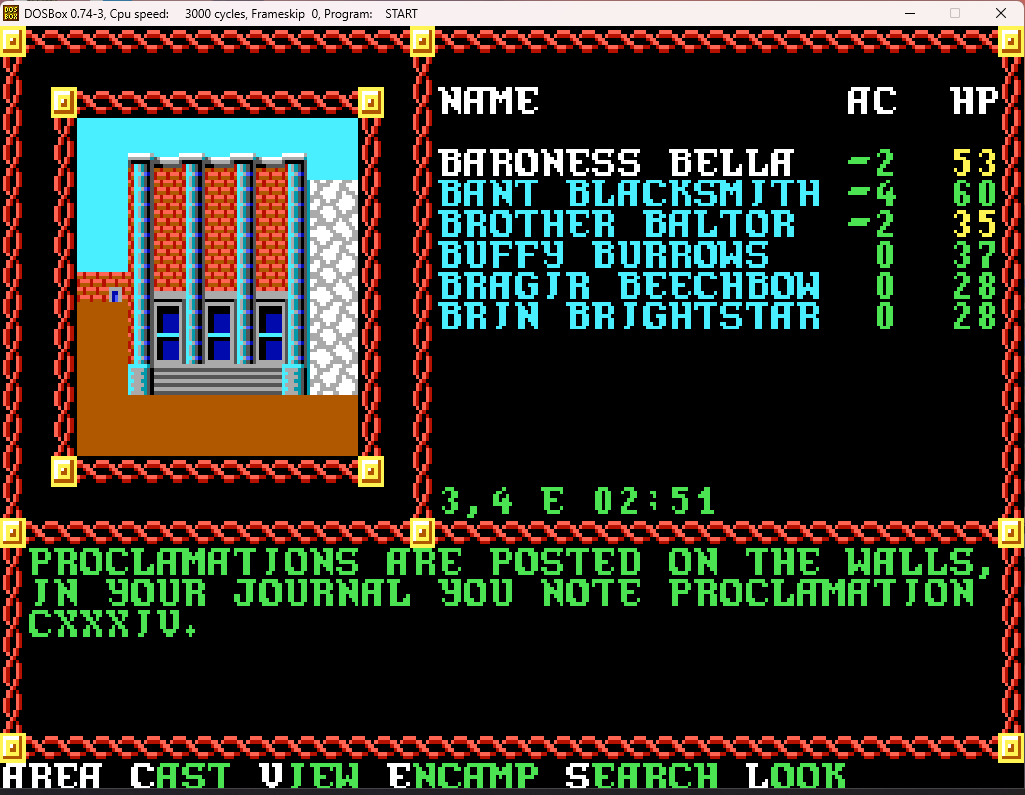
Randomly looking at that proclamation...
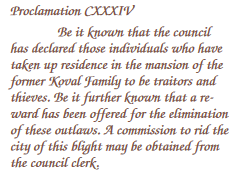
Right, that's something we've already been made aware of.
Into the building we go!
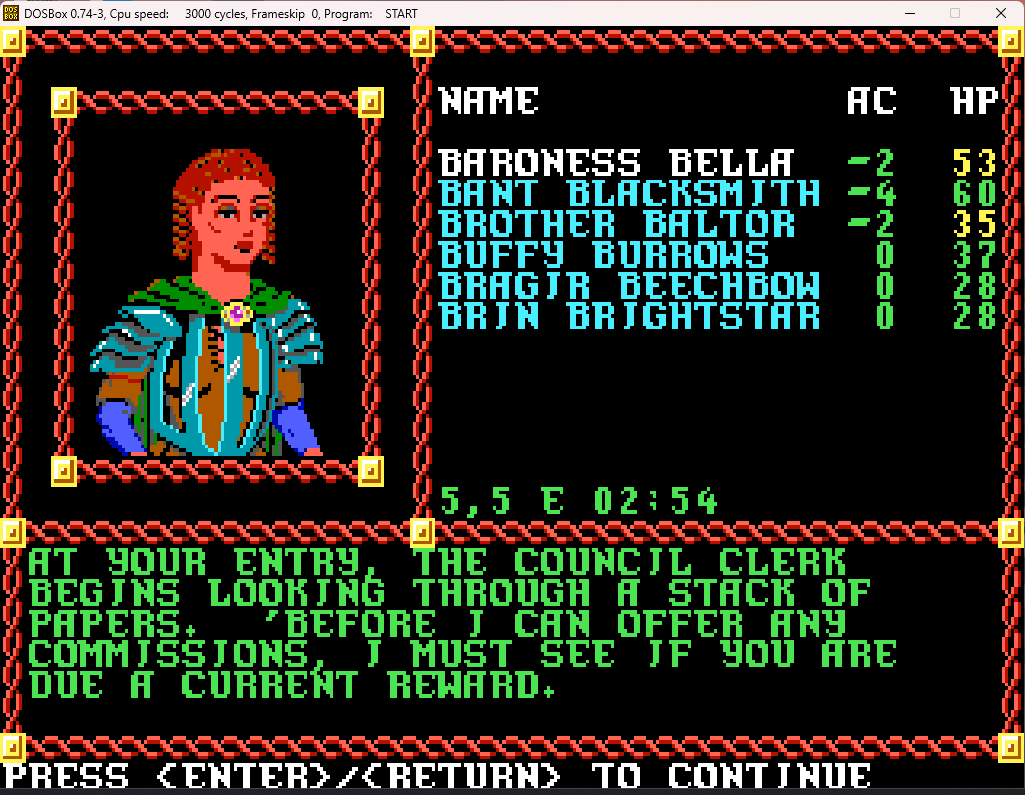
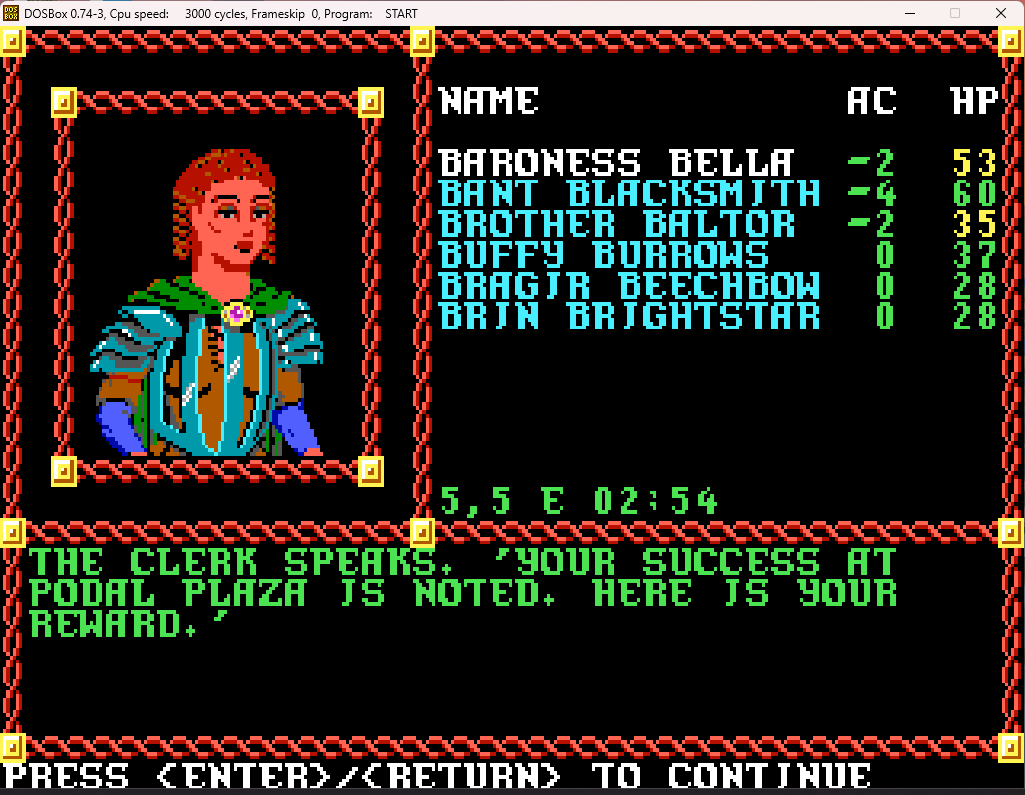
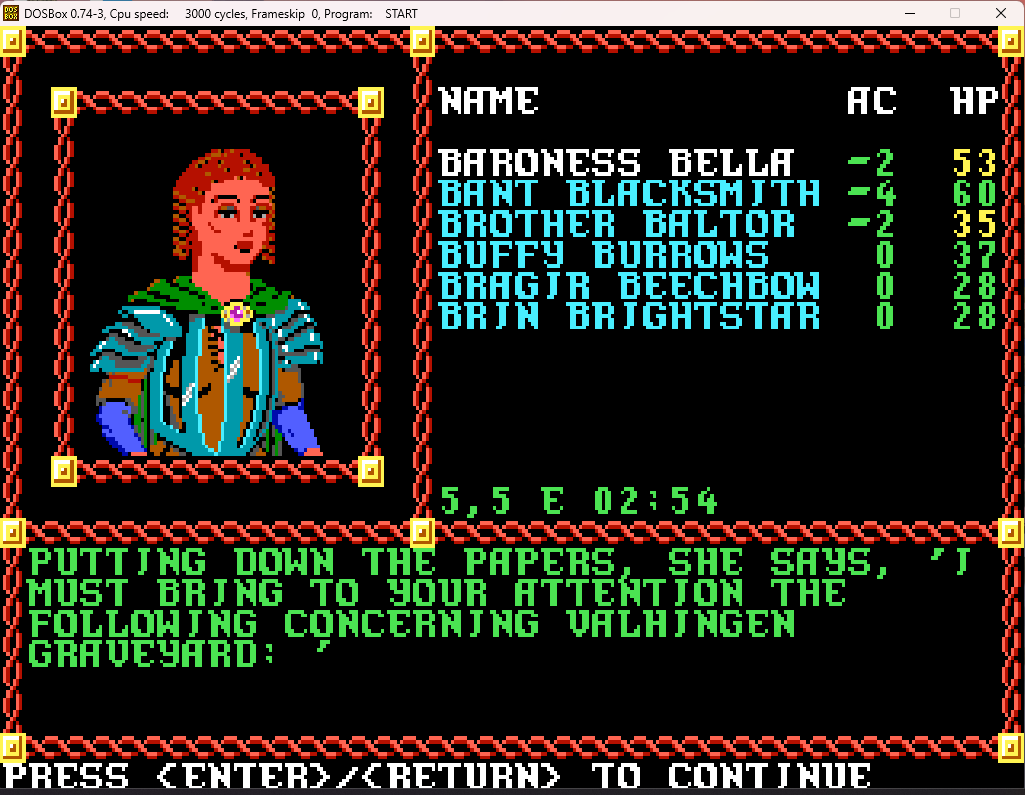
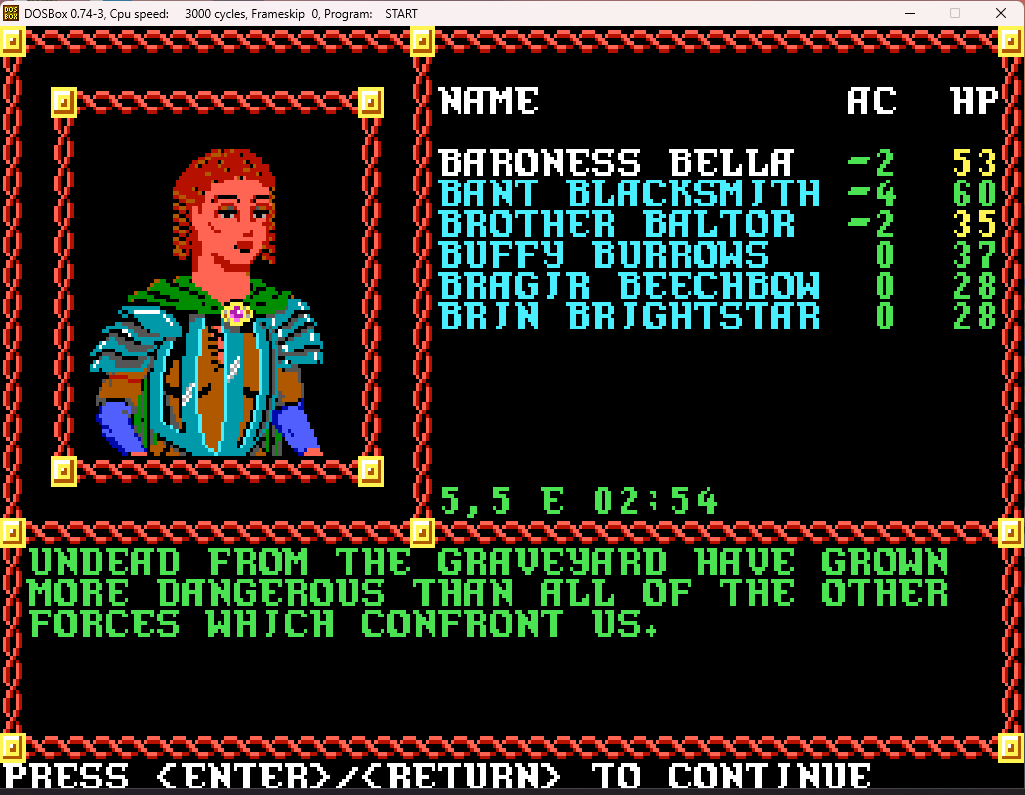
But before she can repeat the commissions we've already heard of, she has something new:
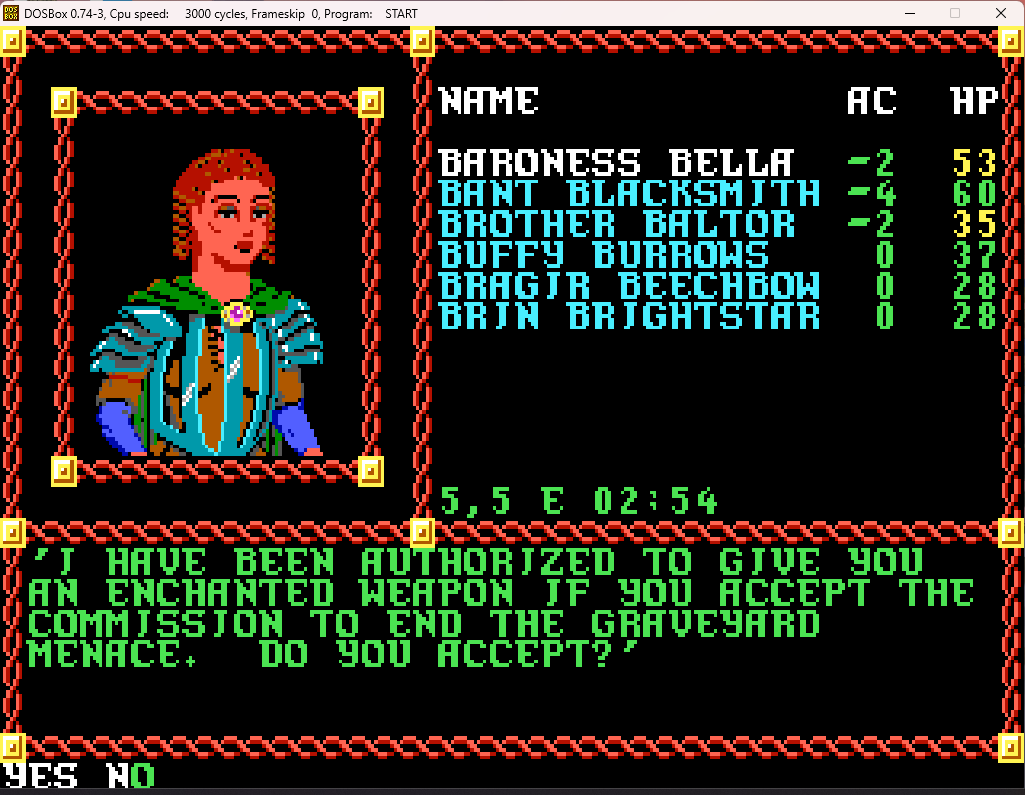
I mean, for an enchanted weapon, we sure are!
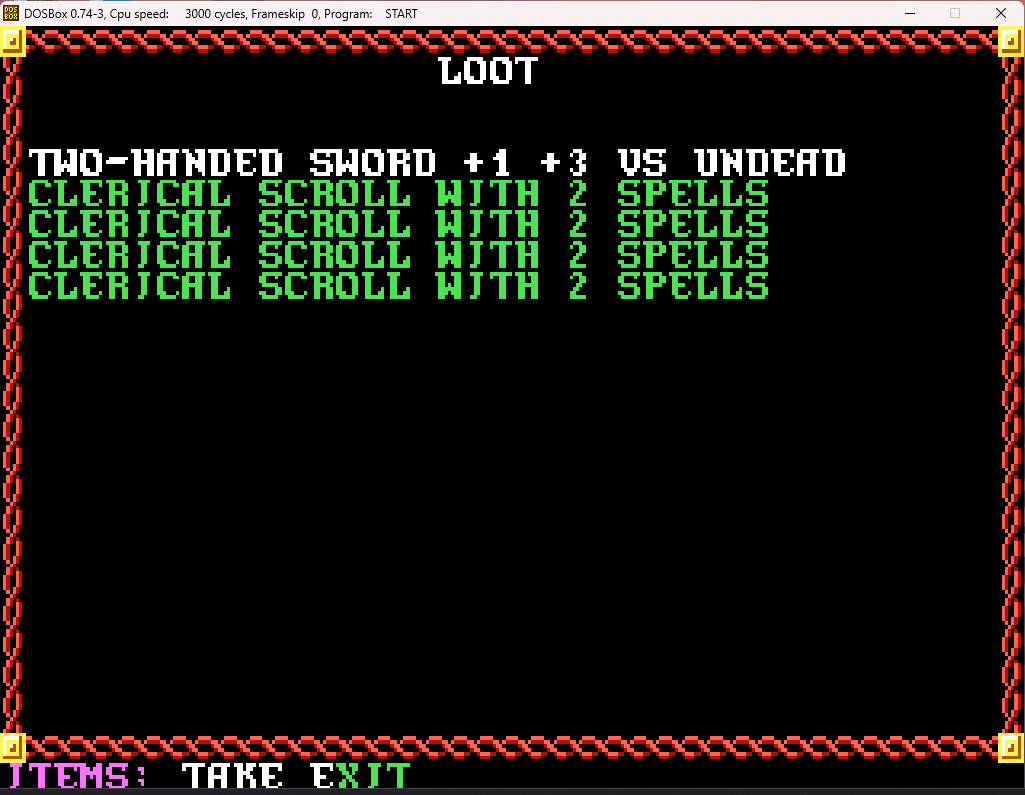
Oh, very nice! We'll give that to Bragir, who is the only party member without a magical melee weapon yet. When we actually go to the Graveyard, it will be moved temporarily to one of our frontliners so it can be better used against the foes it was created for.
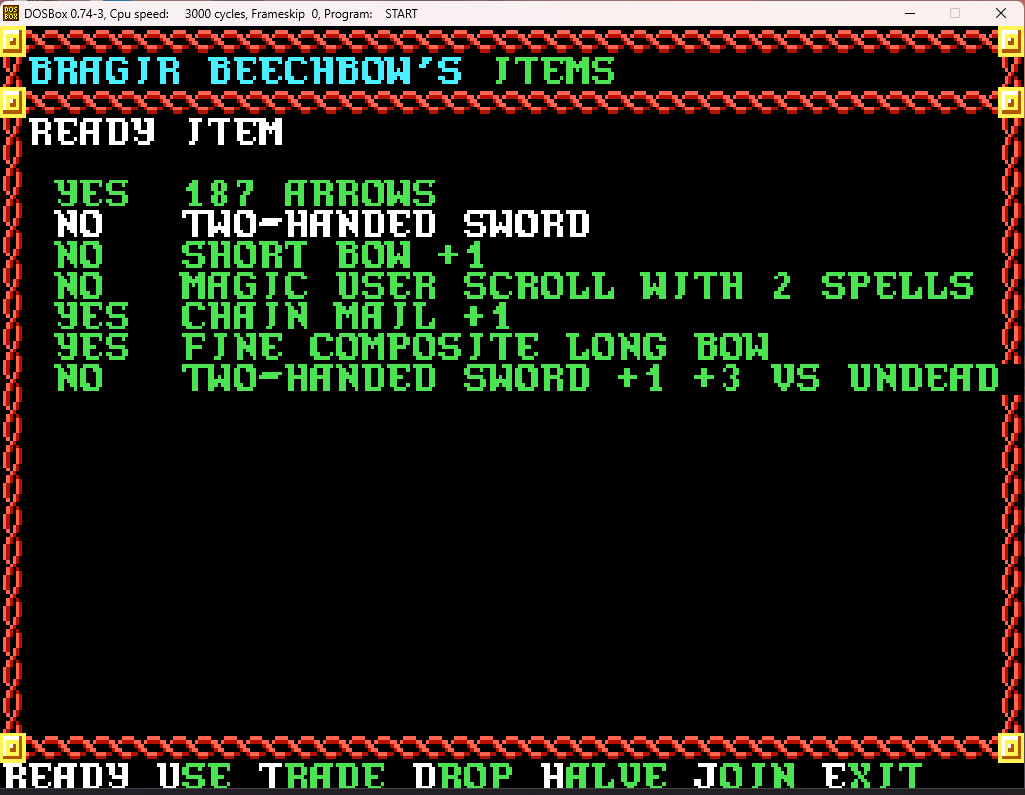
The scrolls each have two restoration spells on them, similar to the ones we found in the library. Brother Baltor stores those away.
That done, the City Clerk goes through the commissions for the Koval Mansion and the nomads, and now has this new one:
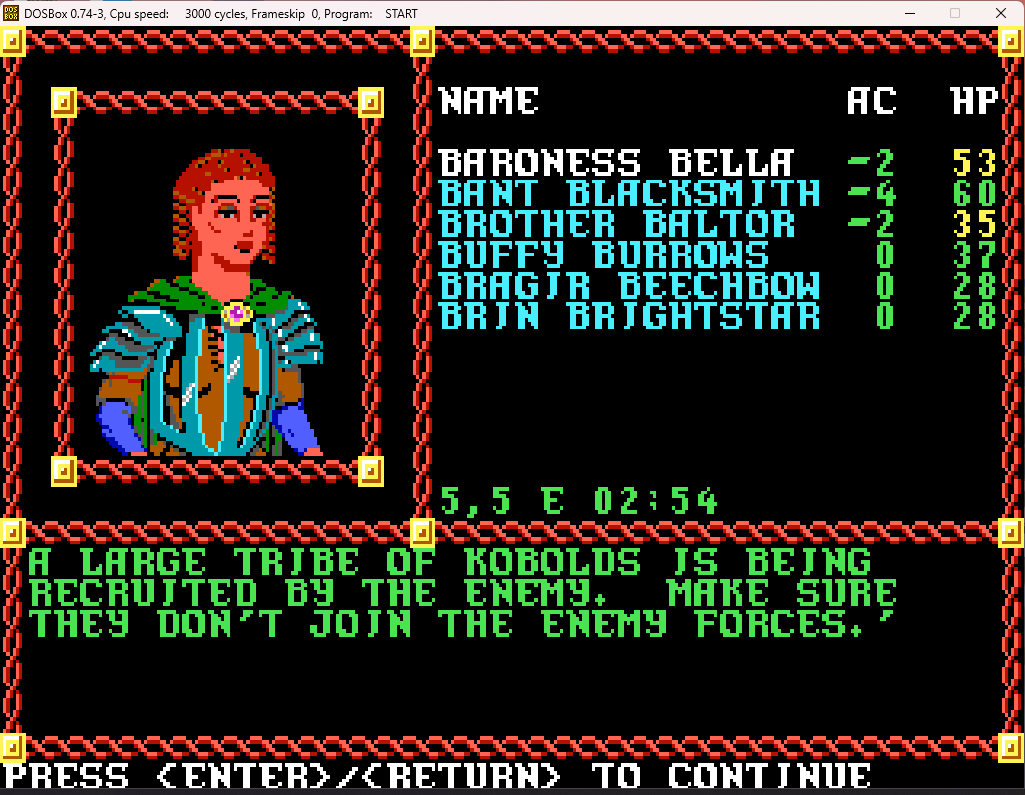
Ah, those would be the tribe the kobolds we met in Kuto's Well mentioned.
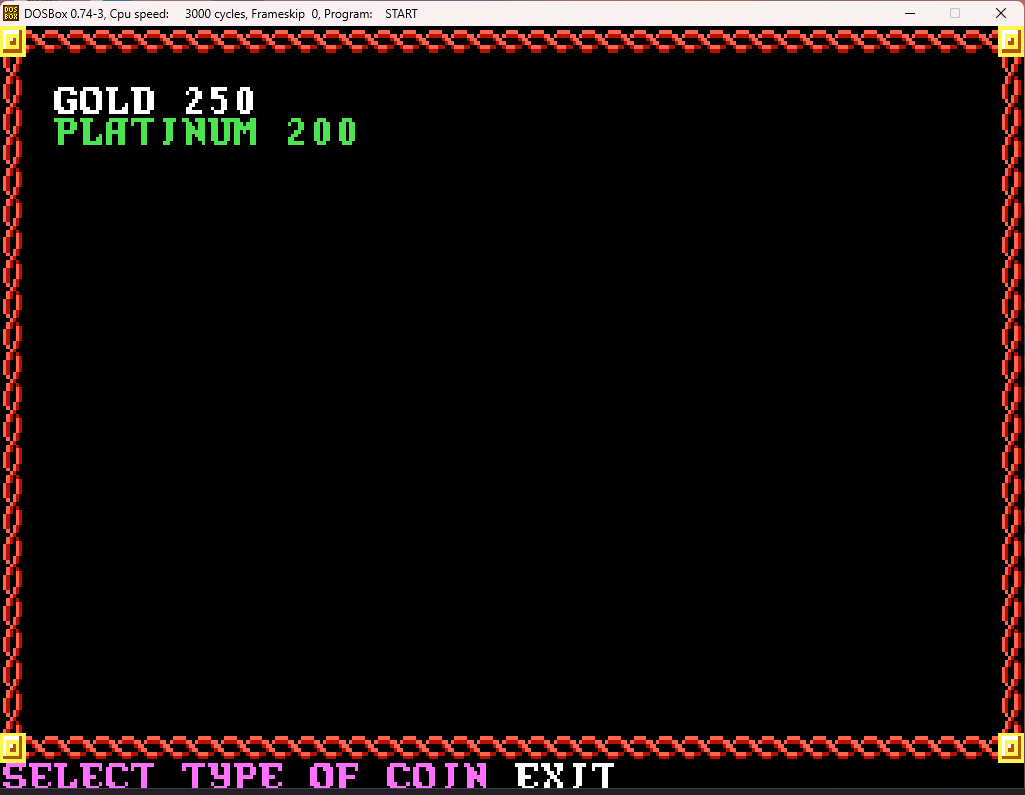
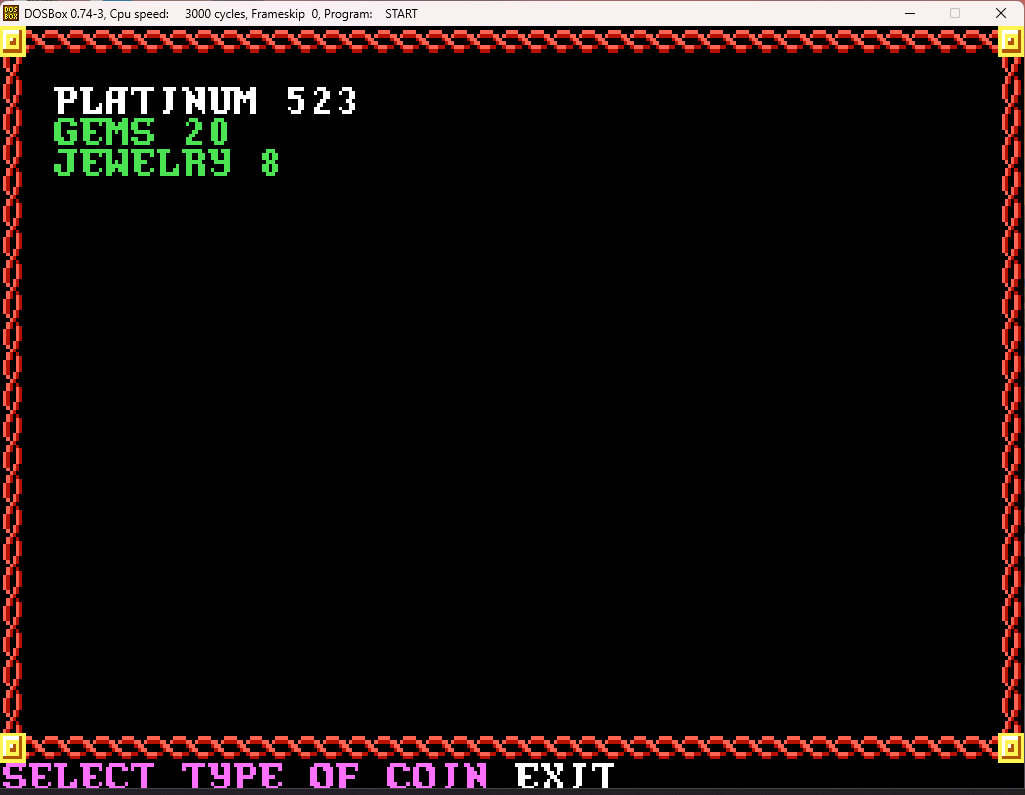
All this done, we go to the store and sell some loot. Our funds afterwards:
And we go off to the inn to rest, heal up, and memorize spells. Next up, the Cadorna Textile House!
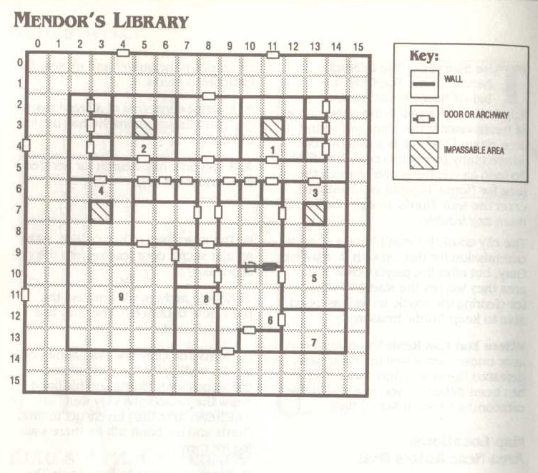
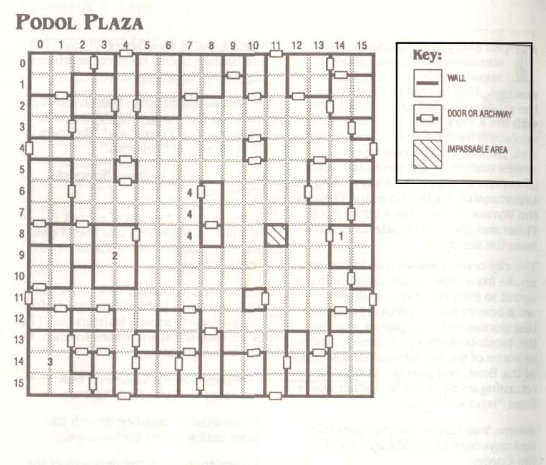
(Maps for Mendor's Library and Podol Plaza from the cluebook):
When last we had checked in on our intrepid adventurers, they had just triggered a brawl in a monster-filled tavern.
As you can see, you have a significant number of allies on your side (apparently you're the final straw that fractures the drinkers into two groups), which is a pain to keep track of, since the icons don't look any different. This used to be about impossible in the days before GBC; now at least you can confer with the map before attacking someone who was actually an ally.
Obviously such a packed group calls for AoE spells:
Buffy is stuck in the front row due to the crush, so will need to switch out weapons - she gets to use the recently-deceased buccaneer's magic longsword.
Time for a second sleep spell to take out even more foes:
So now a significant part of our opponents are now snoozing on the floor. Which is very helpful in large battles like these, since it can take forever for the AI to go through their turns:
Now for the real problem with this battle - your allies move up and start to get in the way. Whereas my party can clear out foes in a relatively swift manner, they move up, get in the way, and whiff repeatedly. This is especially irritating as they can block sweeps that can take out large swathes of foes.
Speaking of sweeps, I managed to get a screenshot of Buffy doing so:
I manage to keep the party members generally in front of the allies, and slowly the opposition is whittled down:
But in the end, it just gets me a relatively small amount of XP, and a lot of trash loot:
Nothing magical either. I had chosen the wrong choice in the menu earlier when triggering the fight, since if you choose the right one, you'll get the buccaneer's twin brother with the same magical items.
Why, thank you!
We head out, and go back to the east side of the zone, where we find a temple:
I mean, easy enough to do - Ilmater's symbol is two bound hands and Bane's is a clenched fist. Just smash one hand, and smash down to the first knuckles of the remaining hand, and after minor adjustments you basically have a fist.
We try "Greet". We are still incognito monsters at the moment.
Meh, not really. Especially since we've already received a commission to destroy said temple, and we get to keep the loot.
We continue to explore after this, and, as before, we keep bumping into random groups we have to intimidate:
Eventually, we make our way to the soutwestern corner of the zone. There's an intriguing locked door here.
Time for that knock spell!
This is a secret temple of Ilmater, set up after the previous one was taken over by Banite forces. We don't need healing now, but this is a safe place to rest in the block. At the moment, with us strutting around disguised as monsters and intimidating everyone who challenges us, we don't need it, but this will come in very handy later, when we no longer are doing so. Once we leave the block and come back, we can't disguise ourselves as monsters again, and any encounter will end in a large battle. And when I say "large", I'm not joking - you usually are confronted by 50 or so enemies in these battles. It takes 10 such encounters to clear the block (this is separate from the auction commission), and it's long and messy. Having this spot to retreat to every few battles is very helpful. The good news is that the Clerk will award you a special bonus for clearing this block (unlike with Kuto's Well), although after all the long battles, it's hardly worth it.
But that's all in the future - right now we're still disguised, but happy to have a place to rest.
We're just going to rest for the two hours and then head back over to the Temple of Bane. As we head over, we still have to intimidate any patrols we come across.
We reach the temple...
But nothing is going on inside, even after the two hour wait mentioned earlier. I always seem to have problems spawning the encounter here as a result, but it's not a big deal - the only loot worthwhile from it are some holy symbols of Bane that make the later temple section a bit easier, and you can get them elsewhere before then.
So, that's basically it for Podol Plaza, other than coming back here later after the mission to clear the block. So we head back to the civilized area.
Randomly looking at that proclamation...
Right, that's something we've already been made aware of.
Into the building we go!
But before she can repeat the commissions we've already heard of, she has something new:
I mean, for an enchanted weapon, we sure are!
Oh, very nice! We'll give that to Bragir, who is the only party member without a magical melee weapon yet. When we actually go to the Graveyard, it will be moved temporarily to one of our frontliners so it can be better used against the foes it was created for.
The scrolls each have two restoration spells on them, similar to the ones we found in the library. Brother Baltor stores those away.
That done, the City Clerk goes through the commissions for the Koval Mansion and the nomads, and now has this new one:
Ah, those would be the tribe the kobolds we met in Kuto's Well mentioned.
All this done, we go to the store and sell some loot. Our funds afterwards:
And we go off to the inn to rest, heal up, and memorize spells. Next up, the Cadorna Textile House!
(Maps for Mendor's Library and Podol Plaza from the cluebook):
Last edited:
John R Davis
Hero
Have installed the GBC and it is very useful.
Currently playing gateway to savage frontier with it . It has so little treasure and lots empty areas, but still having fun
Currently playing gateway to savage frontier with it . It has so little treasure and lots empty areas, but still having fun
Sword of Spirit
Legend
Aren't the names of allied combatants in a different color than hostile ones, or was that added in a later game?
Andvari
Hero
In Unlimited Adventures, NPC allies have the same color as the PCs, but it may be different in previous versions of the Gold Box engine, as it was modified throughout its life cycle when new games using it were released.Aren't the names of allied combatants in a different color than hostile ones, or was that added in a later game?
Demetrios1453
Hero
Yes, but it's happened that in the heat of battle I didn't check, and whacked an ally.Aren't the names of allied combatants in a different color than hostile ones, or was that added in a later game?
Demetrios1453
Hero
Pool of Radiance (Part 22): Cadorna Textile House (Part 1)
We'll be avoiding Podol Plaza for a bit until we can get to higher level and take out swathes of humanoids at a time ( :cough: fireball :cough: ) to make clearing it a lot easier. So the next place on our list will be the Cadorna Textile House, from the mission given to us by Councilman Cadorna to retrieve his lost family treasure.
So off we go...
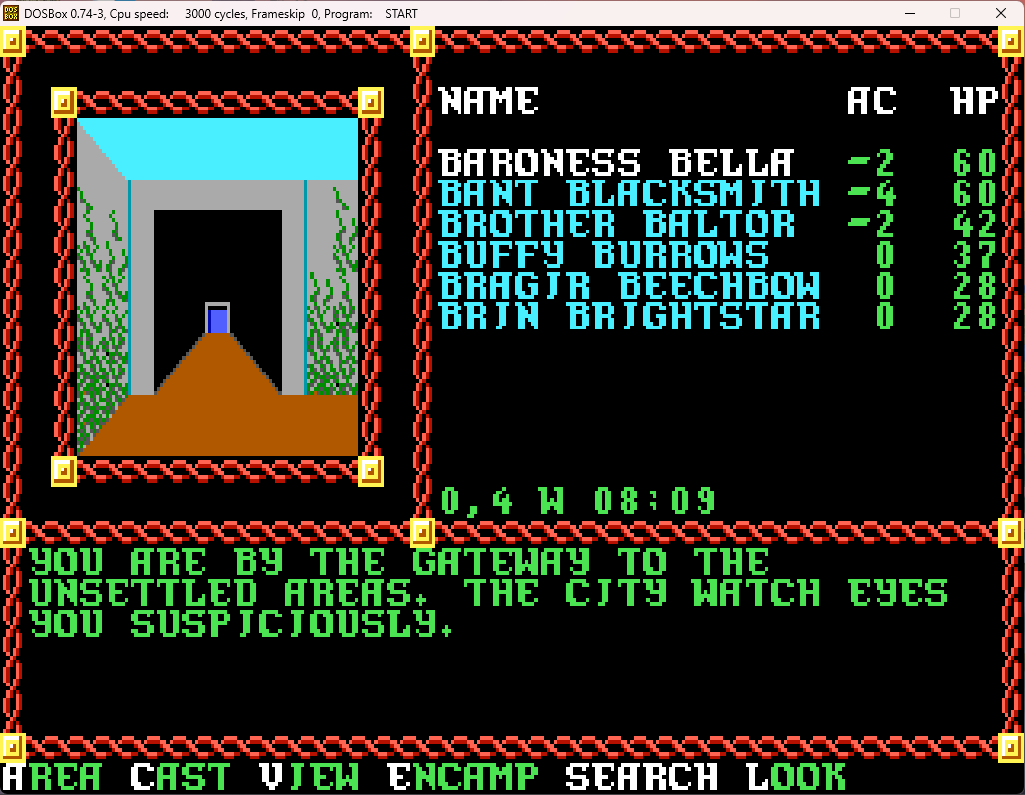
As always.
We go through the Slums, Kuto's Well, and skirt the edge of Mendor's Library (which is always free from wandering patrols, so it doesn't need to be cleared like the other blocks).
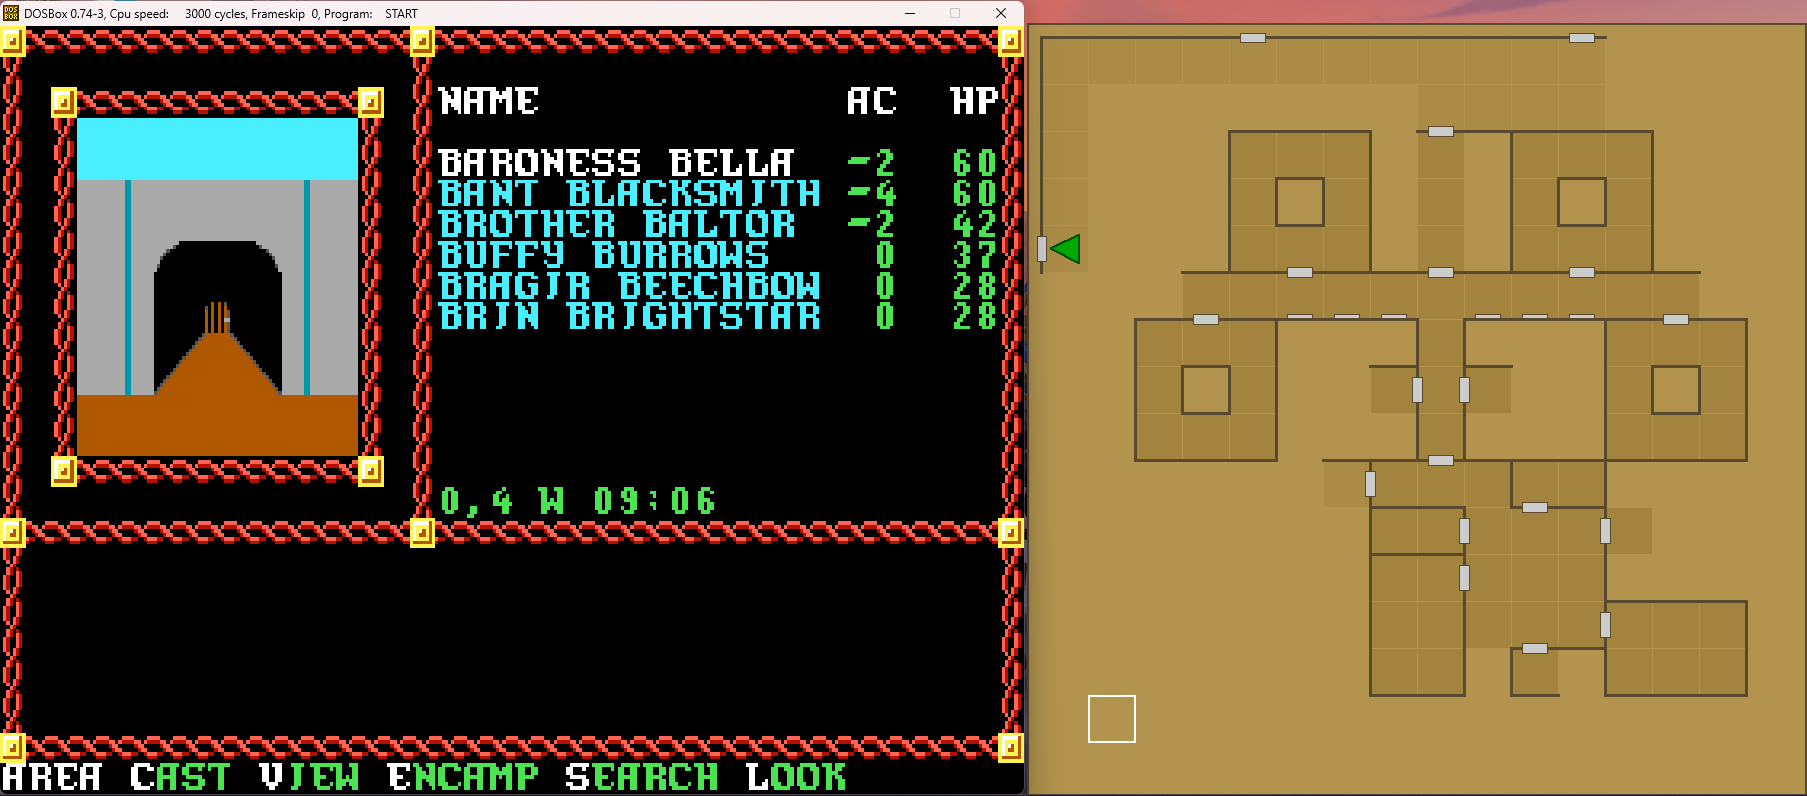
We enter the block containing the Textile House and head west. A few steps in, and:
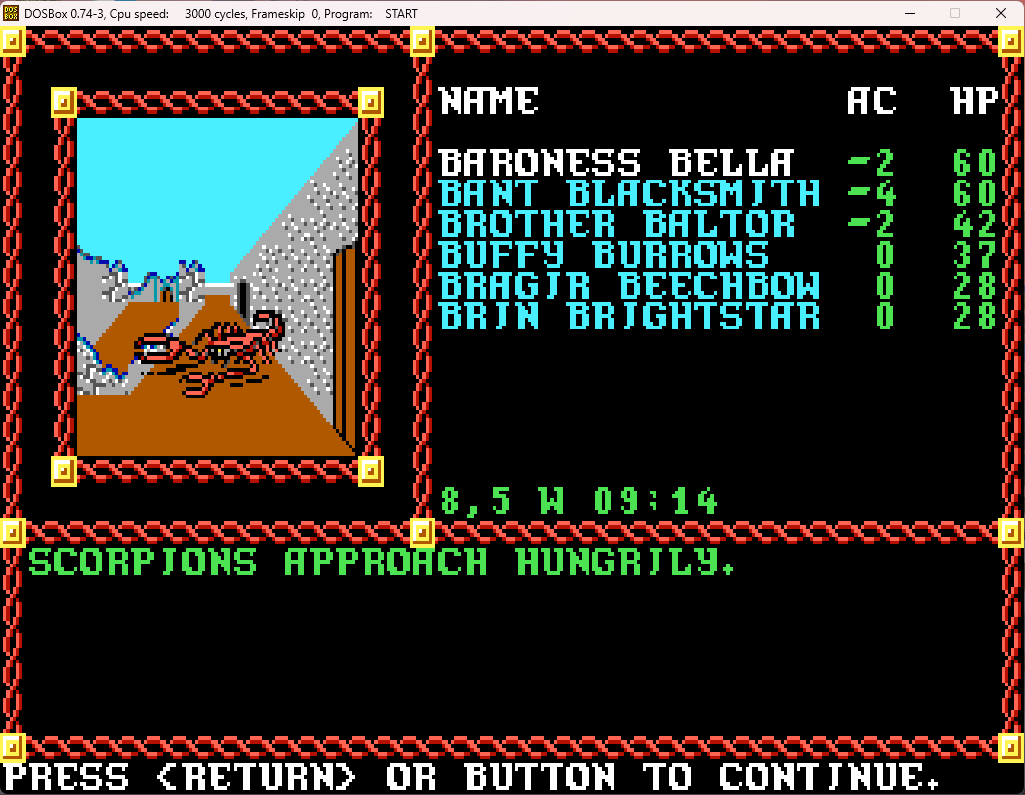
The random foes in this block for the most part are either living things that have poison, or undead with paralyzing or level-draining powers. Again, there are only 10 patrols in order to clear the block (although, like Podol Plaza, you don't need to defeat them to complete the city council mission - but they will award you an extra reward if you do so), but since the foes have these nasty attacks, it's not a fun business to clear them.
And, unlike the scorpions we met in Socal Keep, they aren't all just large scorpions either:
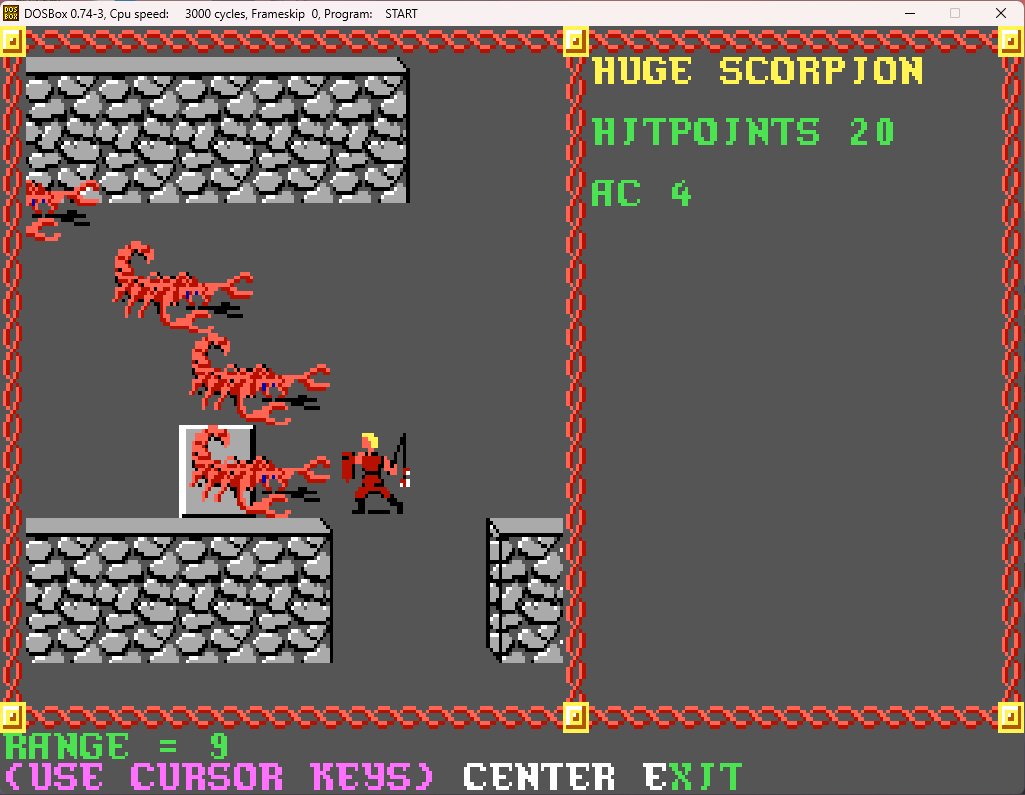
More hit points, lower AC, and a more powerful attack. Fun. Thankfully there's only one of them per pack.
We take them down fairly quickly with little issue. Then we take literally one step...
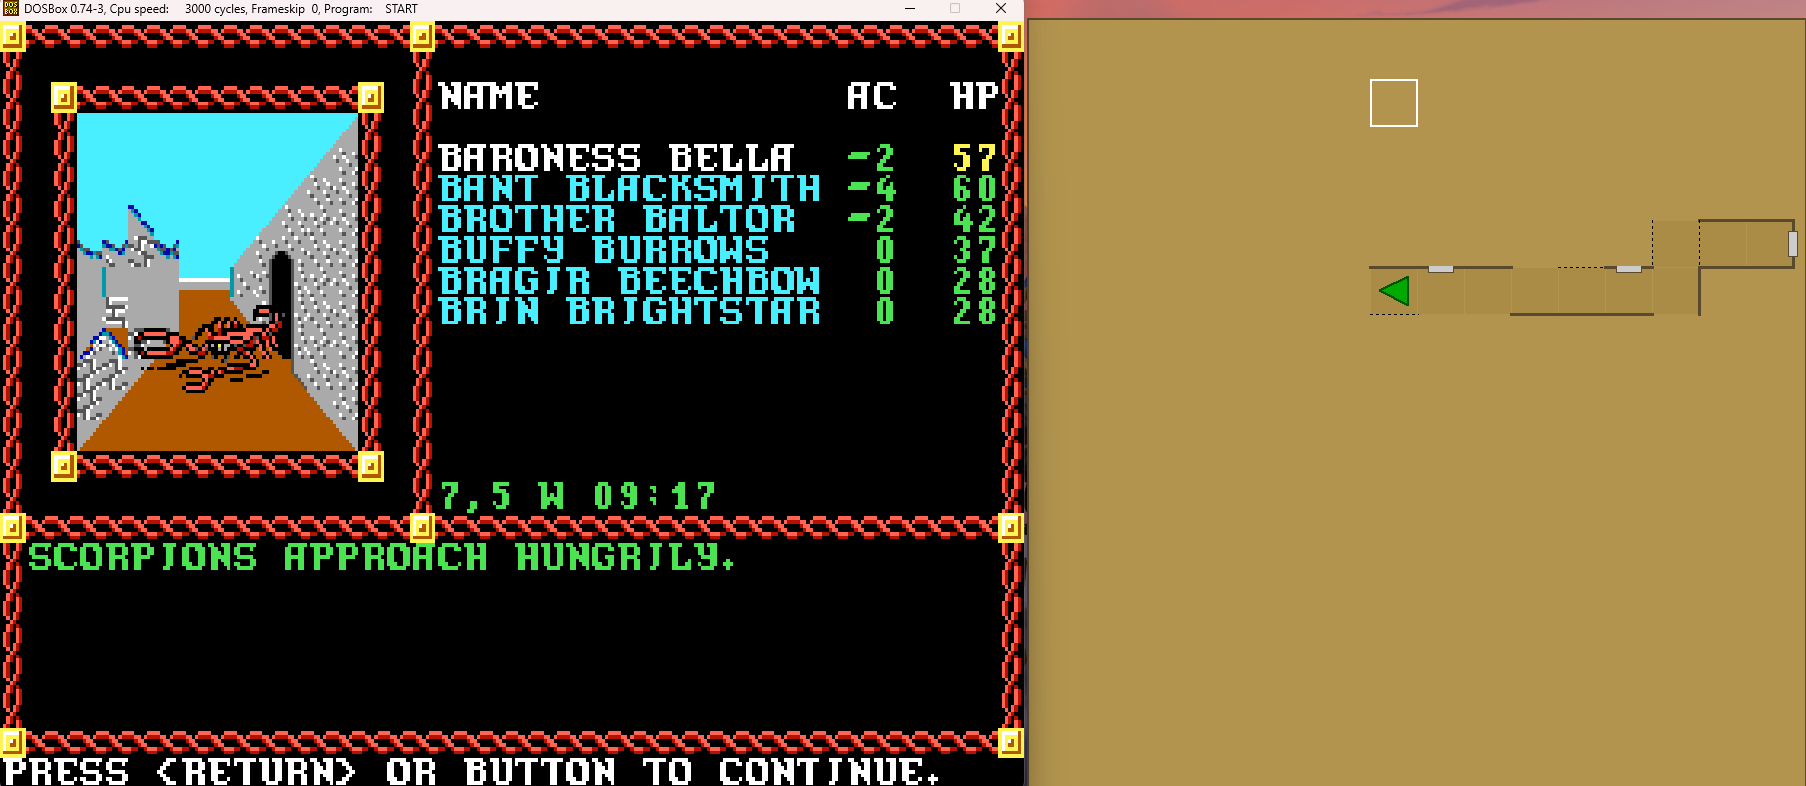
It's the exact same group as before, 3 large scorpions, and 1 huge scorpion. Again, we take them down quickly with little damage and no one poisoned, thankfully.
The party then investigates the ruined building just to the south, and find something interesting:
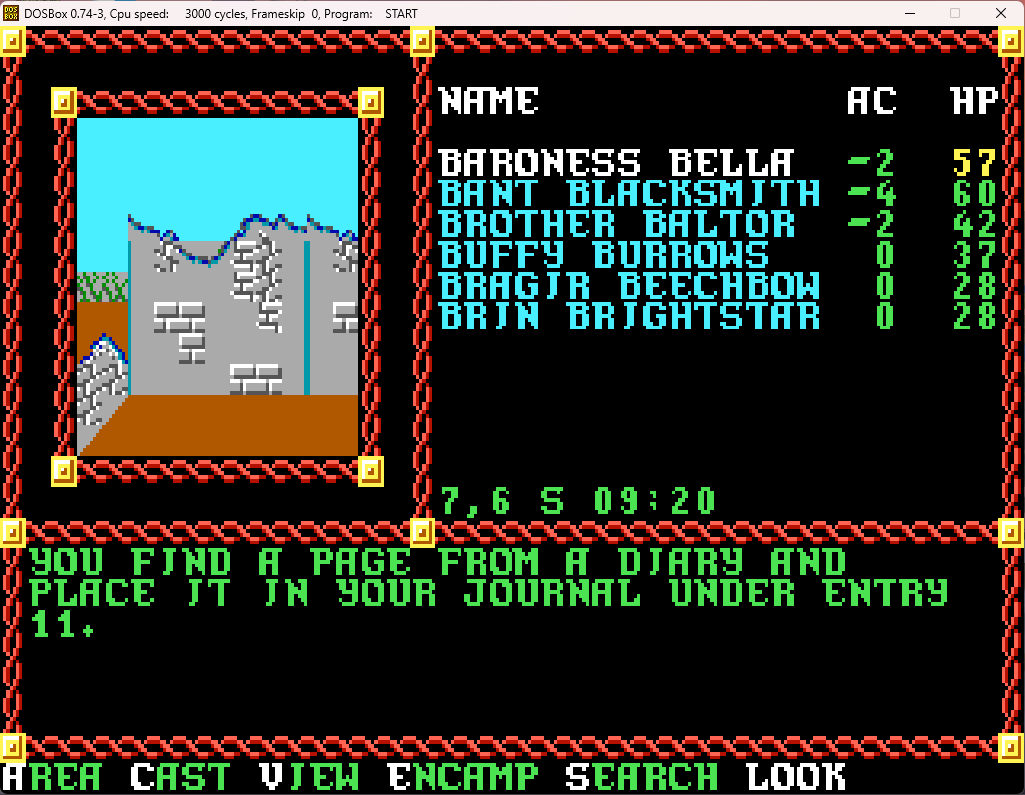
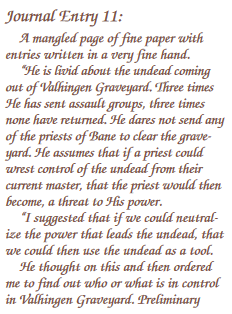

Well... that's unpleasant news to find out about the graveyard. We'll hold off on that particular commission for as long as possible...
We continue to head west, until, near the western end of the zone, we spot another well.
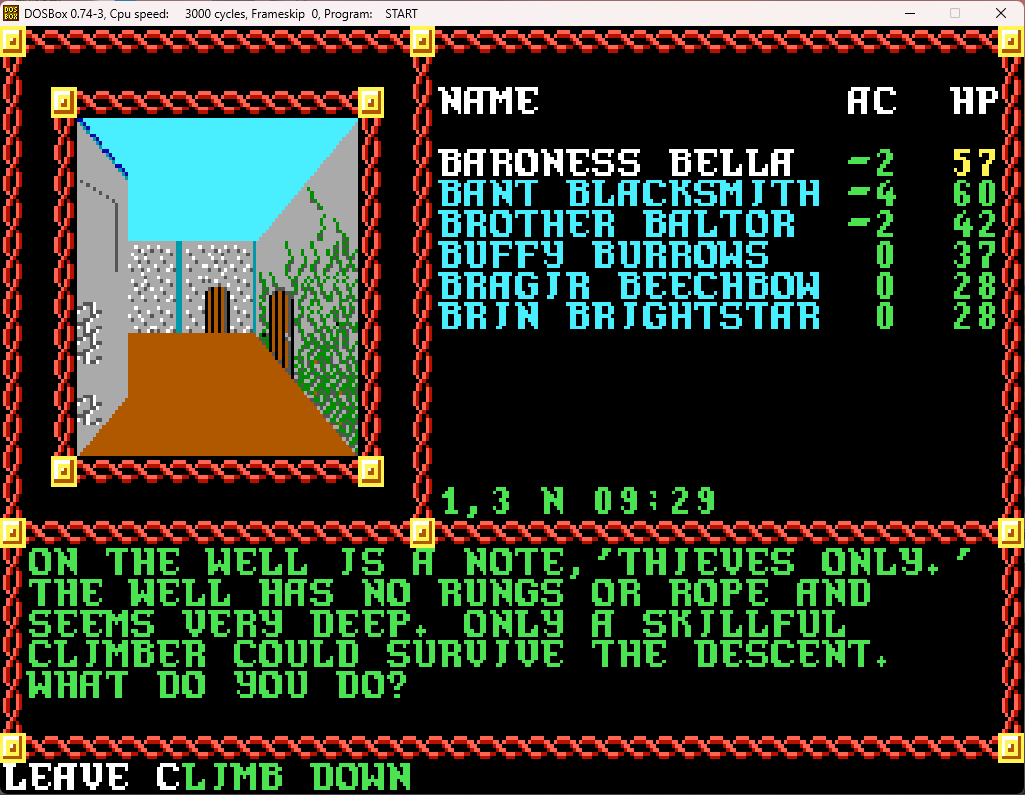
Well, as we have a thief who has a climb skill, it looks like it's up to Buffy.
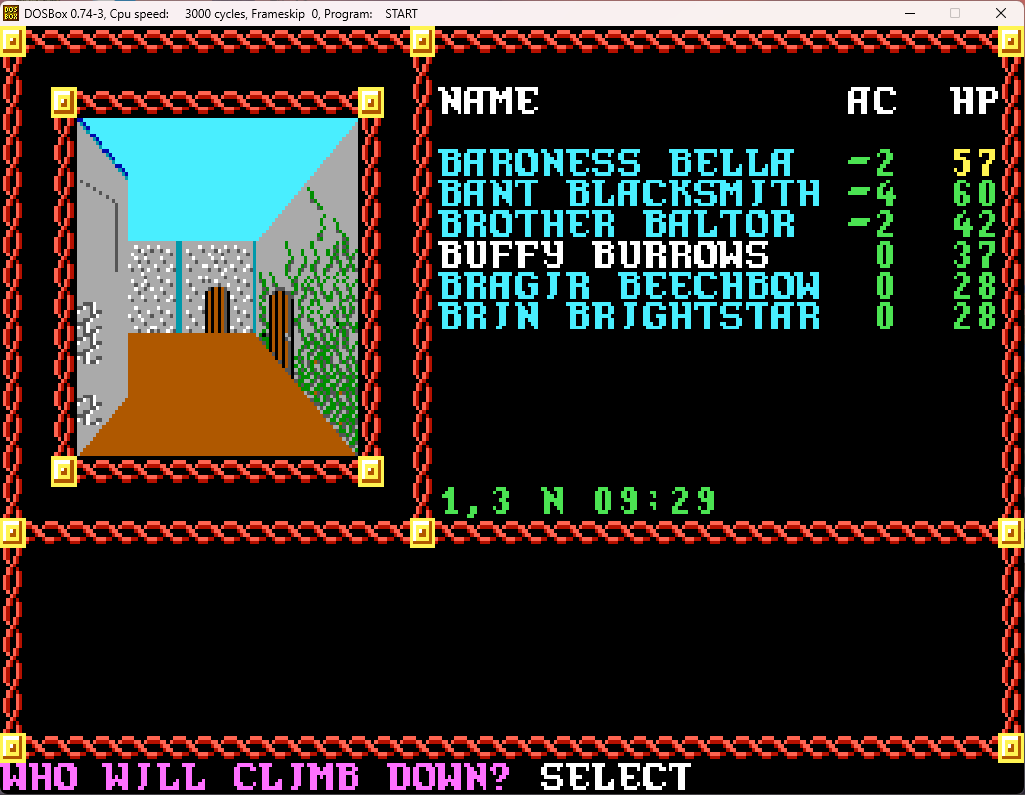
Buffy reaches the bottom and meets up with some interesting characters at the bottom. (Also, why do so many people live down wells in this town?)
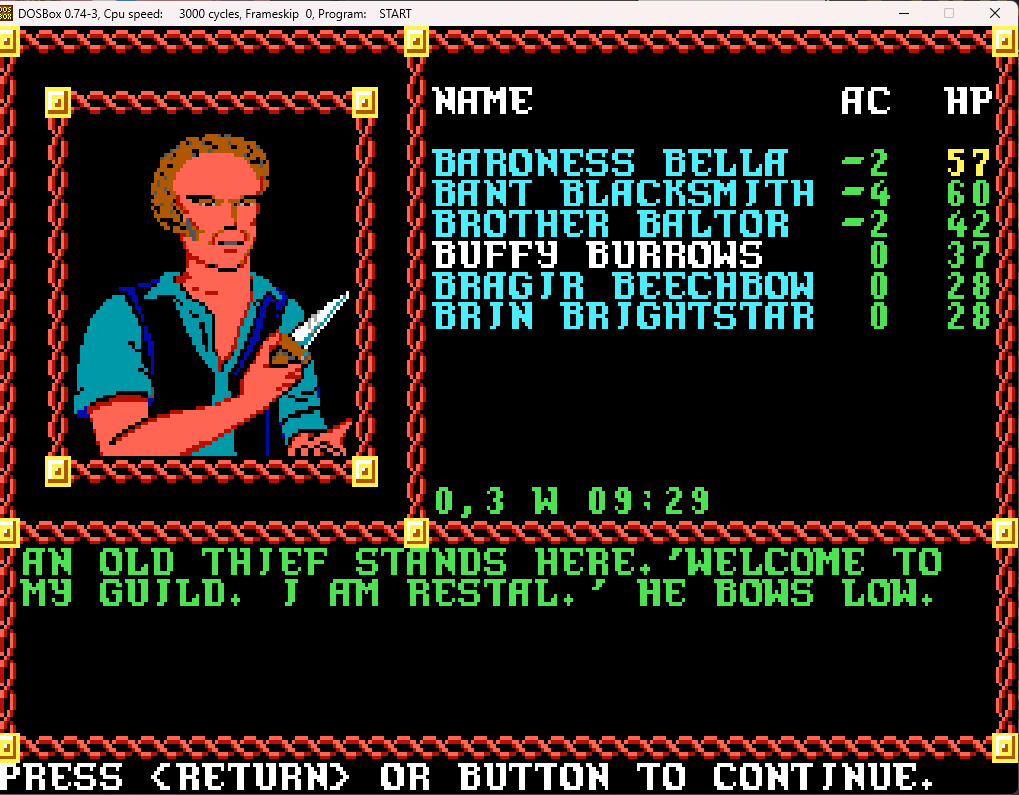
It's wild that the thieves in this town respect you, while the guards don't!
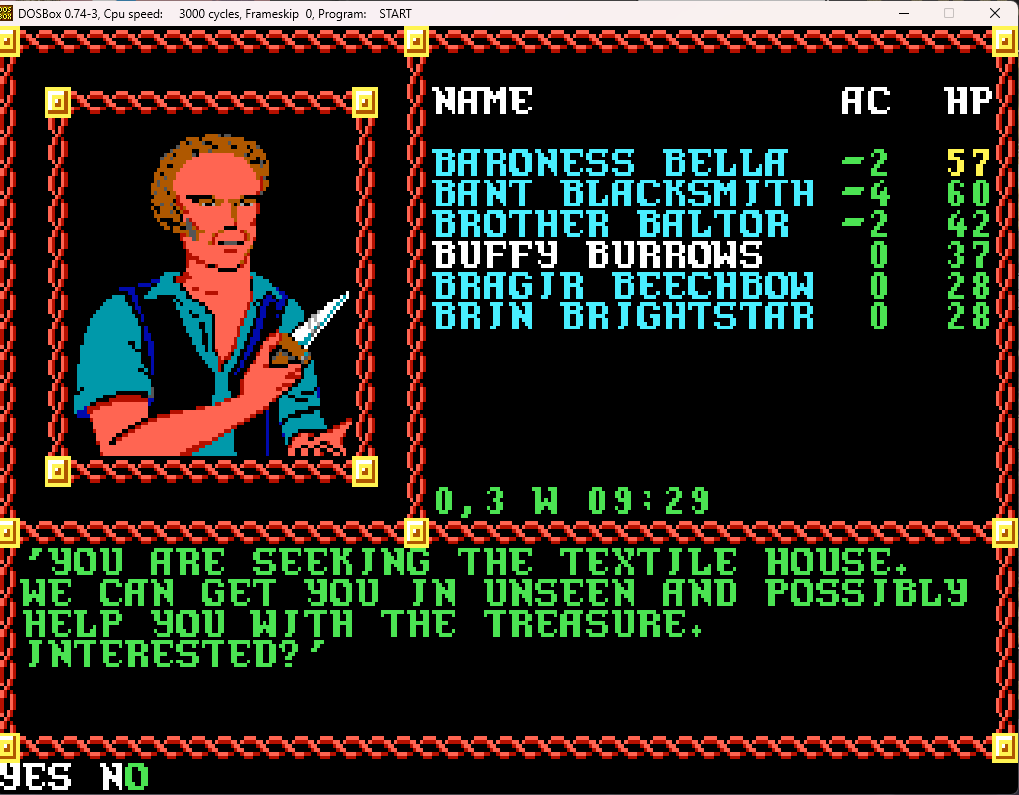
Oh yes, we are interested!
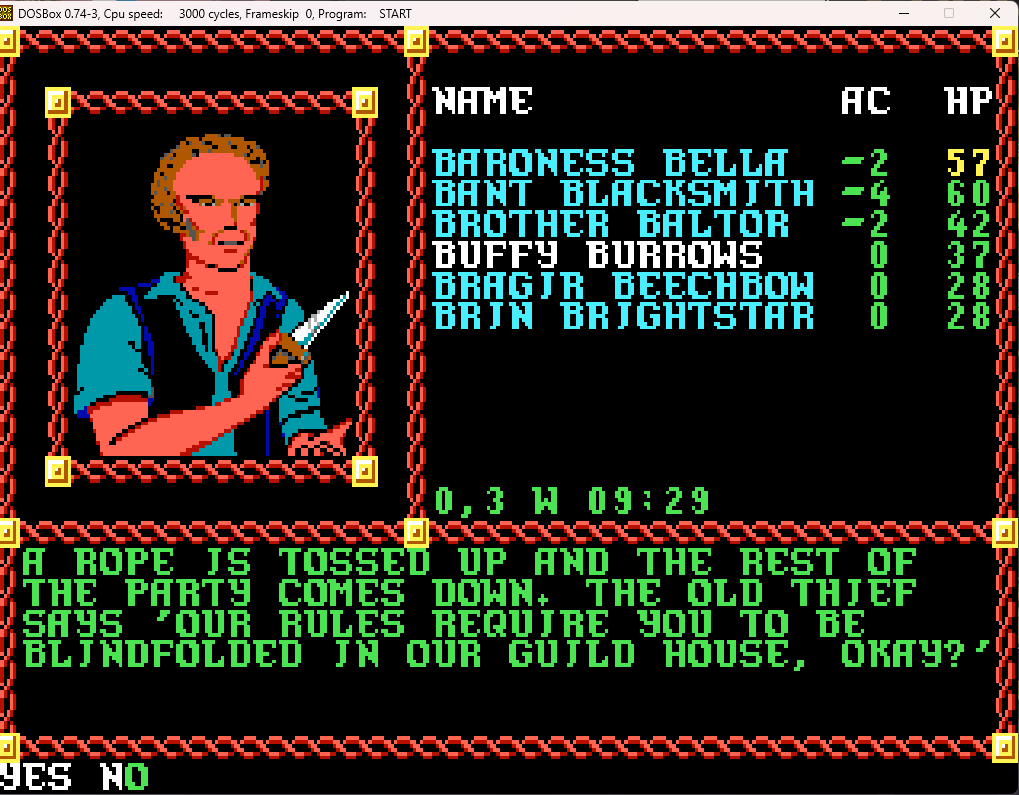
Sure, we're naive enough to be blindfolded surrounded by thieves in their own lair. Surely nothing can go wrong!
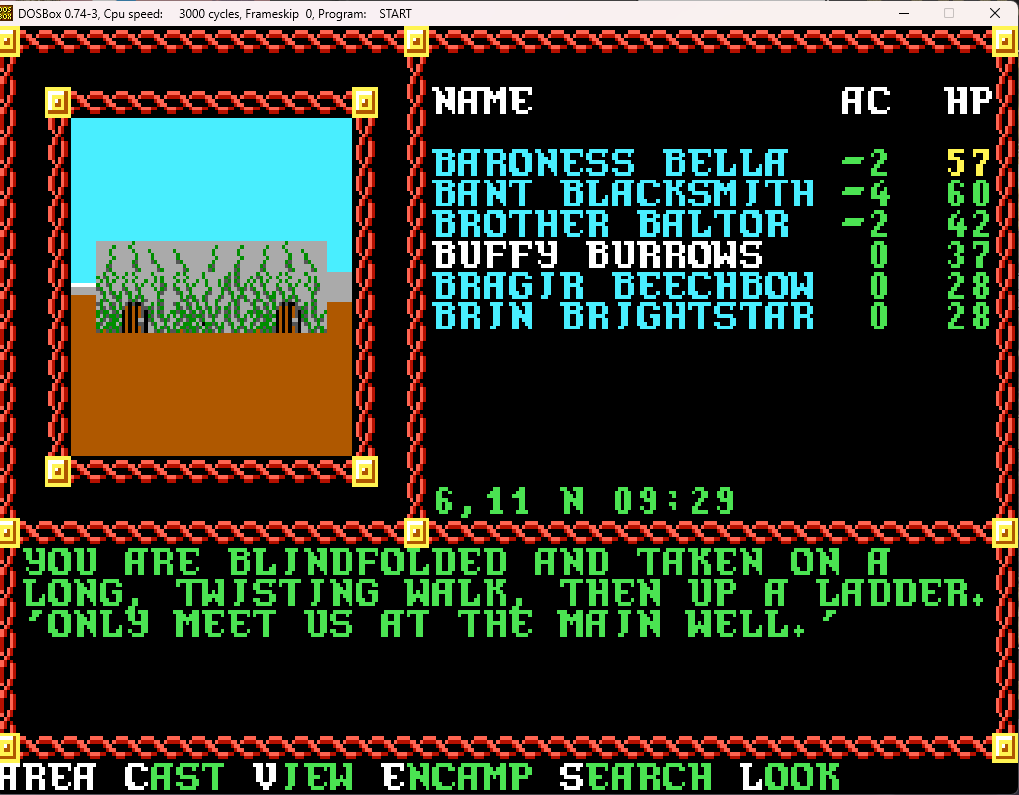
Well, what do you know, actually honest thieves!
So, let's see where they've dropped us off.
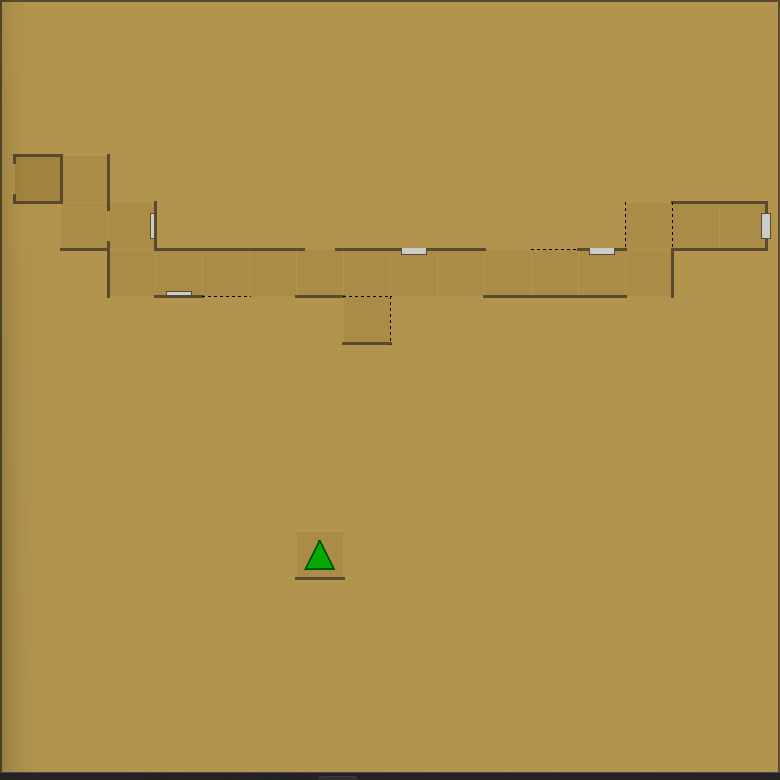
(We entered from the right, went all the way to the left to get to the well, and are now here).
Let's take a look inside the building to the west.
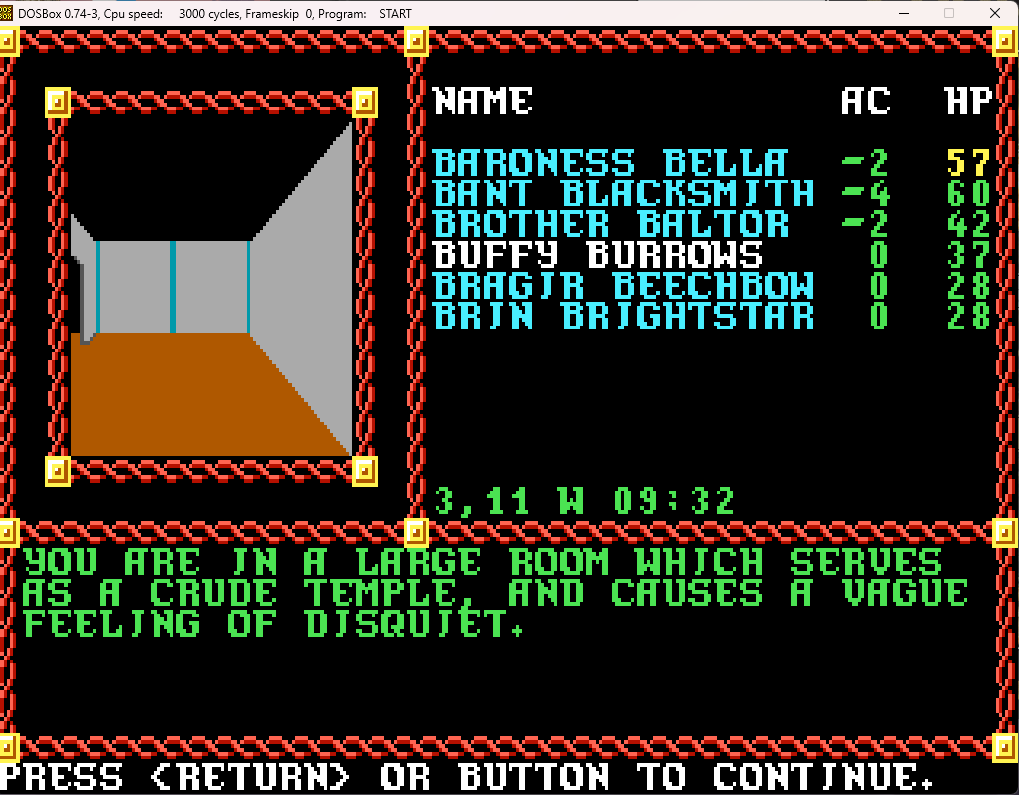
I would think that would have caused us a bit more distress than mere "disquiet"!
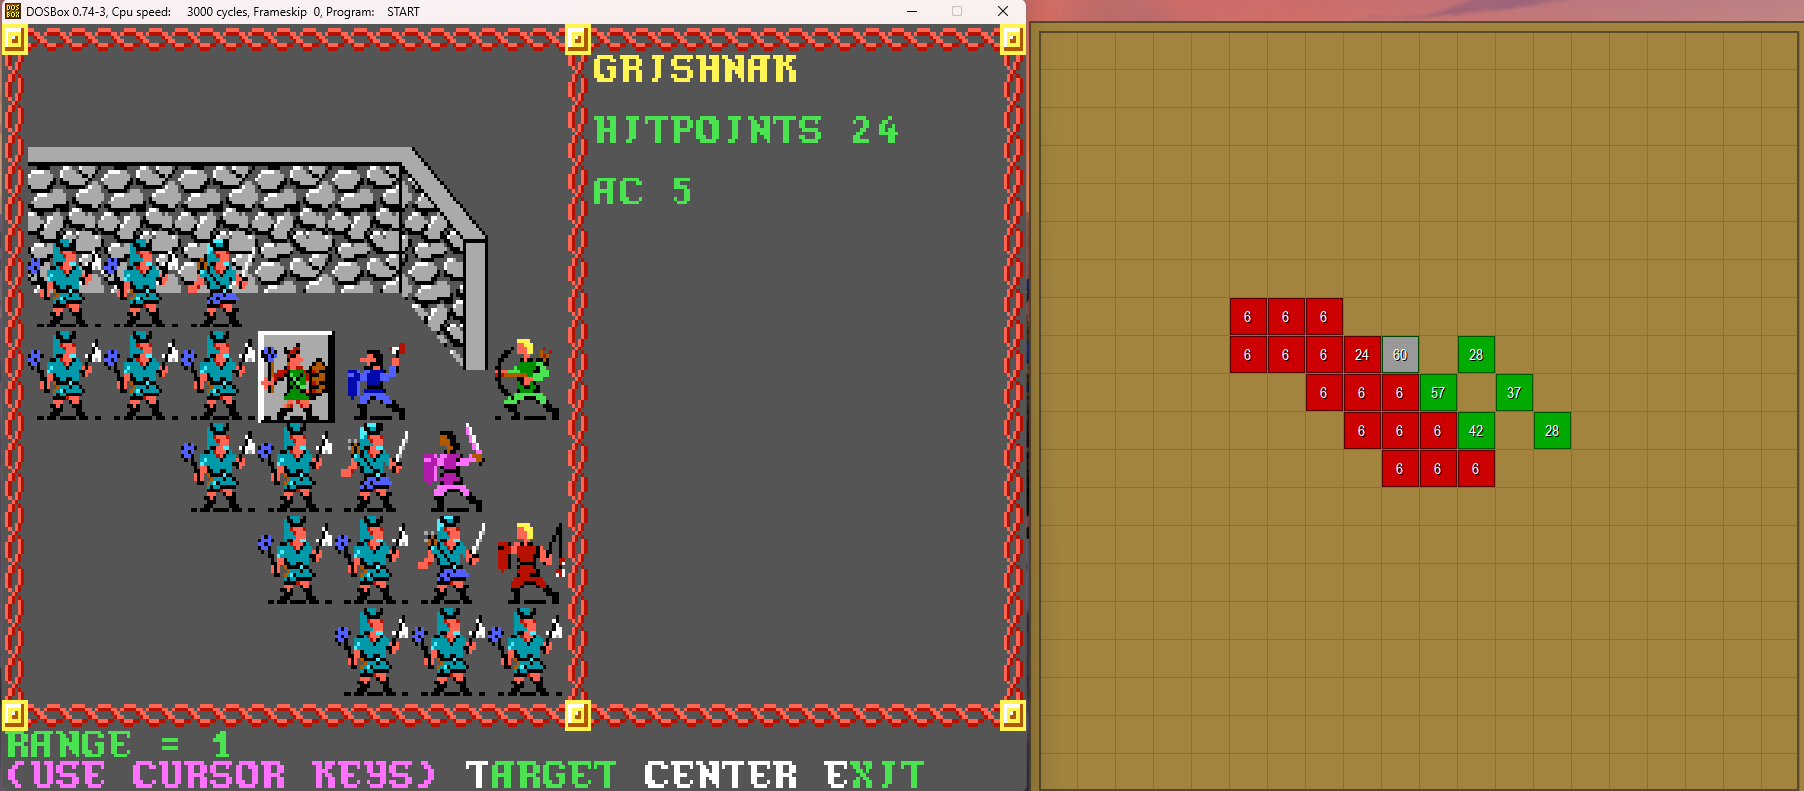
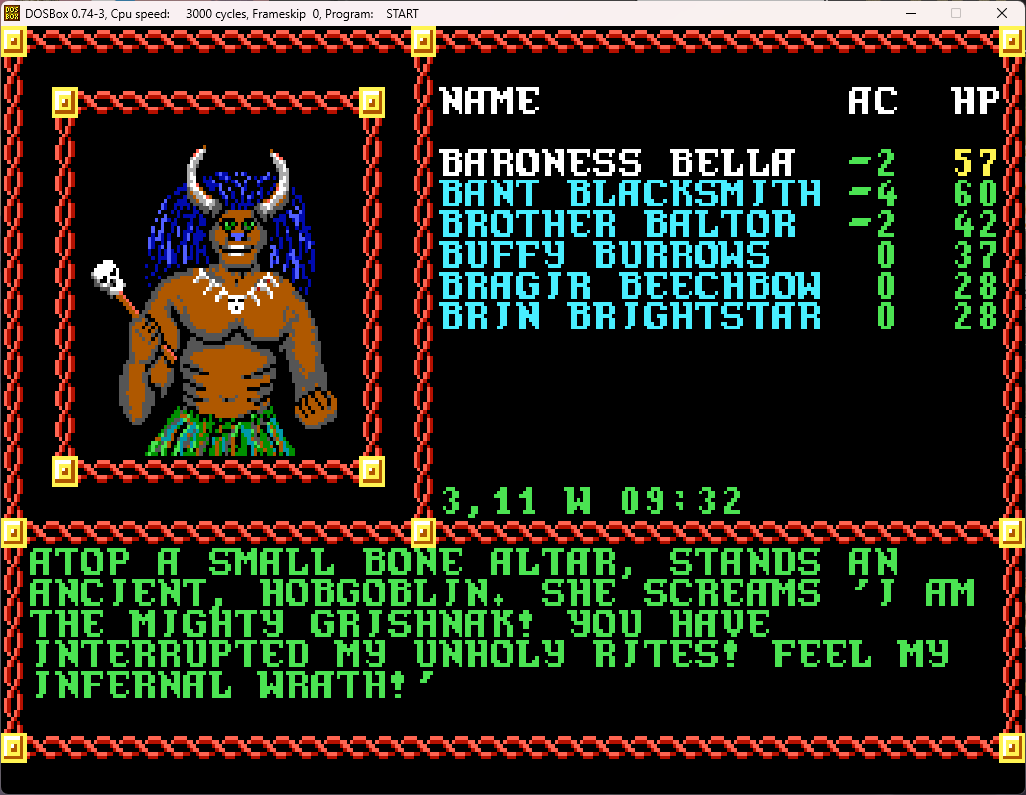
Oddly, despite it being stated that she's a hobgoblin, she's indicated by a goblin icon.
This is the first magic-using foe we've fought, which means we focus fire on her. If she gets a spell off, which will almost certainly be hold person, unpleasant things will result.
Of course, taking out a lot of her minions is also important!
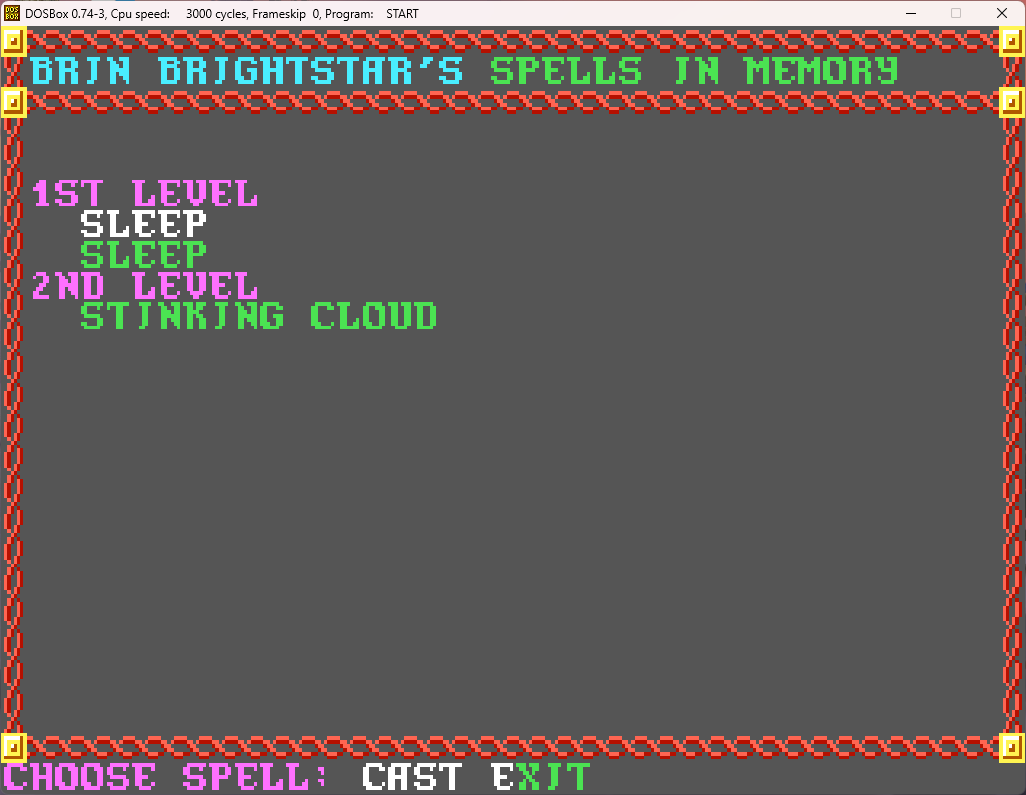
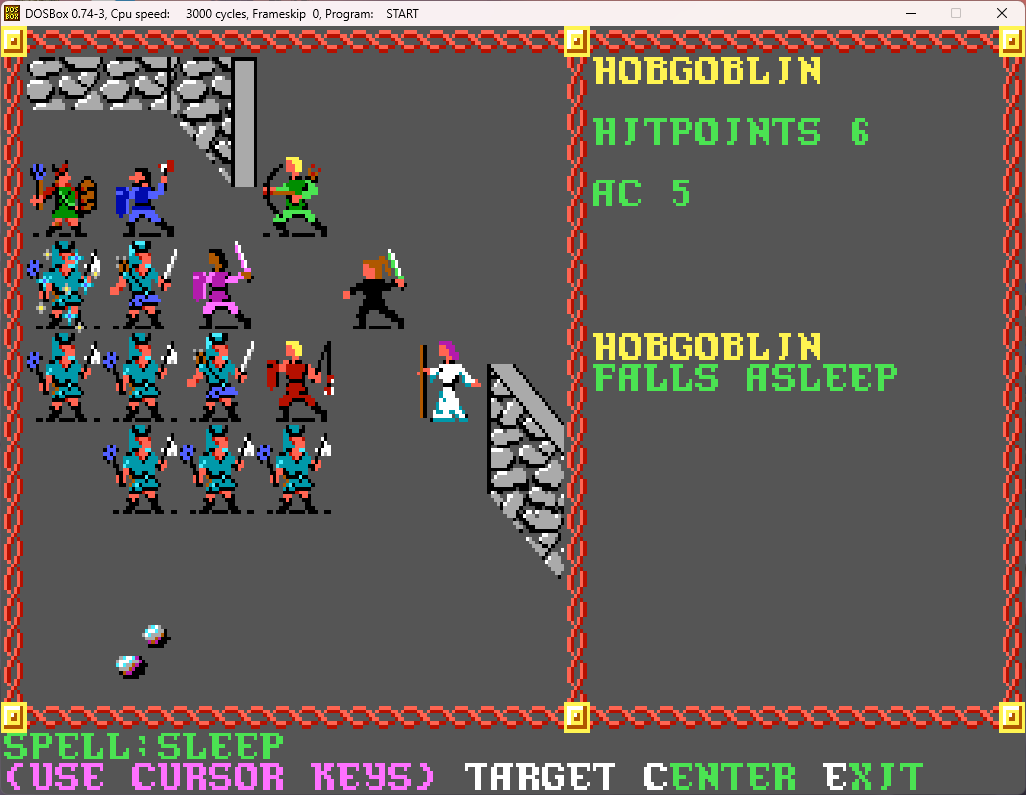
Meanwhile, the others have been focusing on Grishnak, and Bant takes her down.
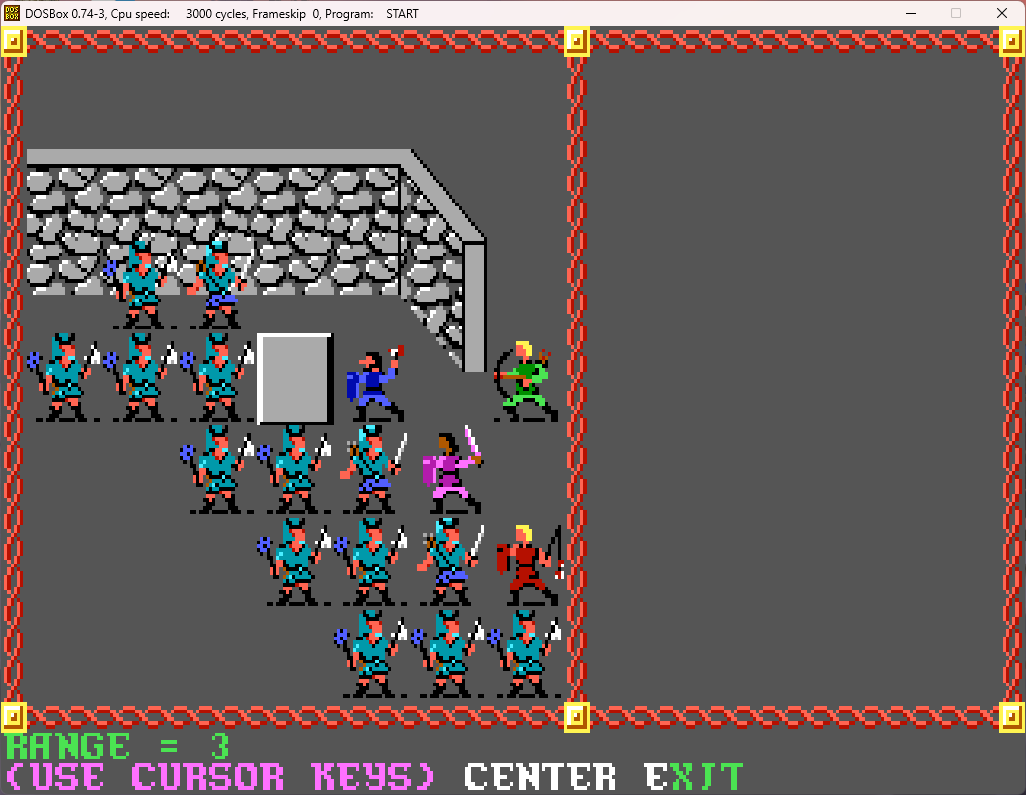
And shortly thereafter, all that's left is a few sleeping hobgoblins, who are quickly dispatched.
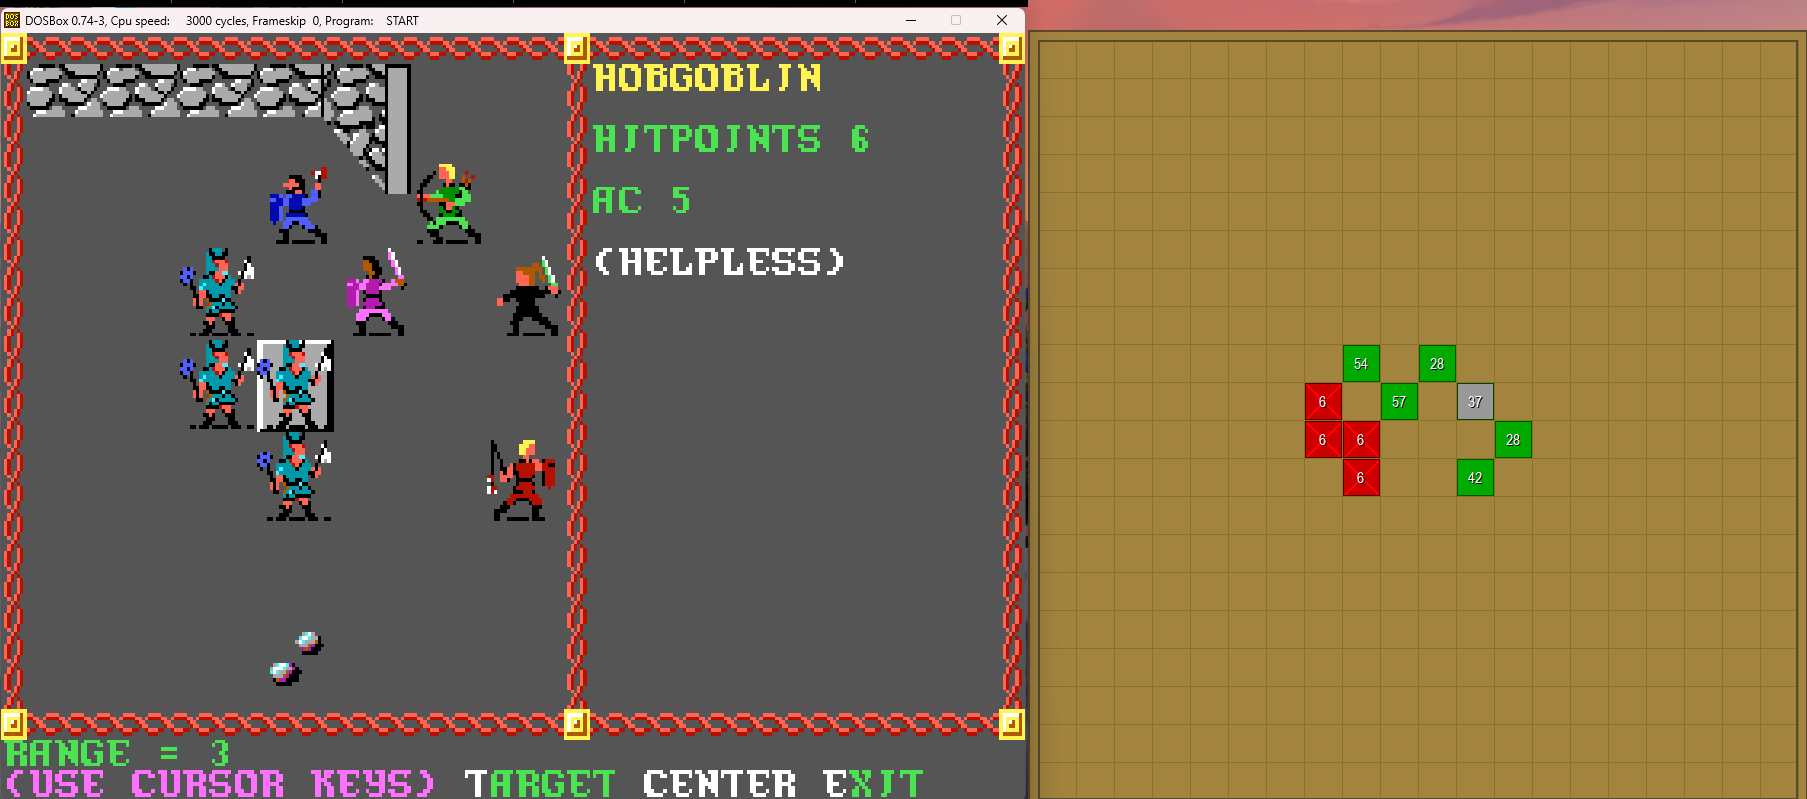
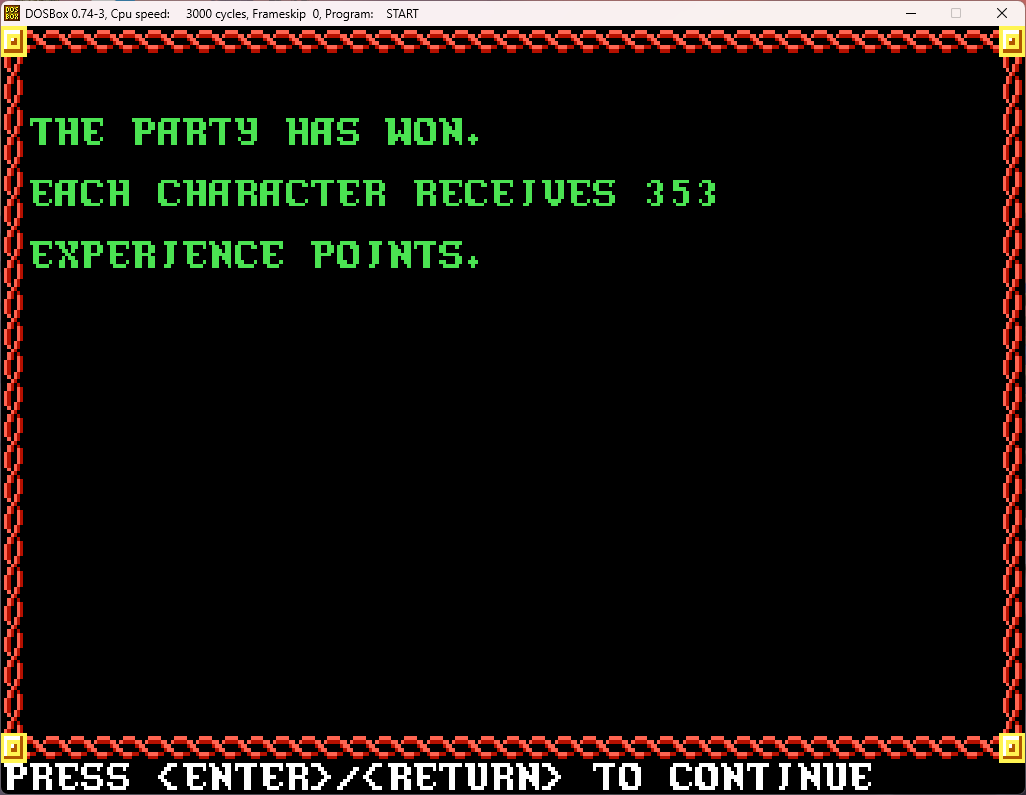
Oooh, that's a lot of XP, so we must have found some good loot! Detect time!
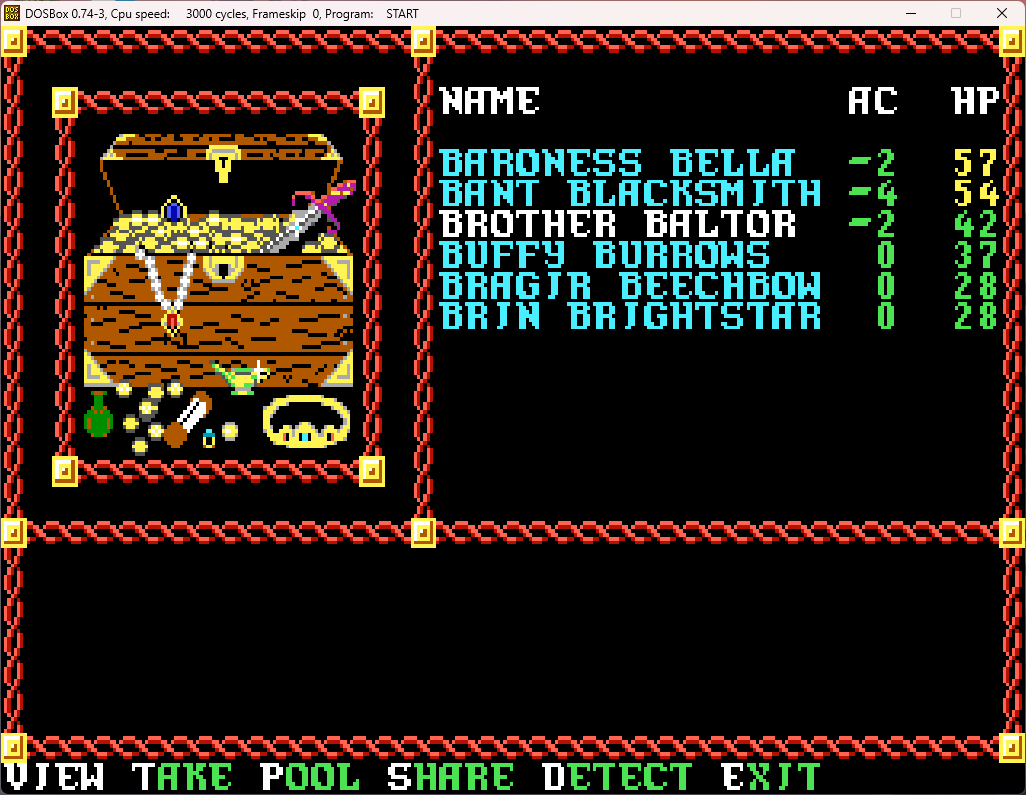
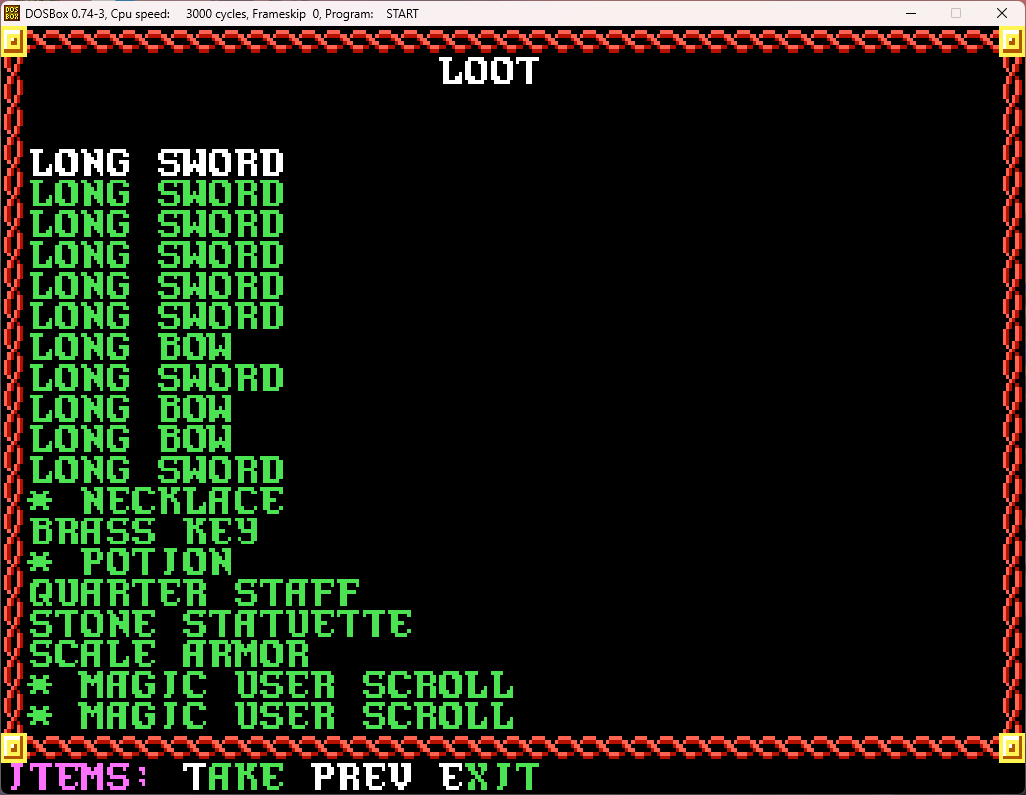
Among the regular gear, there's a magic necklace, potion, and two scrolls! The stone statue isn't worth taking - it's heavy and isn't worth anything. The brass key, however, will come in handy shortly. We all know that video games don't give you keys unless they're for opening something later!
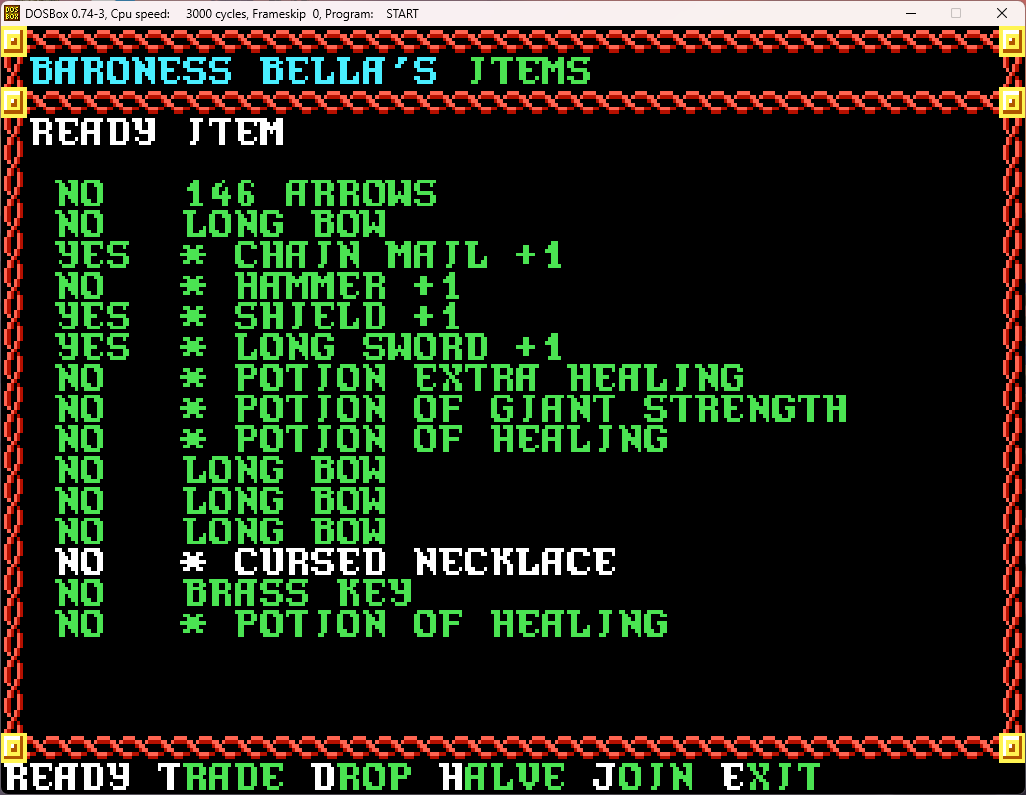
Hmmm, I don't think I'll be using that necklace. Maybe I can pawn it off for some gold by duping the storekeep back in town.
Let's see what's on those scrolls though!
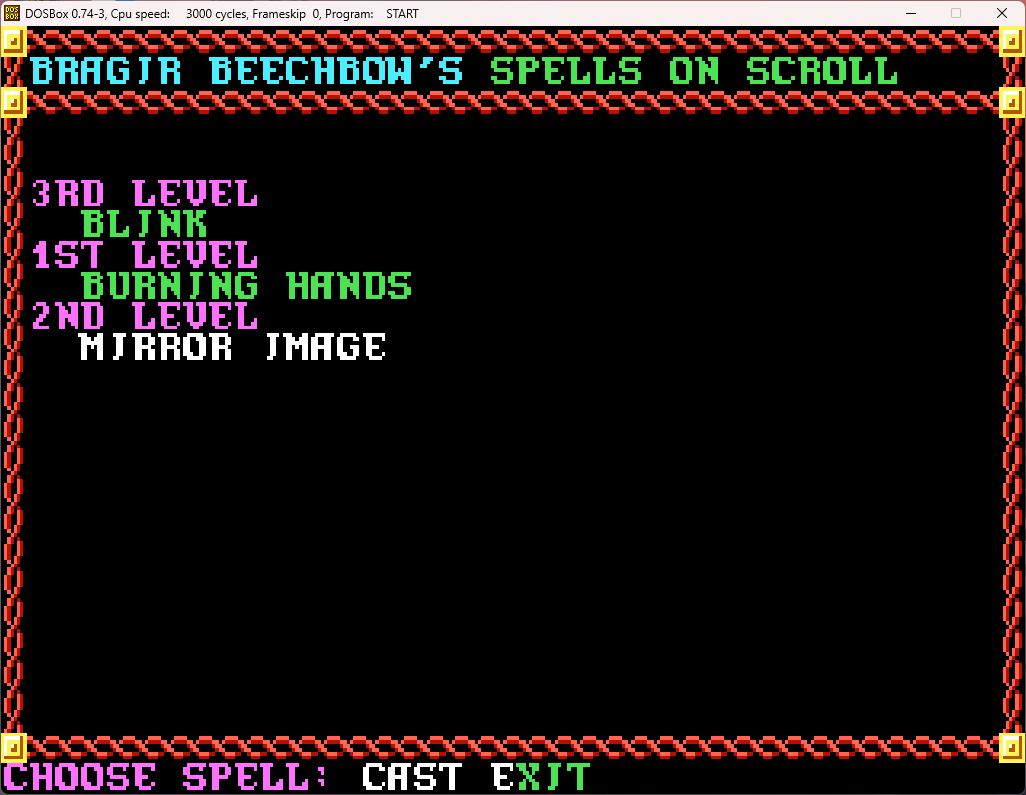
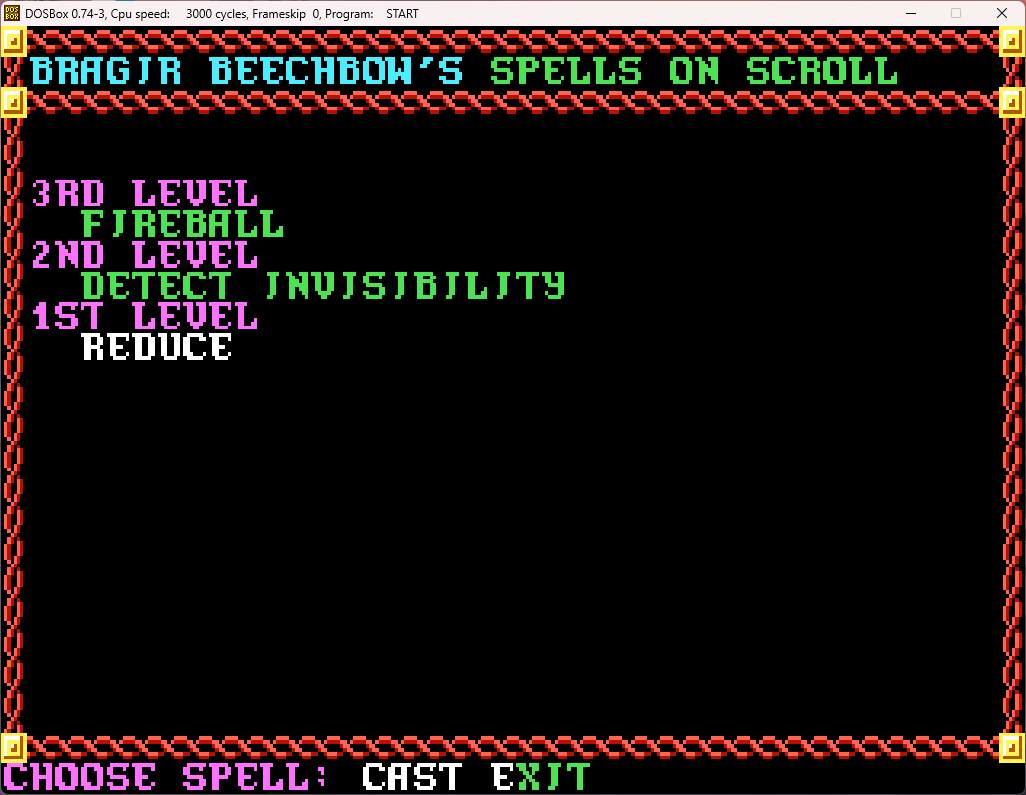
Fireball! We've got the holy grail of spells, ready to scribe once we're high enough level.
Mirror image is useful as well, especially later when it will become part of our typical buffing routine before fighting a boss. Blink seems like it would be nice, but it's hard to use since it can only be cast in combat and not before as a buff. The rest are all sort of meh, but will be nice to get into the magic-users' spellbooks.
All this is enough for some characters to gain levels!

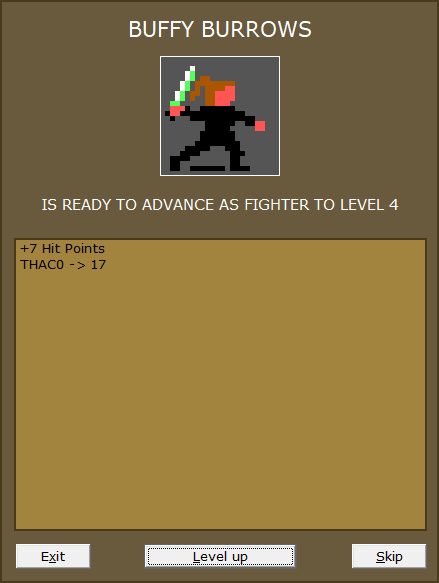
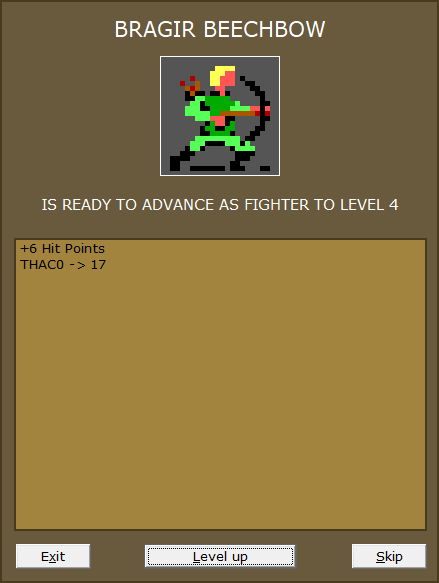
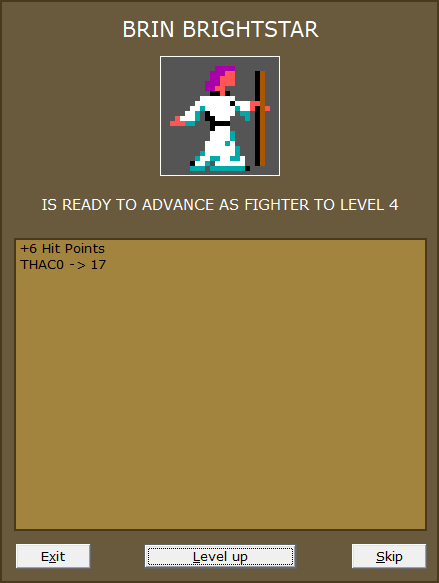
All fighter levels, but at least THAC0s go down and HPs go up.
We go south out of the altar room.
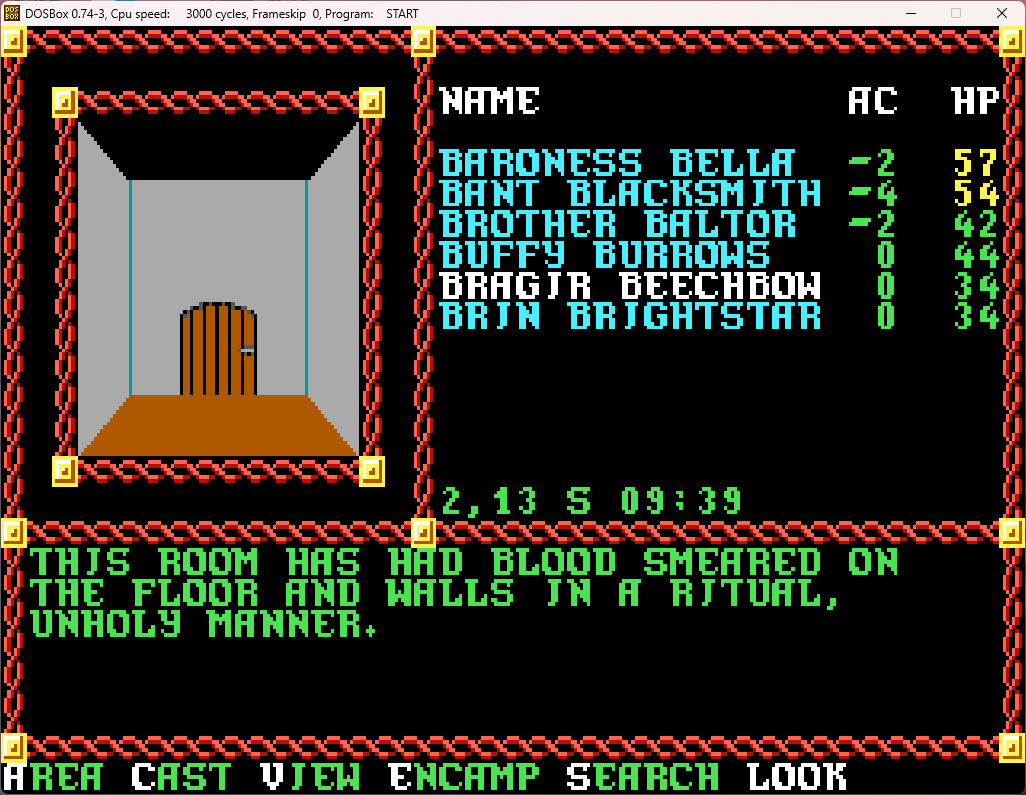
I'm struggling to figure out a way that blood smeared all over the place could be anything but an unholy manner. We head on through the door ahead of us, and...
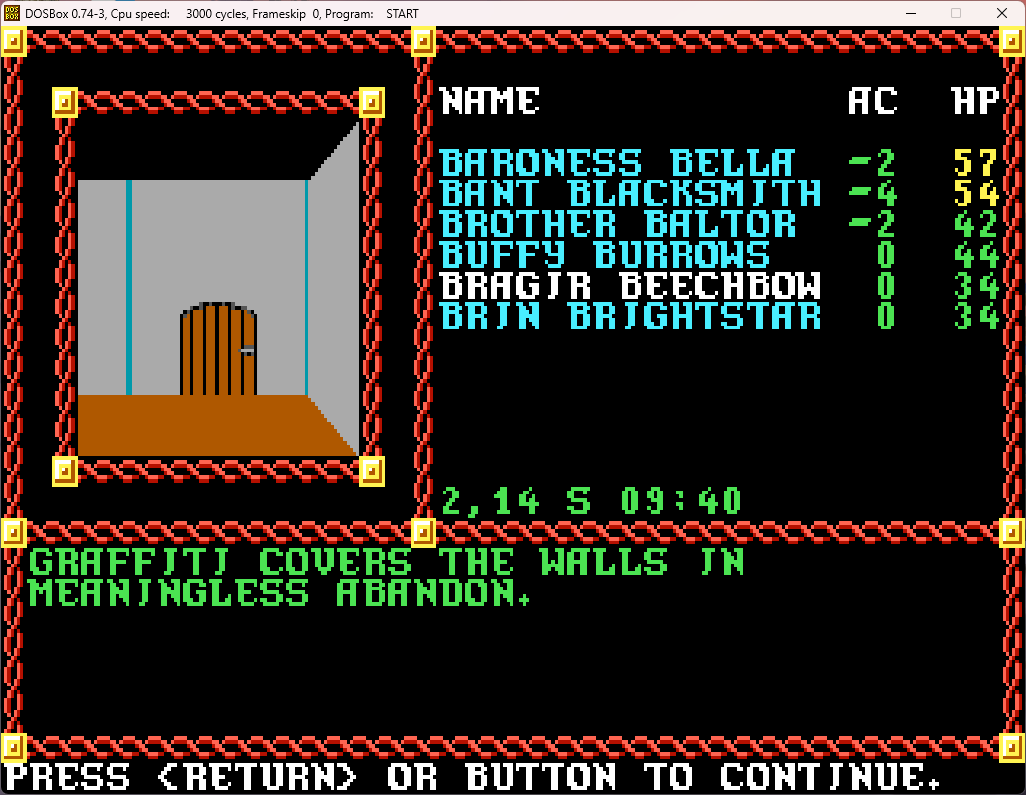
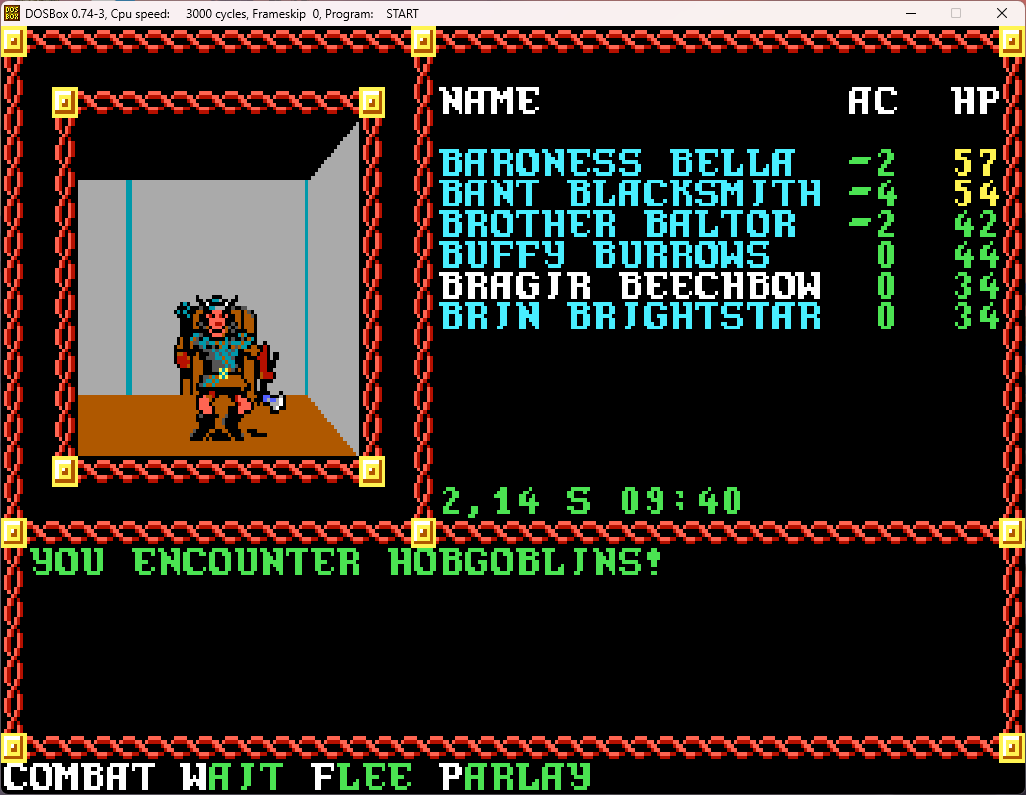
I guess I encountered the vandals with their paint spray cans, red handed!
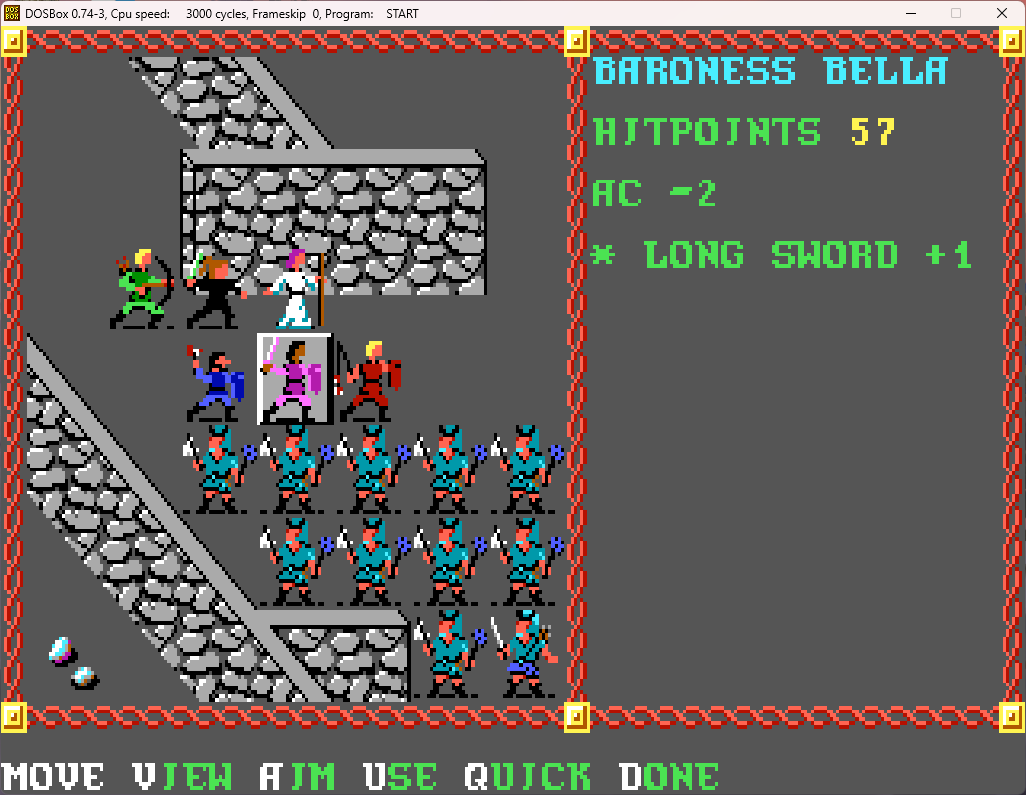
The main worry in these hobgoblin groups are the leaders, with their slightly darker blue shorts/miniskirts and ranged attacks. But we have ways of quickly incapacitating them...
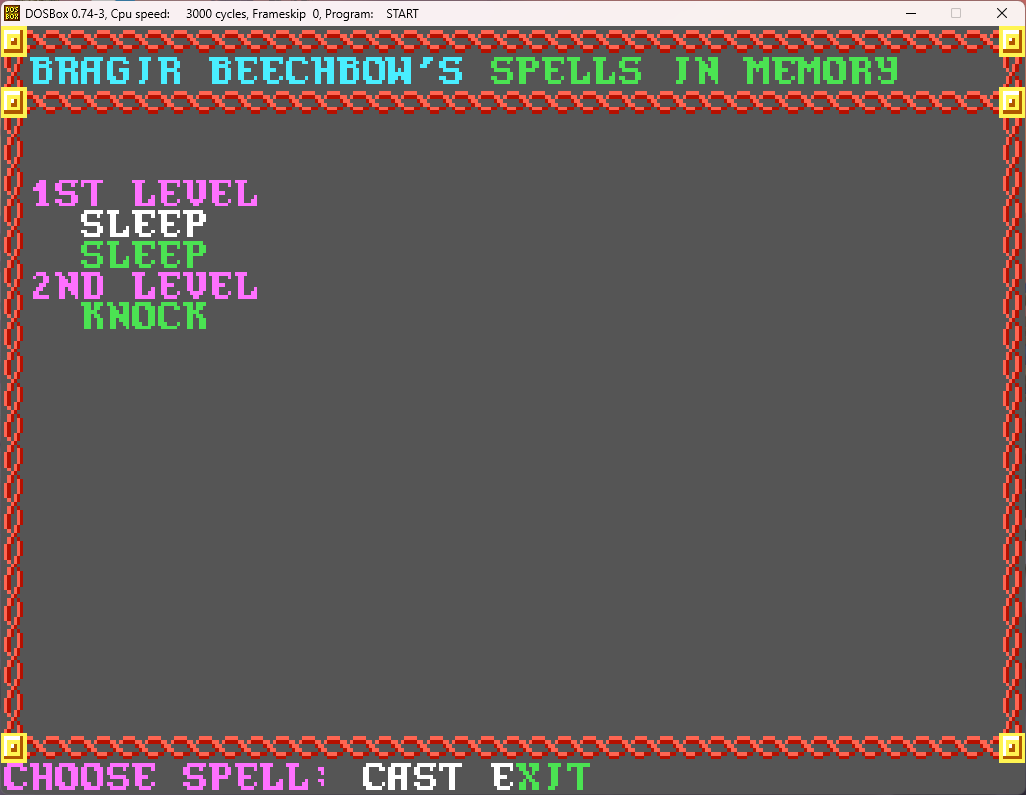
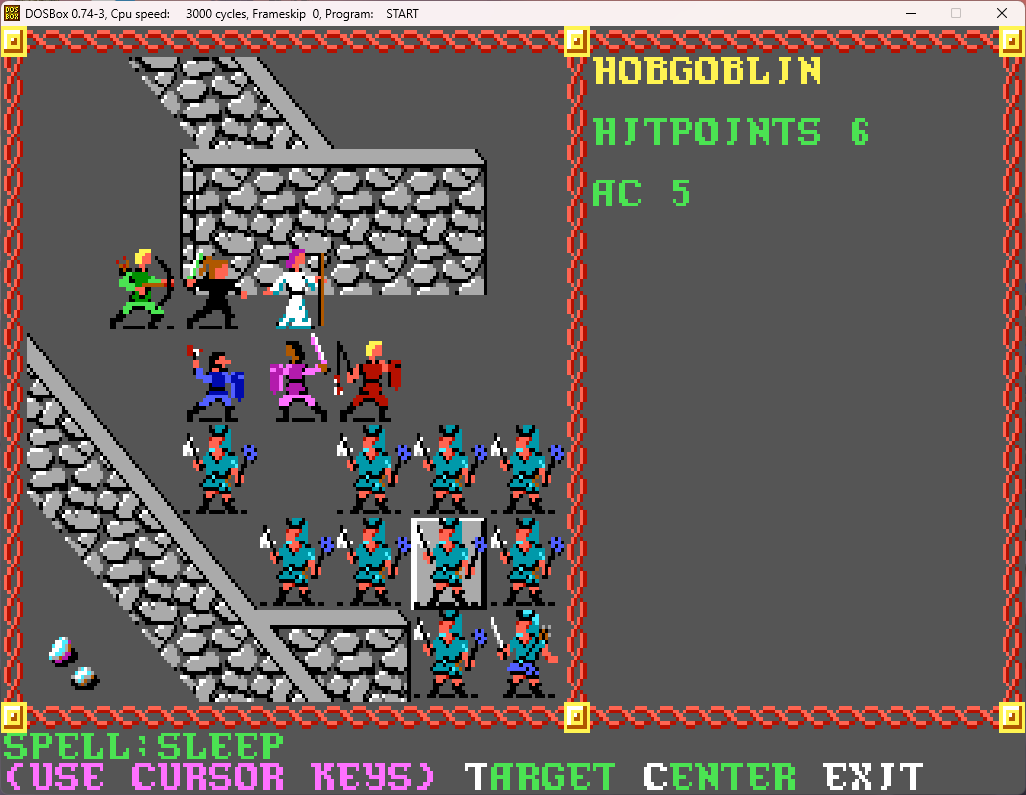
And soon all that is left is to take out the helpless ones...
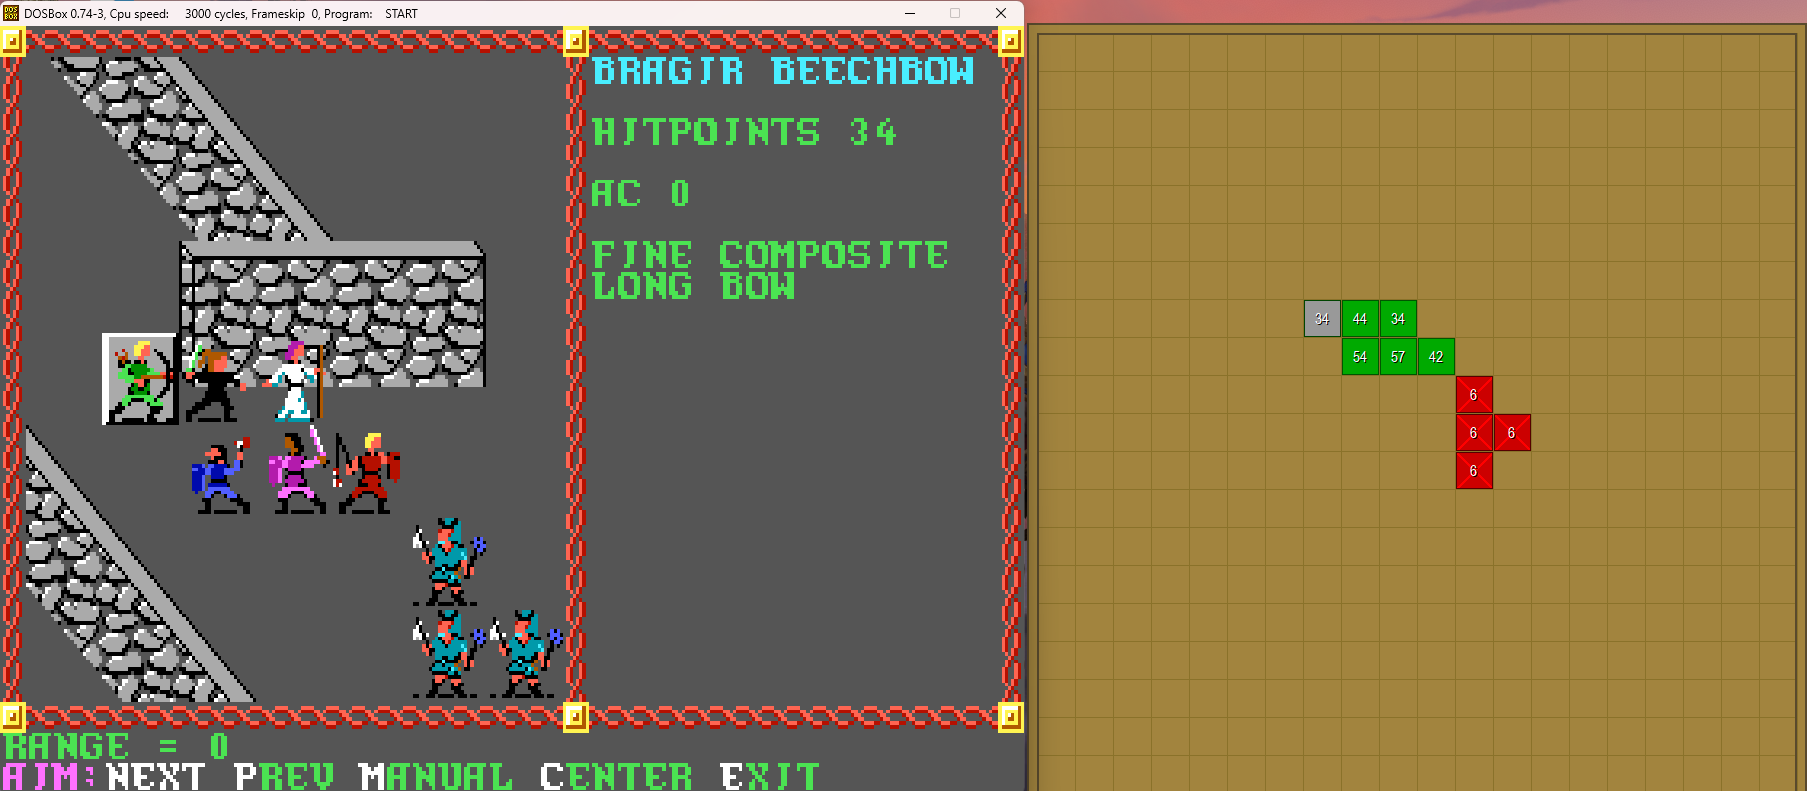
So we go through the next door to the south.
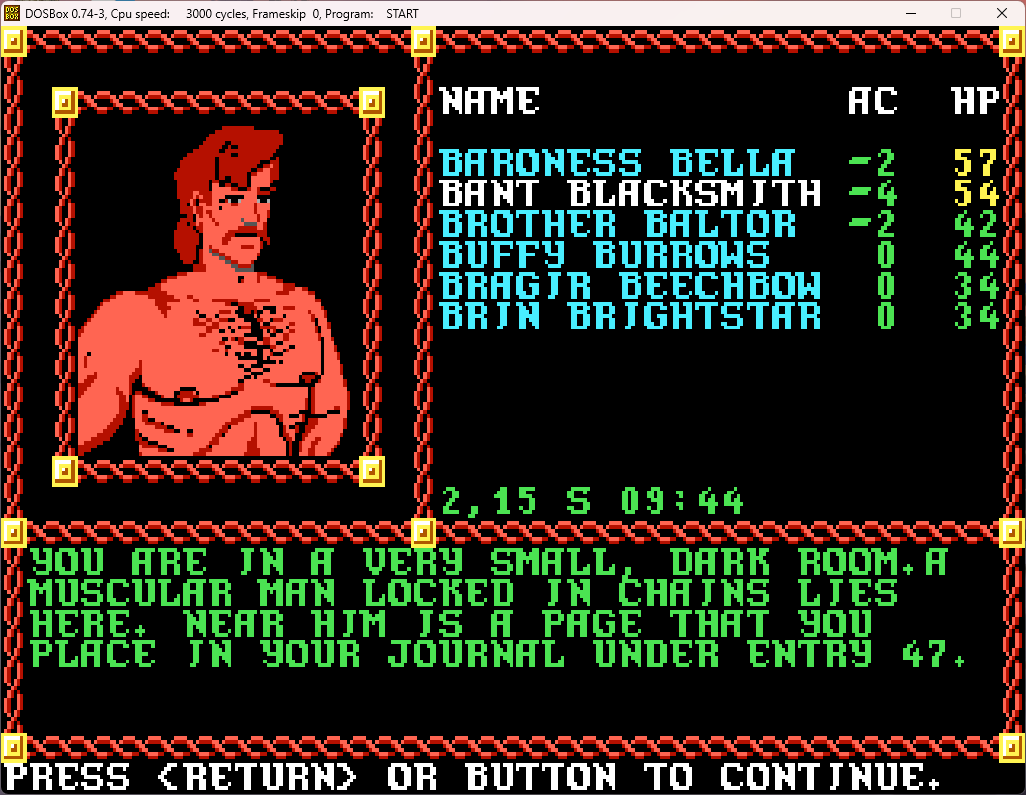
"Excuse us, sir. We're going to be too busy for several minutes transcribing this random piece of paper into our journal to free you from those undoubtedly uncomfortable shackles."
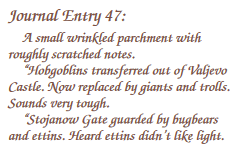
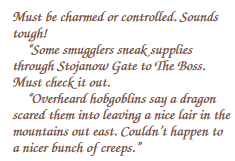
Some interesting stuff there, especially with ettins guarding the gate. And there's a dragon in the mountains?
Now we get to freeing this fellow.
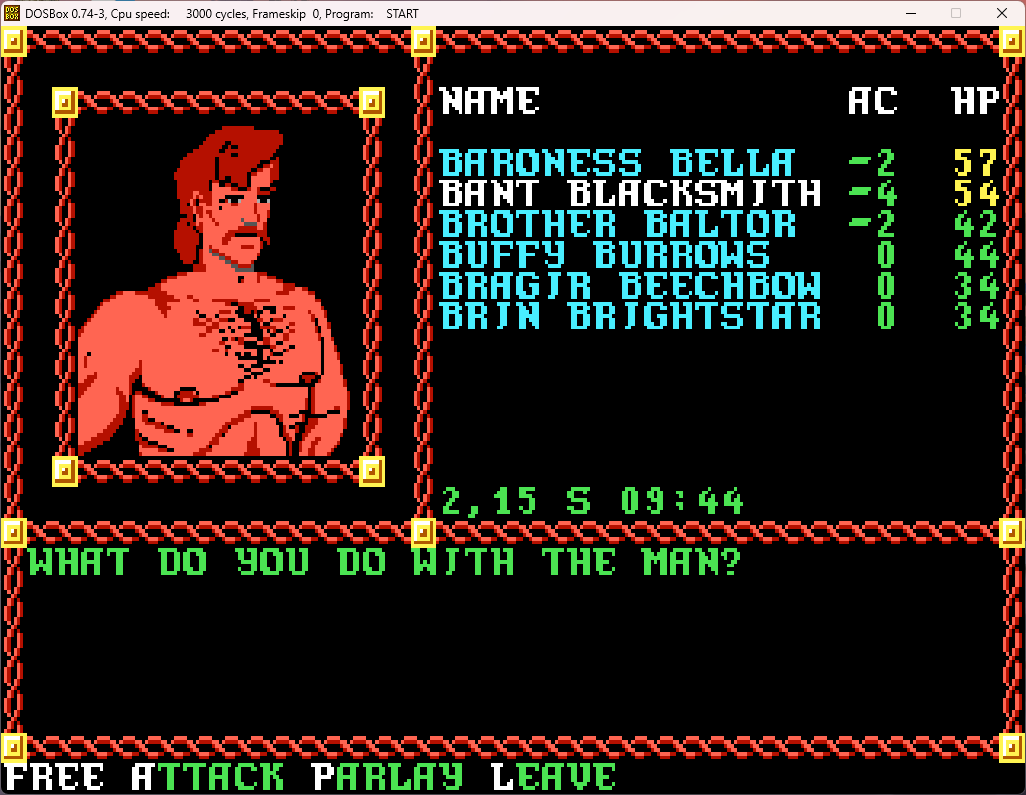
We choose "Parlay" first.
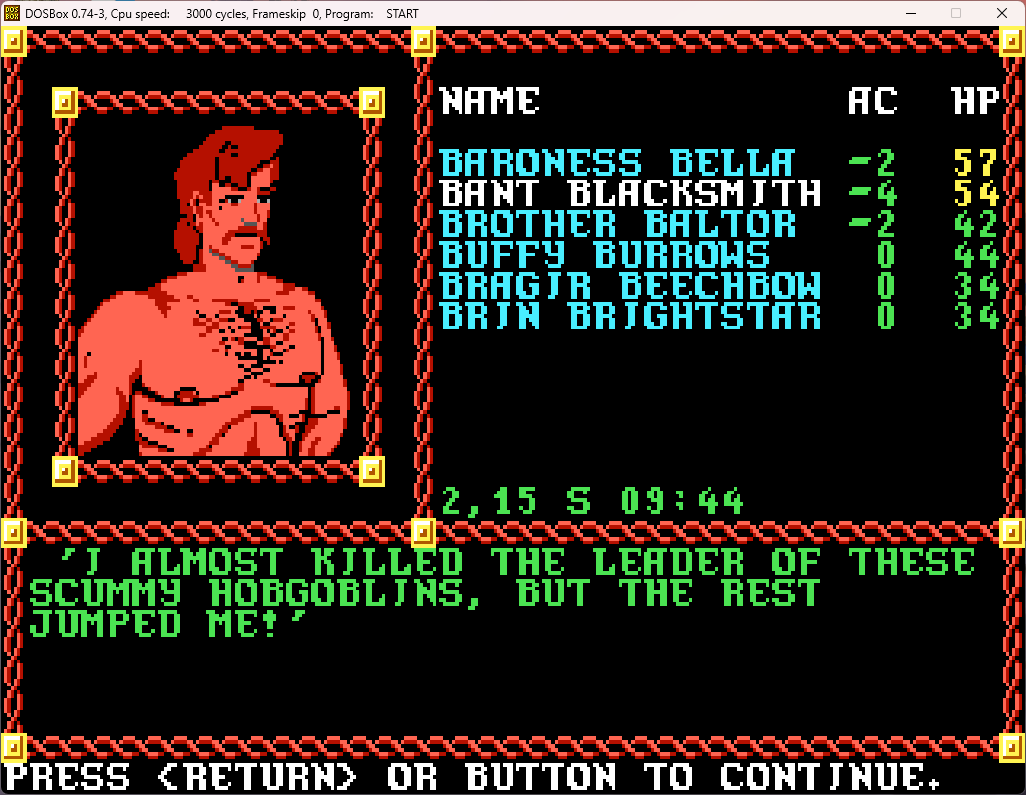
Sounds handy to have in a tight spot. We choose "Free" next.
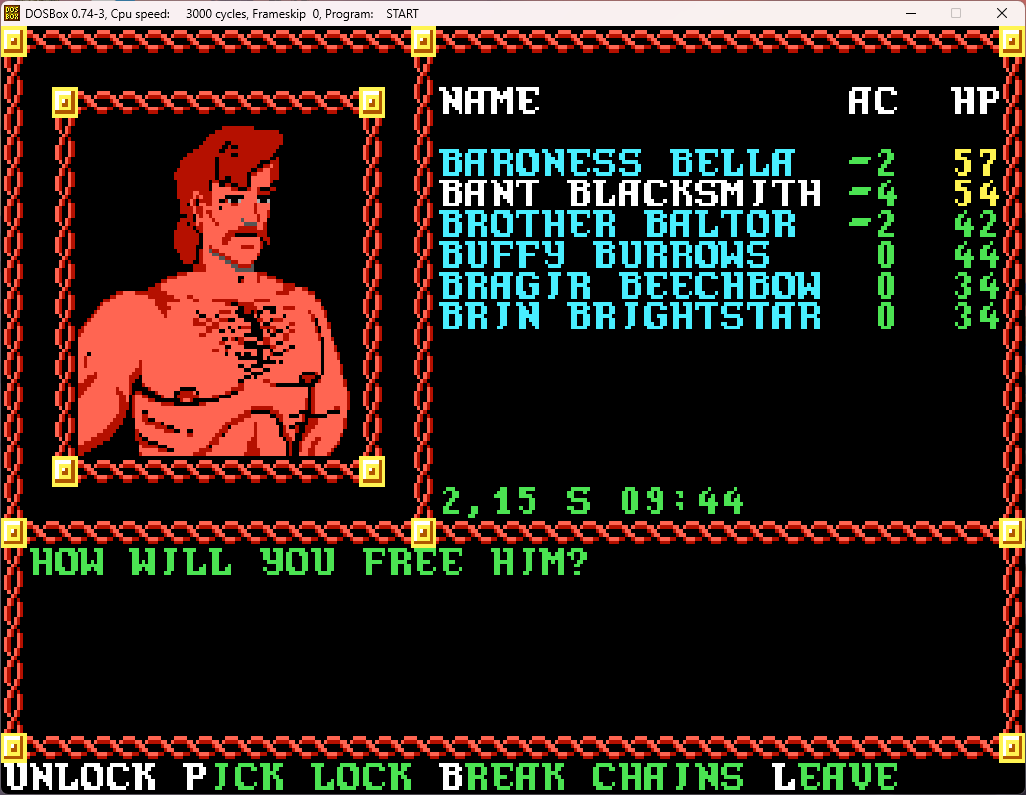
I mean, we didn't receive this brass key a couple of rooms back for nothing!
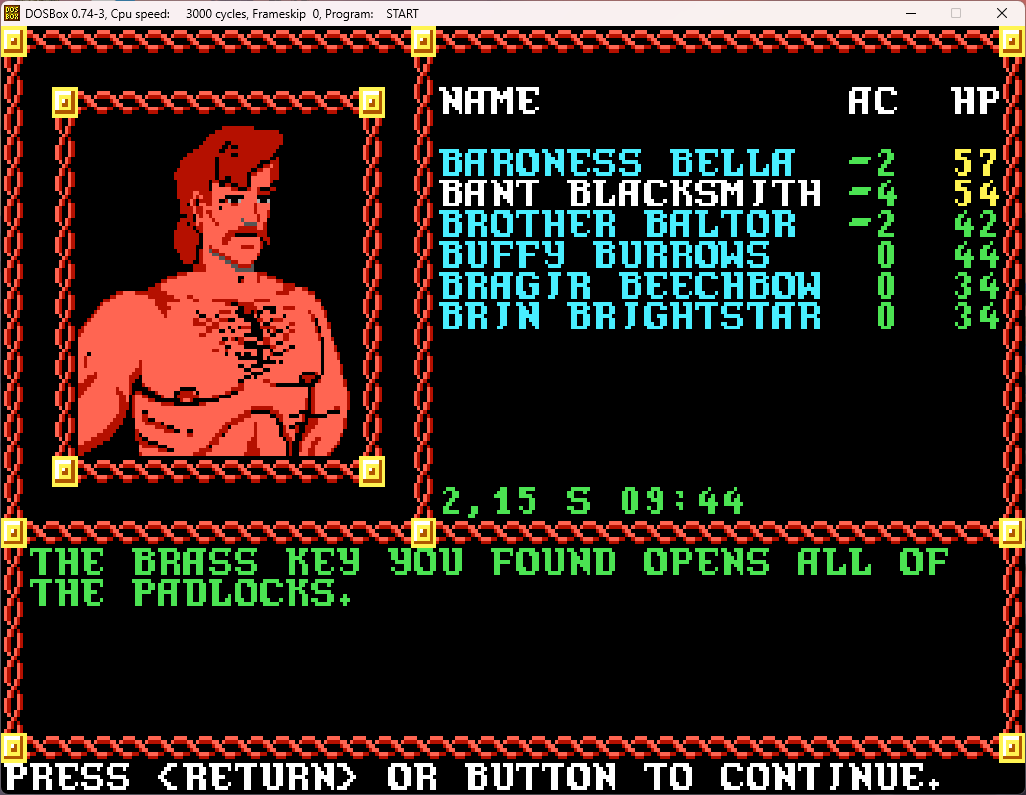
Exactly as suspected.
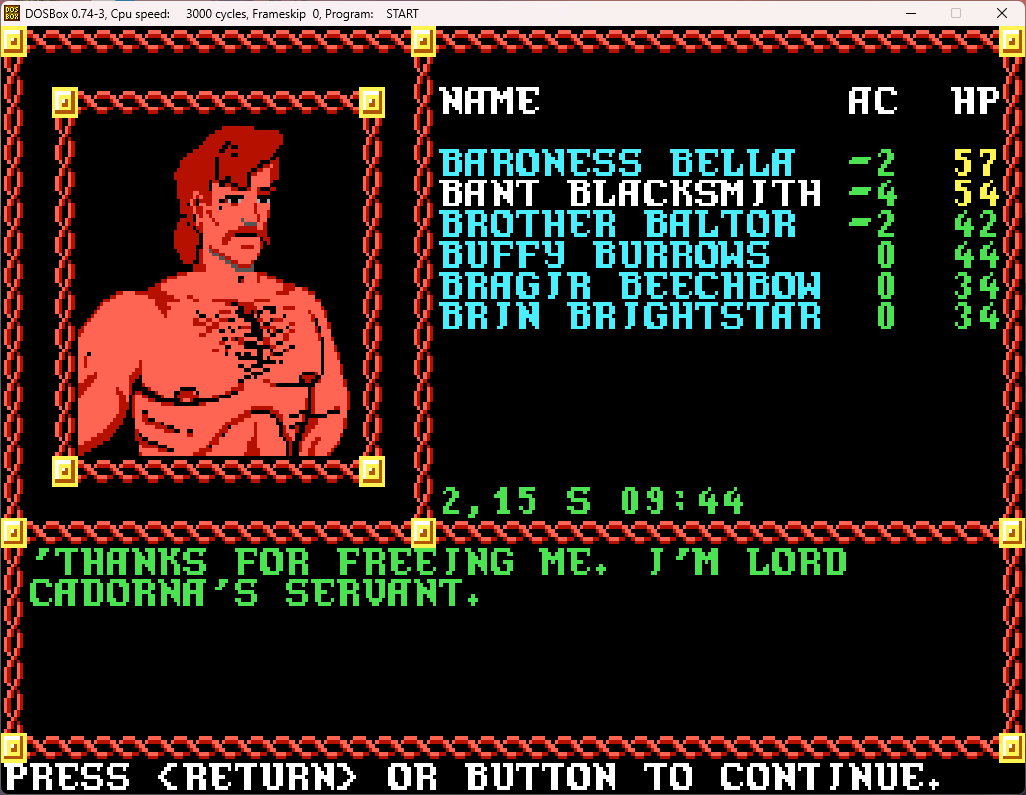
He then asks to join with us to defeat the monsters here. Sure - he looks like he could be handy with a sword!
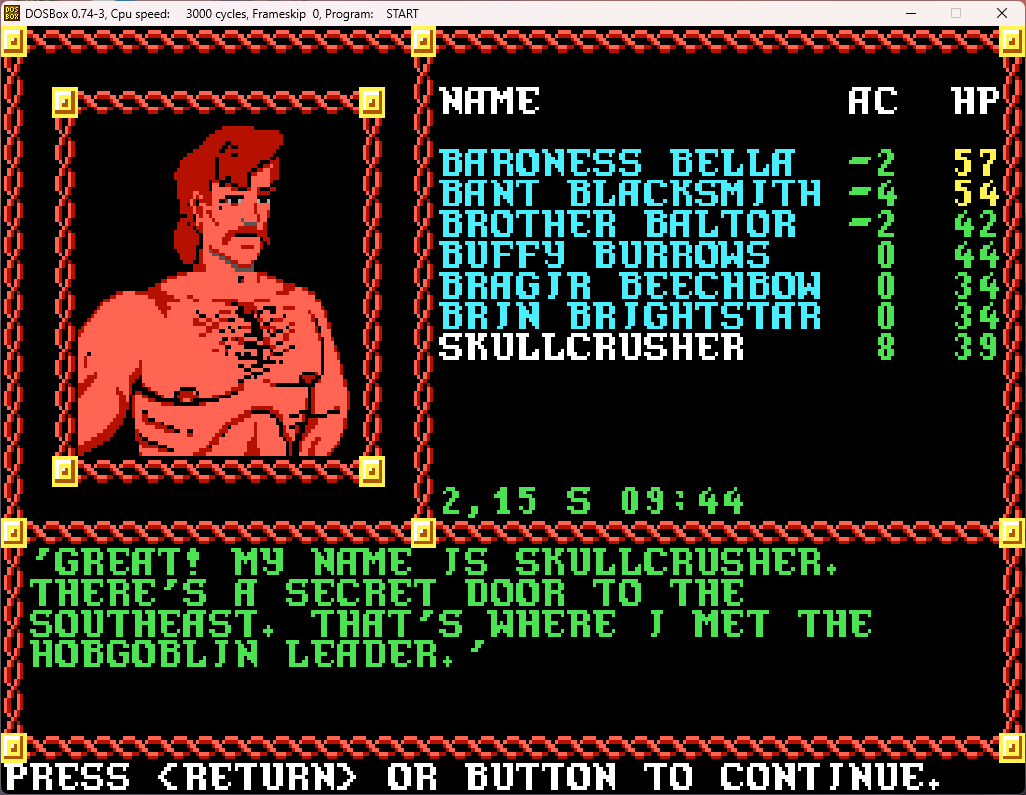
I'm assuming that's a nickname he got later in life. Otherwise, I'm not sure what his mother was thinking when naming her precious baby "Skullcrusher".
We have our first (and certainly by far not the last) NPC to join our party! NPCs are usually awesome additions for firepower for the period they are with you. On the other hand, any items you give them are theirs forever - there's no way short of just letting them die to get the items back. That's usually not a problem, as fairly often they will come reasonably well geared up, and if not, there's usually some spare items either in inventory or after a fight or two you can give them that won't hurt to lose permanently.
Let's take a look at his character sheet:
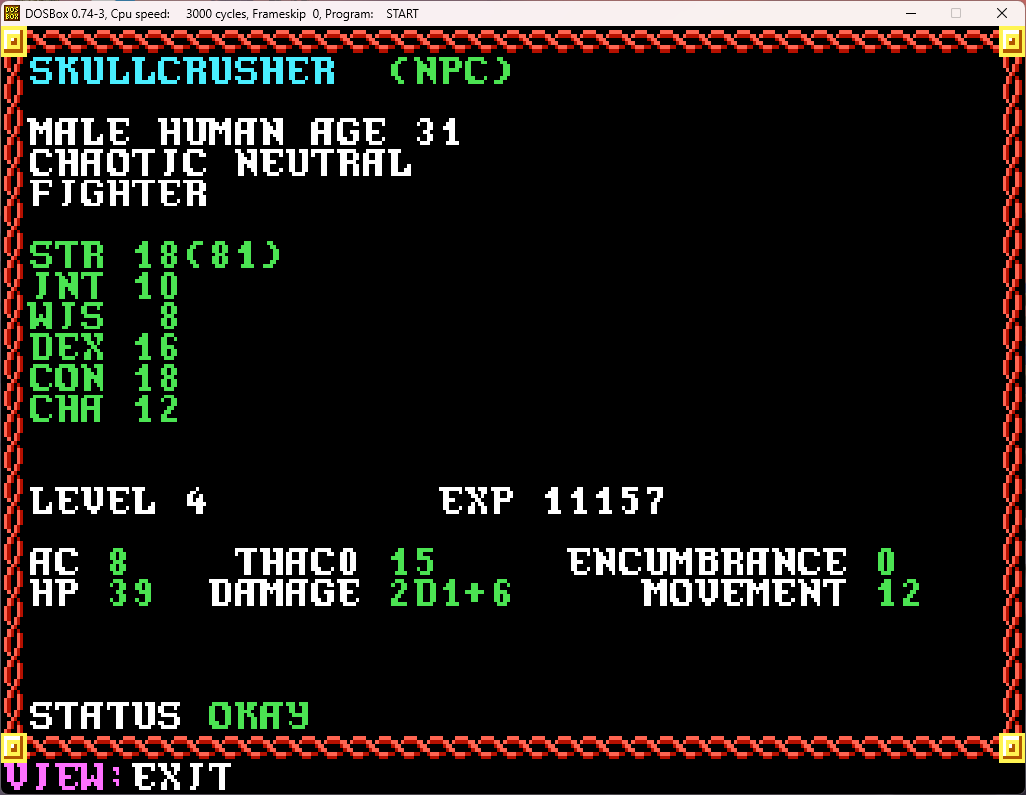
Nice Strength, and decent enough other stats. The only issue is that he doesn't have any weapons or armor. While I do have spare weapons from the last couple of fights (a longsword and a longbow), I don't have any spare armor, and that AC 8 isn't good at all. I guess I'll make him mainly ranged, and then go frontline when it's not hugely dangerous.
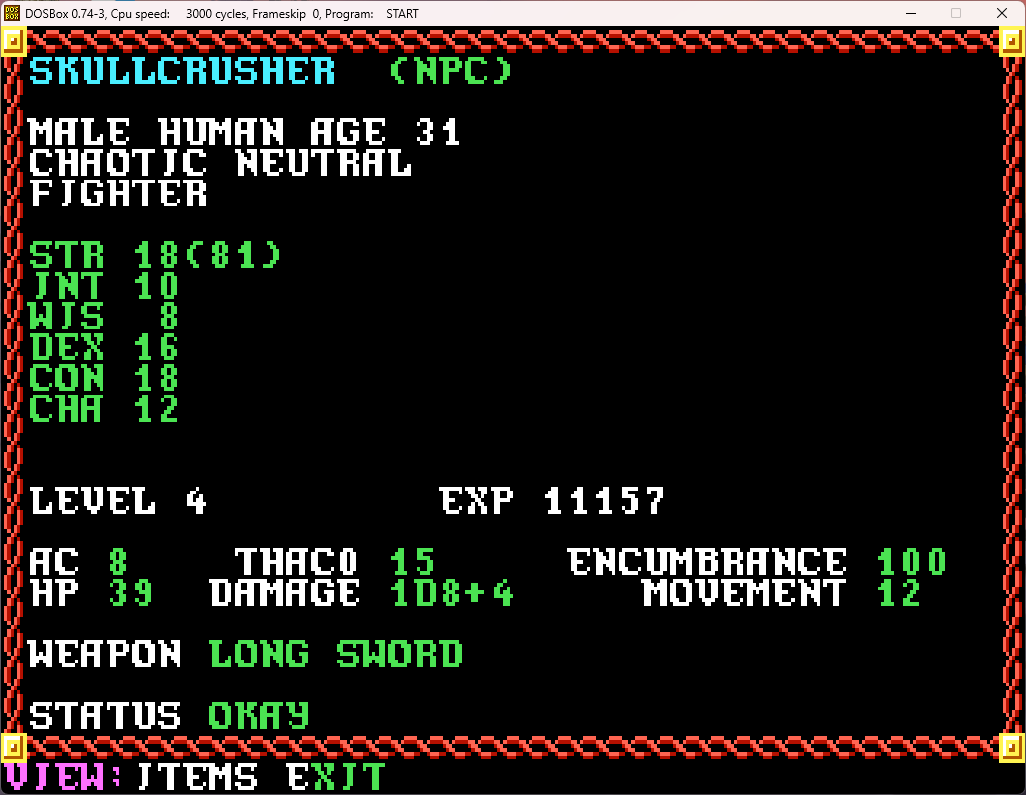
Yeah, that's at least a bit better.
And we've reached the upload limit for this post, so next time we'll continue with the exploration of the Cadorna compound!
We'll be avoiding Podol Plaza for a bit until we can get to higher level and take out swathes of humanoids at a time ( :cough: fireball :cough: ) to make clearing it a lot easier. So the next place on our list will be the Cadorna Textile House, from the mission given to us by Councilman Cadorna to retrieve his lost family treasure.
So off we go...
As always.
We go through the Slums, Kuto's Well, and skirt the edge of Mendor's Library (which is always free from wandering patrols, so it doesn't need to be cleared like the other blocks).
We enter the block containing the Textile House and head west. A few steps in, and:
The random foes in this block for the most part are either living things that have poison, or undead with paralyzing or level-draining powers. Again, there are only 10 patrols in order to clear the block (although, like Podol Plaza, you don't need to defeat them to complete the city council mission - but they will award you an extra reward if you do so), but since the foes have these nasty attacks, it's not a fun business to clear them.
And, unlike the scorpions we met in Socal Keep, they aren't all just large scorpions either:
More hit points, lower AC, and a more powerful attack. Fun. Thankfully there's only one of them per pack.
We take them down fairly quickly with little issue. Then we take literally one step...
It's the exact same group as before, 3 large scorpions, and 1 huge scorpion. Again, we take them down quickly with little damage and no one poisoned, thankfully.
The party then investigates the ruined building just to the south, and find something interesting:
Well... that's unpleasant news to find out about the graveyard. We'll hold off on that particular commission for as long as possible...
We continue to head west, until, near the western end of the zone, we spot another well.
Well, as we have a thief who has a climb skill, it looks like it's up to Buffy.
Buffy reaches the bottom and meets up with some interesting characters at the bottom. (Also, why do so many people live down wells in this town?)
It's wild that the thieves in this town respect you, while the guards don't!
Oh yes, we are interested!
Sure, we're naive enough to be blindfolded surrounded by thieves in their own lair. Surely nothing can go wrong!
Well, what do you know, actually honest thieves!
So, let's see where they've dropped us off.
(We entered from the right, went all the way to the left to get to the well, and are now here).
Let's take a look inside the building to the west.
I would think that would have caused us a bit more distress than mere "disquiet"!
Oddly, despite it being stated that she's a hobgoblin, she's indicated by a goblin icon.
This is the first magic-using foe we've fought, which means we focus fire on her. If she gets a spell off, which will almost certainly be hold person, unpleasant things will result.
Of course, taking out a lot of her minions is also important!
Meanwhile, the others have been focusing on Grishnak, and Bant takes her down.
And shortly thereafter, all that's left is a few sleeping hobgoblins, who are quickly dispatched.
Oooh, that's a lot of XP, so we must have found some good loot! Detect time!
Among the regular gear, there's a magic necklace, potion, and two scrolls! The stone statue isn't worth taking - it's heavy and isn't worth anything. The brass key, however, will come in handy shortly. We all know that video games don't give you keys unless they're for opening something later!
Hmmm, I don't think I'll be using that necklace. Maybe I can pawn it off for some gold by duping the storekeep back in town.
Let's see what's on those scrolls though!
Fireball! We've got the holy grail of spells, ready to scribe once we're high enough level.
Mirror image is useful as well, especially later when it will become part of our typical buffing routine before fighting a boss. Blink seems like it would be nice, but it's hard to use since it can only be cast in combat and not before as a buff. The rest are all sort of meh, but will be nice to get into the magic-users' spellbooks.
All this is enough for some characters to gain levels!
All fighter levels, but at least THAC0s go down and HPs go up.
We go south out of the altar room.
I'm struggling to figure out a way that blood smeared all over the place could be anything but an unholy manner. We head on through the door ahead of us, and...
I guess I encountered the vandals with their paint spray cans, red handed!
The main worry in these hobgoblin groups are the leaders, with their slightly darker blue shorts/miniskirts and ranged attacks. But we have ways of quickly incapacitating them...
And soon all that is left is to take out the helpless ones...
So we go through the next door to the south.
"Excuse us, sir. We're going to be too busy for several minutes transcribing this random piece of paper into our journal to free you from those undoubtedly uncomfortable shackles."
Some interesting stuff there, especially with ettins guarding the gate. And there's a dragon in the mountains?
Now we get to freeing this fellow.
We choose "Parlay" first.
Sounds handy to have in a tight spot. We choose "Free" next.
I mean, we didn't receive this brass key a couple of rooms back for nothing!
Exactly as suspected.
He then asks to join with us to defeat the monsters here. Sure - he looks like he could be handy with a sword!
I'm assuming that's a nickname he got later in life. Otherwise, I'm not sure what his mother was thinking when naming her precious baby "Skullcrusher".
We have our first (and certainly by far not the last) NPC to join our party! NPCs are usually awesome additions for firepower for the period they are with you. On the other hand, any items you give them are theirs forever - there's no way short of just letting them die to get the items back. That's usually not a problem, as fairly often they will come reasonably well geared up, and if not, there's usually some spare items either in inventory or after a fight or two you can give them that won't hurt to lose permanently.
Let's take a look at his character sheet:
Nice Strength, and decent enough other stats. The only issue is that he doesn't have any weapons or armor. While I do have spare weapons from the last couple of fights (a longsword and a longbow), I don't have any spare armor, and that AC 8 isn't good at all. I guess I'll make him mainly ranged, and then go frontline when it's not hugely dangerous.
Yeah, that's at least a bit better.
And we've reached the upload limit for this post, so next time we'll continue with the exploration of the Cadorna compound!
Demetrios1453
Hero
Pool of Radiance (Part 23): Cadorna Textile House (Part 2)
With our new NPC in tow, we continue to explore the rest of textile house compound. We explore around, heading generally east:
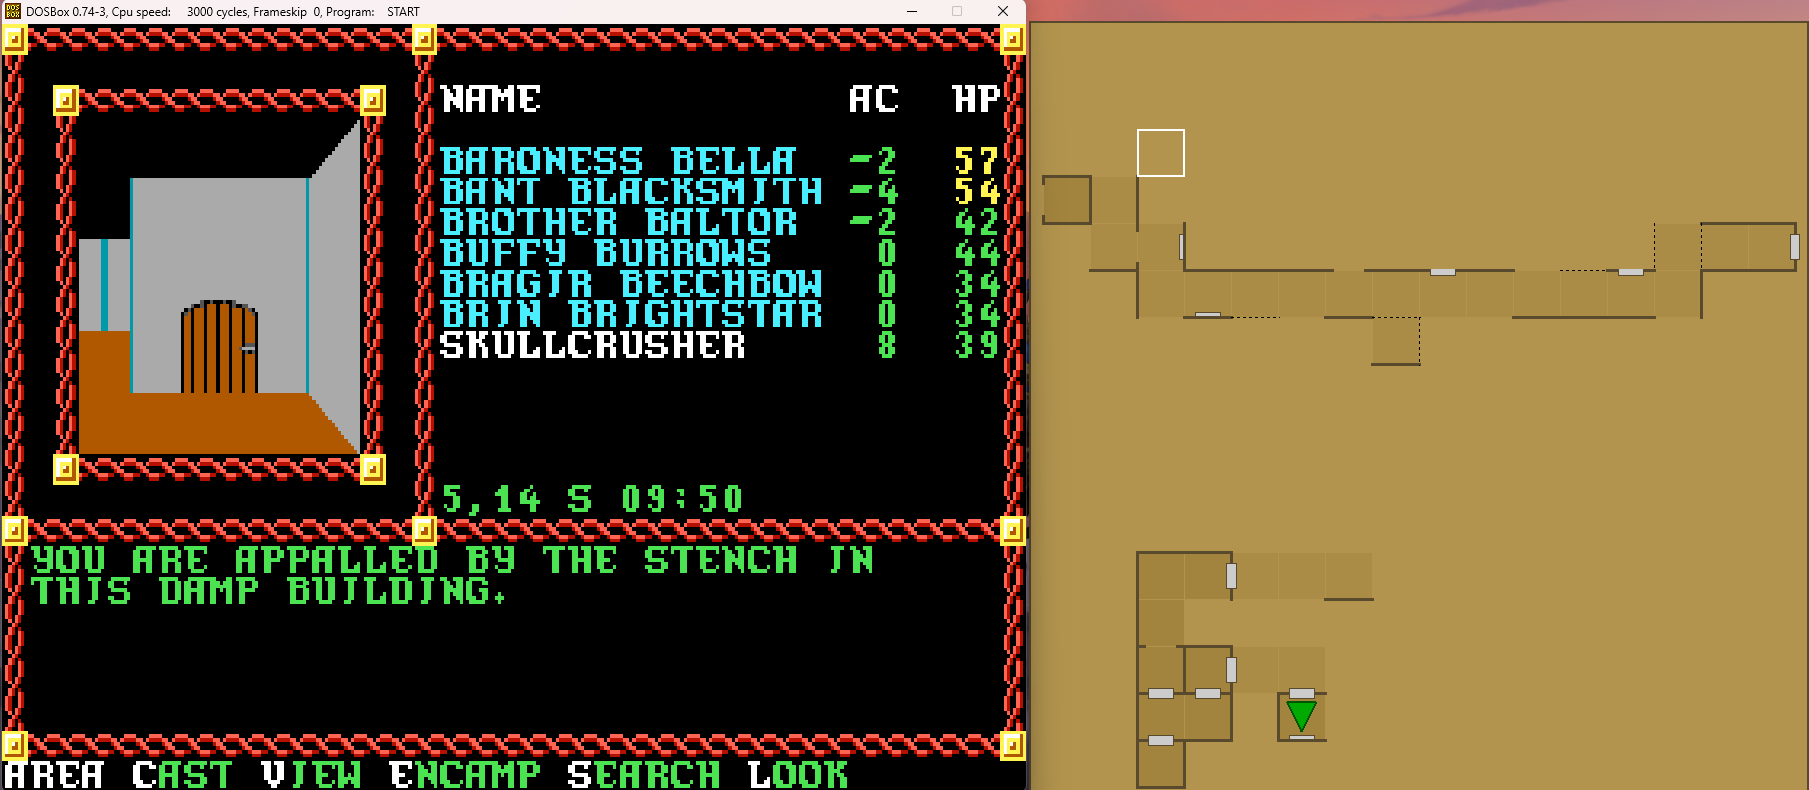
Pleasant. We continue through the door in front of us and into the next room.
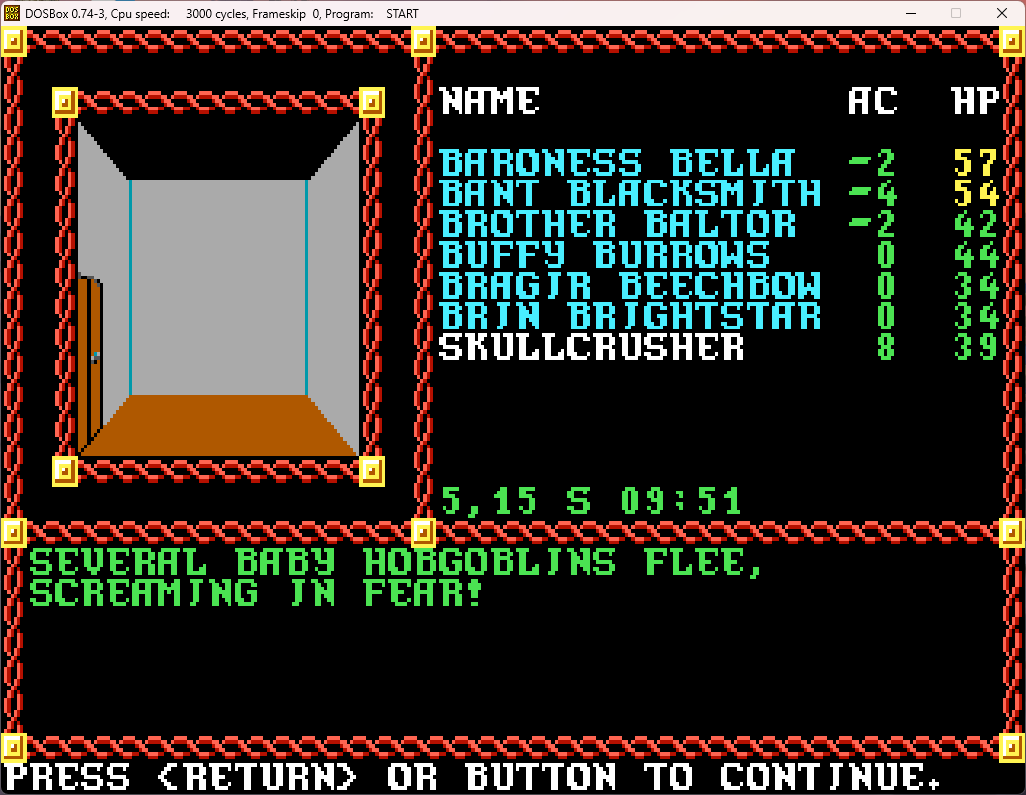
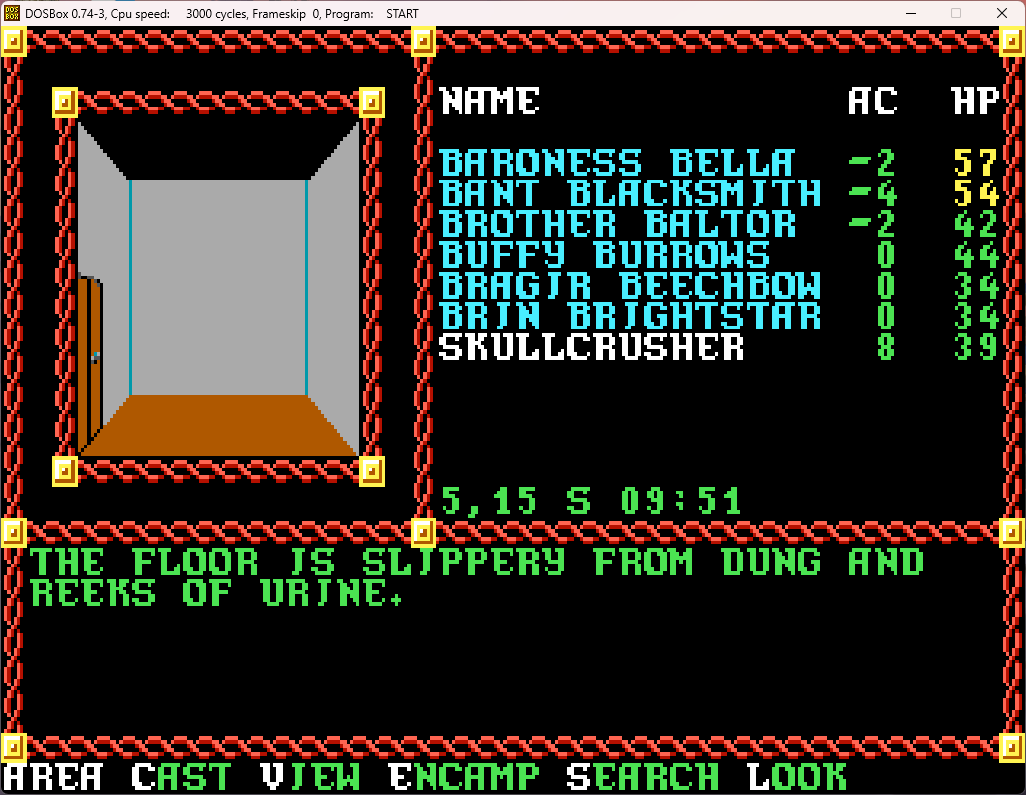
Interesting how far we've come from 1e depictions of humanoid foes, where they were depicted as little more than animals. This depiction is especially surprising for hobgoblins, who have always been the most organized of the type.
We head through the door on the left, right back into the bigger room we were in a moment ago. On the north wall:
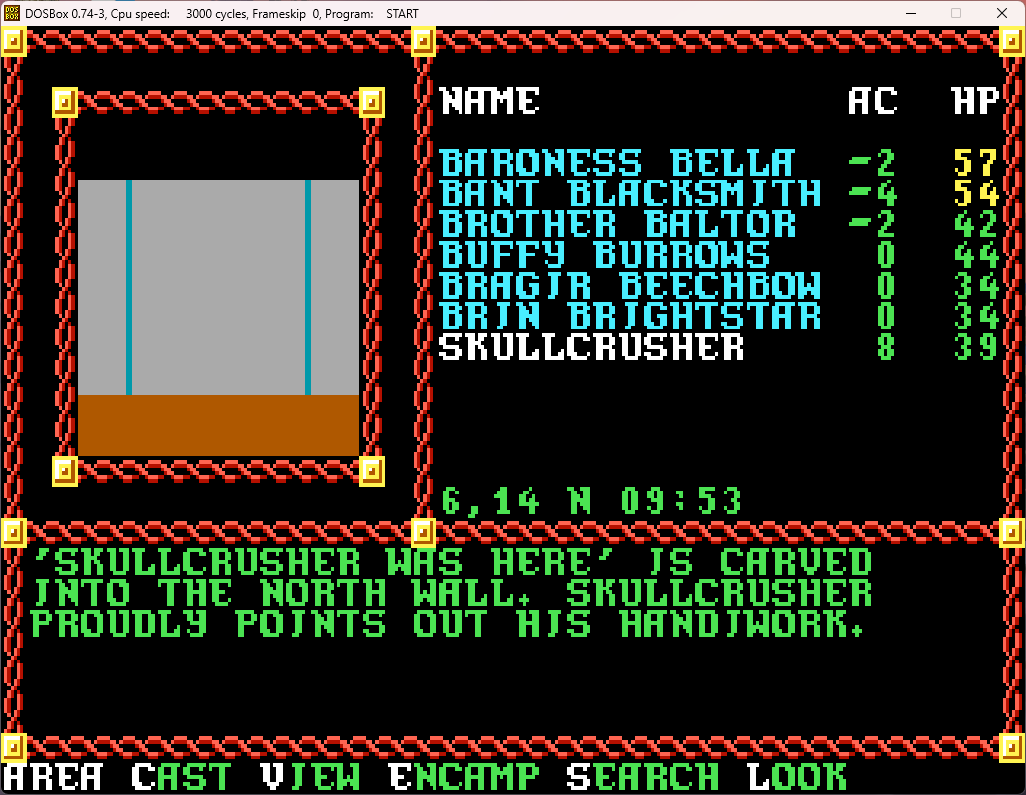
Yeah. Good for you.
We cross the courtyard and investigate the northeastern building in the complex.
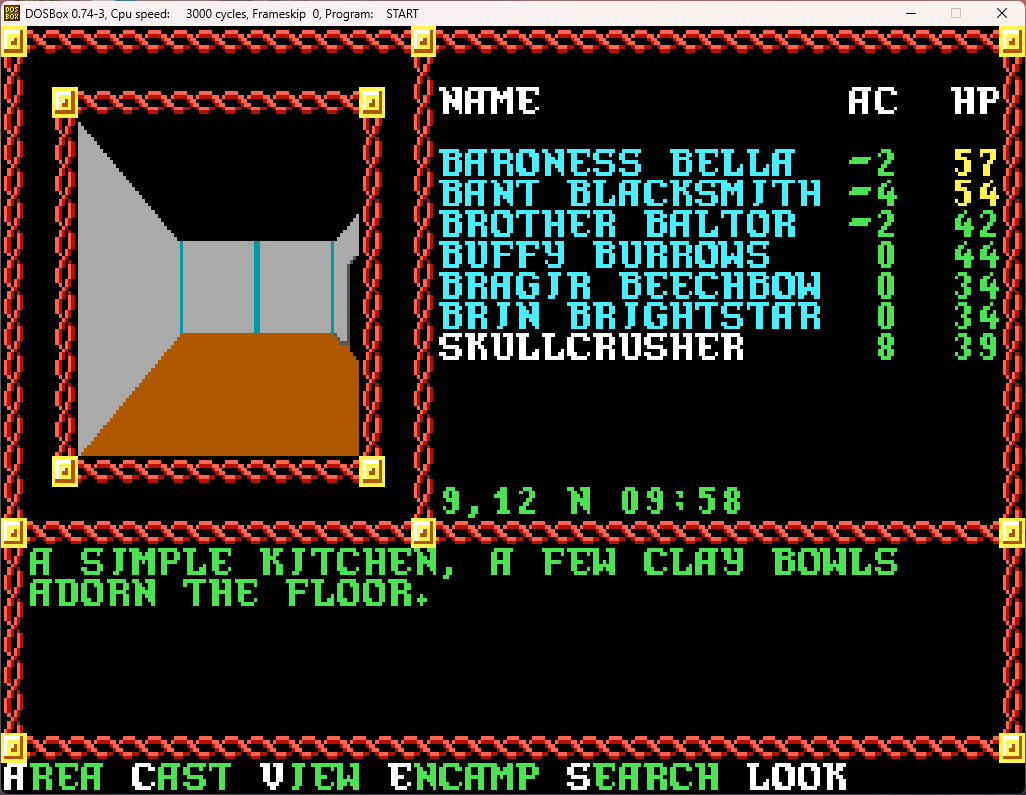
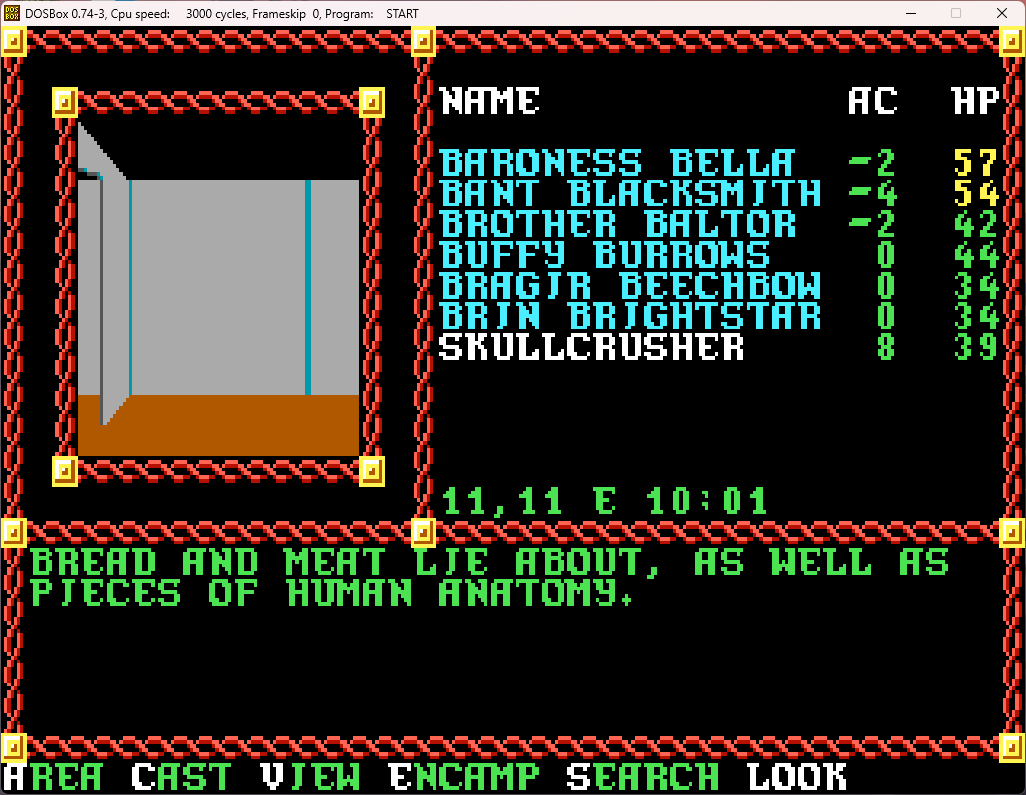
Apparently we've found the kitchen/dining hall area. We head off to the north.
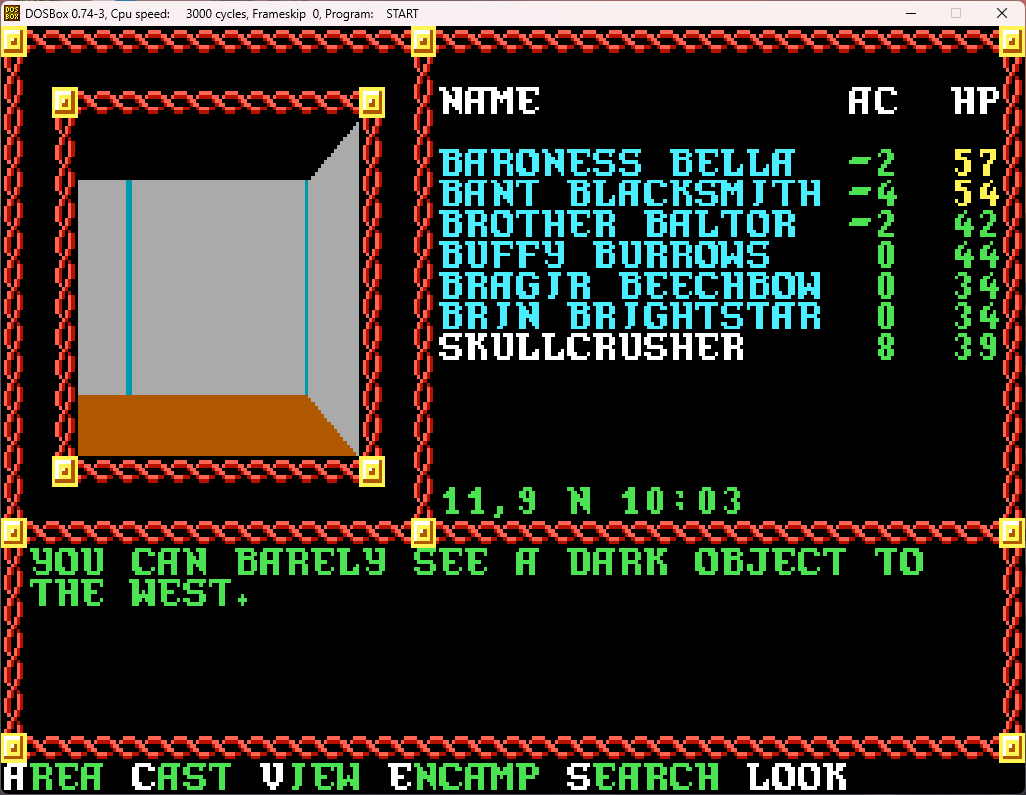
Oooh, interesting! Let's take a look!
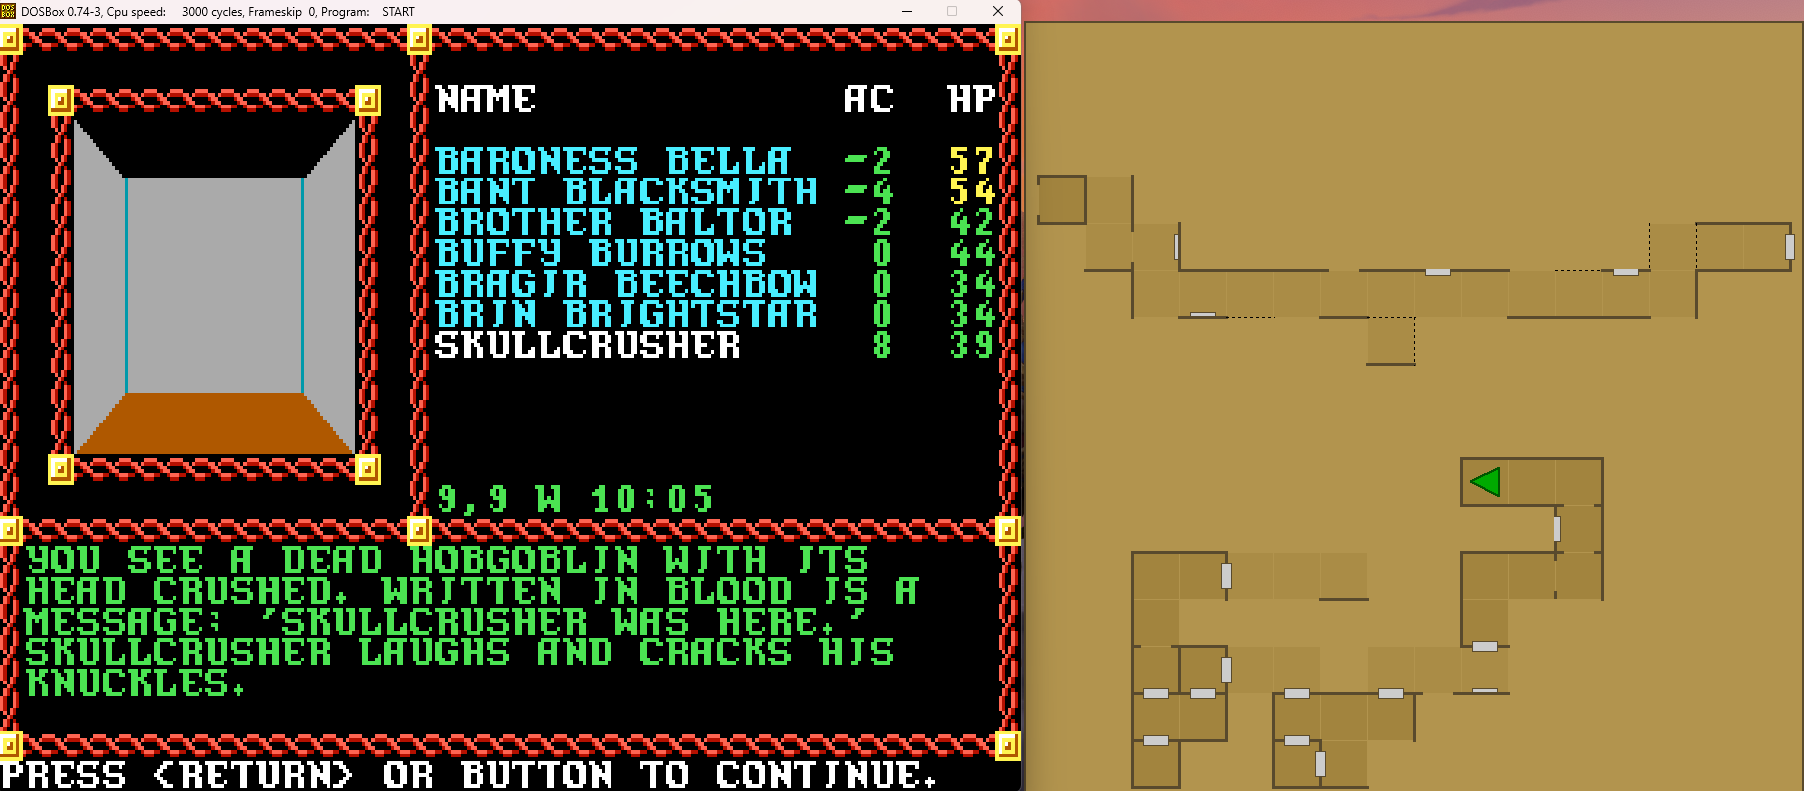
Well, we see where he got the nickname from. Also, he's not very creative with his graffiti.
Let's search the body.
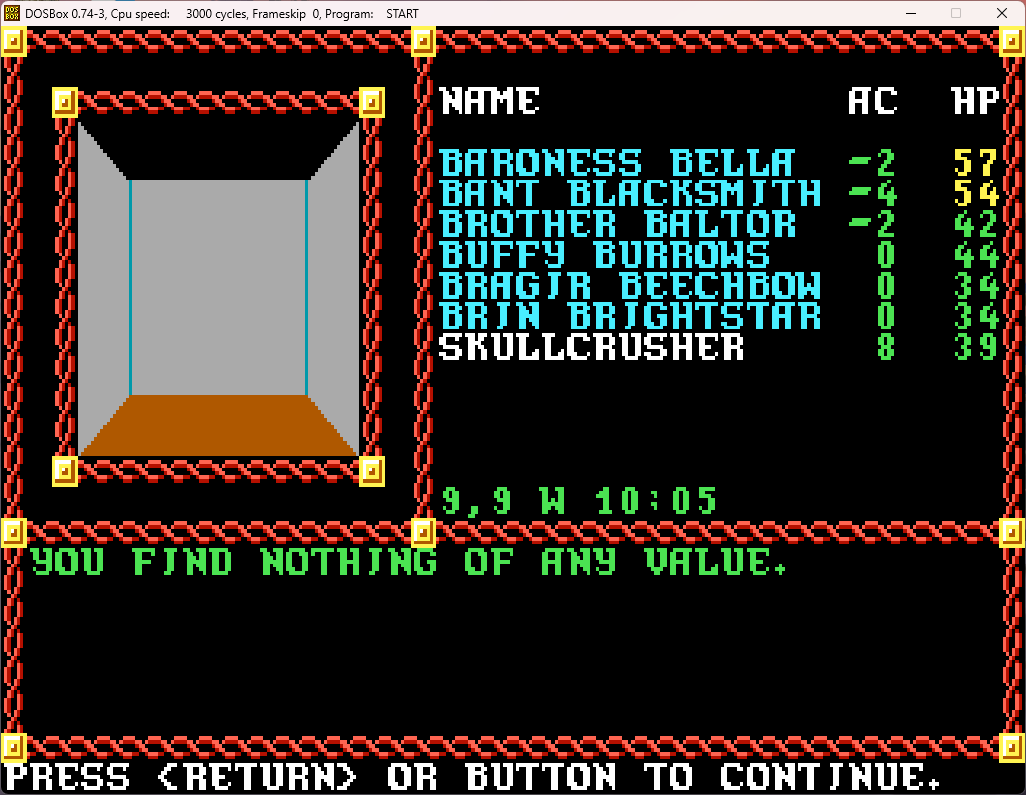
Well, that was a whole lot of nothing. Let's go over to the northern building.
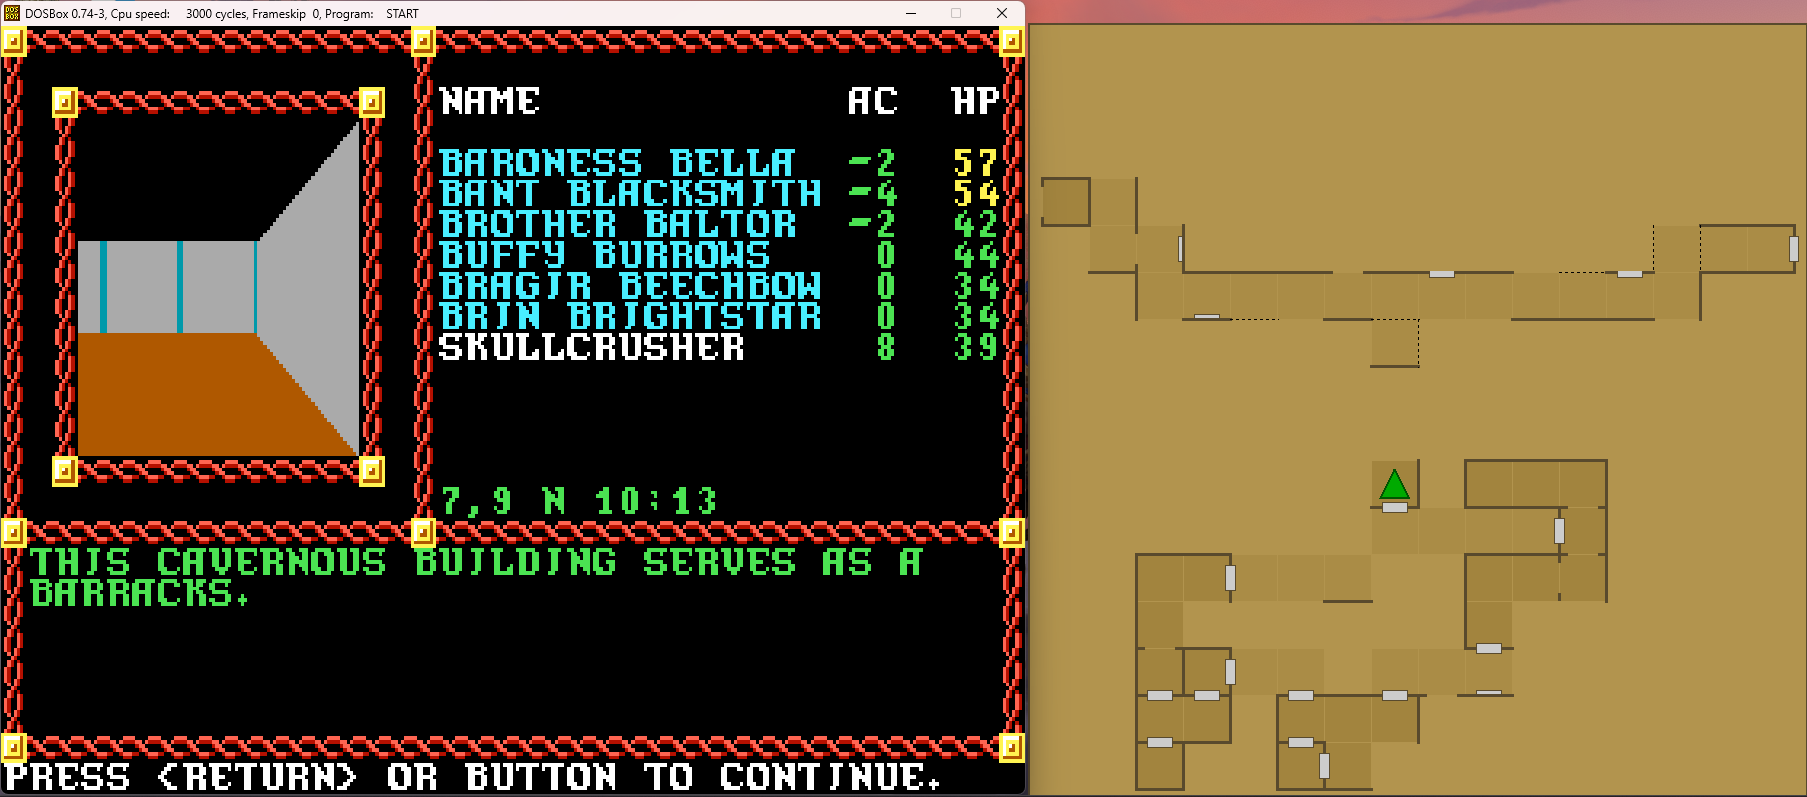
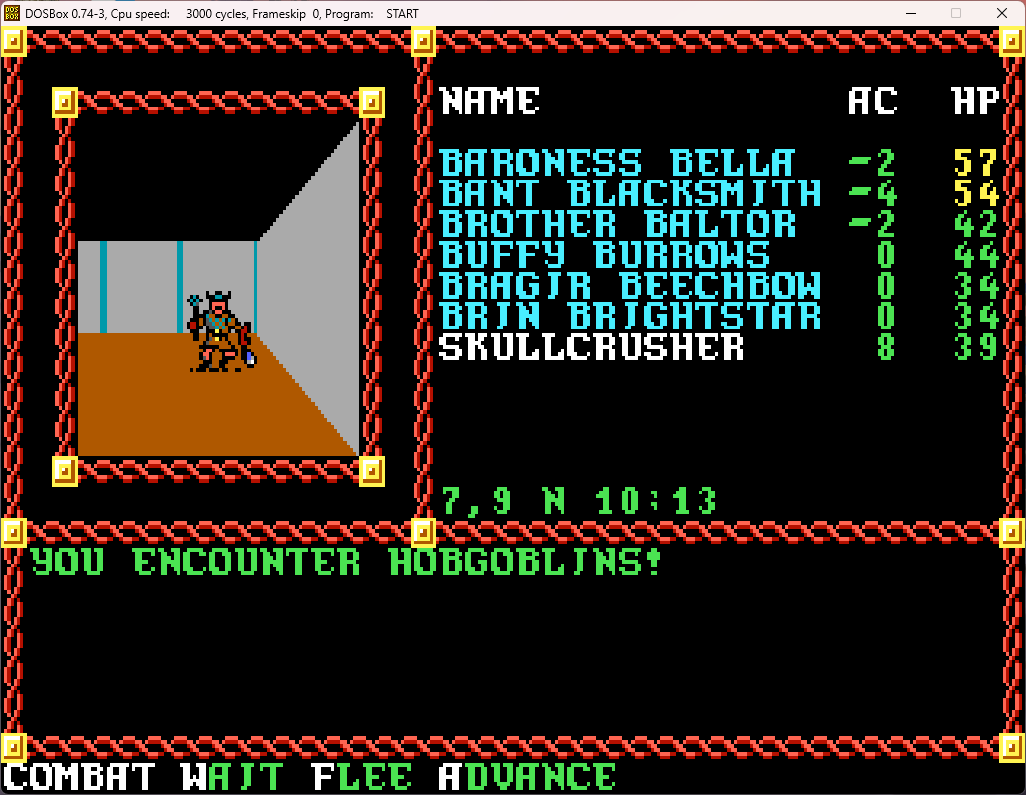
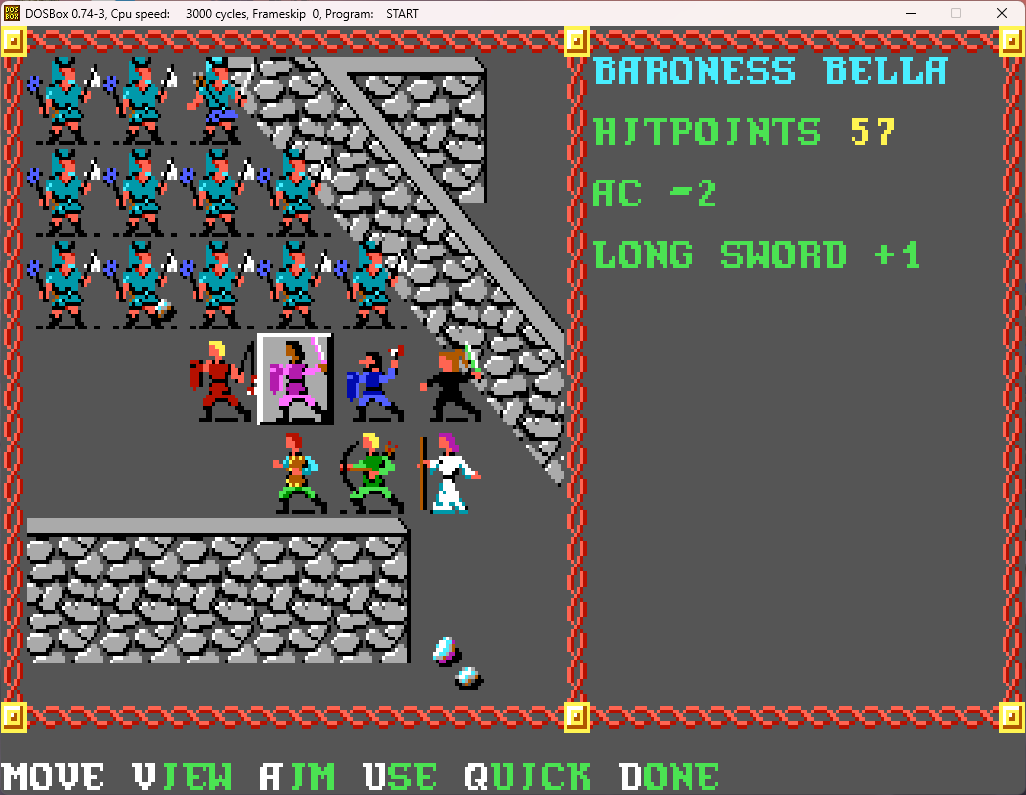
A quick fight with a few hobgoblins ensues...
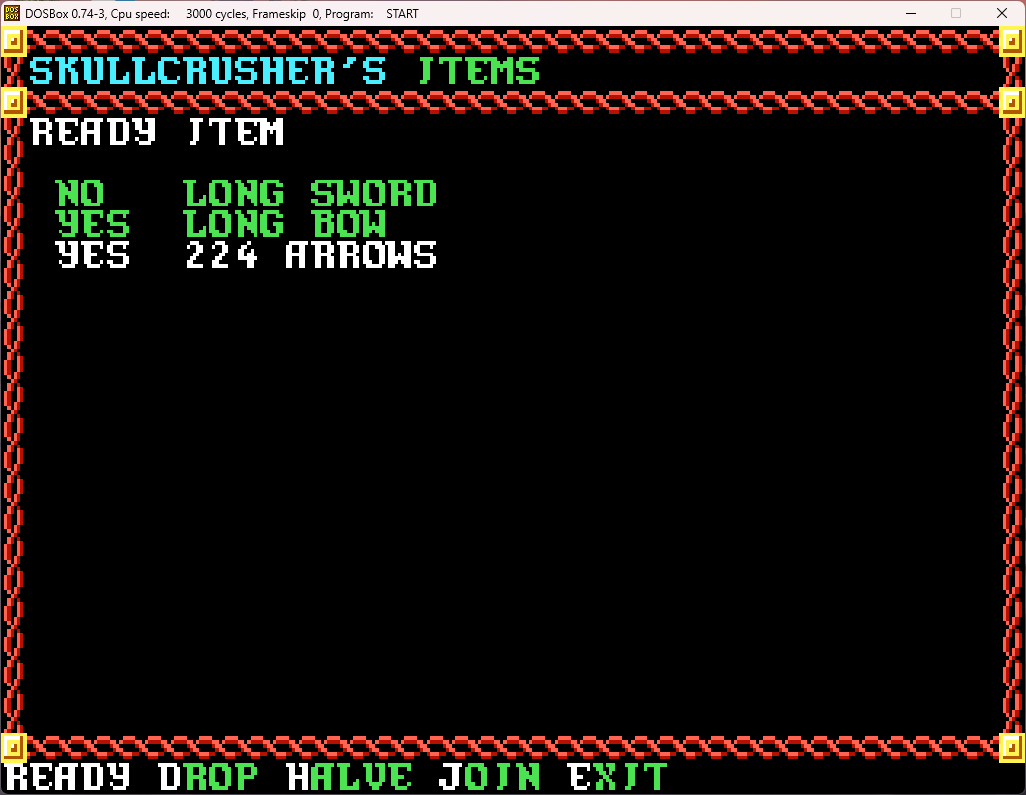
We equip Skullcrusher with his bow:
And target the leaders first:
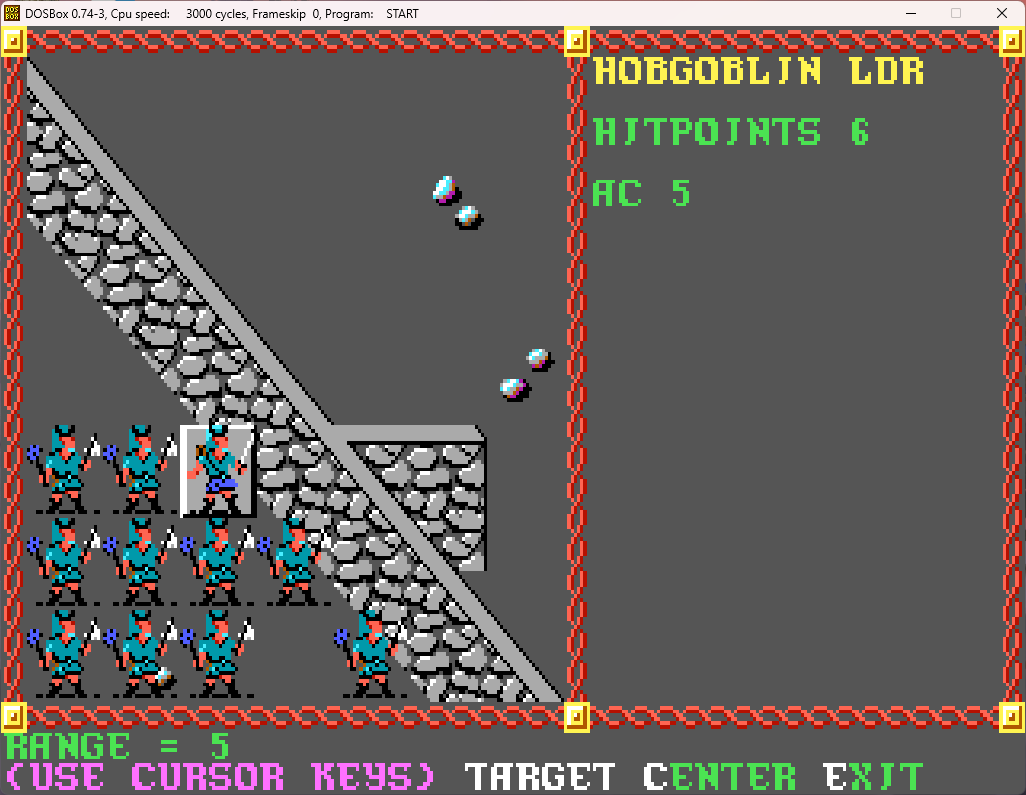
And they go down quickly. No exciting treasure (or even armor to give Skullcrusher).
Nothing more to see here, we go to the northwestern room in the complex.
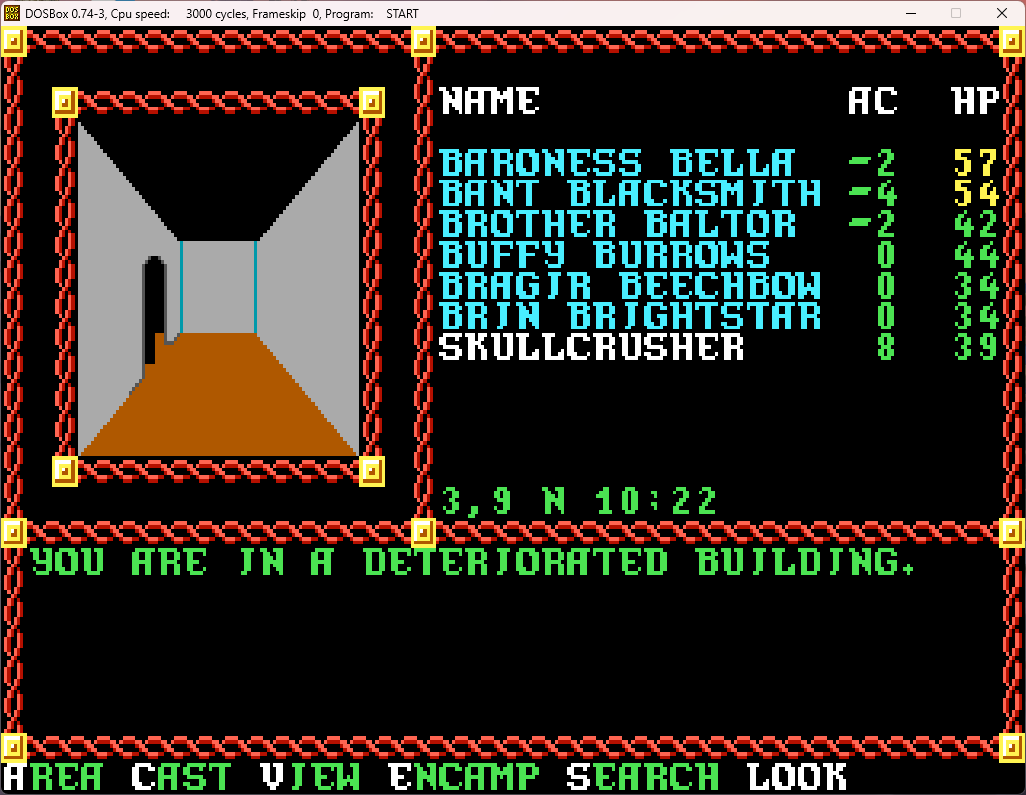
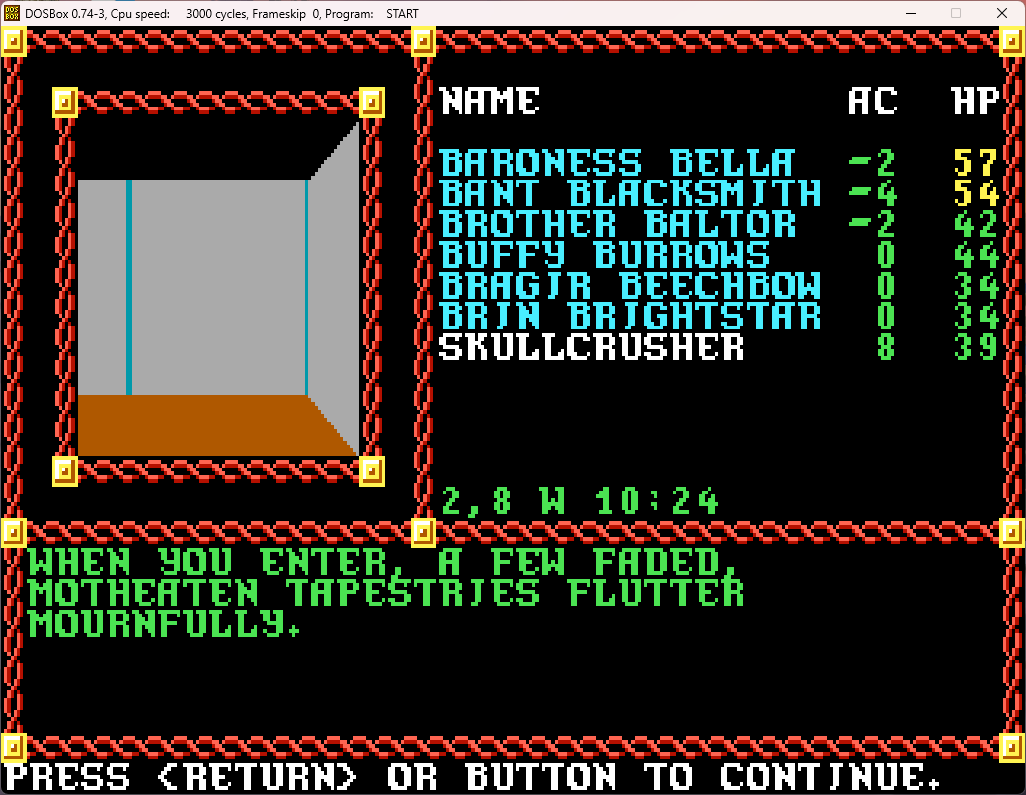
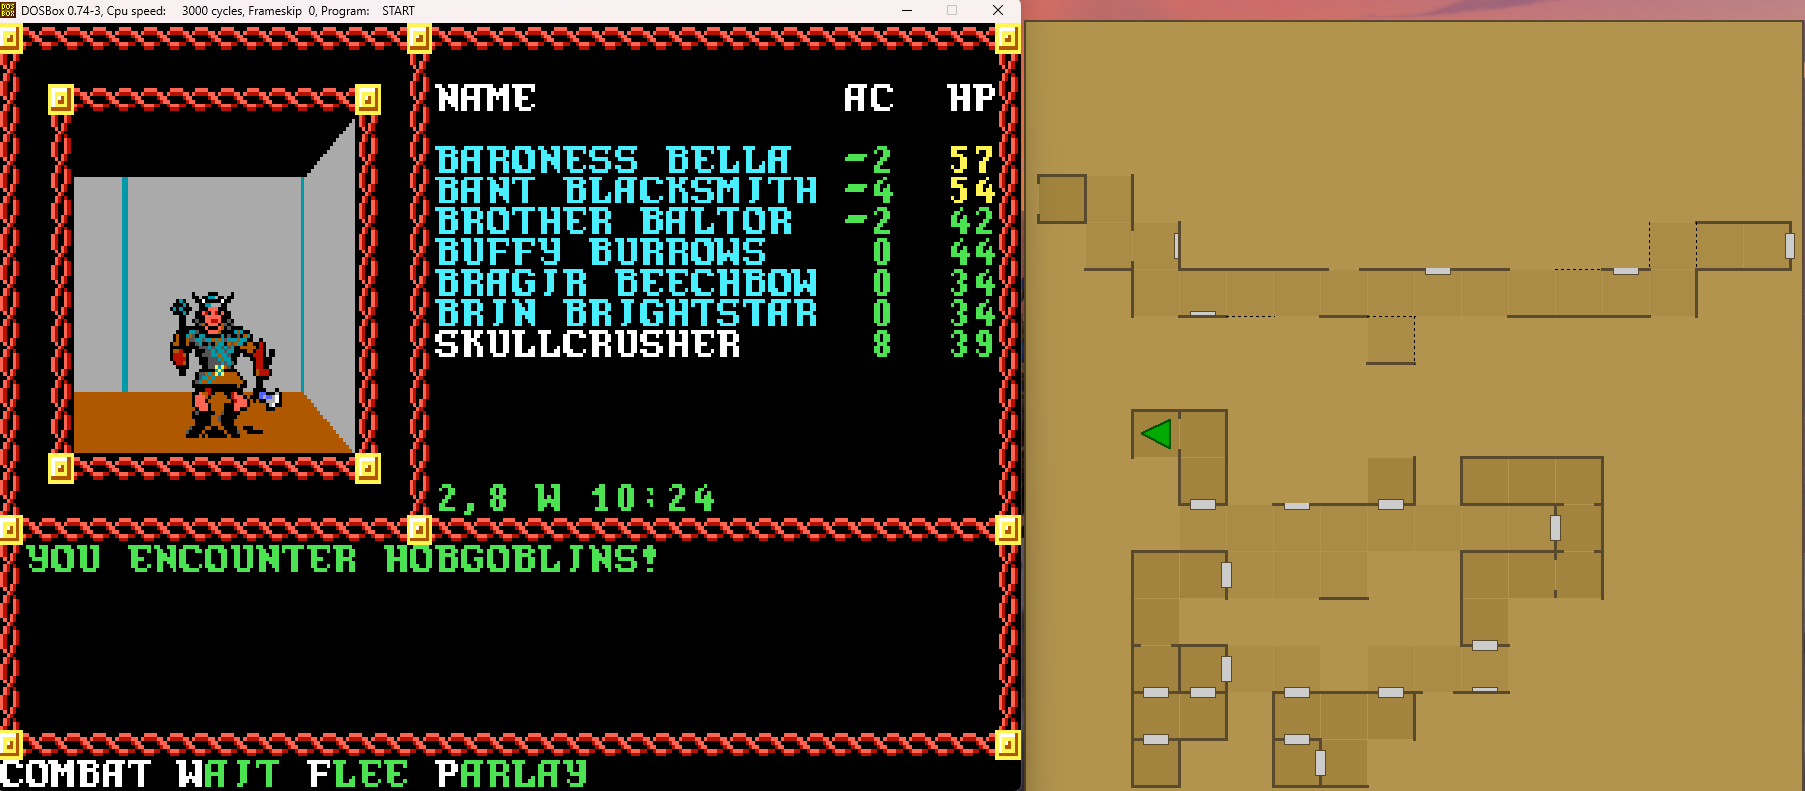
They, like the others, are quickly dispatched.
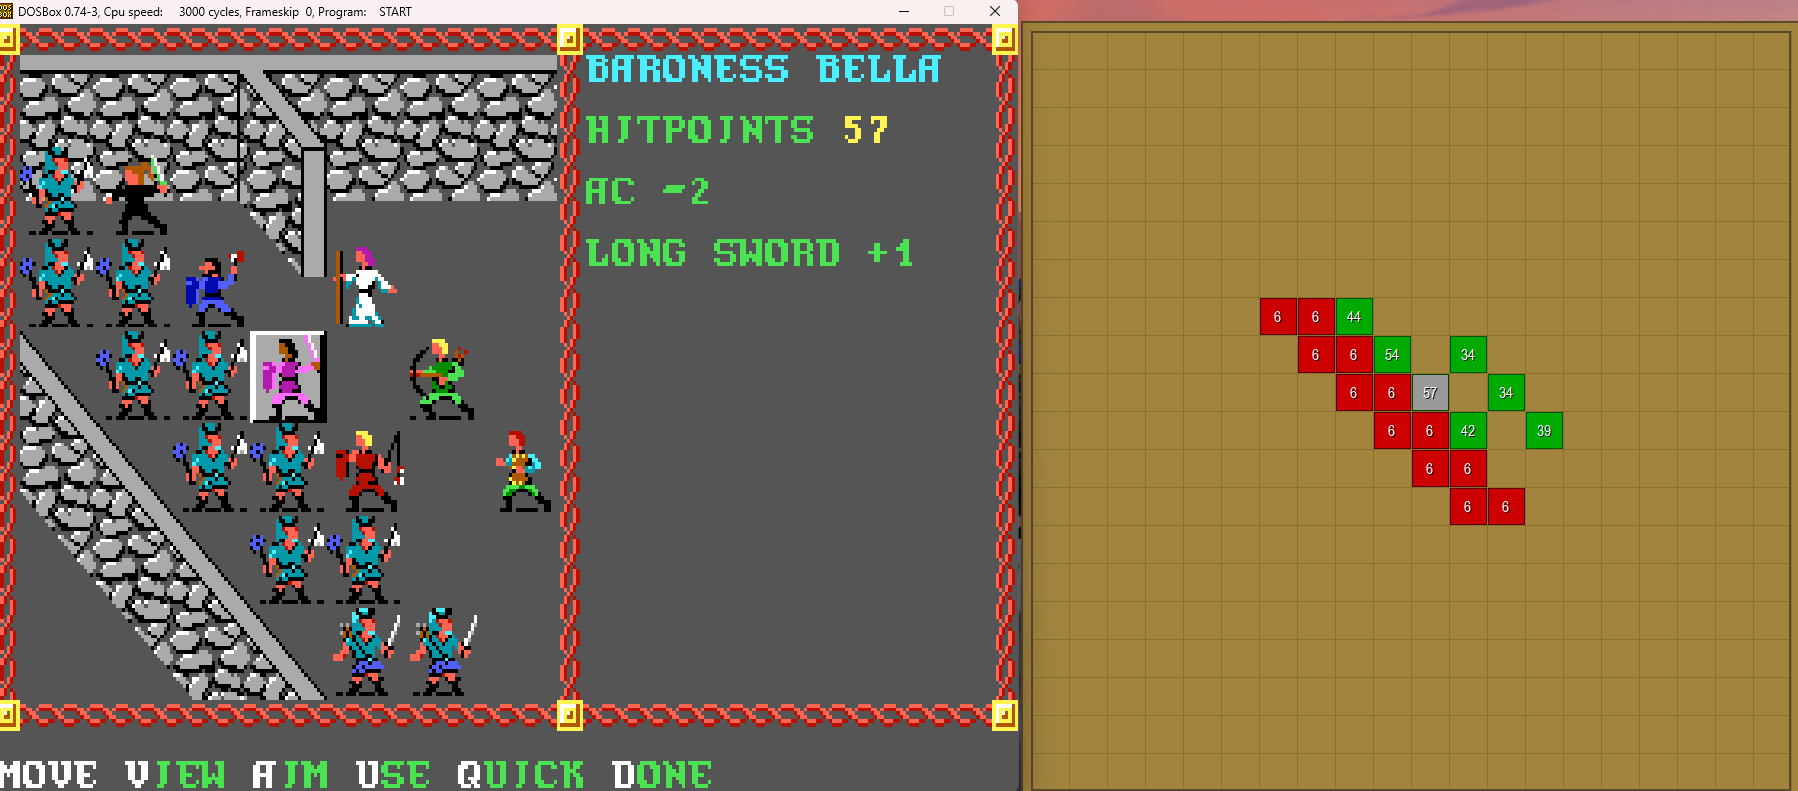
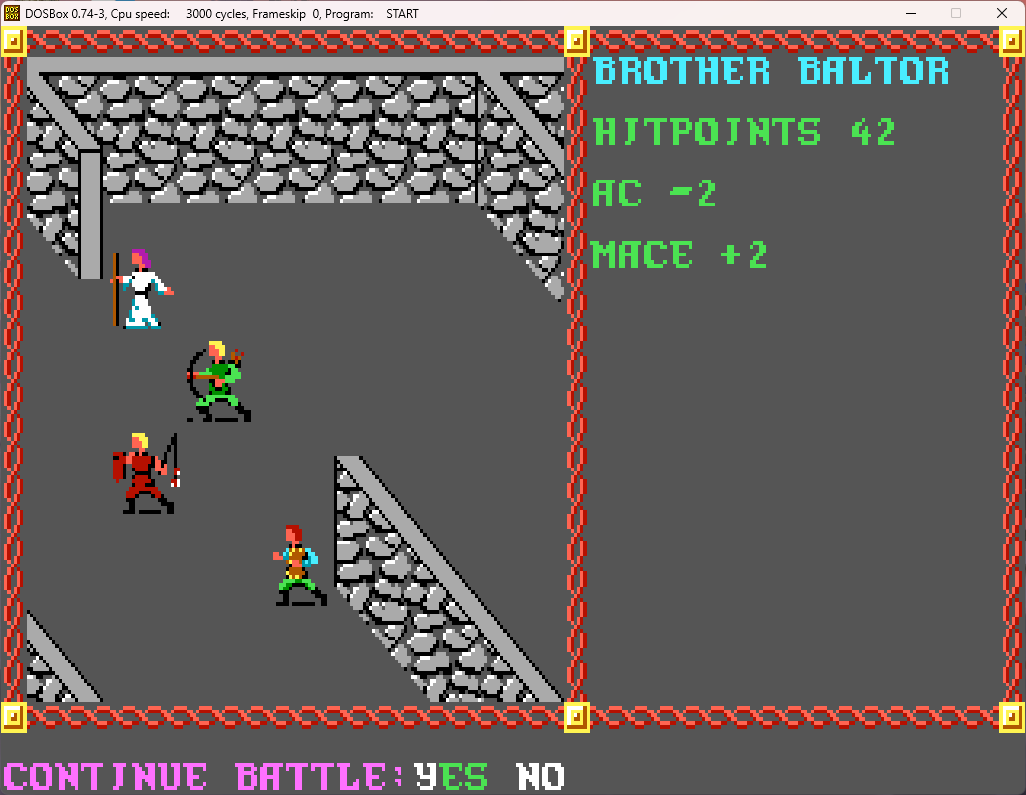
So, with nowhere else left to explore, we go to the southeastern corner of the textile house compound, and enter the building there.
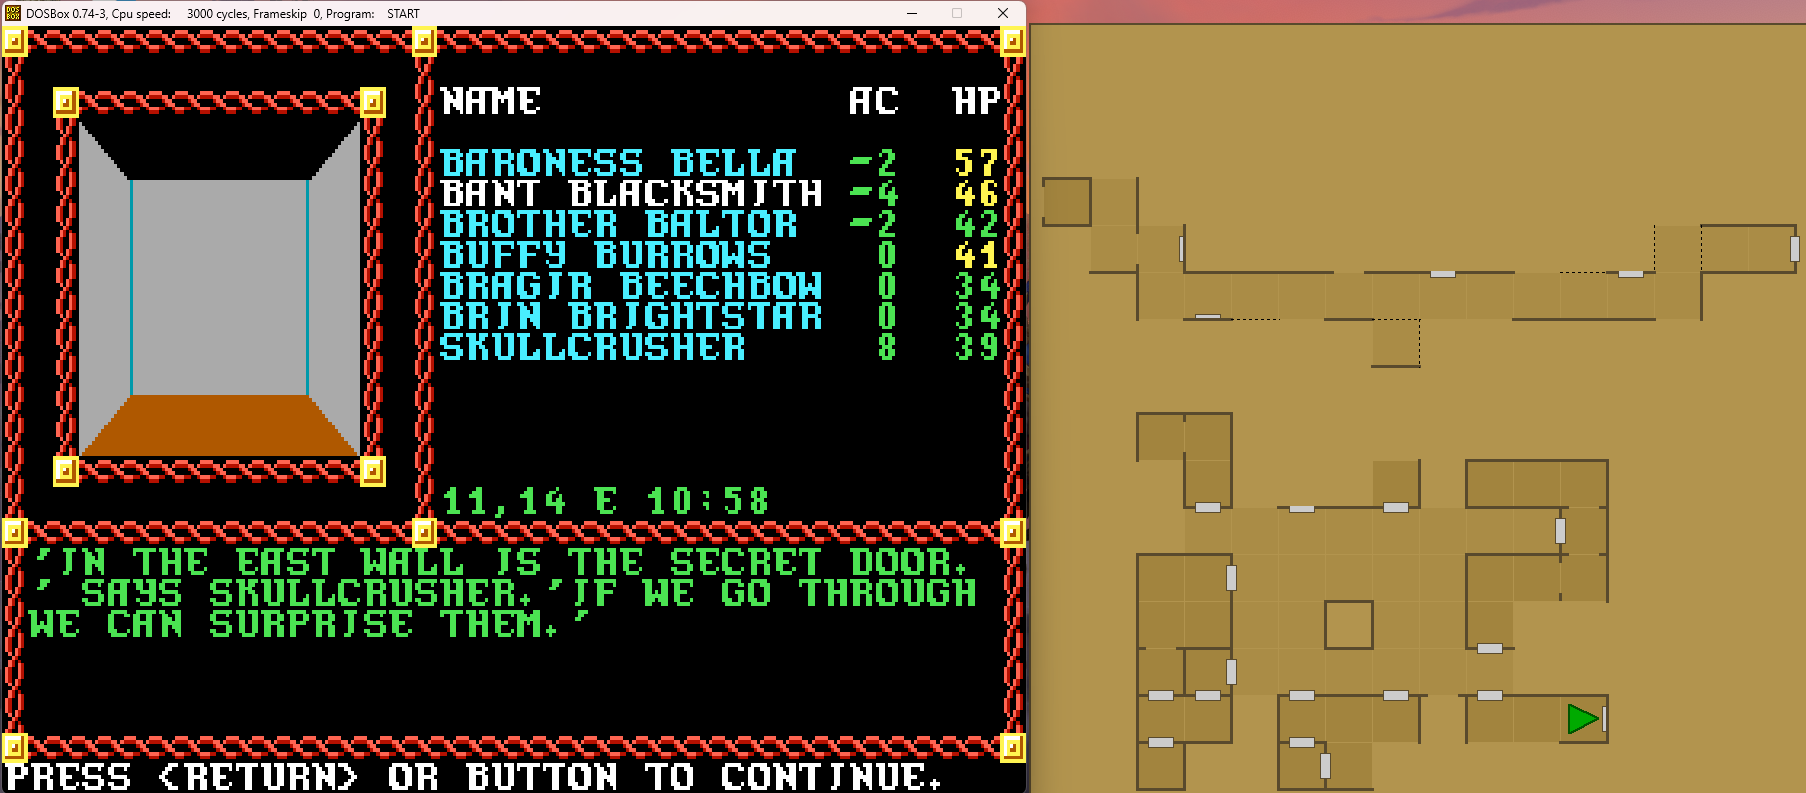
And in we go!
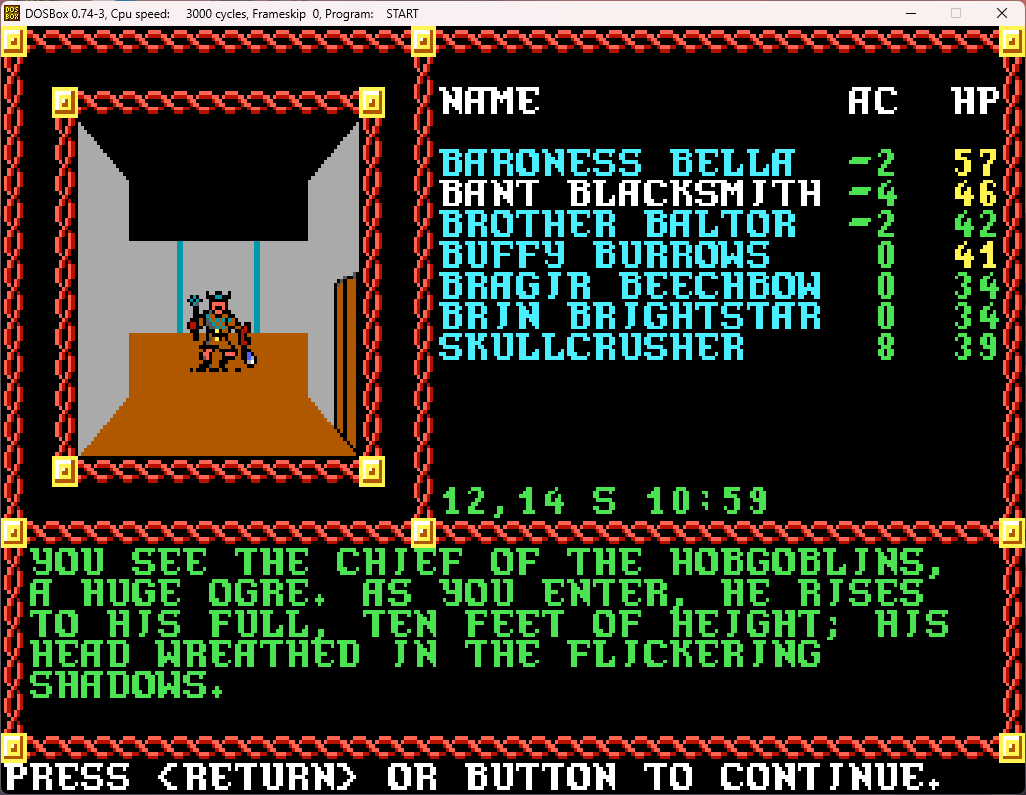
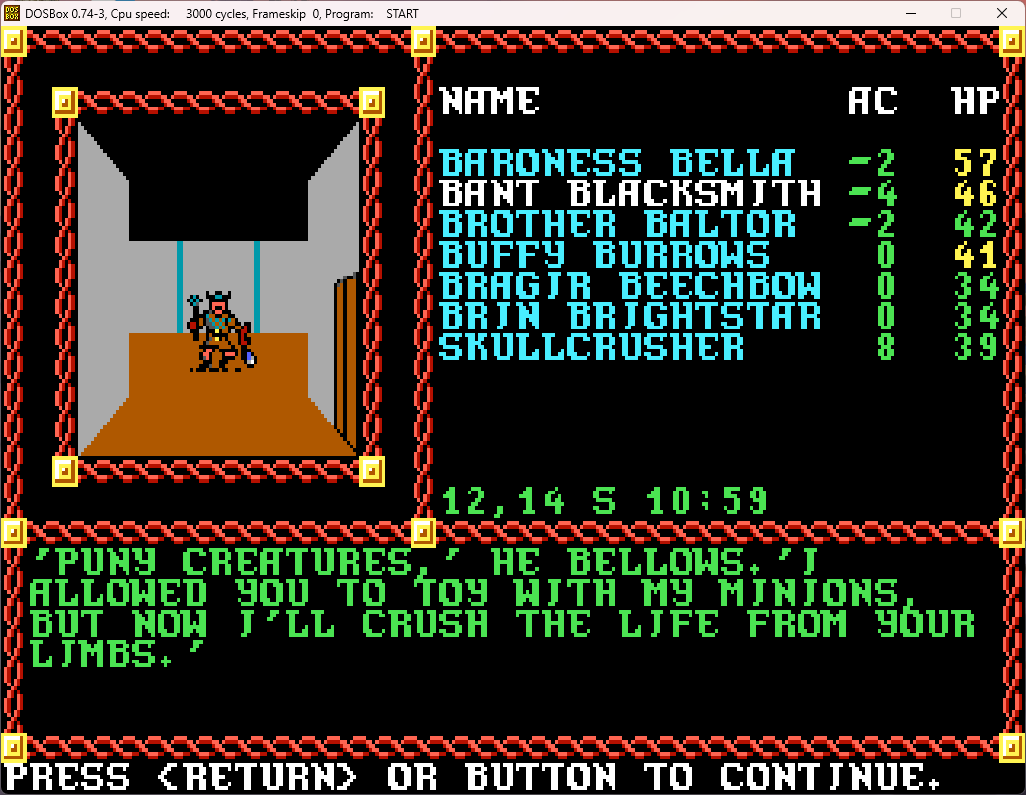
I'm guessing no negotiations here.
The foes (a lot of regular hobgoblins, a few hobgoblin leaders, and the ogre leader) are all lined up against the wall to the south (which I unfortunately failed to get a screenshot of). We move forward to a chokepoint and set anyone there on "Guard".
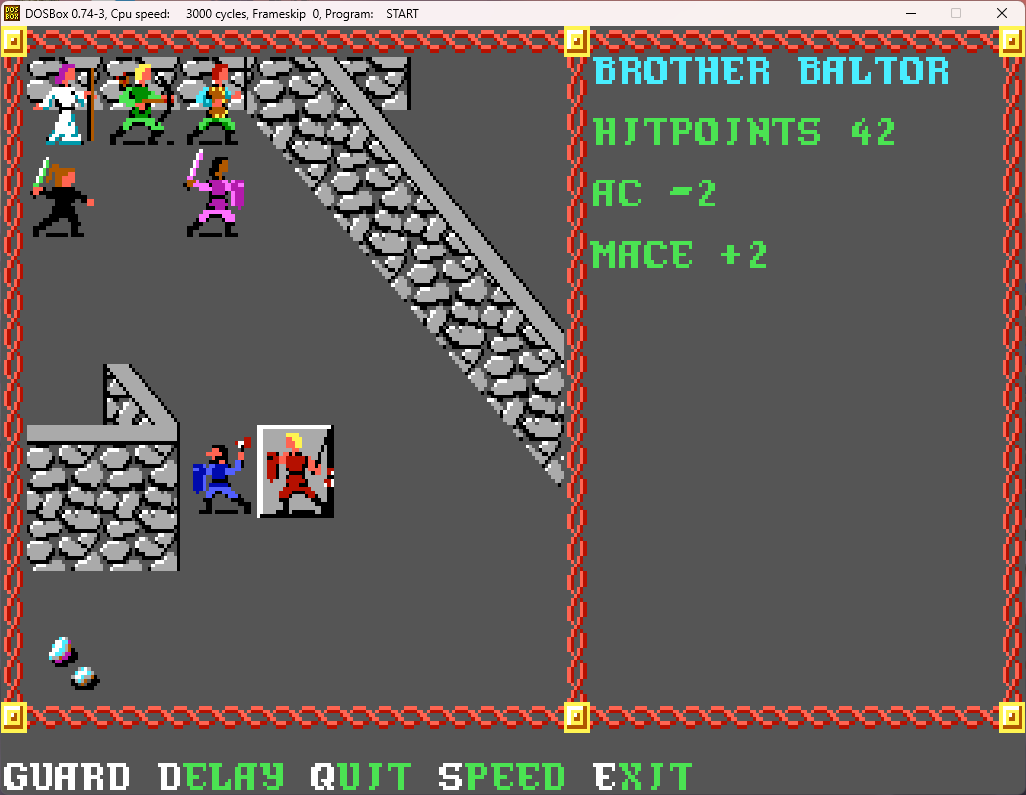
The hobgoblin leaders, with their ranged attacks, are bunched up in the southwestern corner of the room, so Brin will move up there and take care of them:
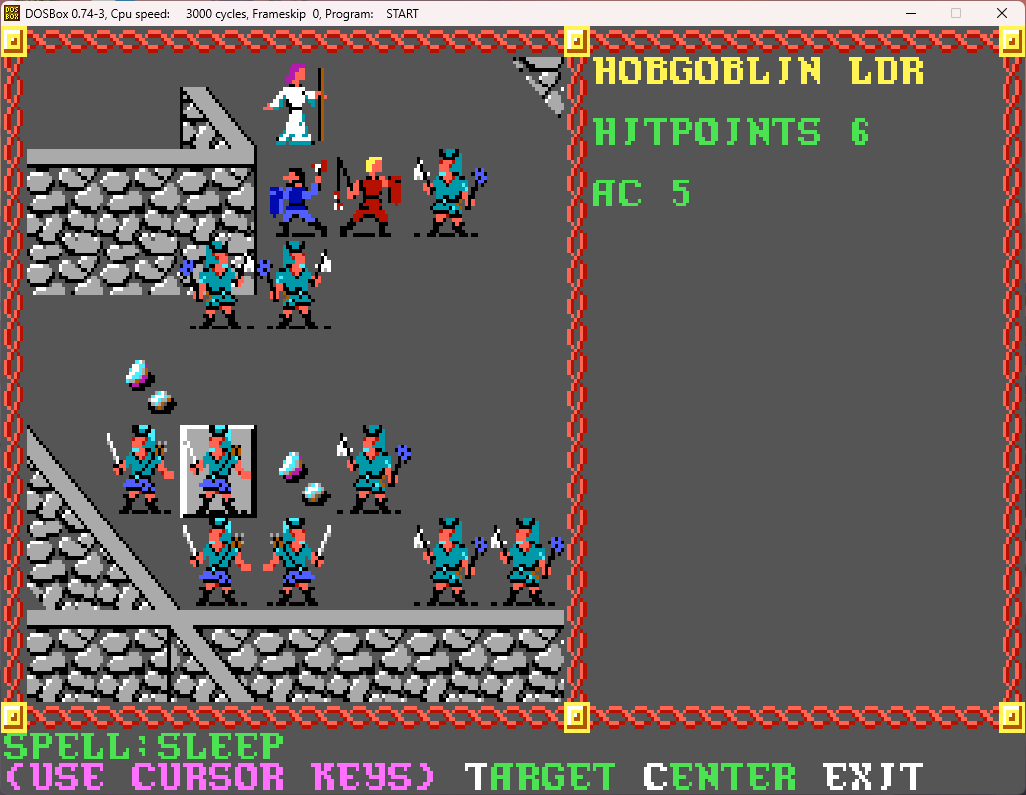
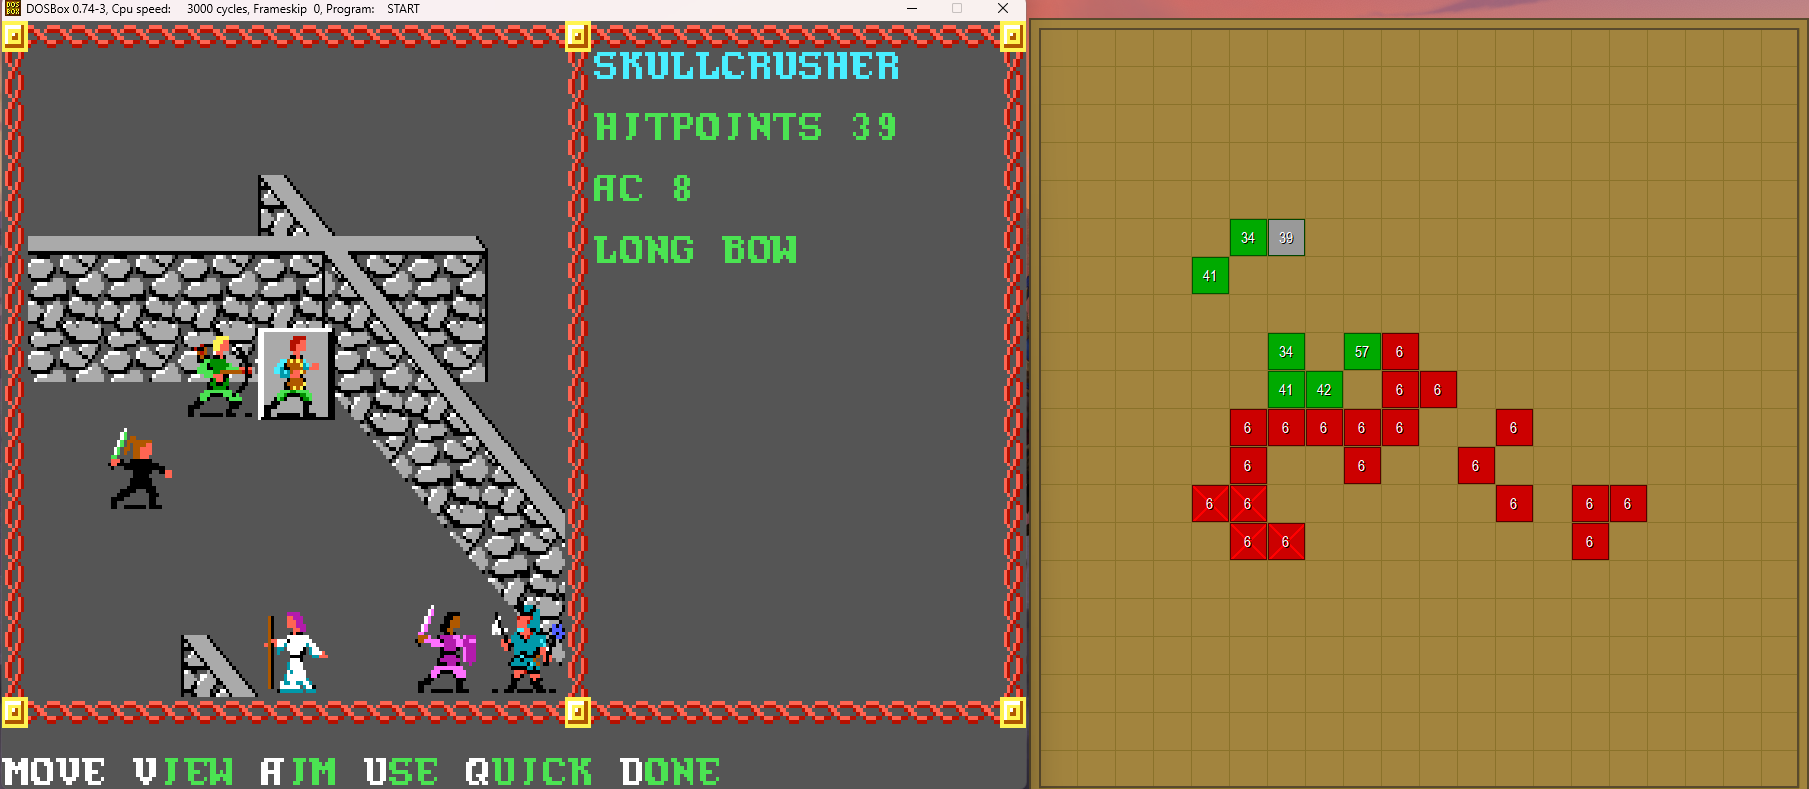
My ranged target the ogre leader quickly, with Skullcrusher getting in the killing shot.
And Bragir fires off a second sleep spell on another bunched-up group:
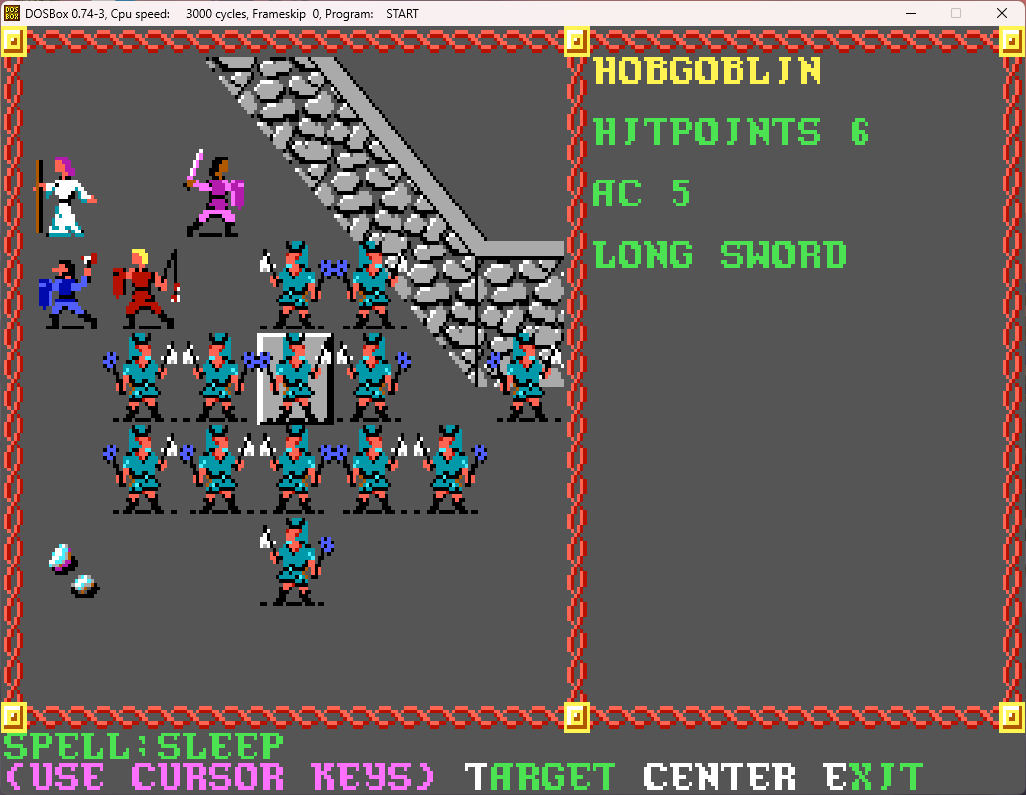
And since Brin is near the front lines, time to further control the battlefield with a stinking cloud.
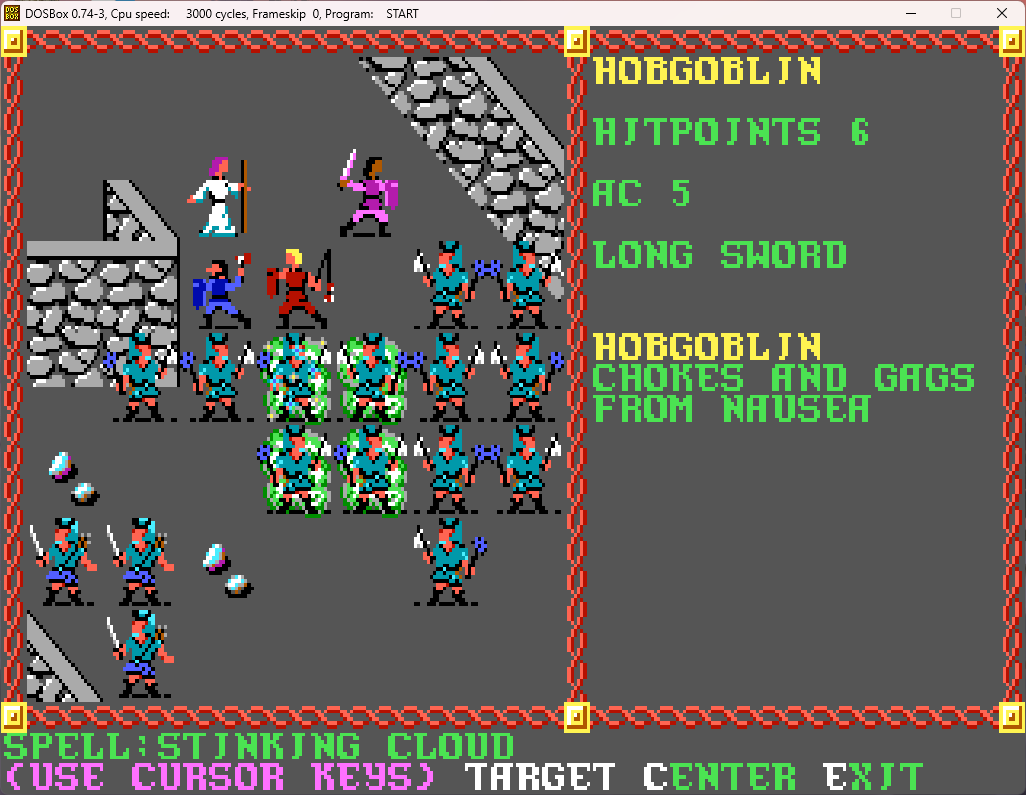
(That hobgoblin "chokes and gags from nausea", meaning he's helpless and can be taken down at will. If they're just "coughing", they are still up, but with penalties).
At this point, most remaining foes are helpless and can be killed quickly.
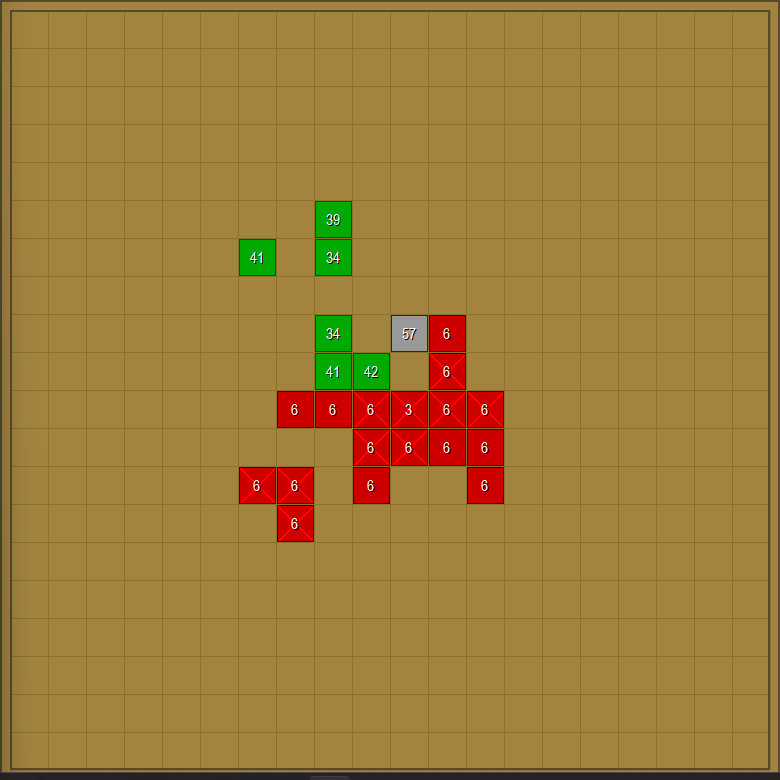
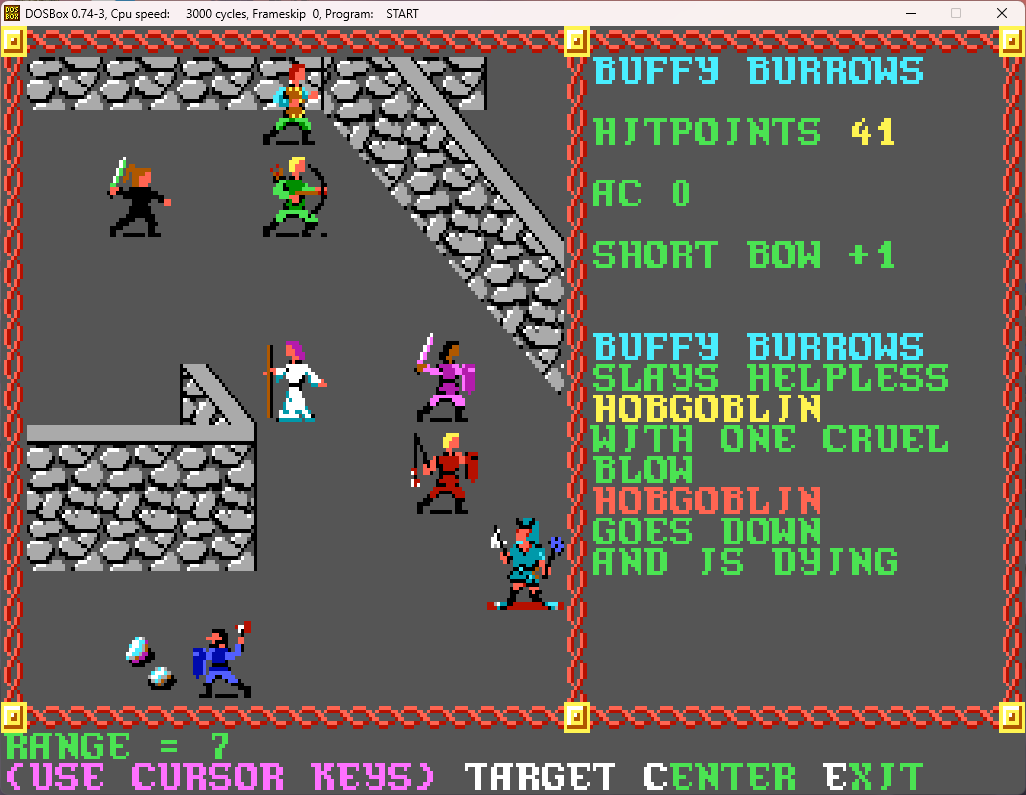
(Heh, you can see the skull and crossbones beginning to appear at the feet of the now dying hobgoblin).
And soon we are victorious!
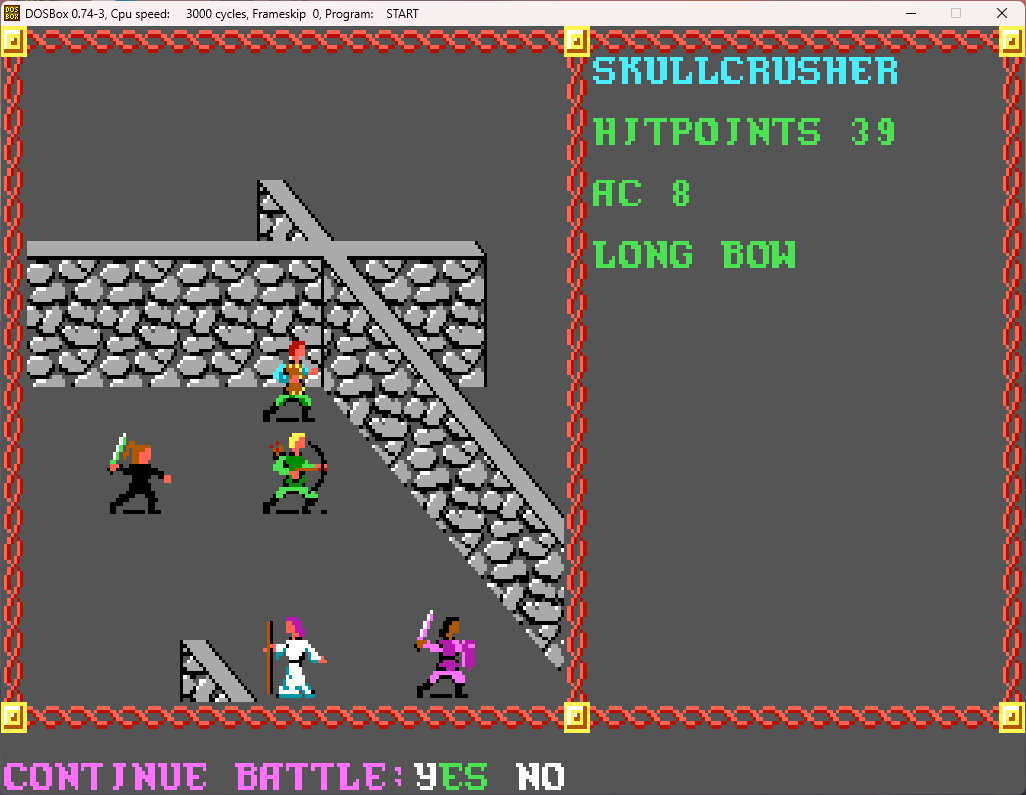
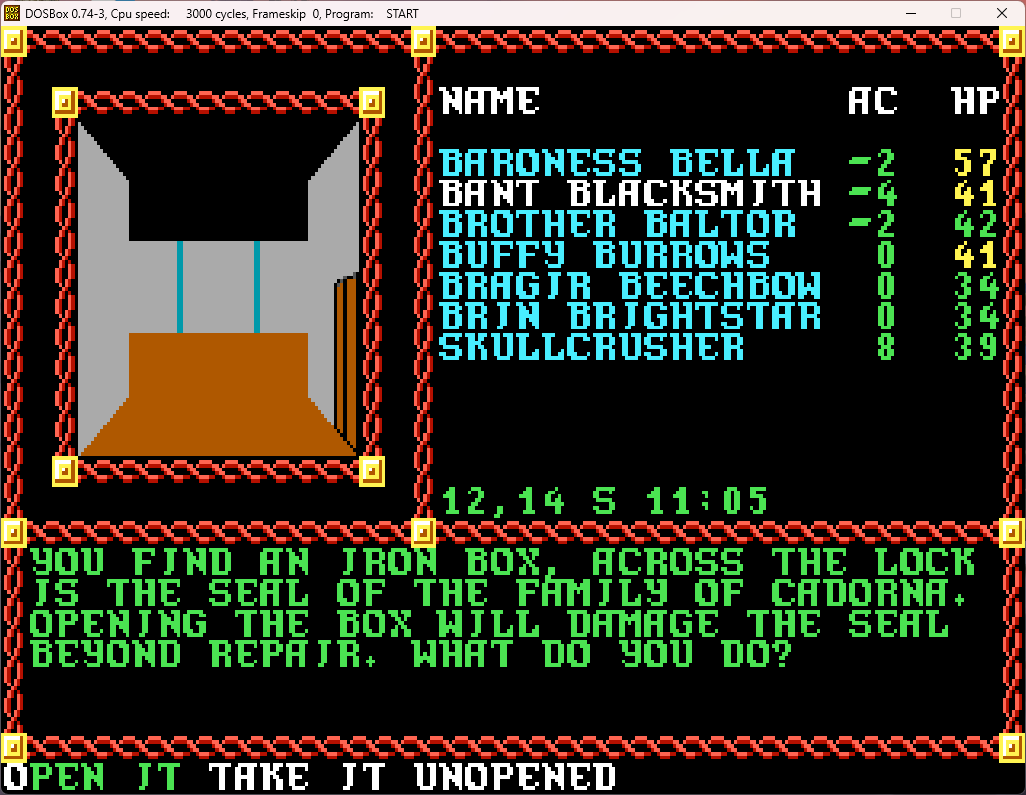
Ah, the lost Cadorna family treasure. We were told not to break the seal and open it, so that will be our choice. But... we also know of someone who isn't bound to that promise...
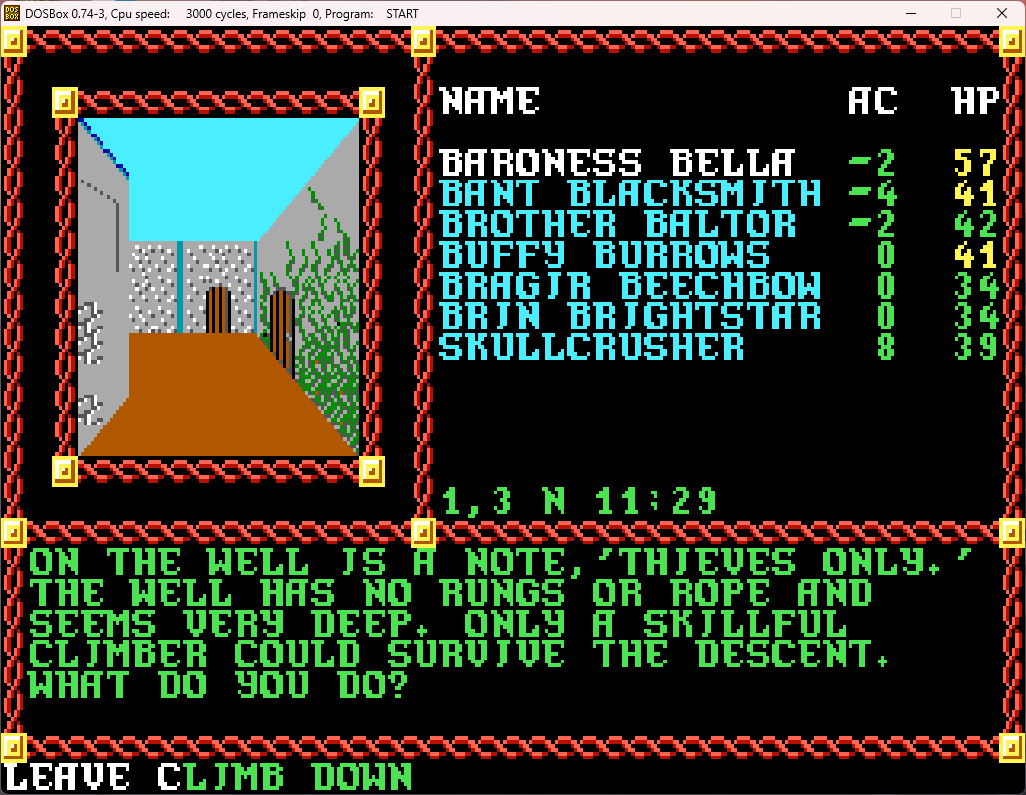
Again we send Buffy down, and Restal throws up ropes for the others to come down as well.
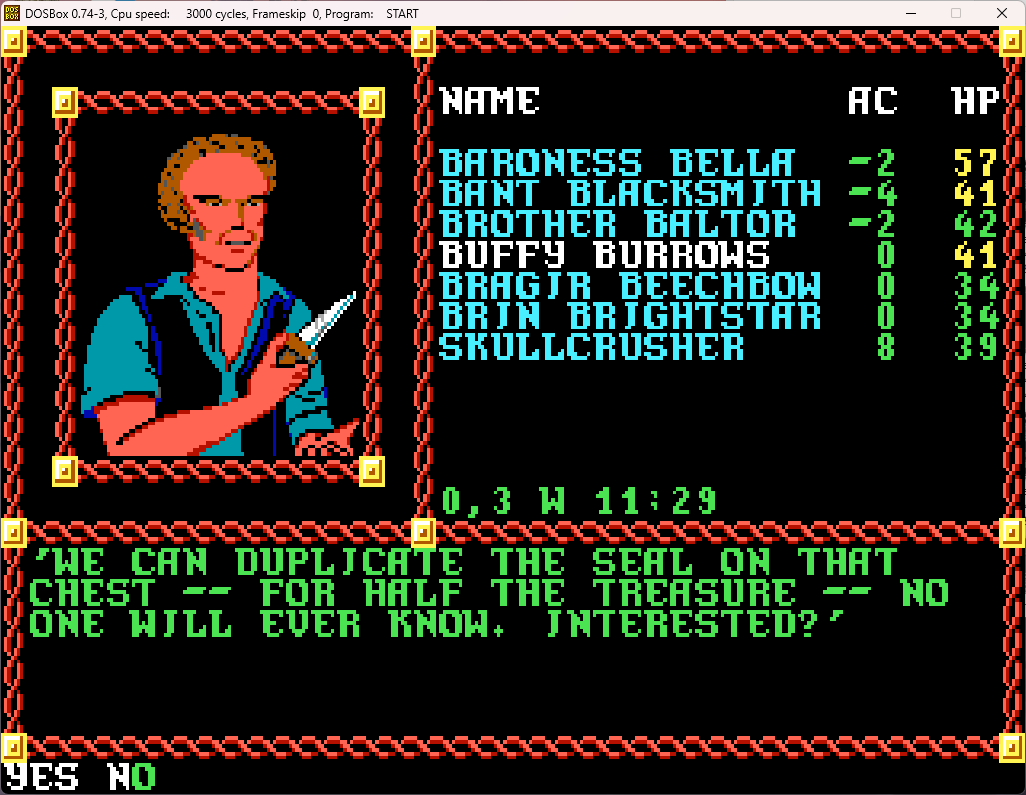
Indeed we are!
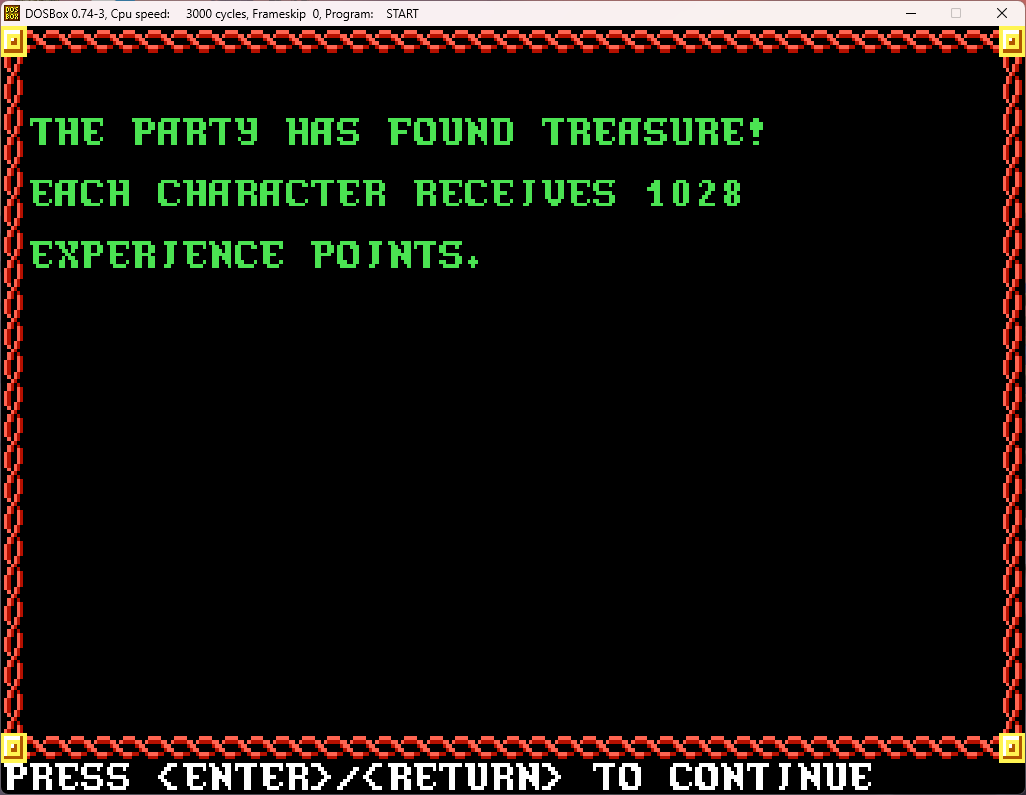
Oooh, lots of XP. This should be good!
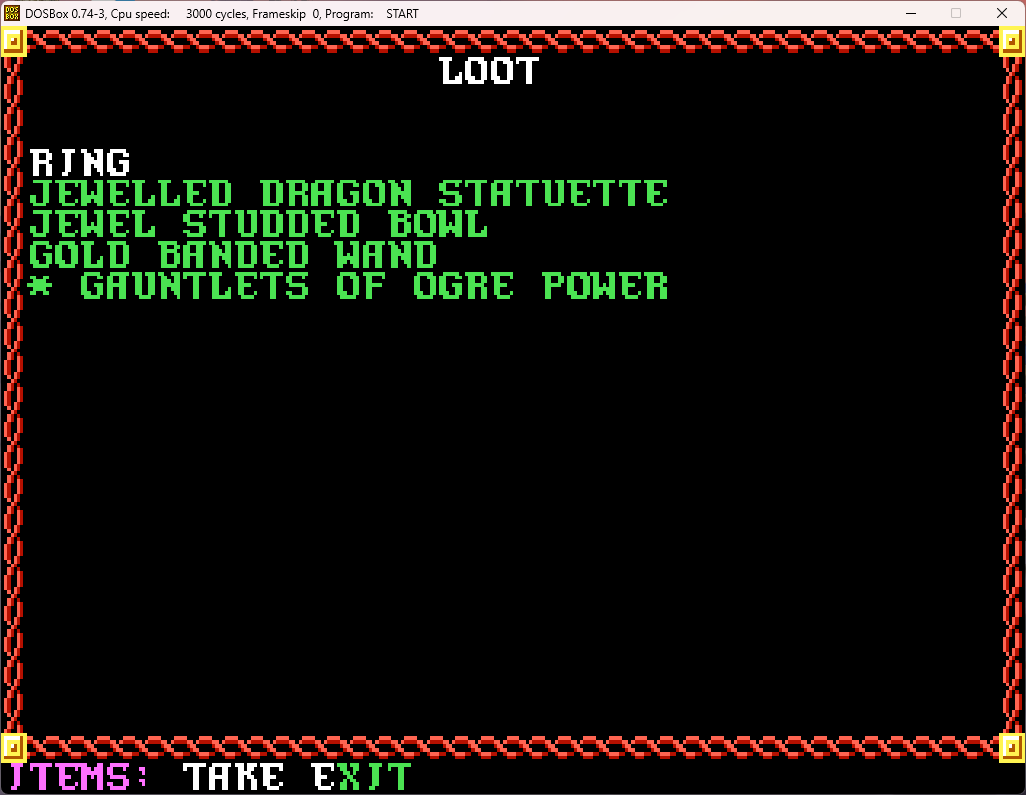
I like that we don't even have to identify it - the game just comes right out and says what the gauntlets are.
And there's one person whom those gauntlets will be perfect for:
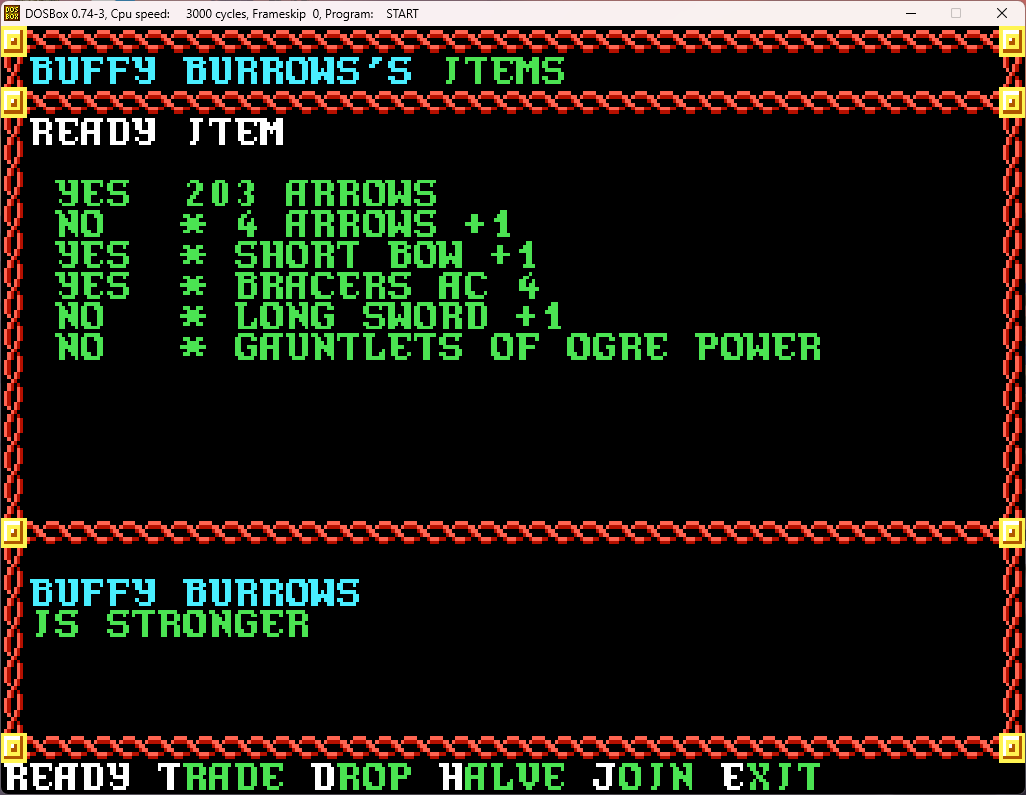
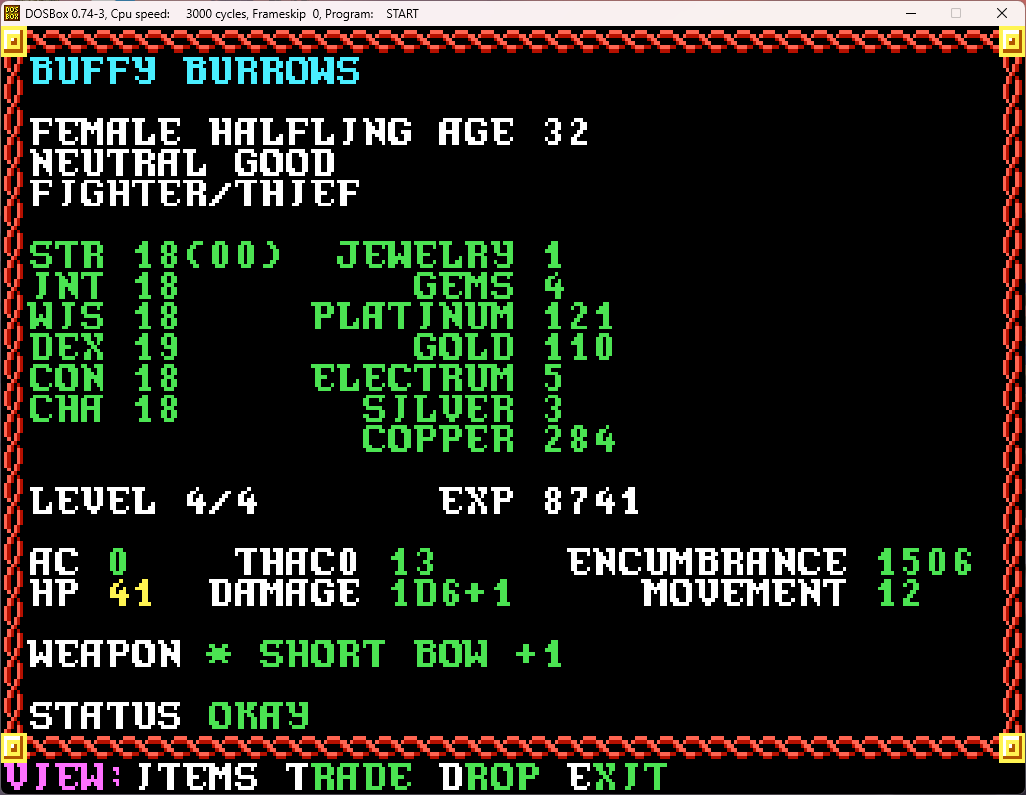
Our little halfling thief is as strong as everyone else now!
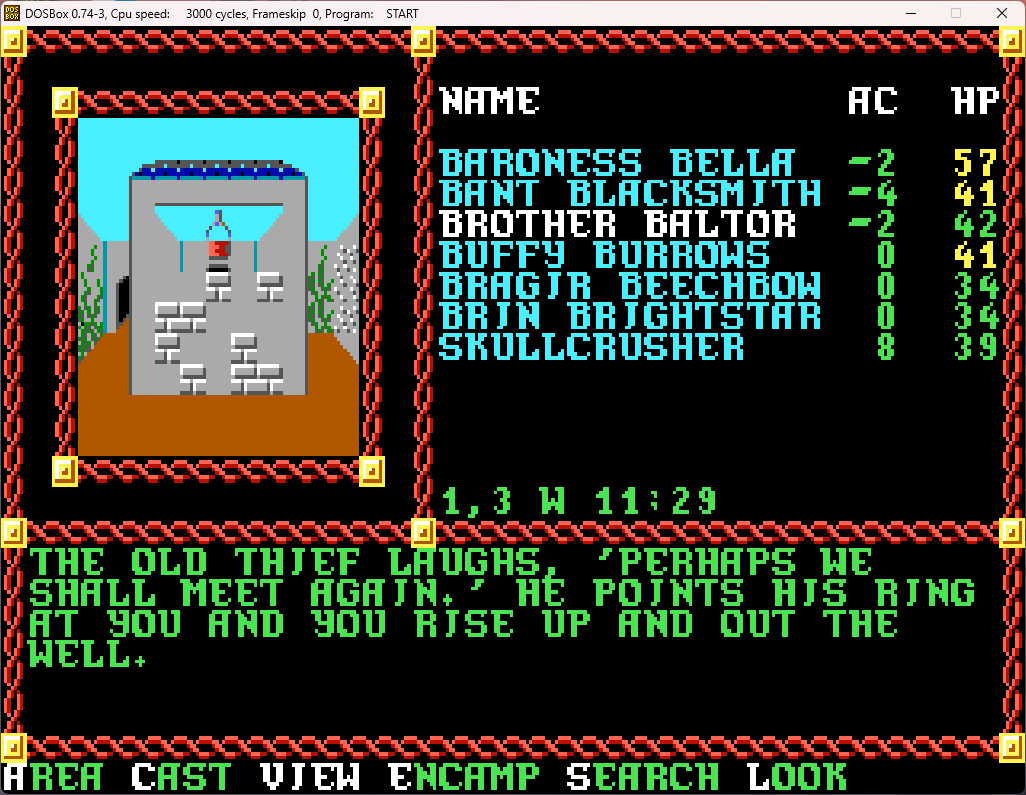
Time to head back to civilized Phlan and claim our reward! Which we will do in the next post.
With our new NPC in tow, we continue to explore the rest of textile house compound. We explore around, heading generally east:
Pleasant. We continue through the door in front of us and into the next room.
Interesting how far we've come from 1e depictions of humanoid foes, where they were depicted as little more than animals. This depiction is especially surprising for hobgoblins, who have always been the most organized of the type.
We head through the door on the left, right back into the bigger room we were in a moment ago. On the north wall:
Yeah. Good for you.
We cross the courtyard and investigate the northeastern building in the complex.
Apparently we've found the kitchen/dining hall area. We head off to the north.
Oooh, interesting! Let's take a look!
Well, we see where he got the nickname from. Also, he's not very creative with his graffiti.
Let's search the body.
Well, that was a whole lot of nothing. Let's go over to the northern building.
A quick fight with a few hobgoblins ensues...
We equip Skullcrusher with his bow:
And target the leaders first:
And they go down quickly. No exciting treasure (or even armor to give Skullcrusher).
Nothing more to see here, we go to the northwestern room in the complex.
They, like the others, are quickly dispatched.
So, with nowhere else left to explore, we go to the southeastern corner of the textile house compound, and enter the building there.
And in we go!
I'm guessing no negotiations here.
The foes (a lot of regular hobgoblins, a few hobgoblin leaders, and the ogre leader) are all lined up against the wall to the south (which I unfortunately failed to get a screenshot of). We move forward to a chokepoint and set anyone there on "Guard".
The hobgoblin leaders, with their ranged attacks, are bunched up in the southwestern corner of the room, so Brin will move up there and take care of them:
My ranged target the ogre leader quickly, with Skullcrusher getting in the killing shot.
And Bragir fires off a second sleep spell on another bunched-up group:
And since Brin is near the front lines, time to further control the battlefield with a stinking cloud.
(That hobgoblin "chokes and gags from nausea", meaning he's helpless and can be taken down at will. If they're just "coughing", they are still up, but with penalties).
At this point, most remaining foes are helpless and can be killed quickly.
(Heh, you can see the skull and crossbones beginning to appear at the feet of the now dying hobgoblin).
And soon we are victorious!
Ah, the lost Cadorna family treasure. We were told not to break the seal and open it, so that will be our choice. But... we also know of someone who isn't bound to that promise...
Again we send Buffy down, and Restal throws up ropes for the others to come down as well.
Indeed we are!
Oooh, lots of XP. This should be good!
I like that we don't even have to identify it - the game just comes right out and says what the gauntlets are.
And there's one person whom those gauntlets will be perfect for:
Our little halfling thief is as strong as everyone else now!
Time to head back to civilized Phlan and claim our reward! Which we will do in the next post.
Demetrios1453
Hero
Pool of Radiance (Part 24): Cadorna Textile House (Part 3) - Cadorna Textile House completed!
We manage to actually get out of the block without further random encounters (leaving us with eight to do once we decide to clear the zone), and get back to the civilized area with no further harm.
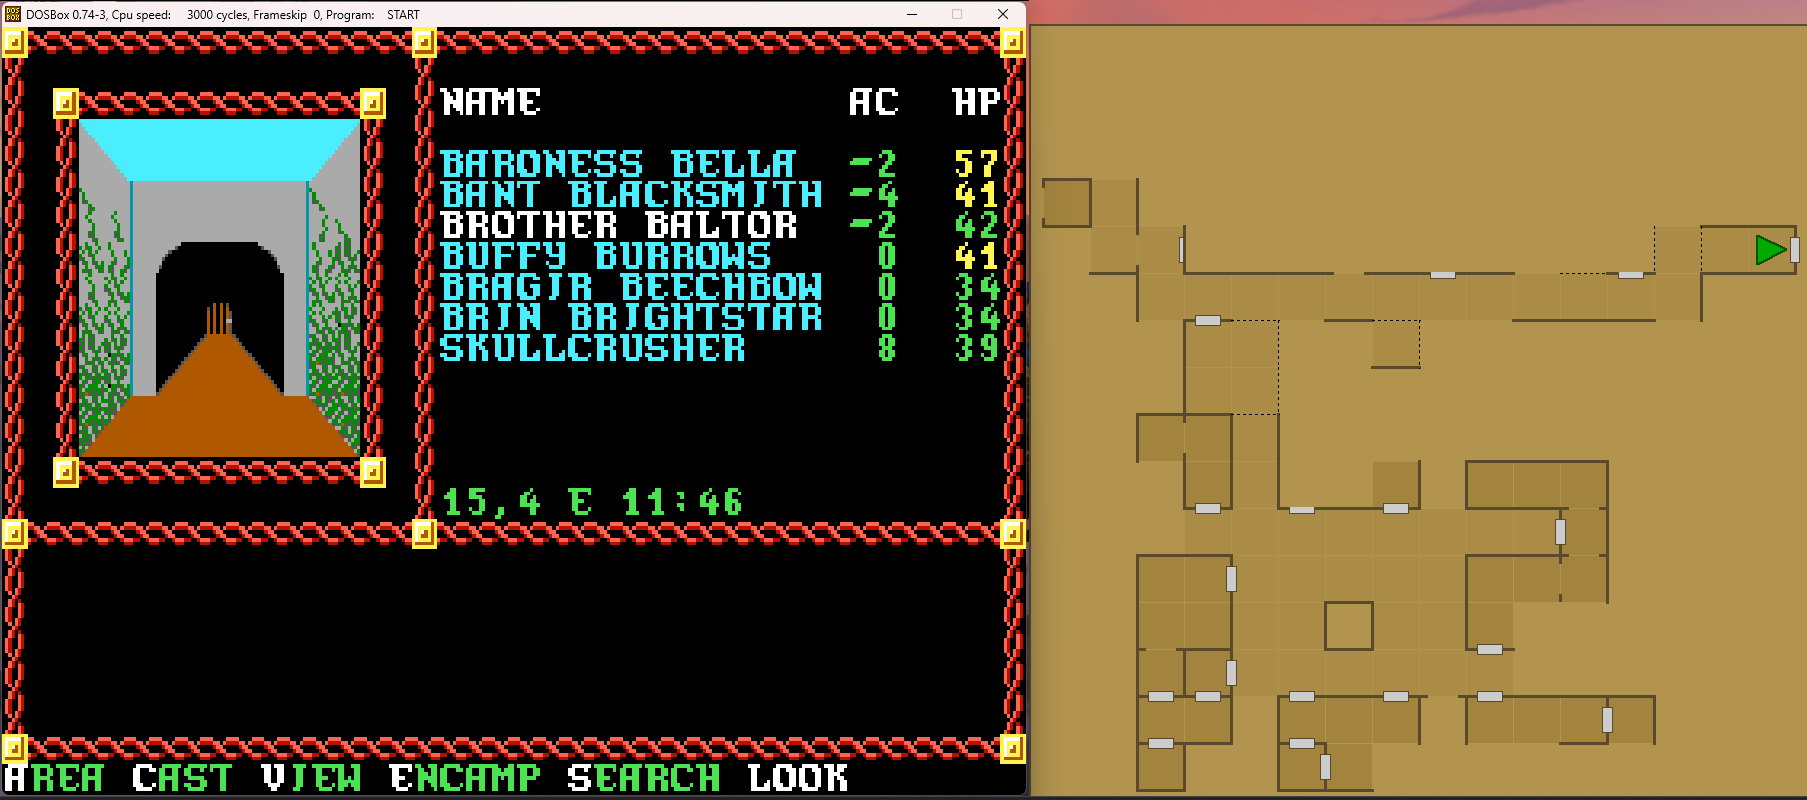
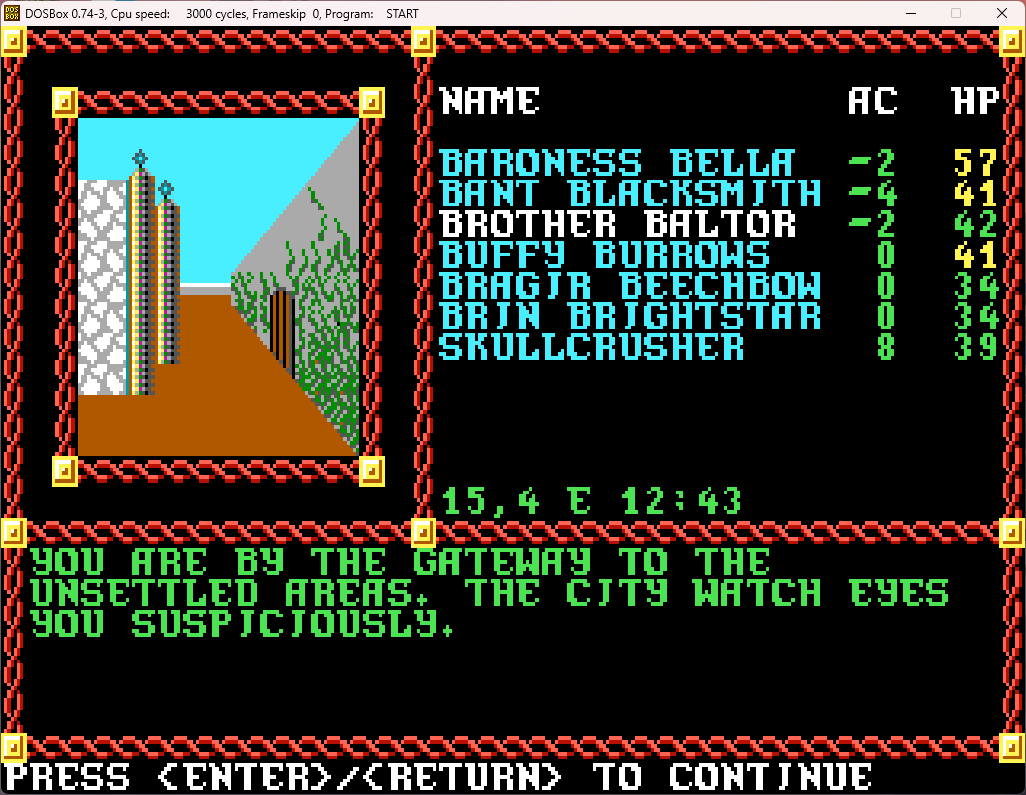
We are just about to make yet another snide remark under our breaths about the suspicious guards when...
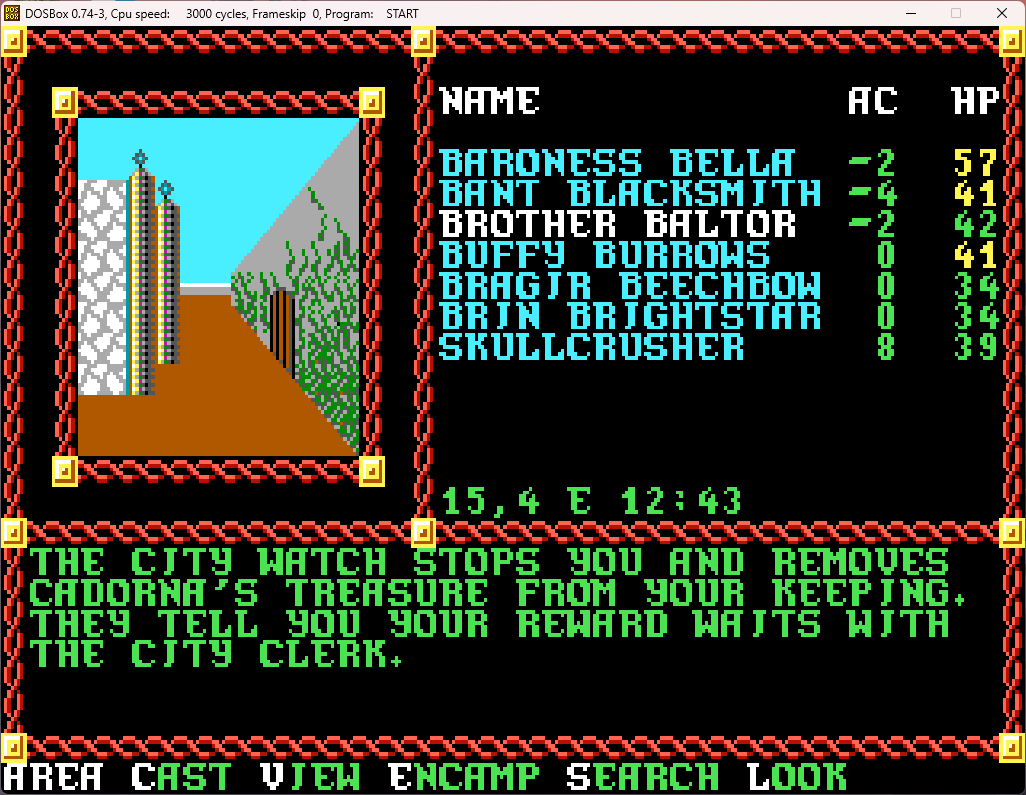
OK, that was abrupt, and apparently we had no choice in the matter. Oh well, we move forward towards the City Hall. Just before we enter:
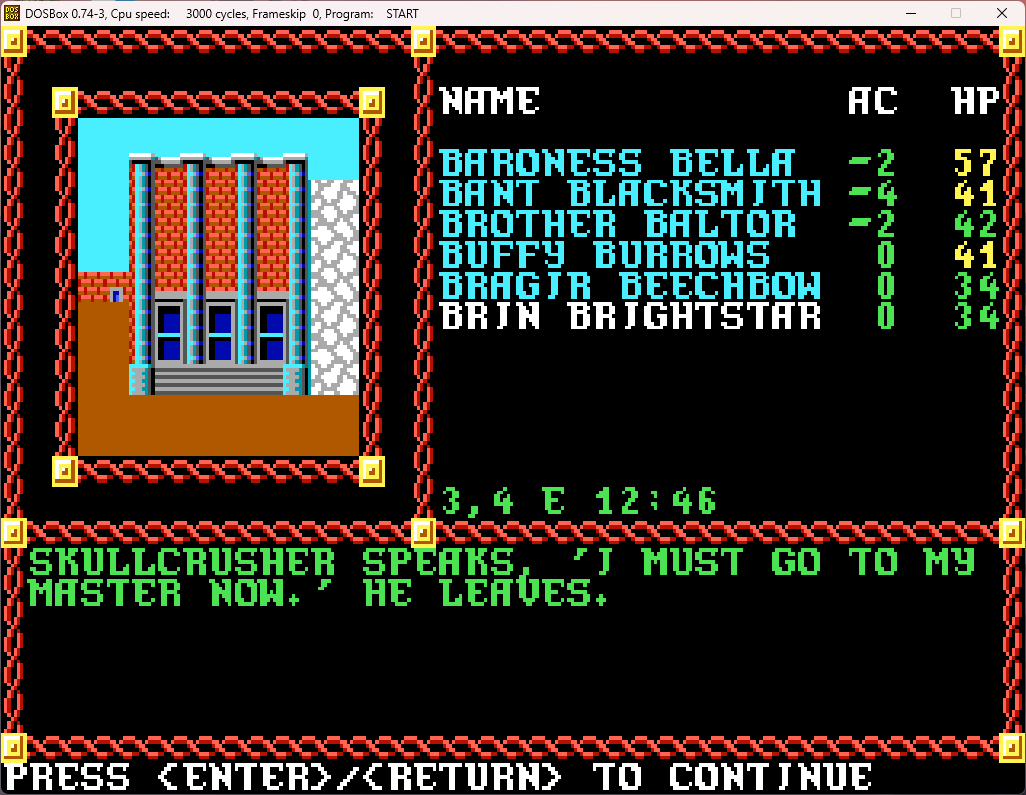
Abrupt again! And we're down a longsword, a longbow, and some arrows that go with him. This reward better be worth it...
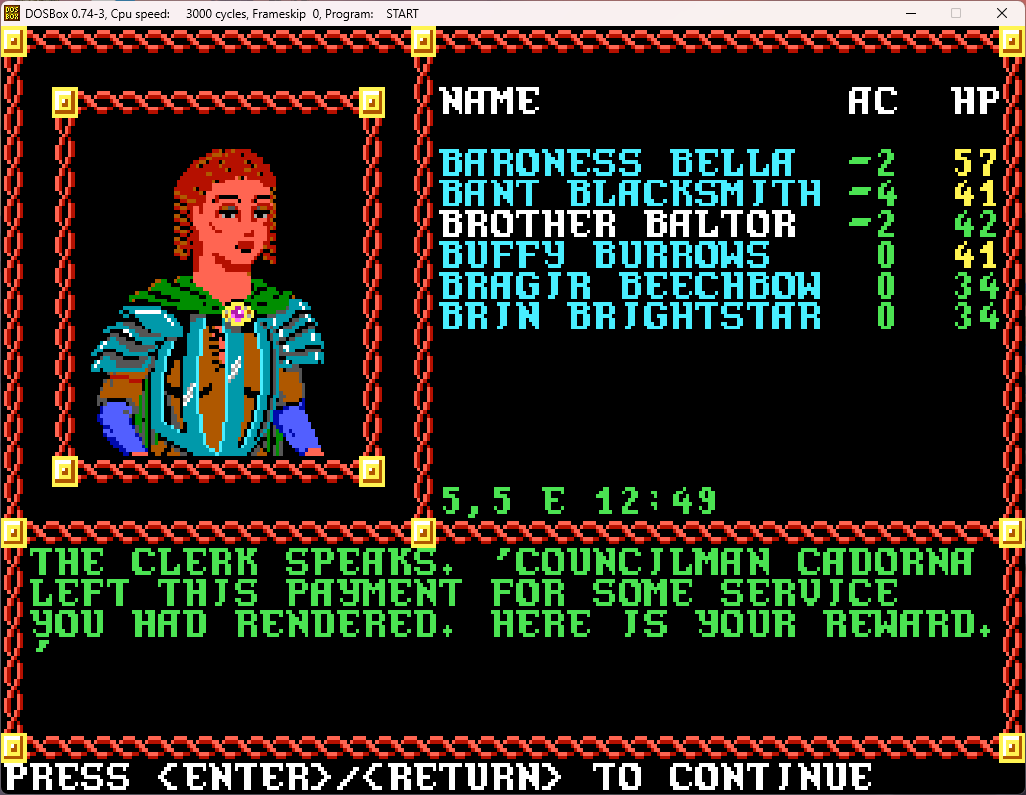
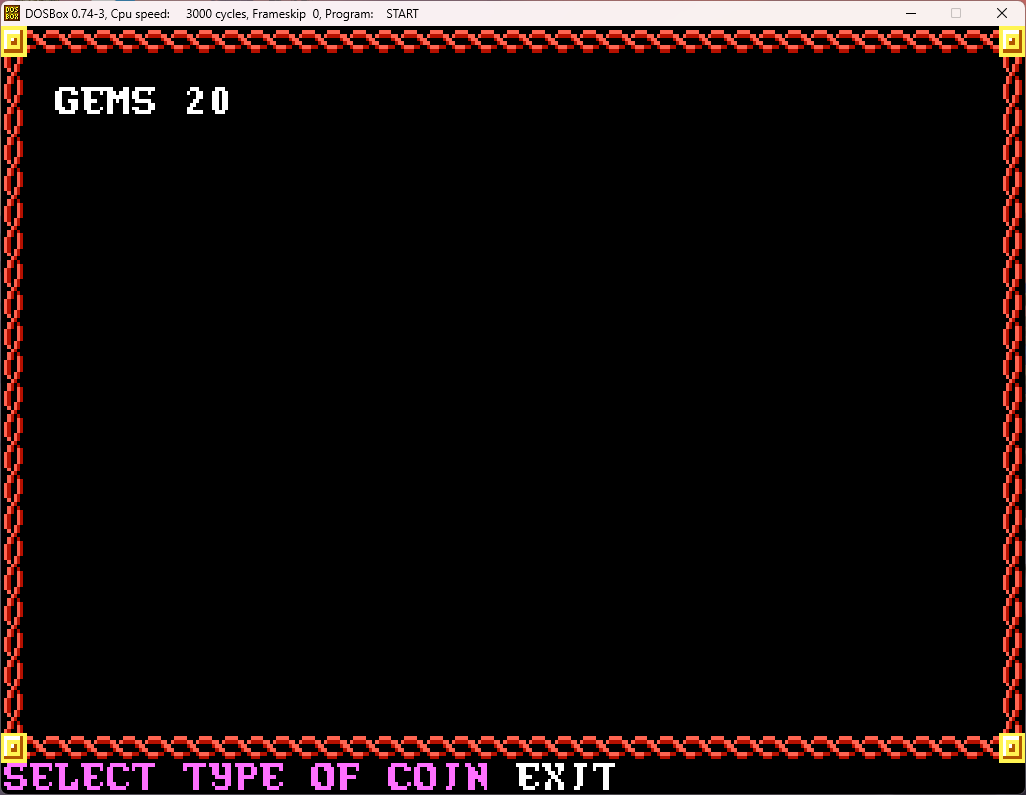
Not bad! Also, not heavy! And also also, lots of XP!

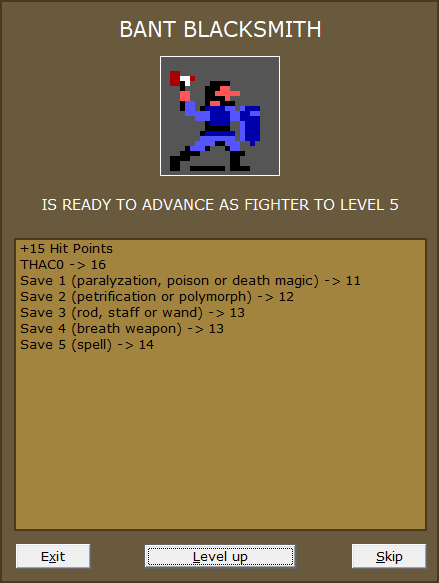
The City Clerk doesn't have any new commissions (which are currently clear the thieves from the Kovel Mansion, keep the nomads from joining the Boss' army, and keep the kobold tribe from doing the same), so it's time to see what all this loot we've gathered can sell for!
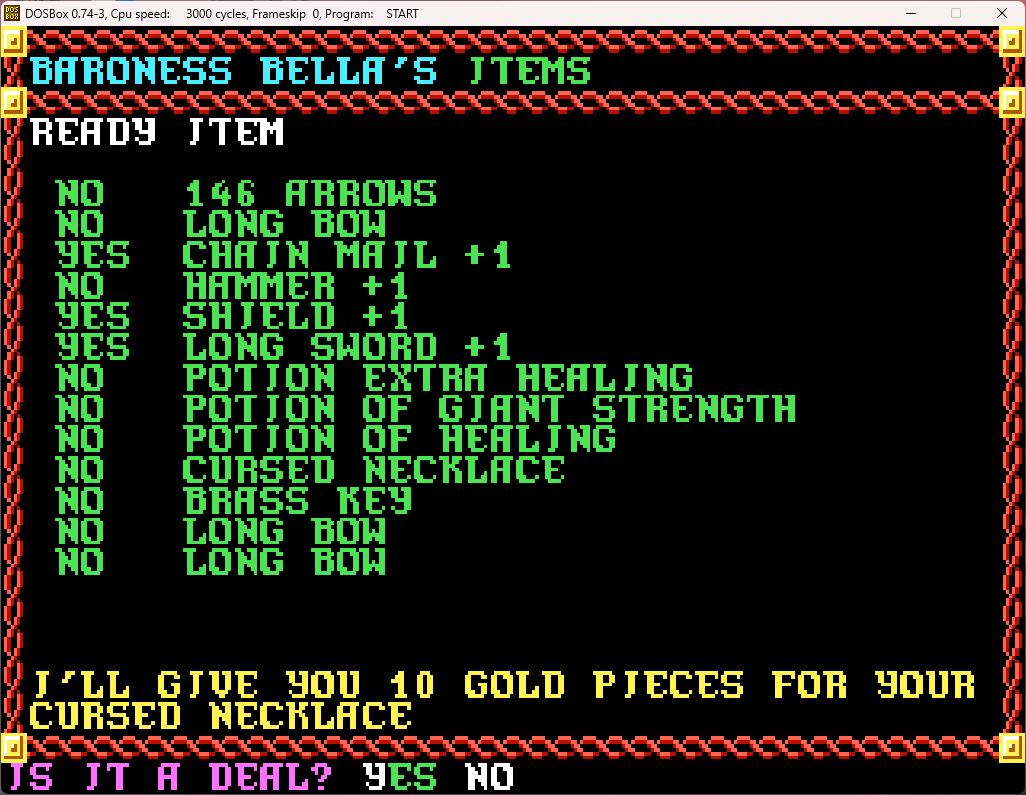
Well, that was 10 gp more than I expected, so sure. Have fun selling that to some unsuspecting buyer!
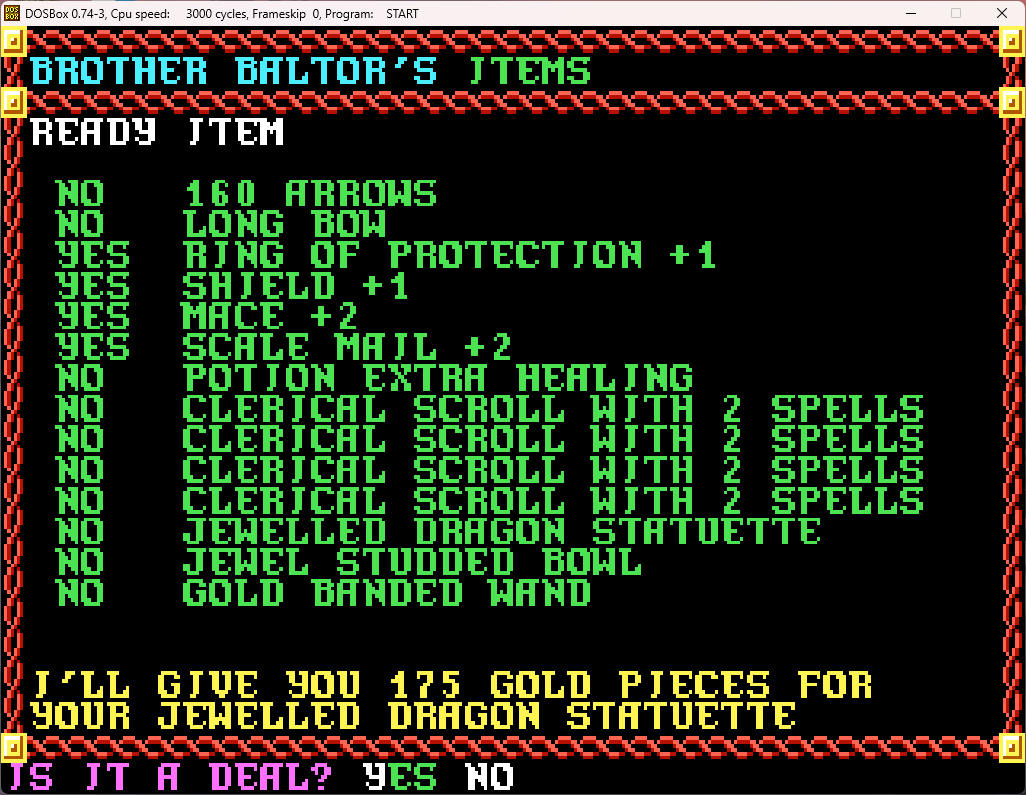
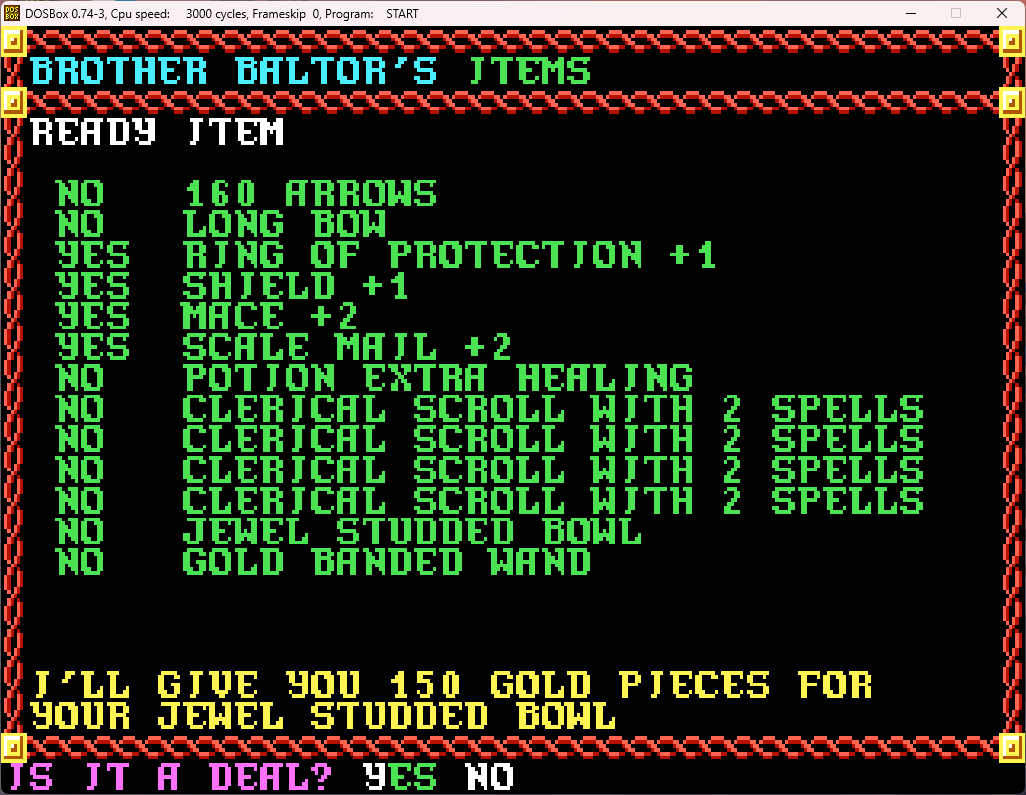
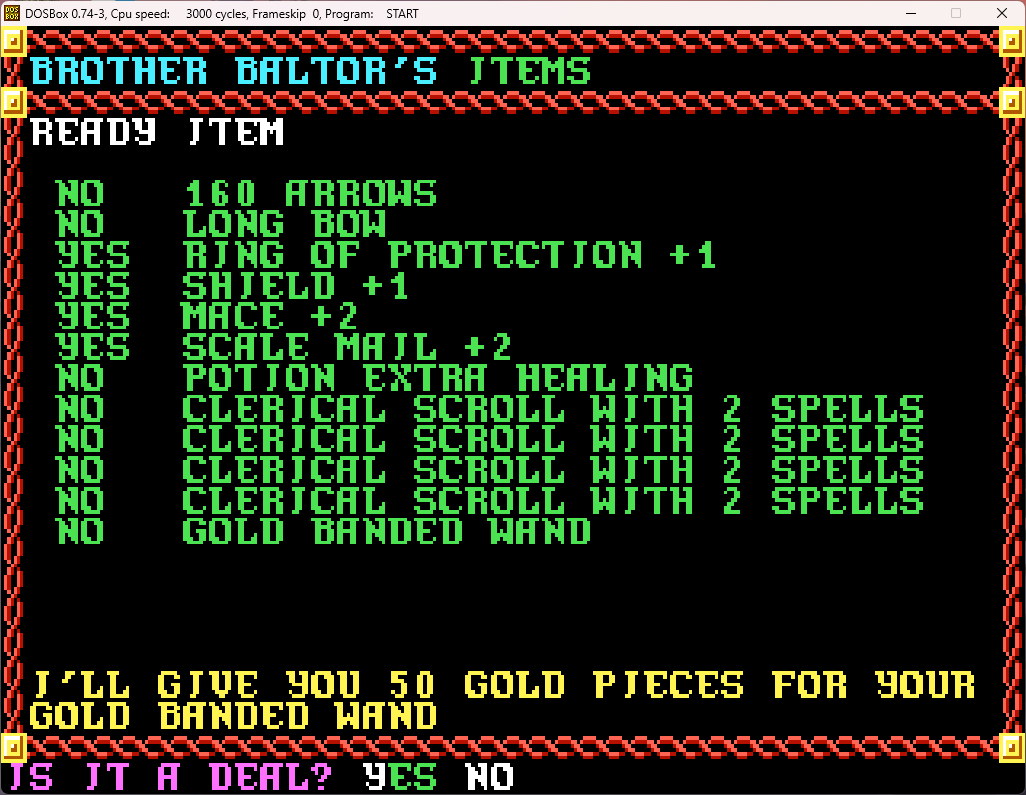
Kind of disappointed with the gold wand, but the rest sold fairly nicely.
After buying arrows and consolidating currency, here are our current funds:
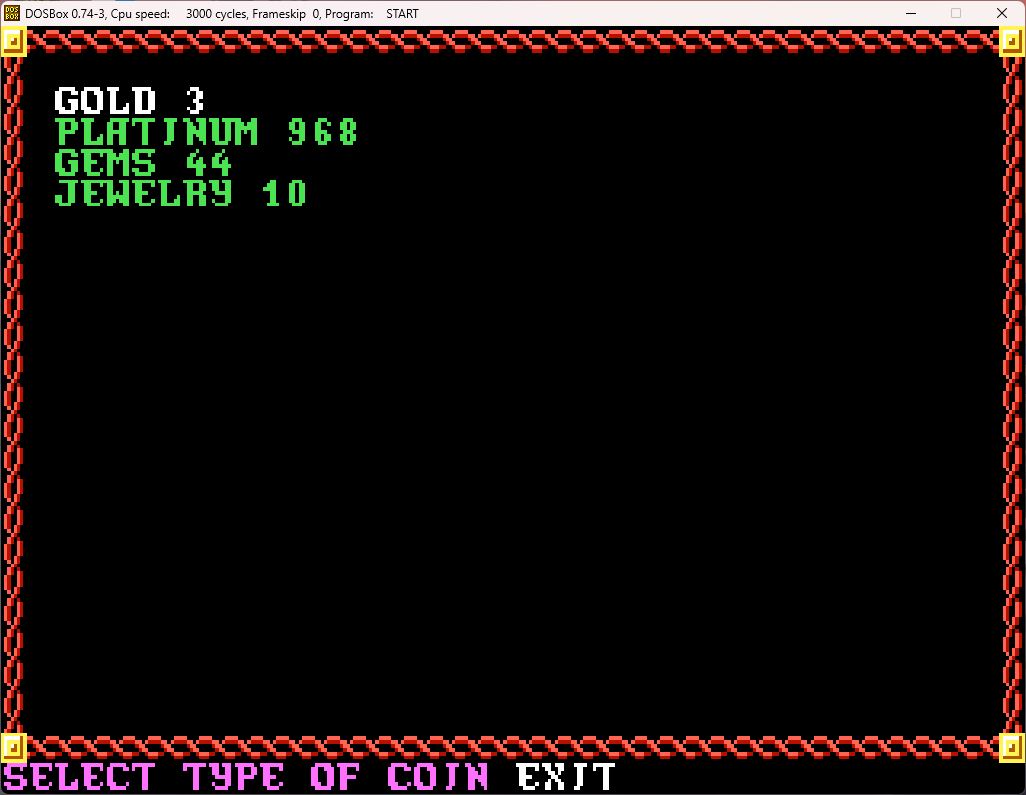
Time to go to the inn, to rest up, memorize spells, and, most importantly, scribe some spells from the scrolls we got!
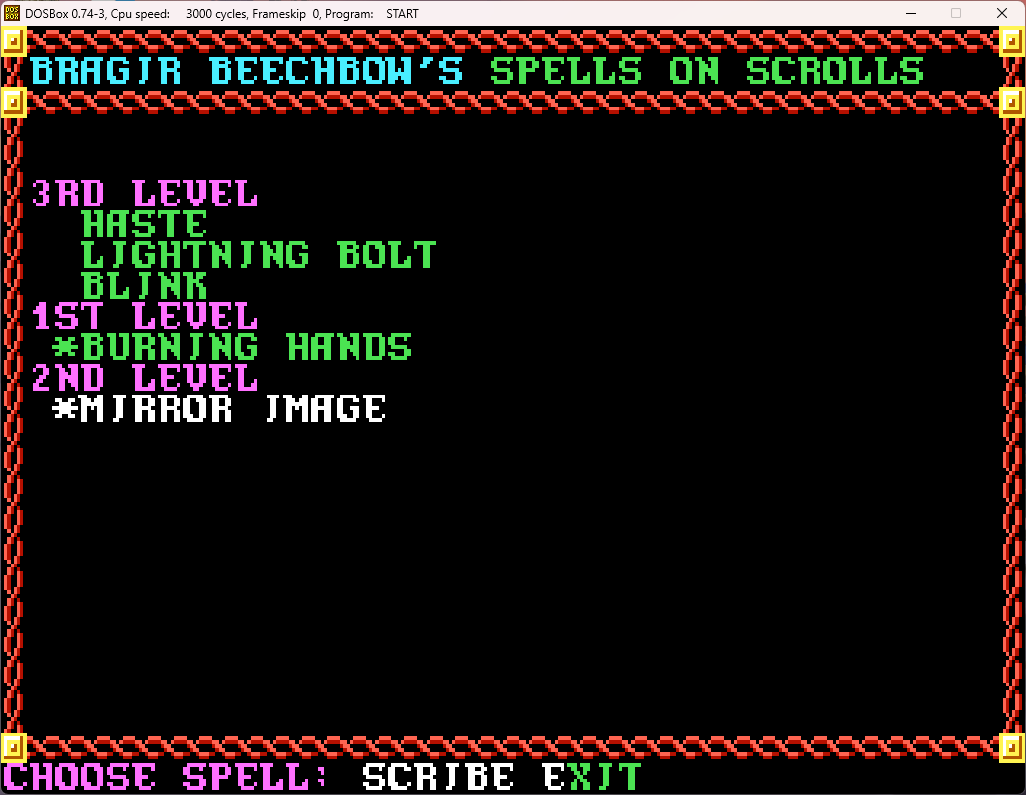
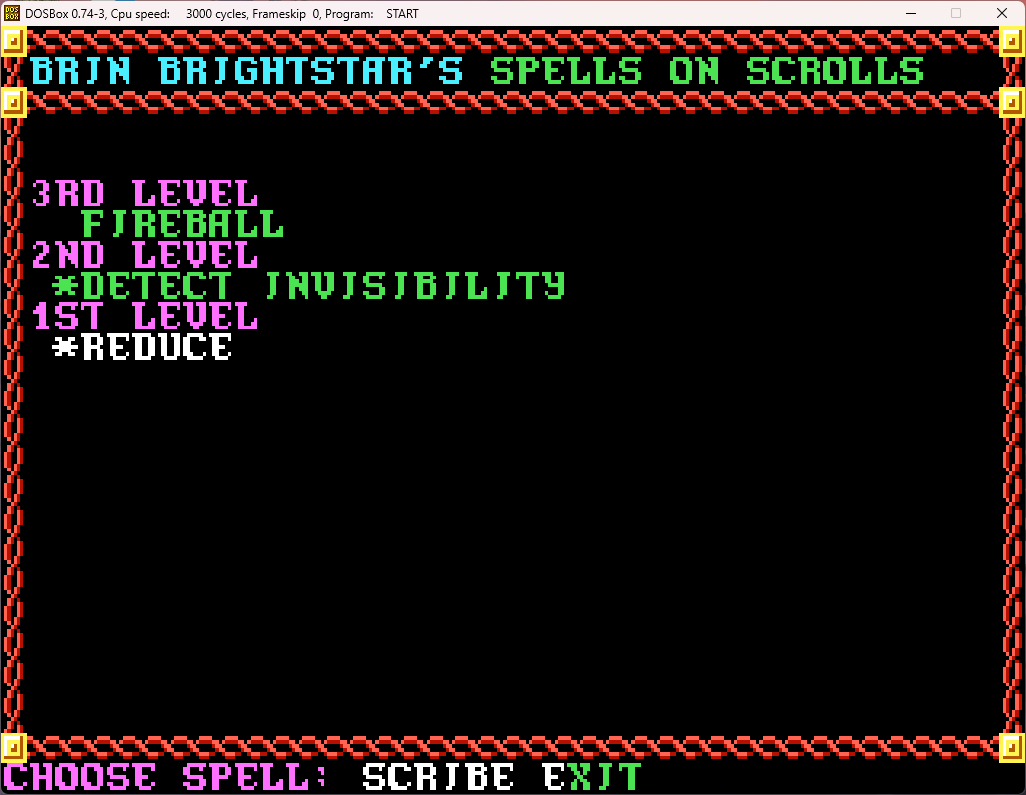
After resting, our spellbooks have gotten a bit fatter:
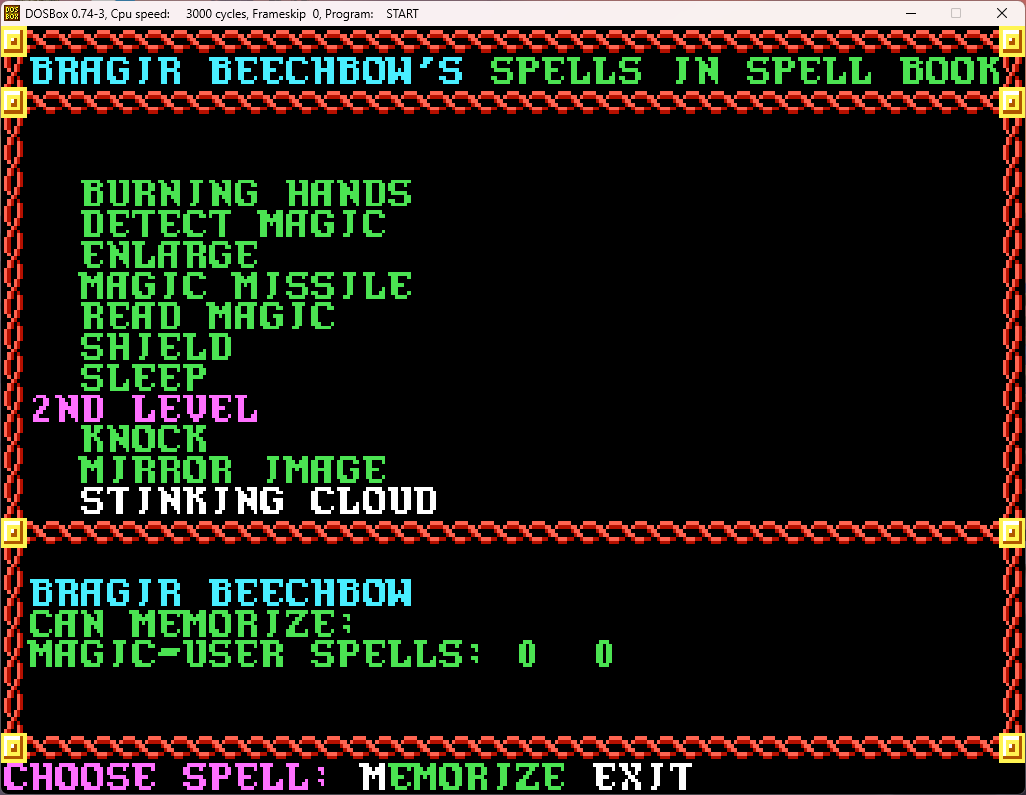
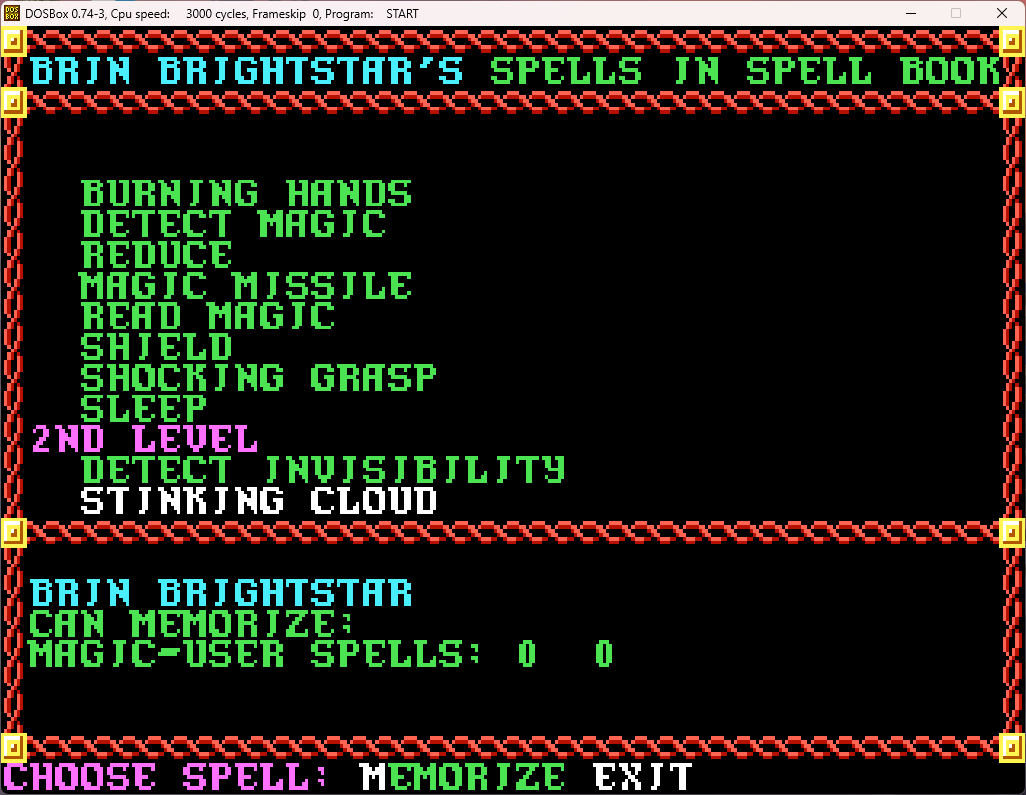
All rested up, and ready to go to the Kovel Mansion next!
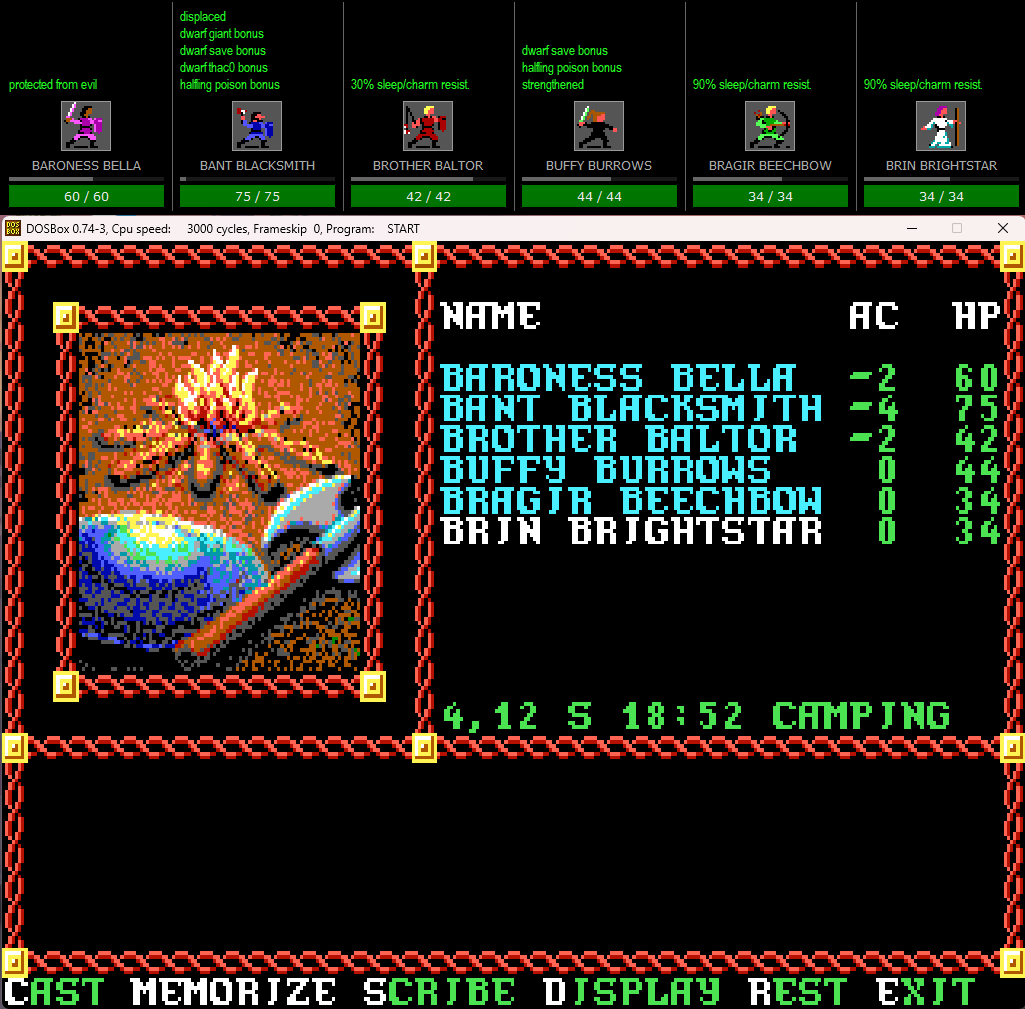
Here's how everyone's character sheet looks at the moment:
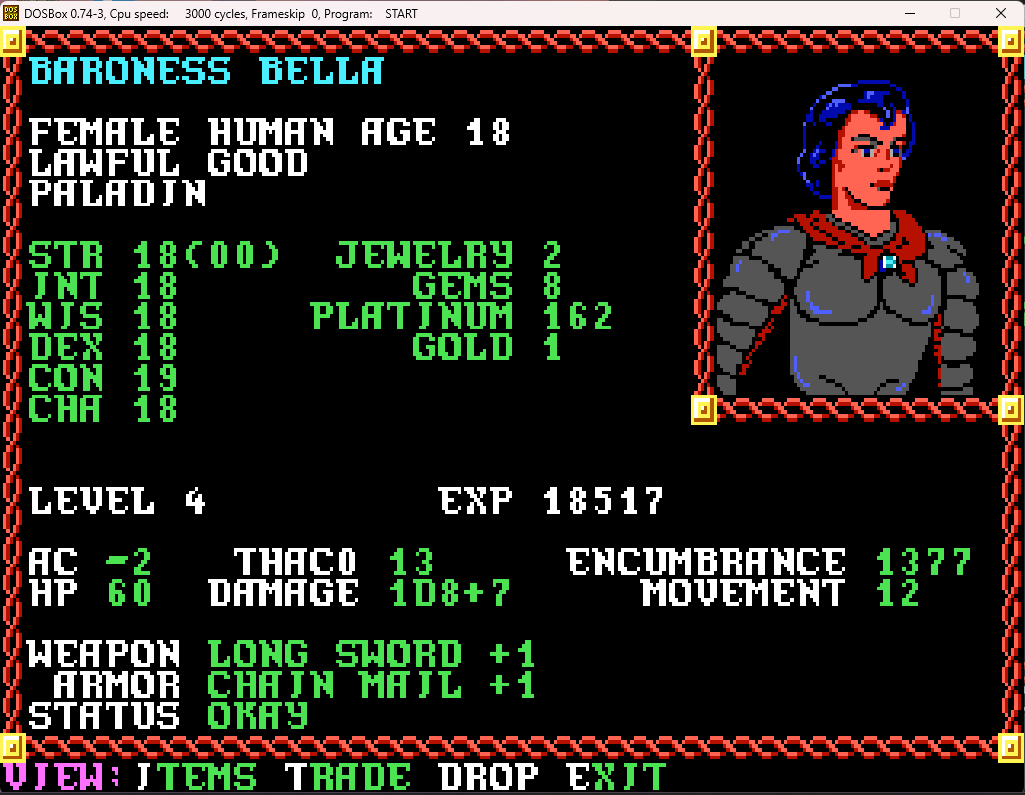
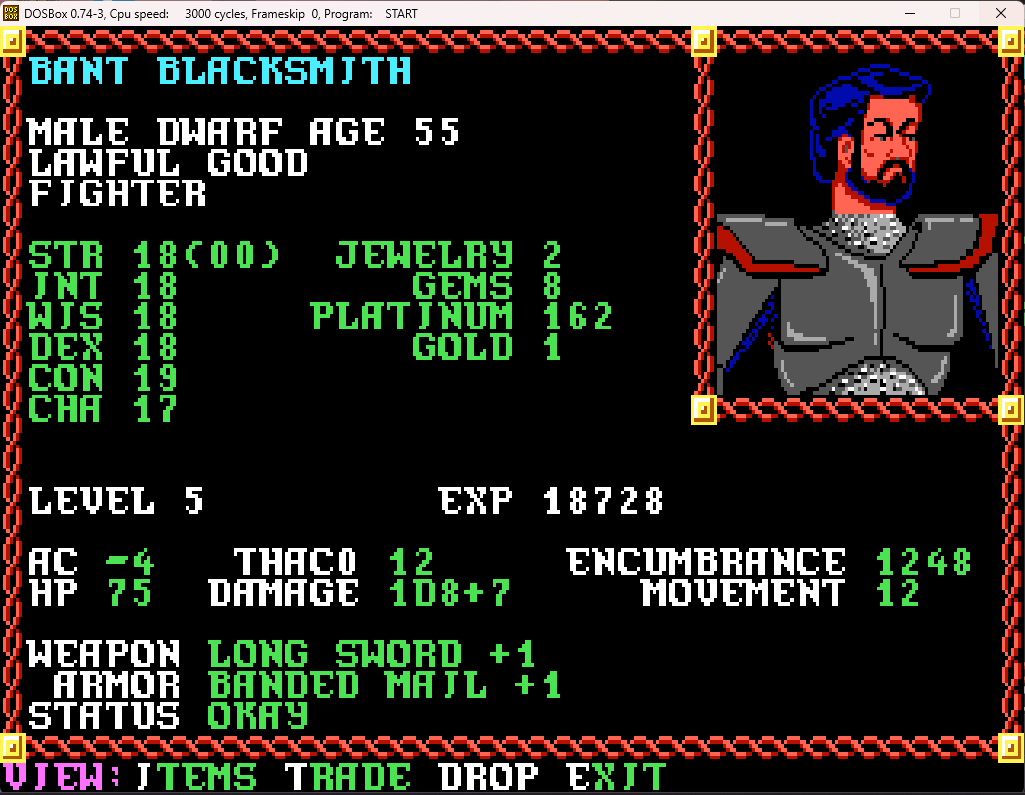
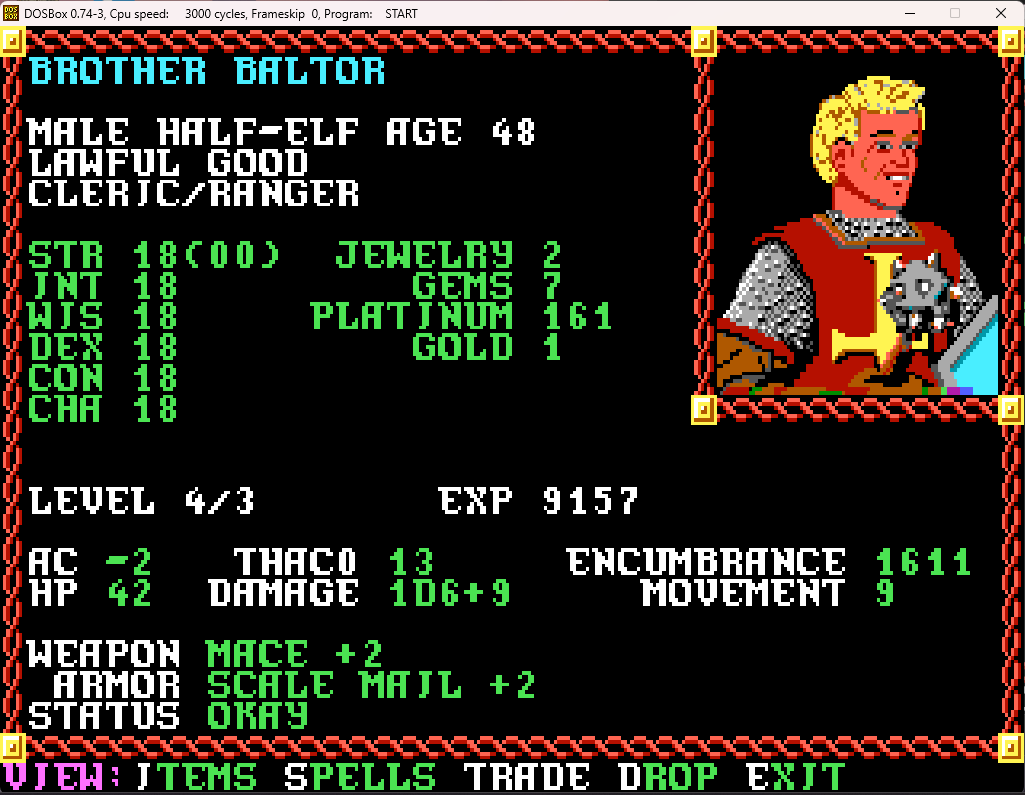
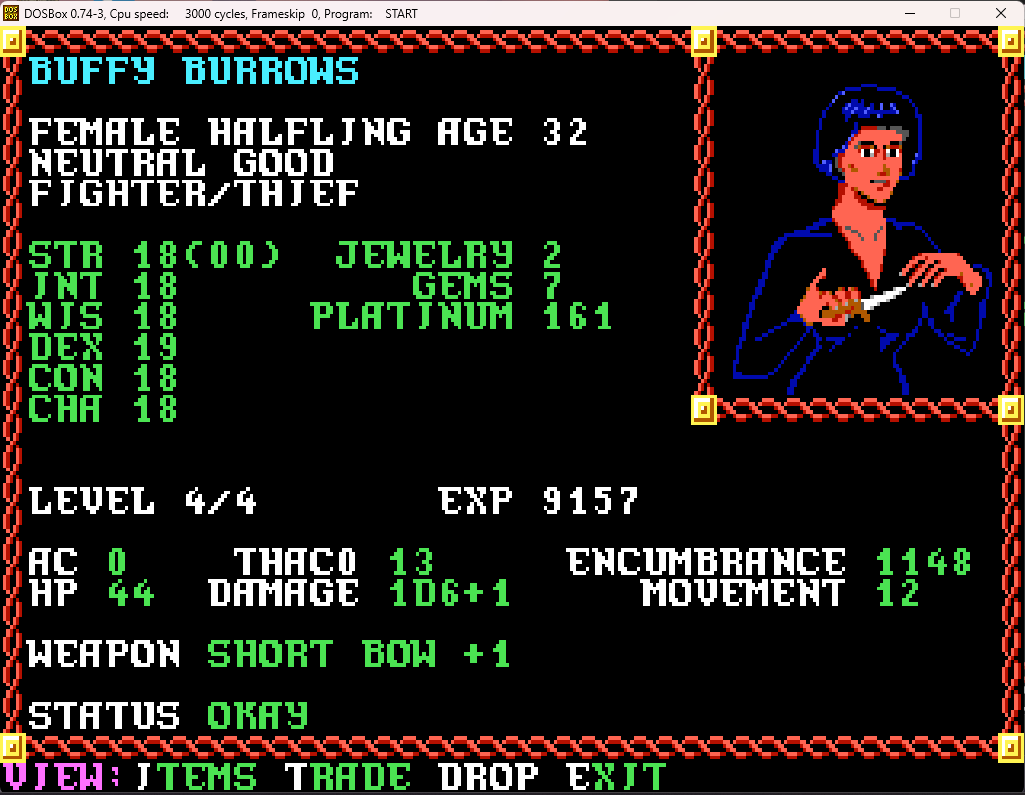
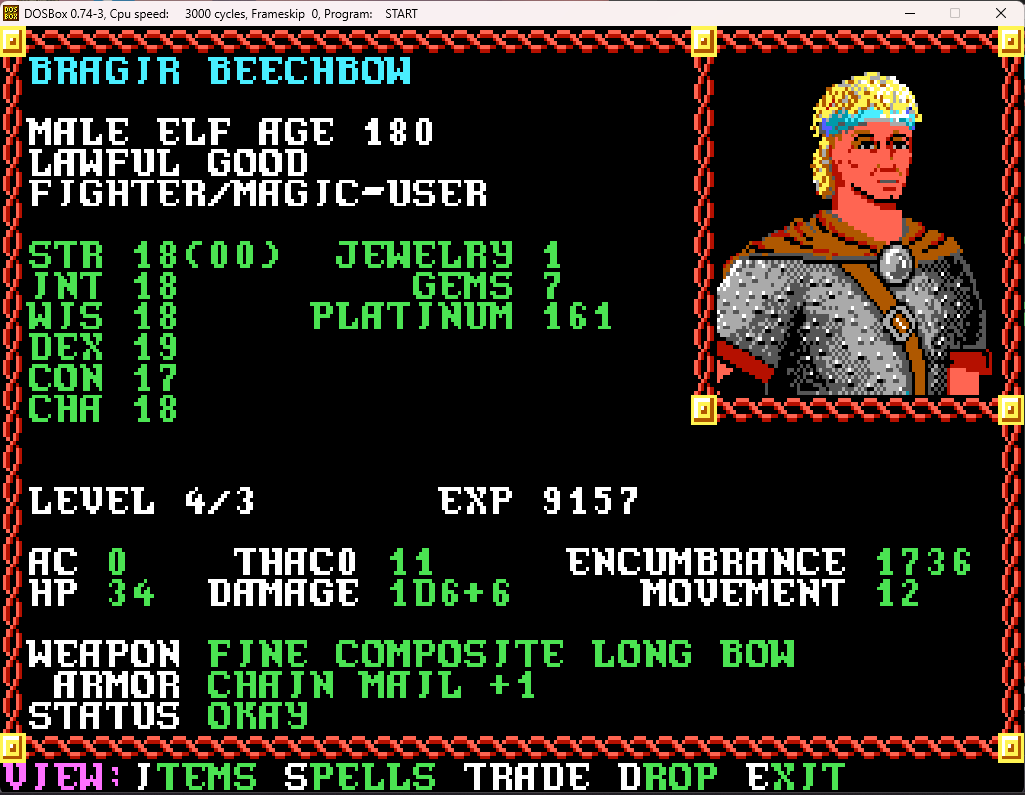
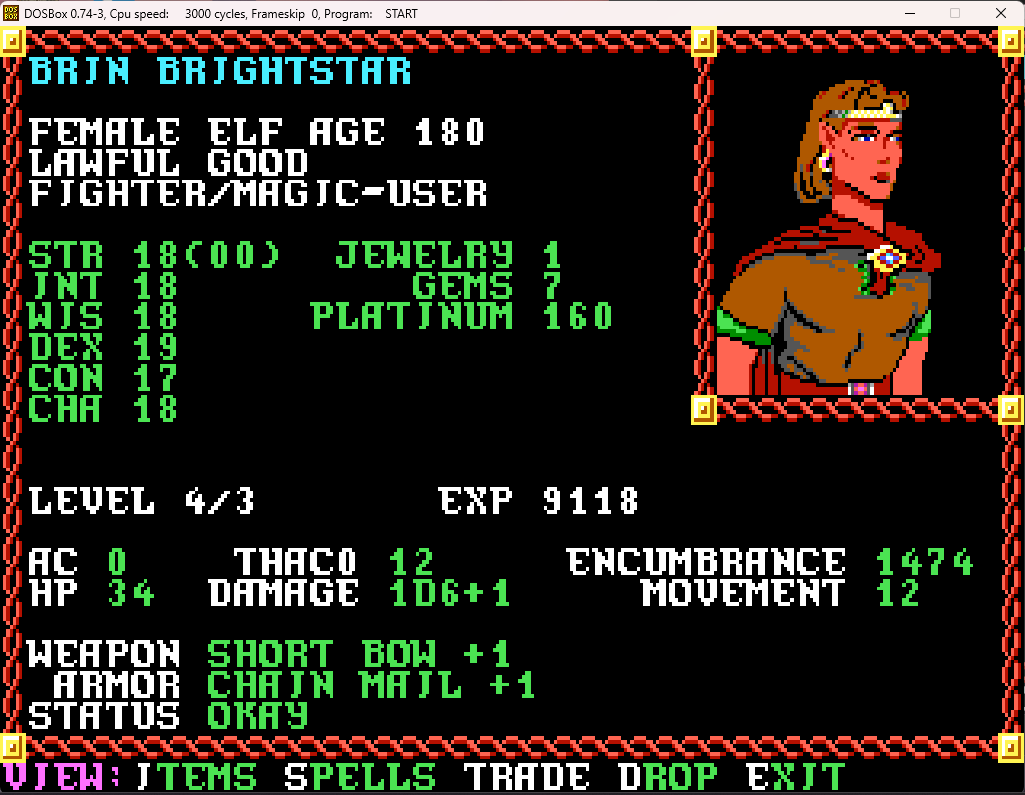
(One thing to note is that in later games Buffy's 18 (00) STR will have a "*" next to it, indicating that the ability has been raised through an item or temporarily through a spell - although not Baroness Bella's 19 CON, which is permanent).
And here's a map of the Cadorna Textile House:
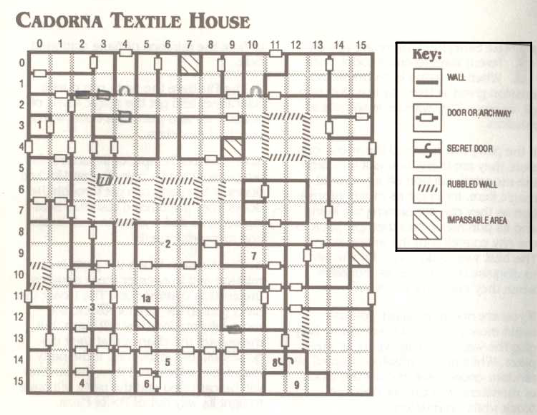
Next time - Kovel Mansion!
We manage to actually get out of the block without further random encounters (leaving us with eight to do once we decide to clear the zone), and get back to the civilized area with no further harm.
We are just about to make yet another snide remark under our breaths about the suspicious guards when...
OK, that was abrupt, and apparently we had no choice in the matter. Oh well, we move forward towards the City Hall. Just before we enter:
Abrupt again! And we're down a longsword, a longbow, and some arrows that go with him. This reward better be worth it...
Not bad! Also, not heavy! And also also, lots of XP!
The City Clerk doesn't have any new commissions (which are currently clear the thieves from the Kovel Mansion, keep the nomads from joining the Boss' army, and keep the kobold tribe from doing the same), so it's time to see what all this loot we've gathered can sell for!
Well, that was 10 gp more than I expected, so sure. Have fun selling that to some unsuspecting buyer!
Kind of disappointed with the gold wand, but the rest sold fairly nicely.
After buying arrows and consolidating currency, here are our current funds:
Time to go to the inn, to rest up, memorize spells, and, most importantly, scribe some spells from the scrolls we got!
After resting, our spellbooks have gotten a bit fatter:
All rested up, and ready to go to the Kovel Mansion next!
Here's how everyone's character sheet looks at the moment:
(One thing to note is that in later games Buffy's 18 (00) STR will have a "*" next to it, indicating that the ability has been raised through an item or temporarily through a spell - although not Baroness Bella's 19 CON, which is permanent).
And here's a map of the Cadorna Textile House:
Next time - Kovel Mansion!
Similar Threads
- Replies
- 19
- Views
- 7K
- Replies
- 17
- Views
- 2K
- Replies
- 0
- Views
- 616
- Replies
- 0
- Views
- 427
- Replies
- 267
- Views
- 38K
