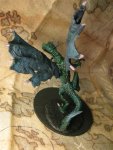
[Miniatures] Dog's Bones - 2018 ->Dec 18th - Animals

dogoftheunderworld

Adventurer
Supporter
Looking good.

It might just be the picture but I'm not seeing a wash on these miniatures. I'm not an amazing miniature painting artist, and I was self taught. So if this sounds dumb, just ignore this post.
I usually paint a base coat (darker colors than the finished colors you want), then I use a watered down black paint wash (to bring out the detail, Very important!) use your brush to apply the wash and soak it up if you put too much on, followed by a dry brush of the colors I want (this step is when I paint in all the details and give it color, use your finest brushes if need be). The results are great! And its easy and quick to do.
As for eyes, I hate eyes but they will make/break a miniature. Try filling the whole eye with black. Then run a off-white line across the eye (----). Then run your brush with black paint perpendicular to that white line in the middle, essentially making a cross with the two colors. (--I--). The results is a black eye ball in the center of a white eye. Its not great and there are better more challenging ways to do an eye, but it works good enough.

I hope that helps and good luck painting.

Thanks. I've tried several different techniques in the past (and continue to try them). I have never been able to get the hang of a black wash. I have tended toward doing straight layers, with some dry brushing for textures. But, with so many bones to paint, I am definitely trying new (& old) things.

I have tried the above "eye" technique as well, with mixed results. A little better results when my own eyes were better :) Depending on the mini (a couple of these last ones had very small faces, with cloaks covering even more), I have been shooting for just a dot of color to hint at the eyes... which doesn't look as good with these close up pictures, but looks good enough at tabletop viewing :)
 

log in or register to remove this ad

tangleknot

Explorer
The black wash is probably the most important step you'll ever master. When I first started I only did a base coat and dry brush. 200 mini's later I learned how to wash and well.... I went back and redid them all. It brings out the detail, it makes the miniature "pop".
The key to washing is that you apply the wash conservatively, don't just dump it on. Place it on the mini and remove it if you add too much. It should have the consistency of milk, as It should accumulate as black in the resesis but wash over the miniature like its not there. When your finished your miniature might have a dark film over the entire mini, that's ok. Your base coat will be mostly intact, the wash will be applied and the dry brush will take this dark looking mini and make it look amazing.

Good luck.
 

dogoftheunderworld

Adventurer
Supporter
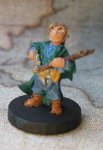
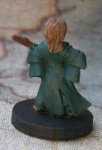
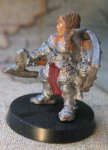
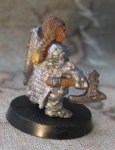
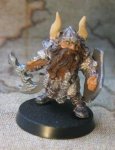
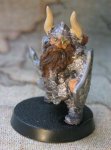
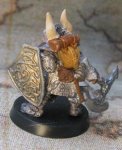
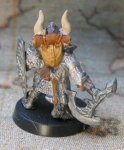
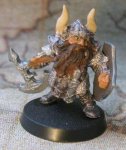
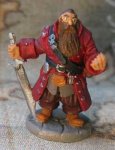
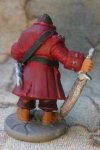
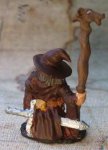
5 dwarves and a halfling

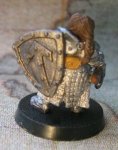
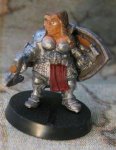
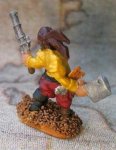
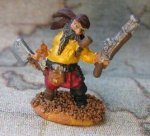
Some smaller characters. Still playing with bases, etc. Eyes are better, but off a little. The halfling's base is a 3/4" wooden disk from LITKO.

055 (Medium).JPG054 (Medium).JPG
052 (Medium).JPG050 (Medium).JPG049 (Medium).JPG048 (Medium).JPG
046 (Medium).JPG045 (Medium).JPG
044 (Medium).JPG043 (Medium).JPG042 (Medium).JPG041 (Medium).JPG040 (Medium).JPG
039 (Medium).JPG038 (Medium).JPG
036 (Medium).JPG035 (Medium).JPG034 (Medium).JPG
 
Last edited:

tangleknot

Explorer
Looking good!

Chain mail/ plate mail tip: Right off the bat paint the platemail/ chainmail surface black, and dry brush your silver on. It won't require a wash, just 2 steps and it looks pretty good.
 

dogoftheunderworld

Adventurer
Supporter
Looking good!

Chain mail/ plate mail tip: Right off the bat paint the platemail/ chainmail surface black, and dry brush your silver on. It won't require a wash, just 2 steps and it looks pretty good.

Thanks. I remember that tip now... I was doing it backward for some reason: I painted with silver/steel and dry brushed with black. I will be trying the above method on my next paint-up: Huge Skeleton.
 

tangleknot

Explorer
:) Also Your minis look kinda dark, almost as if you applied a base coat and a wash, but not the final dry brush afterwards (It could also be the photo). If you did apply a dry brush you might want to try a color one shade "lighter"

Disclaimer: As I said before, I'm self taught and my techniques may or may not be perfect, but:

I usually paint a base coat one shade darker than I want the final color to be. Next after that dries I apply a black wash on the mini and then after that dries dry brush the final color on the miniature. I usually paint 4-6 at a time and it takes ~30-45 min per miniature.

If you own 2 bottles of every color (one slightly lighter or darker than the other) it can save a lot of time. I was cheap starting off as a painter, and probably painted ~500 minis before I finally bought 2 of each.
If you need cheap brushes buy the 10 pack of brushes from the hobby store for $5. you may only actually use 2-3 of them but they are a lot cheaper than the brushes they sell at your "gaming" store.

Good luck
 

dogoftheunderworld

Adventurer
Supporter
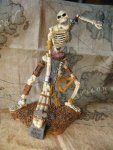
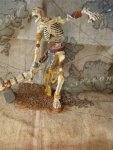
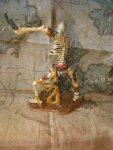
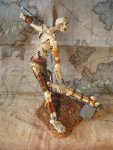
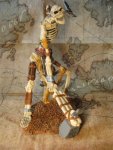
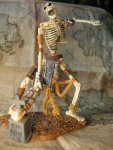
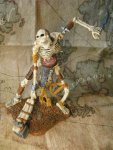
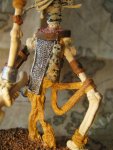
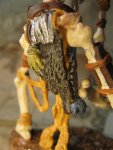
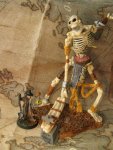
Huge Giant Skeleton

Huge-sized giant skeleton. I was going to mount on a 3" disk, but I decided to leave on the molded base (it takes up about the same surface area anyway). I really like this sculpt and I think the paint job came out okay.
001 (Medium).JPG002 (Medium).JPG003 (Medium).JPG004 (Medium).JPG005 (Medium).JPG006 (Medium).JPG008 (Medium).JPG009 (Medium).JPG010 (Medium).JPG
 

tangleknot

Explorer
That looks great, and Great job with the chainmail!

A lot painters say that skeleton's are the easiest to paint, but unlike most miniatures there is some unique exceptions that only apply to skeletons. (Brown washes and such).

My preferred method: Base coat the mini in brown. Lightly dry brush "bone color". Wash with black wash. And reapply the "bone color" dry brush.
This gives the mini a grimy old bone look with subtle transitions from darker inner bones to the outside bones.

Looking good!


Remove ads

Top