GranMakMorn
First Post
Latest idea
Recently, I acquired a large quantity of D&D miniatures for an incredibly low price. This prompted me to think again about a cheap and easy base for miniatures. Having used washers for the paper tokens, I knew these were a close fit for the miniature base. All I needed was a way to mount a post that was offset from the miniature base. And here it is.
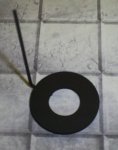
The base is made from ordinary washers. Since washers are manufactured by stamping, one face has a radius. I place the radius side facing down.

I then cut a slot. The slot is deep enough for the pin to sit in, but it doesn't go all the way through.

I wanted some thinner posts, so they didn't look as bulky next to a miniature. I used floral pins.
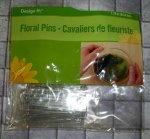
I cut the floral pin in half and flatten the bends in a vise.
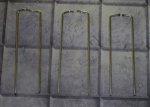
The pin should sit within the slot cut into the washer. A Tiefling demonstrates.

Now I solder the pin to the washer. Making sure that the pin sticks out past the outside diameter of the washer. This gives clearance for the beads. I file the solder flat. The washer can now be used as is.

I spray painted them black. Next I took a miniature and used a low-temp glue gun to attach it to the base. (I tried double-sided tape, but the lip on the bottom of the miniature didn't provide enough contact surface.) This works well and you can still remove the miniature. The glue can be picked off, but sometimes leaves residue in the lettering that won't come out. Also, the glue doesn't stick well to the paint.
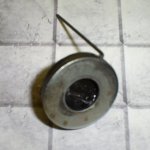
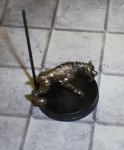
I wasn't real happy about the hot glue idea. So, I came up with a washer that fits in the bottom of the miniature base. I used a stainless steel washer, since they are thinner than standard washers. This reduces the gap between the miniature and the base. I use double-sided tape to stick it to miniature. Then again to the token base.
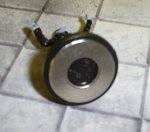
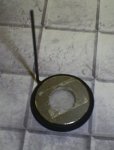
This does work well. Also, the miniatures can be removed without damage. The tape sticks well enough to swap miniatures several times. Let the battle begin.
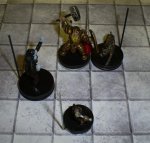
In addition, this token holder can be used with the paper tokens.
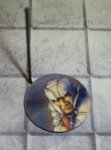
Finally, I forgot to mention the type of beads I'm using. They are Perler Beads.
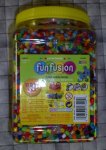
Recently, I acquired a large quantity of D&D miniatures for an incredibly low price. This prompted me to think again about a cheap and easy base for miniatures. Having used washers for the paper tokens, I knew these were a close fit for the miniature base. All I needed was a way to mount a post that was offset from the miniature base. And here it is.

The base is made from ordinary washers. Since washers are manufactured by stamping, one face has a radius. I place the radius side facing down.

I then cut a slot. The slot is deep enough for the pin to sit in, but it doesn't go all the way through.

I wanted some thinner posts, so they didn't look as bulky next to a miniature. I used floral pins.

I cut the floral pin in half and flatten the bends in a vise.

The pin should sit within the slot cut into the washer. A Tiefling demonstrates.

Now I solder the pin to the washer. Making sure that the pin sticks out past the outside diameter of the washer. This gives clearance for the beads. I file the solder flat. The washer can now be used as is.

I spray painted them black. Next I took a miniature and used a low-temp glue gun to attach it to the base. (I tried double-sided tape, but the lip on the bottom of the miniature didn't provide enough contact surface.) This works well and you can still remove the miniature. The glue can be picked off, but sometimes leaves residue in the lettering that won't come out. Also, the glue doesn't stick well to the paint.


I wasn't real happy about the hot glue idea. So, I came up with a washer that fits in the bottom of the miniature base. I used a stainless steel washer, since they are thinner than standard washers. This reduces the gap between the miniature and the base. I use double-sided tape to stick it to miniature. Then again to the token base.


This does work well. Also, the miniatures can be removed without damage. The tape sticks well enough to swap miniatures several times. Let the battle begin.

In addition, this token holder can be used with the paper tokens.

Finally, I forgot to mention the type of beads I'm using. They are Perler Beads.

