For those who use Hirst Arts and Dwarven Forge, how do you deal with the half square next to the walls?
For example, if I have a hallway that is three squares in width, and the walls are 1/2 inch thick, that leaves a usable width of 2 inches, but its 1 full square and two half squares right? So my 10' wide corridor really only allows for single file passage using minis.
Can you construct the corridor differently without messing up doorways and intersections, or do you just assume the representative minis can occupy partial squares or what?
I'd love to do the Hirst Arts stuff now that I've got a good core of Fat Dragon EZ dungeons done. I would use the HA stuff for the cool set piece battles, and the FD stuff for the rest but I'm not sure how well they would sync.
Here's how I do it. I have refined things a bit but here are the basics:
Making a Dungeon Room Part One
All of the pictures in this tutorial are thumbnails that are linked to larger photos.
A few people had expressed interest in how I create dungeon rooms to integrate with my massive Dwarven Forge Master Maze collection. This tutorial talks about my style of creating rooms and what works for me. It’s not the only way, and Bruce Hirst
has his own tutorial for using his blocks for making dungeon tiles. I do things differently stylistically and for purposes of the dungeons and dragons game.
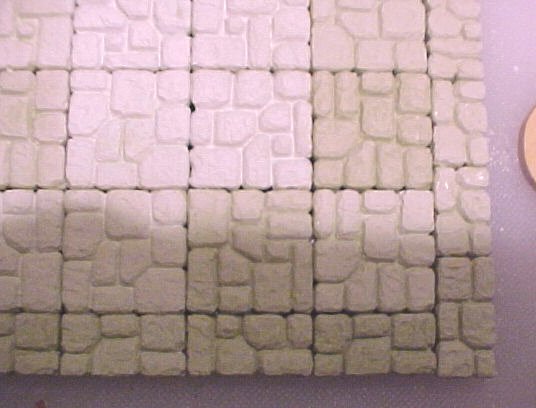
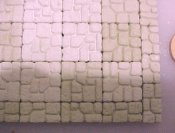
I created a number of blocks using Hirst Arts molds Fieldstone Wall Mold #70 and Flagstone Floor Tile Mold #260.
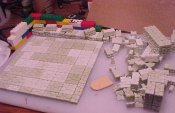
Here you can see I already have the bricks I need molded out of die keen dental plaster ready to go. I am going to make a generic 30 ft. by 30 ft. room. The needed materials have all been laid out on my cheap cutting board I use for modeling.
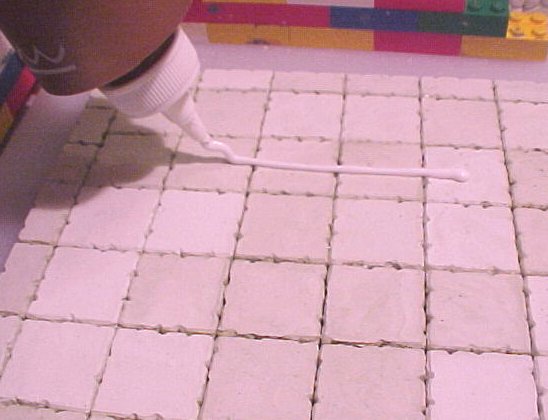
I first put the floor together. This is the first of many places that I depart from Bruce Hirst’s tutorial. I surround my 30 ft by 30 ft worth of tile with a layer of half tiles. This way when I put my walls down I will have nice full squares to works with – as opposed to the half squares you get with Master Maze or the Hirst method. The tiles are glued together side to side – not down to any surface. This helps to avoid warping, which can occur with bigger floor pieces.
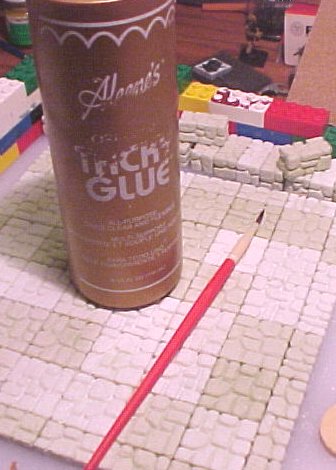
I use Aleene’s Tacky Glue and a cheap brush to apply the glue to the tiles.

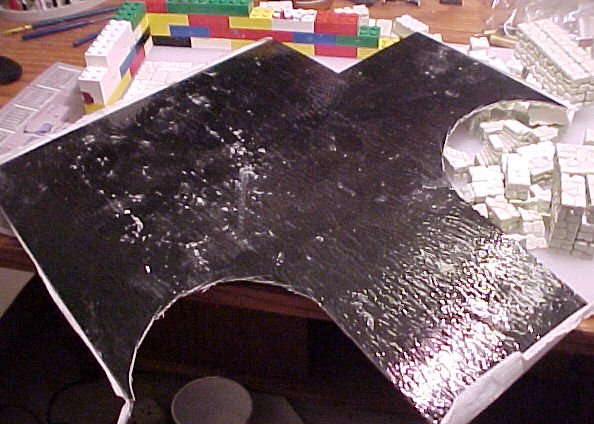
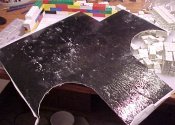
I let the floor pieces dry completely before the next step of putting the floor tiles on a base. I like using self-adhesive linoleum floor tiles as a base. A 12” by 12” piece will run you about 90 cents at a DIY store like Lowe’s. The piece pictured here has been used for other projects, but has plenty left to use for this room.
I mark the tile for cutting for the room’s size. In this case I cut two pieces to cover.
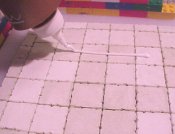
Next, I apply some glue to the hirst arts tiles and stick the
non-adhesive side of the linoleum to the hirst arts tiles. This helps reduce warping. I have tried using the adhesive side but it causes all kinds of problems: It warps your floor, it makes the project harder to paint, and you have to deal with the sticky adhesive that never dries.
I flip this over and allow it to dry with a big heavy book on top.
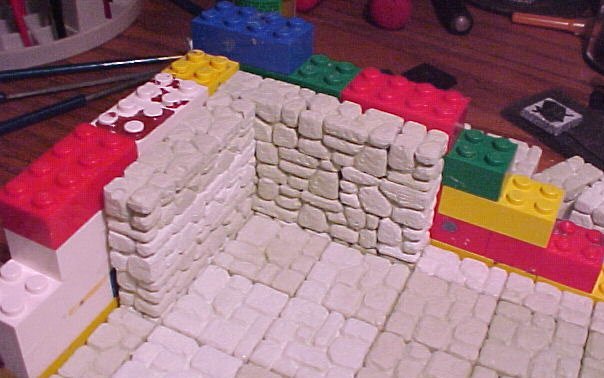
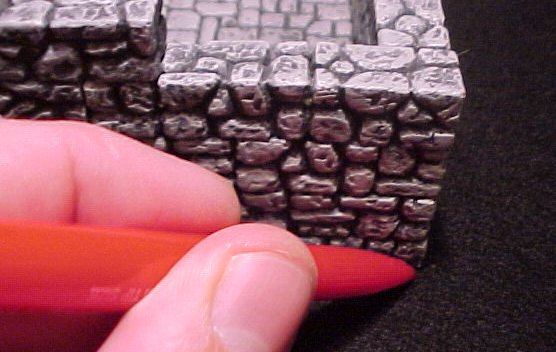
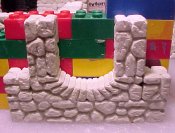
Next, I start to build the room. I use Lego (tm) forms to keep my corners and walls true.
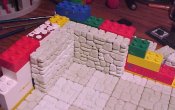
I finish up the corners and set the main room aside.
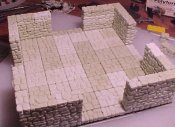
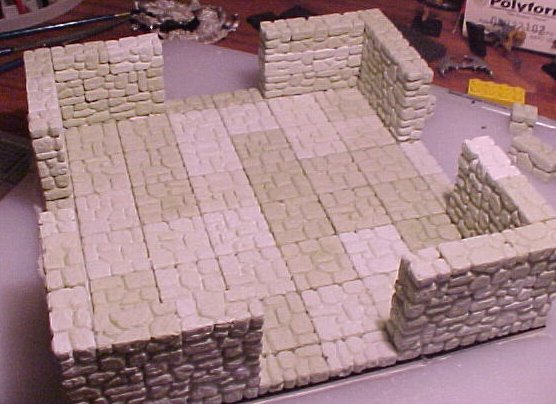
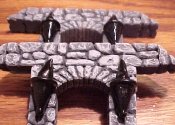
Honestly, I could be finished building here and have a nice room with four exits. Master Maze doors fit nicely into each of the exits. However, I want this room to be versatile as possible. I am going to create three insertable wall pieces in order to have a 30 ft. by 30 ft. room with 1 to 4 exits. I am also going to make some corridor entrances just for fun.
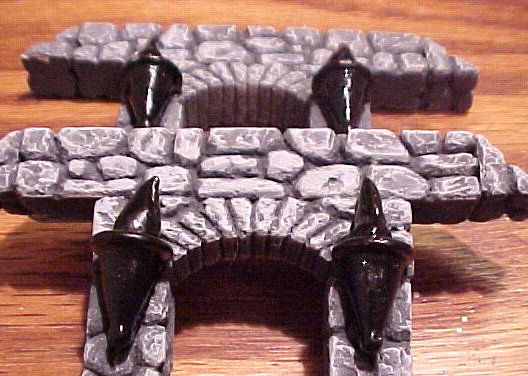
I will build the corridor entrances upside down.
The same is true for the movable walls.

I let these dry and then add a feature or two to the corridor pieces – torch holders and slanted pieces to the crowns.

Now, the pieces are built. All I have to do is let everything dry completely and then paint it. But wait, there’s more! I also have a couple more tricks to show you on how to make it even more compatible with your master maze.
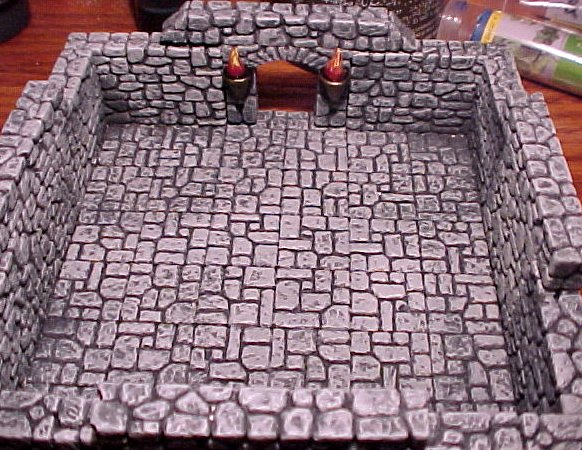
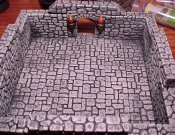
You will notice in this next photo I have already painted the basic grays on the dungeon room. I have sculpted a couple of flames and put them atop the torches.

Next I base the torch holders and the flames black.
I painted the bases brass and painted the flames. I was not crazy about how the flames turned out – so no close-ups. I took the whole thing out and gave it a few coats of matte over gloss.
I could be done and have a very nice room.
Recall, I used self adhesive tile for a base. Now I measure some dark felt to put on the tile.

I cut it to fit and place it on the tiles adhesive. No glue application and thus no concerns about warping!
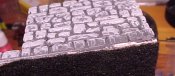
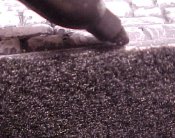
Some white spaces show on the side of the tile – so I use a permanent black marker to touch up.
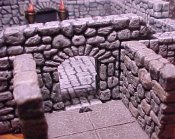
Now, my dungeon room is done! Look how nicely it works with my Master Maze.