I've been using a projector in my games for over a year now.
You have a lot of options, but here is what I recommend:
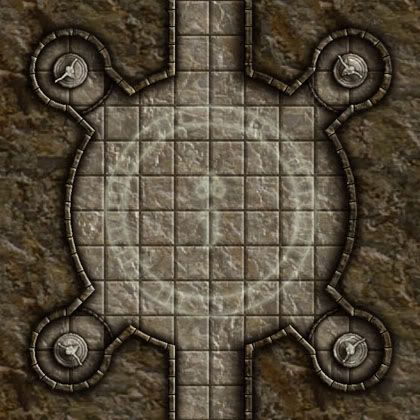
1) Buy a few SkeletonKey dungeon tile PDFs. The essential set is Cave Chambers I, but all of the "Cave Format" tiles are well worth having. Extract or otherwise copy all the images. In particular you're going to want tile CC25. Open this tile in Photoshop, select all, and Edit > Define Pattern.
Now you have a nice looking, pre-gridded texture you can use for ALL your floors.
I also have all of the Dungeon format tiles, but don't use them much for creating my own maps-- they are hard to configure into your own shapes.
http://enworld.rpgnow.com/product_info.php?products_id=12267&it=1
2) Browse the Dundjinni forums and start collecting Objects you can use to populate your maps-- tables, chairs, rugs, chests, etc. There's a ton of stuff, and it's all free.
http://www.dundjinni.com/forums/default.asp?C=4
3) Definitely use Photoshop.
4) Open a new file in 200 dpi (the same format as the SkeletonKey tiles, I think). Turn on your grid, and make sure it's set to 1" grid. Turn on SNAP TO GRID.
5) Make a new layer for each room. Name this layer whatever the room is named-- A1, A2, etc. Use the rectangular selection tool (including SHIFT to add + to your selection if necessary) to select out the shape of the room. Once you have the whole room selected, FILL that shape with the floor pattern you made.
Now you have a room that you can turn on and off as the players uncover the room.
6) Repeat this process for every room and for every (roughly) 60' of passageways-- basically, try to create your passageways so that you can reveal what you expect your players to see. Take note of distances, corners, etc.
7) Go back and CTRL-click on each room layer to select the entire room, then EDIT > STROKE to make "walls" around each room. Because the walls will overlap in some places, you will probably have to erase some sections, etc. I recommend a 25 pixel black stroke, centered on the selection outline.
If you need to do any erasing, just use the Rectangular selection tool (with the grid snap still on) to select the portion of wall you don't want and delete it.
8) Finally select your background layer and fill the entire layer with black.
9) If you want to go the extra mile, this is where you can start adding objects. For this you want to make a new Layer Set for each room, so that you can put all of the objects for each room into the same set, and turn them all on or off at once. Open your FILE BROWSER to the folder where you saved all those OBJECTS you collected from the User Art forums at Dundjinni, and start a little interior decorating.


