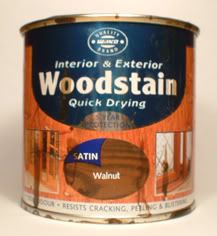
I gave "dipping" a try last night, and I'm very happy with the results. I used MinWax Polyshades Satin Tudor (#360), as recommended in the link Pogre provided. Instead of dipping and flicking (since I was painting at the dining room table and my wife wouldn't really appreciate the flicking part
")
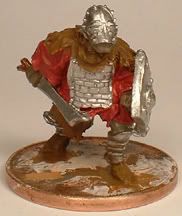
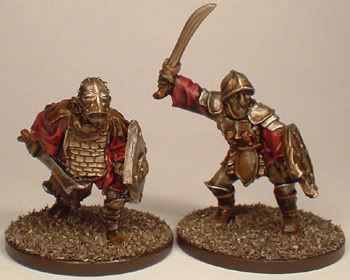
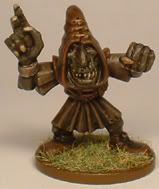
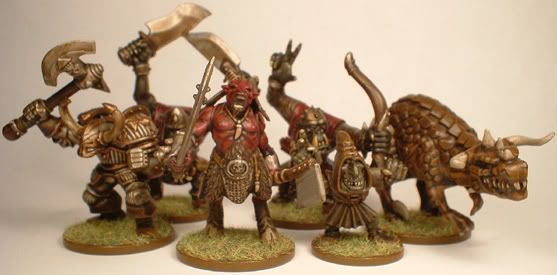
), I just lightly coated the minis with the stain by brush. I did a variety of minis-a GW plastic skeleton, an old Grenadier mummy, and a few Reapers (dwarf, female rogue, and wood golem). Very basic paint jobs, hit them with the stain, and let dry overnight. They look much better than my usual paint jobs (ie. not much shading or dry brushing). Once I get them based up (it'll be a few days before I can do so), I'll post some pics of the results.
Some things I noticed-
On white, it shows up VERY dark (duh... why did I not expect this?), so white clothing is probably not the best on minis that will be dipped unless you don't mind the look. It does, however, make skeletons and mummys VERY easy to paint-slap on a coat of white then stain and forget. Those came out quite good, IMHO.
The stain does make for quite glossy minis. I'm going to hit them with some dull coat tonight after they have dried a full 24 hours. I have read, however, that normal dull coat spray doesn't adhere very well to the poly stain (
http://www-personal.umich.edu/~beattie/minwax/dip2.gif) and the minis should be coated with an adhesive/fixative spray before applying the dull coat to keep the dull coat from wrinkling as it dries. Anyone have any advice on that? I have been unable to find the recommended Kamar Varnish near me.

") I am curious about this last bit, though; I realize that you just did a bit of 'cleanup' painting on the last fig, but I wonder about the surface texture after applying the dip. Does the paint adhere properly to the waxed surface? Do you then have to re-seal the mini to cover the new paint? I wonder, because I am thinking about combining the dip layer with traditional drybrushing effects. Specifically, I think I could dip the mini mid-painted to get the skin layer slightly shiny, then paint the rest of the mini (armor, weapons, etc.) with regular drybrushing, and maybe then dullcoat the lot. (I spend the most time with wet-layers on skin, so dipping would save me the most time there.) What do you think?
I am curious about this last bit, though; I realize that you just did a bit of 'cleanup' painting on the last fig, but I wonder about the surface texture after applying the dip. Does the paint adhere properly to the waxed surface? Do you then have to re-seal the mini to cover the new paint? I wonder, because I am thinking about combining the dip layer with traditional drybrushing effects. Specifically, I think I could dip the mini mid-painted to get the skin layer slightly shiny, then paint the rest of the mini (armor, weapons, etc.) with regular drybrushing, and maybe then dullcoat the lot. (I spend the most time with wet-layers on skin, so dipping would save me the most time there.) What do you think?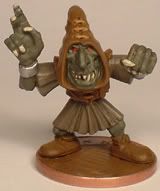
 ).
).