Demetrios1453
Legend
Pool of Radiance (Part 37): The Sorcerer's Island (Part 2)
We head around that corner, and encounter a closed door.
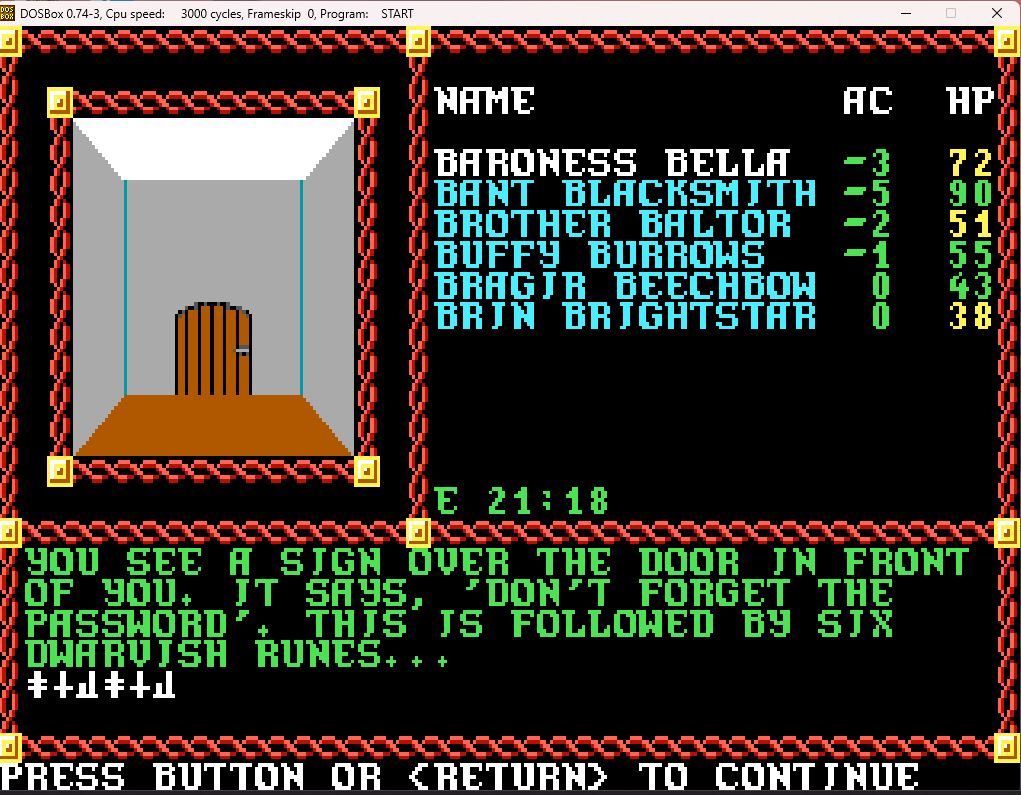
Ah, copy protection strikes again! We break out our wheel, or the digital equivalent thereof, or read through an online guide or cheatbook, and get...
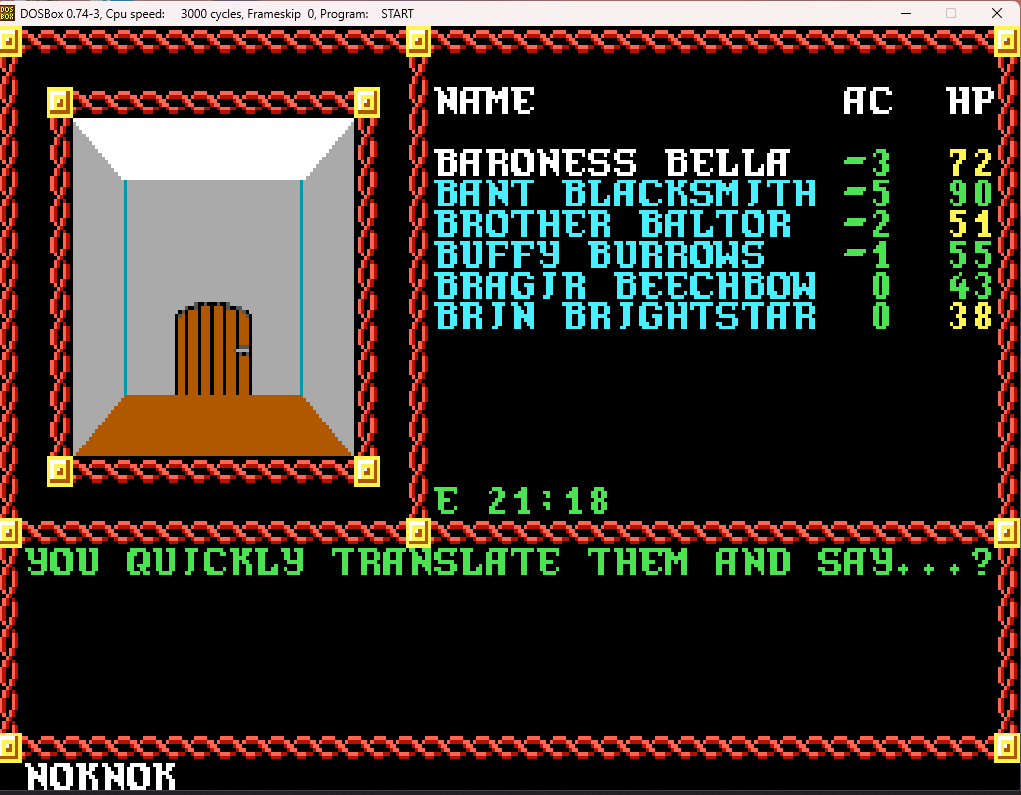
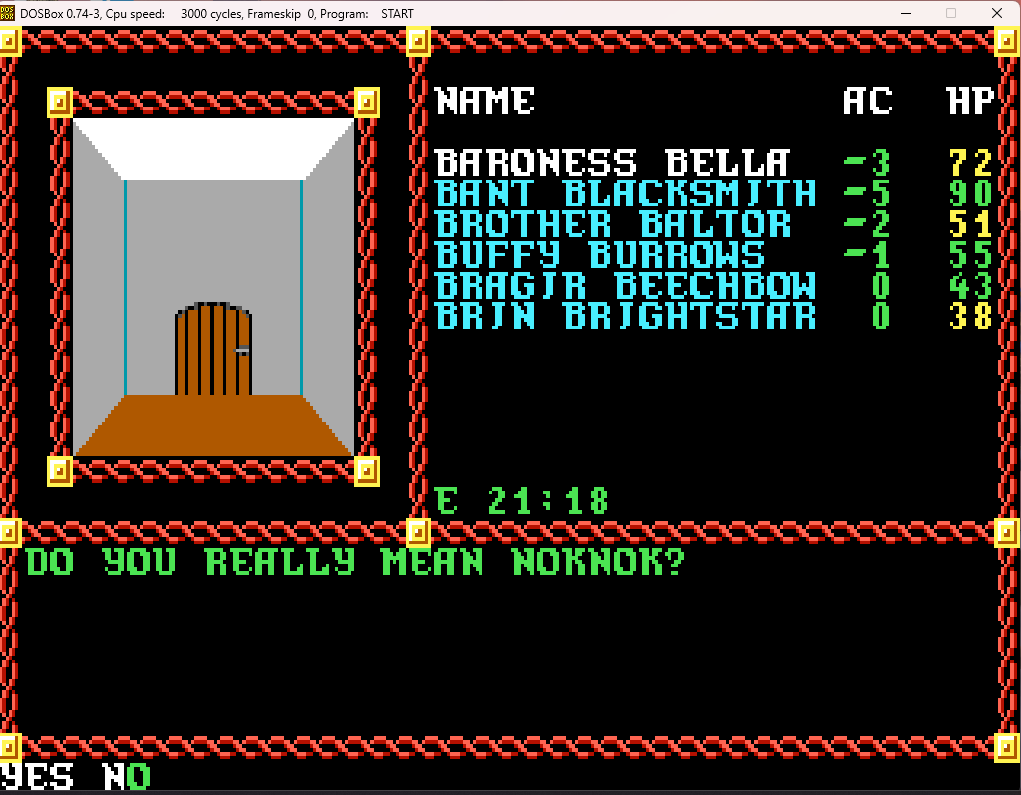
Yes.
If you get it wrong, a super-mutant lizardman appears and wipes your party immediately.
Fortunately, we got it right, and continue into the next room.
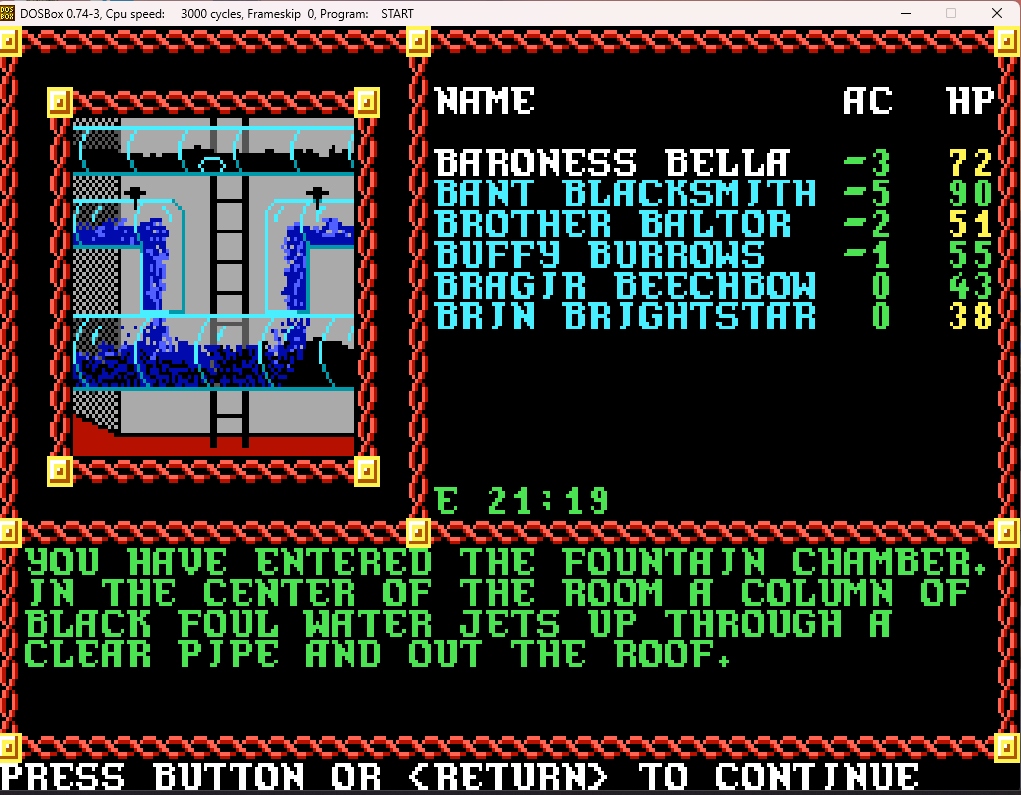
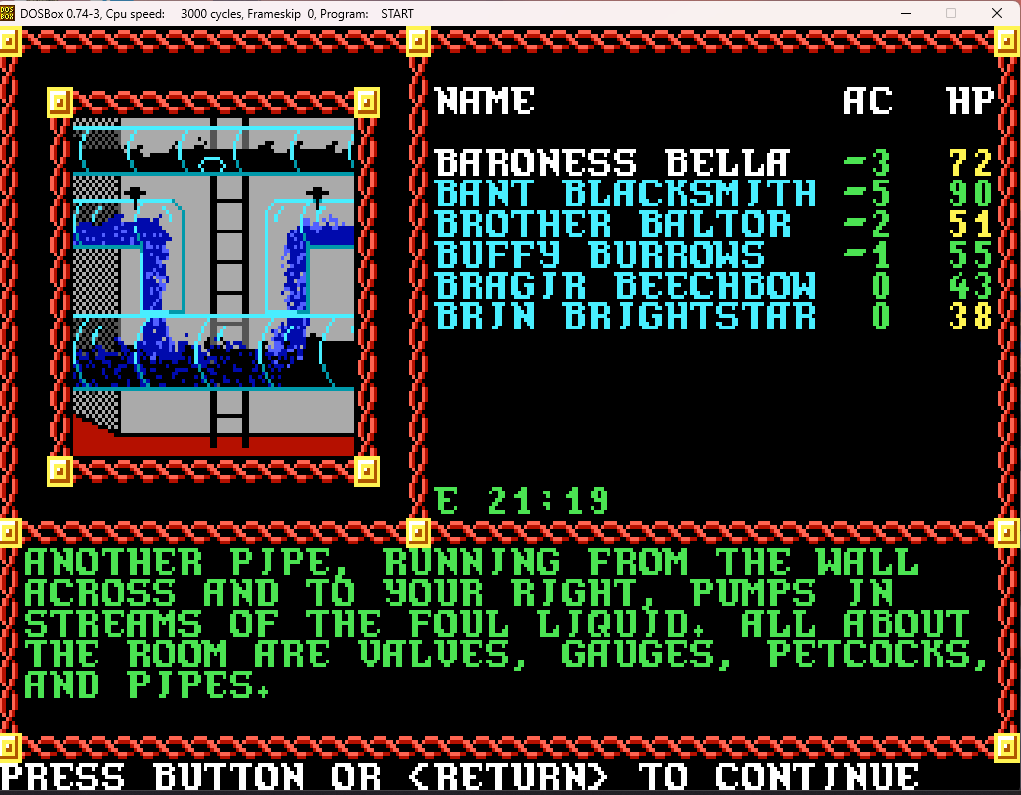
(I at first misread petcocks as "petticoats", which definitely brings up a quite different picture!)

For the moment, we move away. We'll poke around some other rooms in this area before figuring out what to do with the equipment.
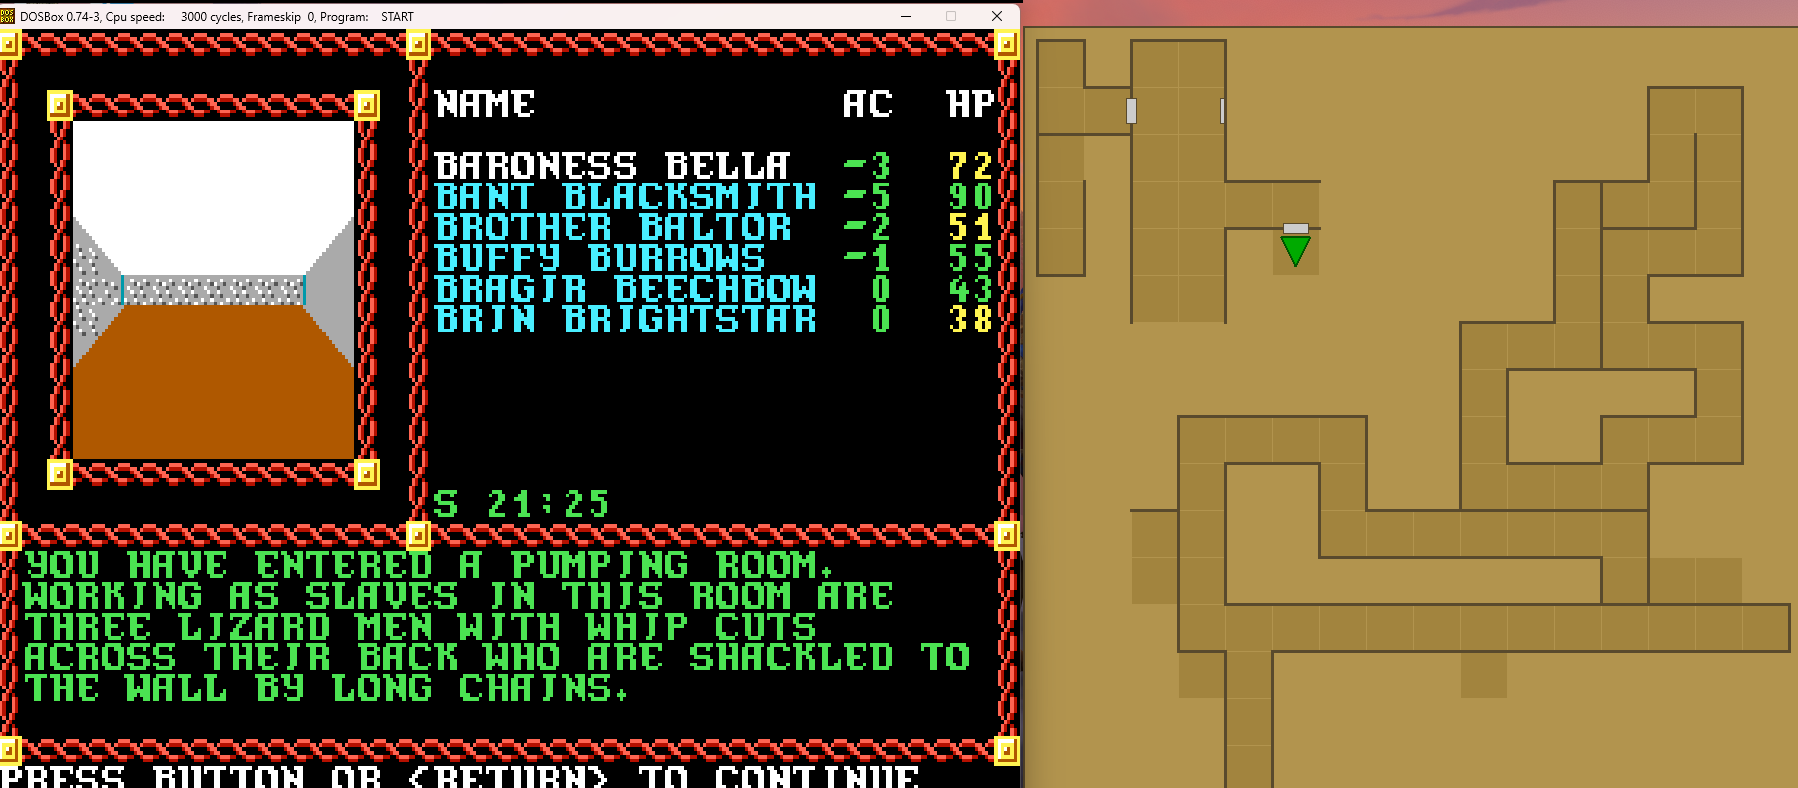
(Sorry about the lack of maps in the last bit here, I was taking screenshots wrong and didn't realize it until after some time, and definitely didn't want to replay everything from that point onward - at the first teleporter on the ground floor - just to get the map on screenshots. Basically, we started at the bottom center, moved around the corridor to the left at that first intersection, then returned and explored the corridor to the right, exploring rooms through secret doors as we went along. Then we teleported to that long snaky part in the upper right. Then we teleported to the three squares in a row near the upper left, then teleported to the upper left corner itself, which led us to the equipment in the big room, and then to the room we're currently in. Anyway, back to the lizardmen...)
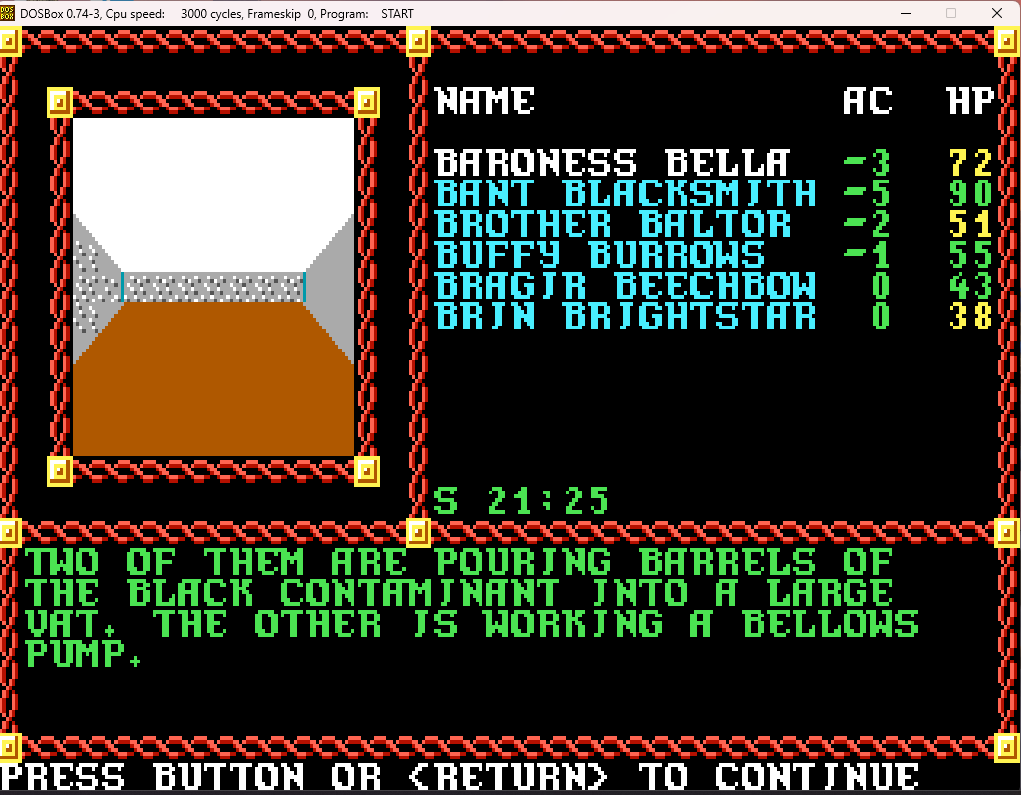
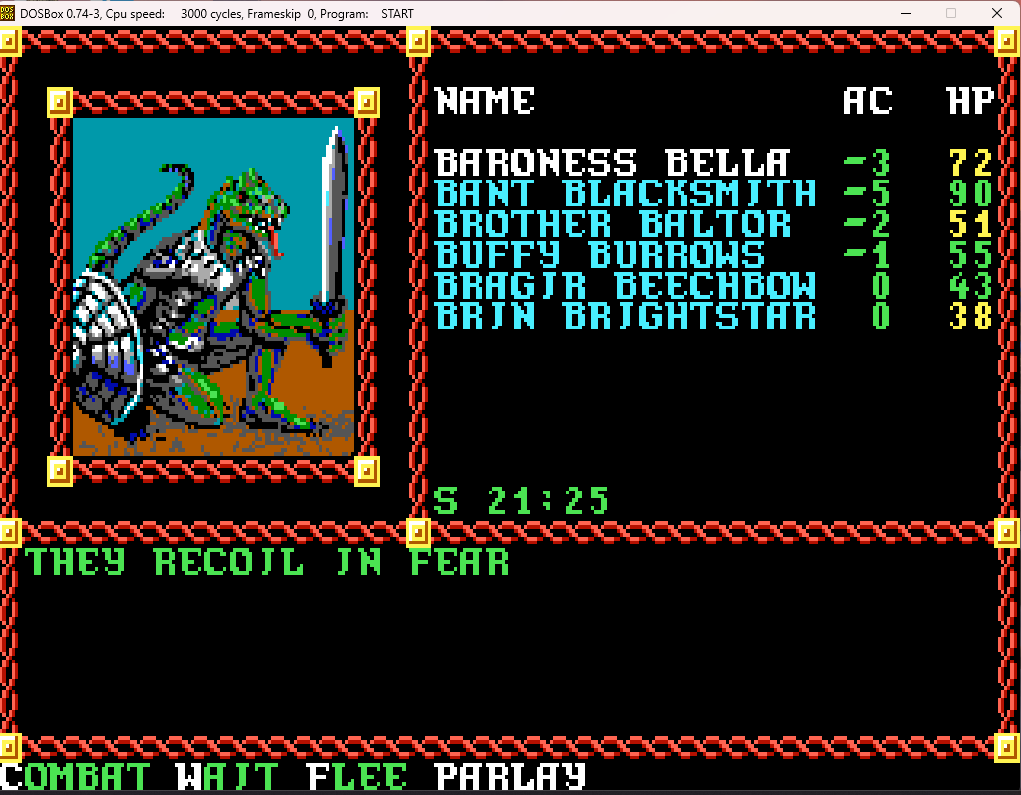
We parlay. They are obviously not hostile.
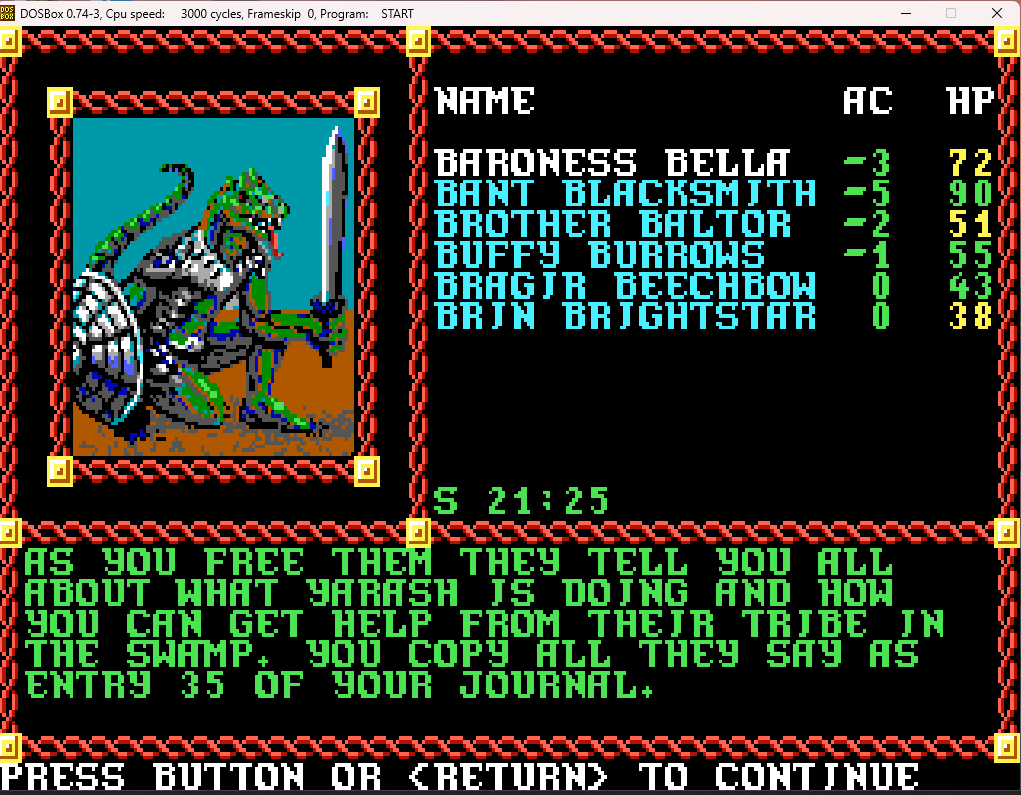
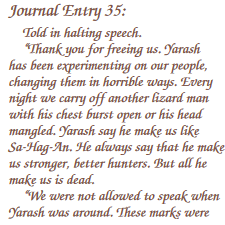
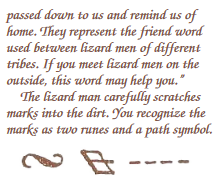
Again with the copy protection wheel. Following the directions there, this comes out as "savior". This will come in very handy in a surprisingly short time.
We head back to the main room, and, since we've now seen the non-combatants evacuated, it's time for a little light vandalism...
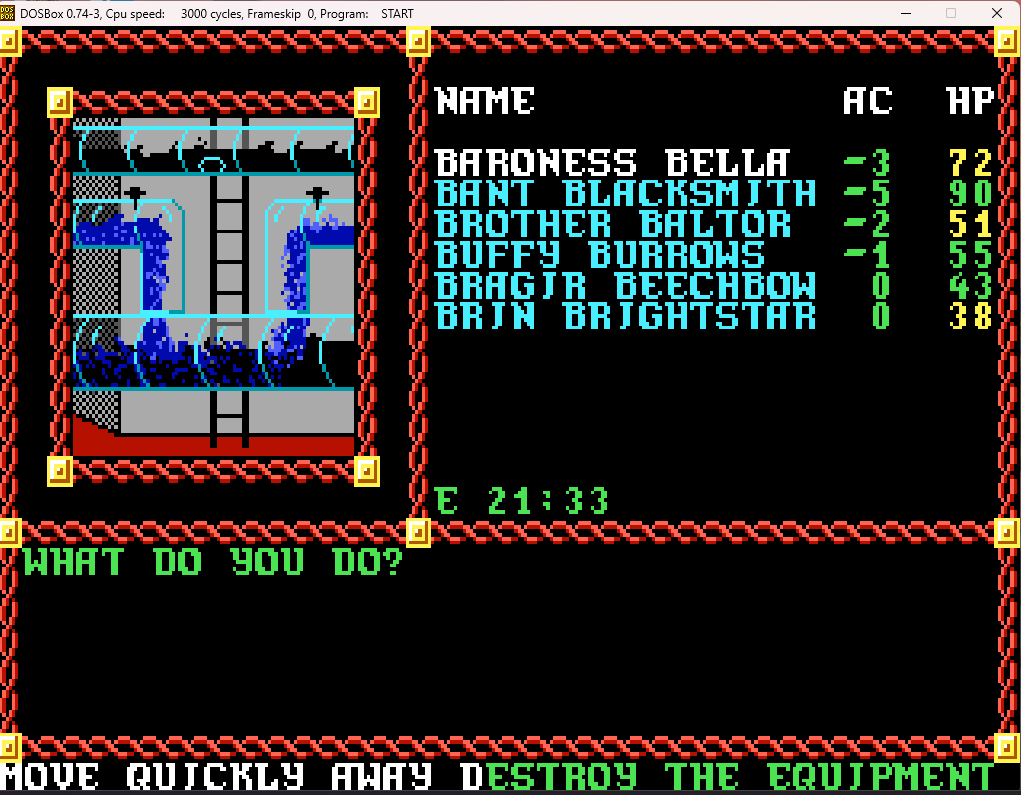
This time we choose "Destroy"
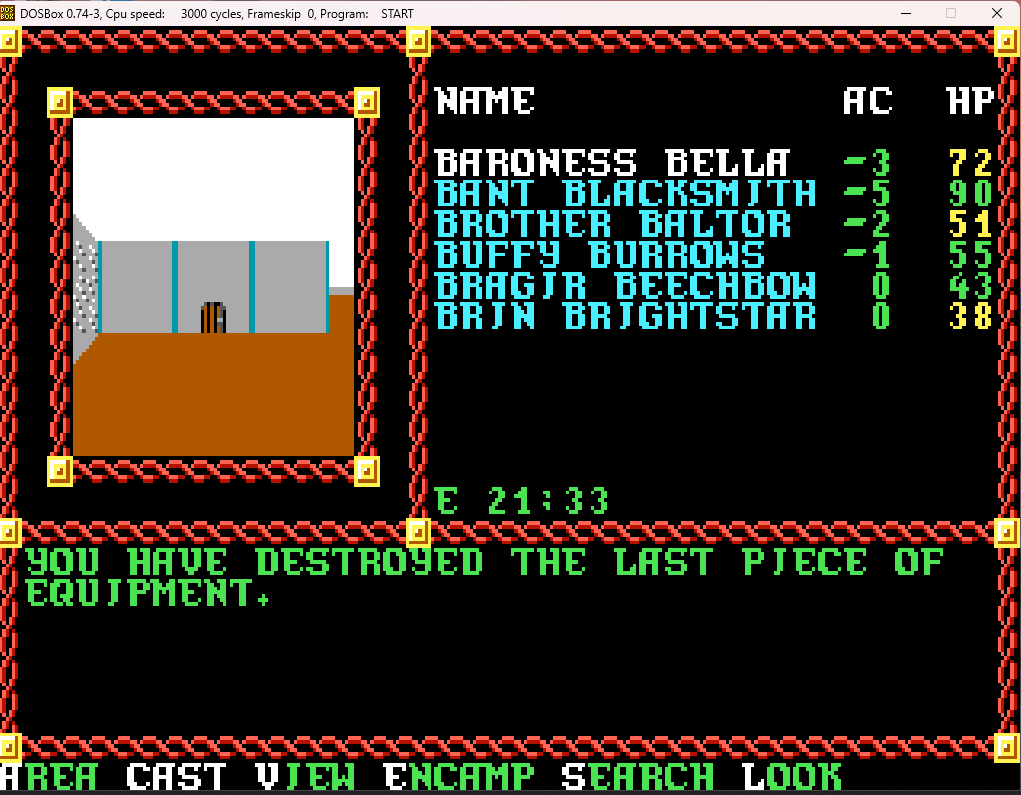
(This is why you rescue the lizardmen first, as if you start destroying immediately, you have to go through several repeated destruction attempts, which will cause an explosion that can do some serious damage if you fail even one of the attempts! Here it just lets us just skip to the last attempt right away).
After a bit of fun smashing the polluting equipment, it's time to go to through that door directly in front of us to deal with the person who has been causing this whole problem...
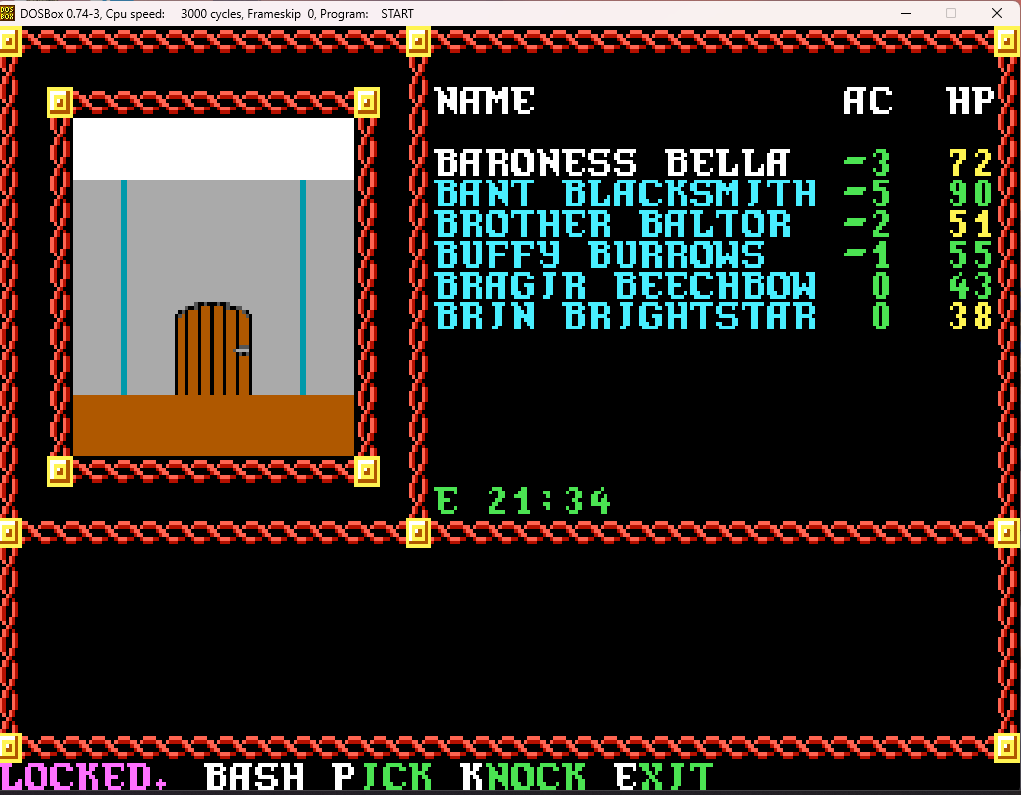
Eh, Bragir has knock memorized, so we'll let him have his fun.
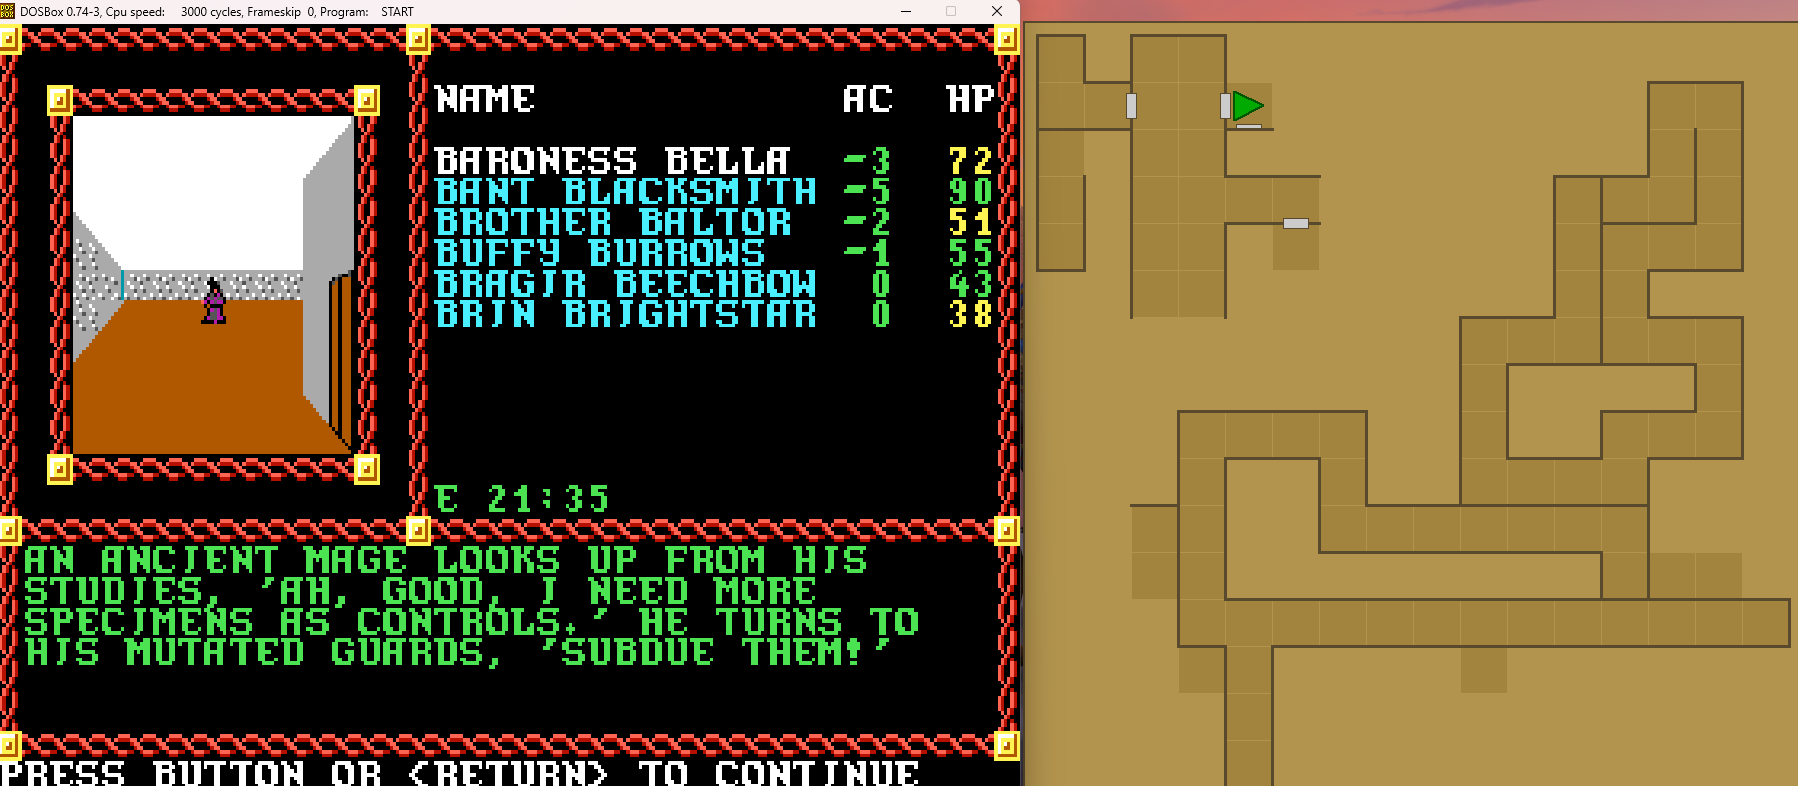
I guess he failed to hear all the crashing and smashing we just committed just outside his door. As he seems quite unrepentant about all the things he's done, it's time to deal with him once and for all...
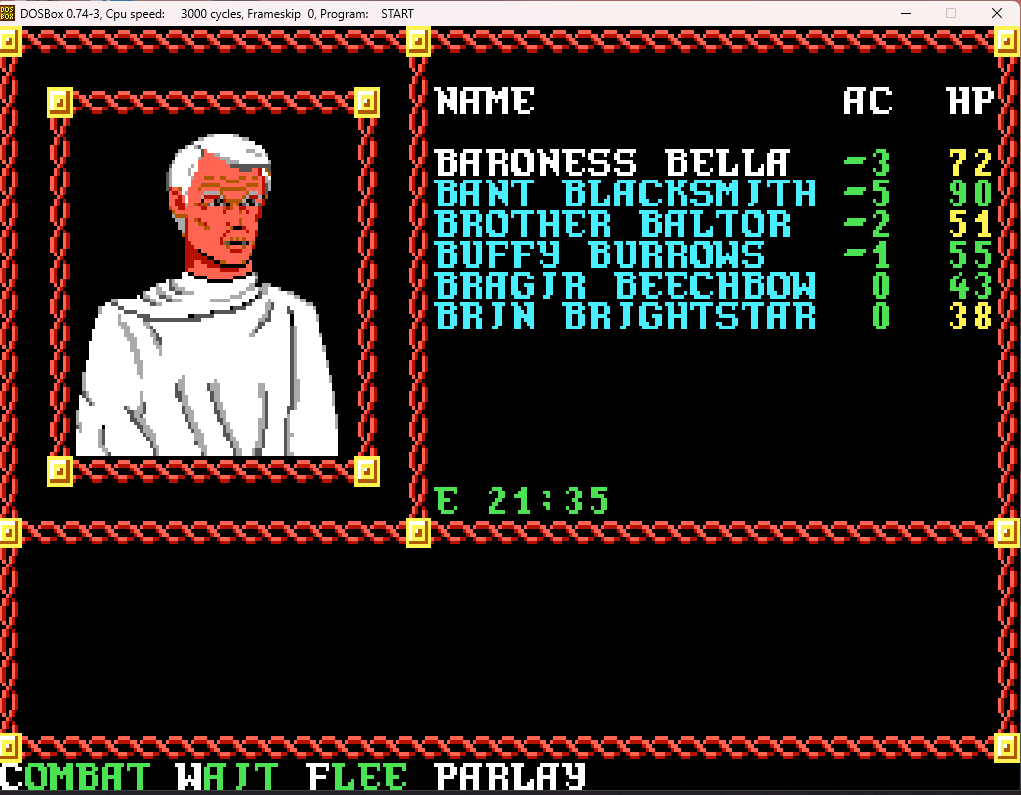
Yeah, no parlay here (and even doing that just leads directly to combat anyway).
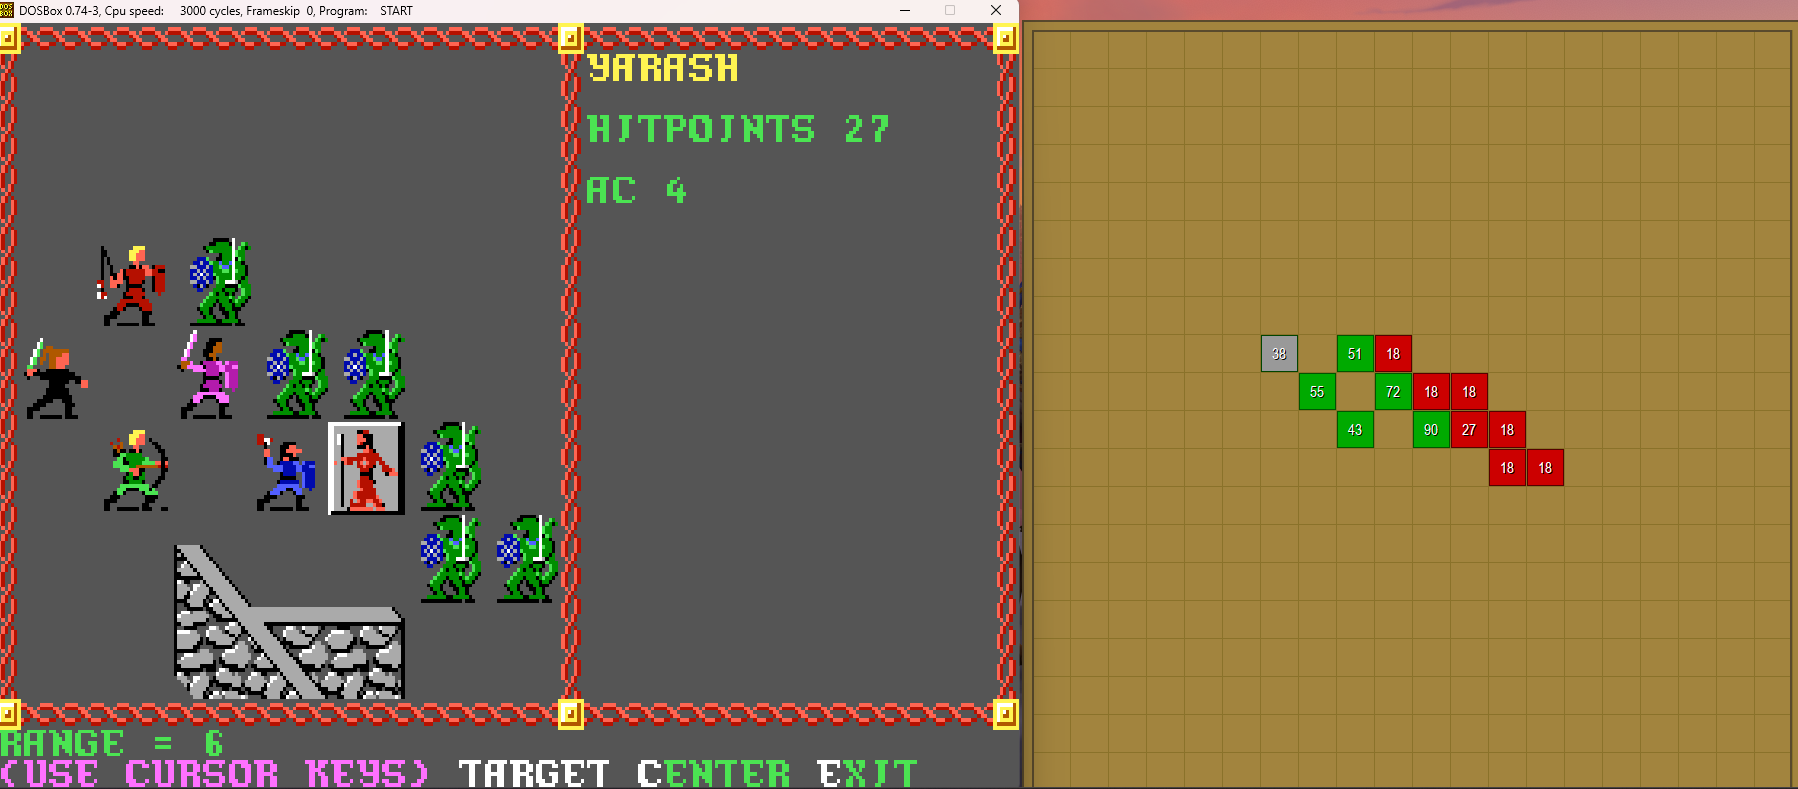
Six lizardmen, even mutated ones, aren't going to be a tough fight. Yarash, though, is a magic-user, so we have to focus fire on him so he can't get any spells off.
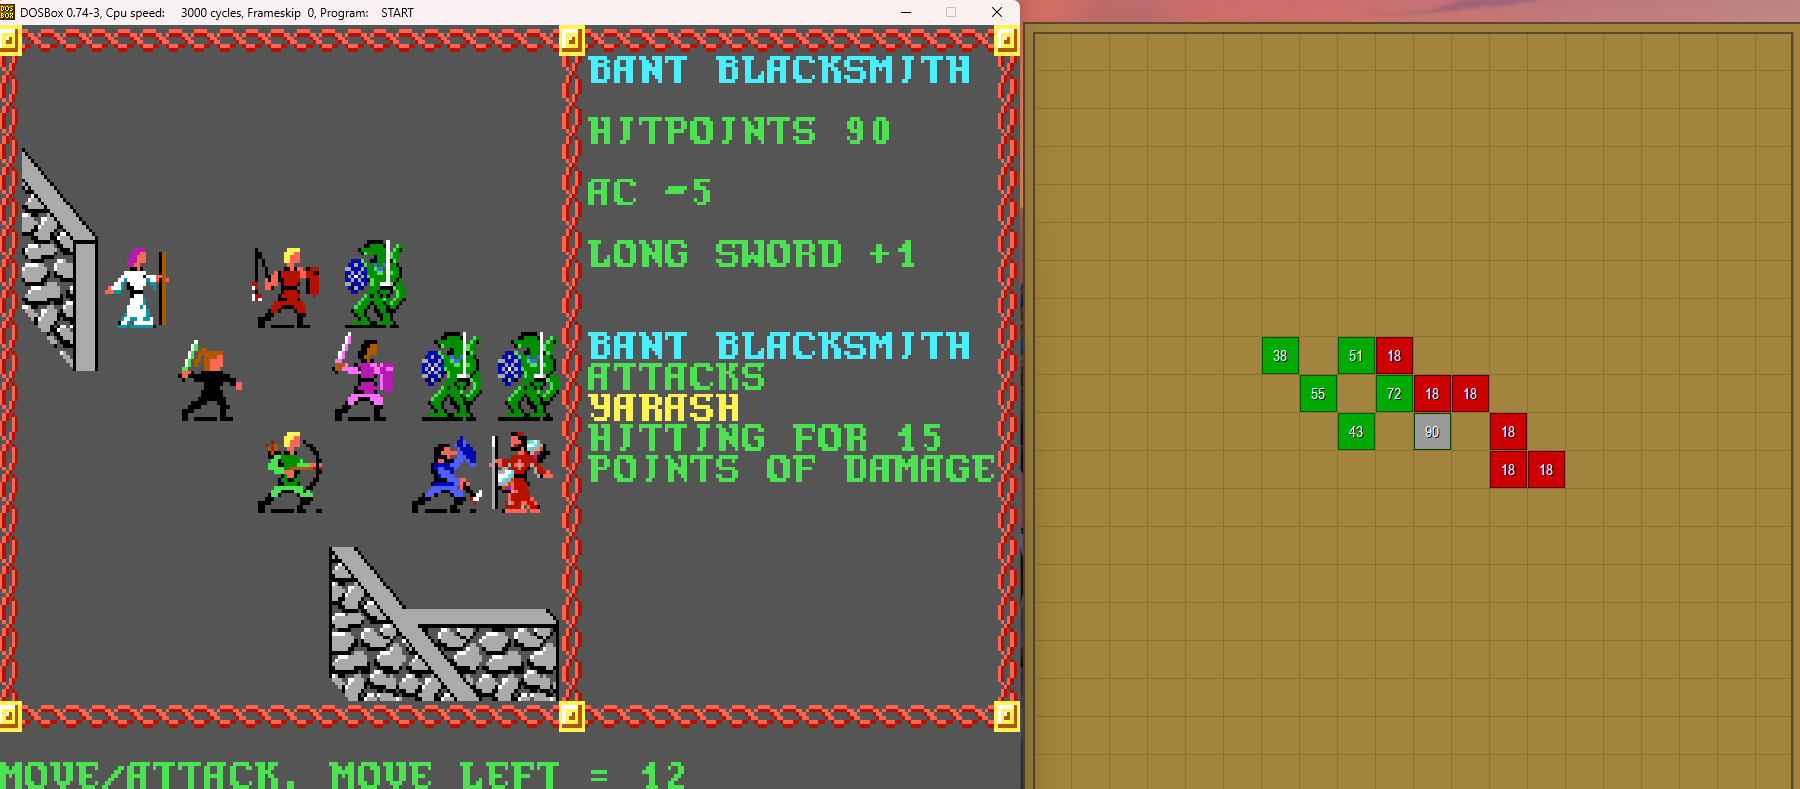
Yeah, that didn't take long (as you can see, his square is now empty on the map, I just took the shot a moment to soon to get the "Yarash is dying" message and the skull and crossbones).
The rest of the fight goes predictably quickly...
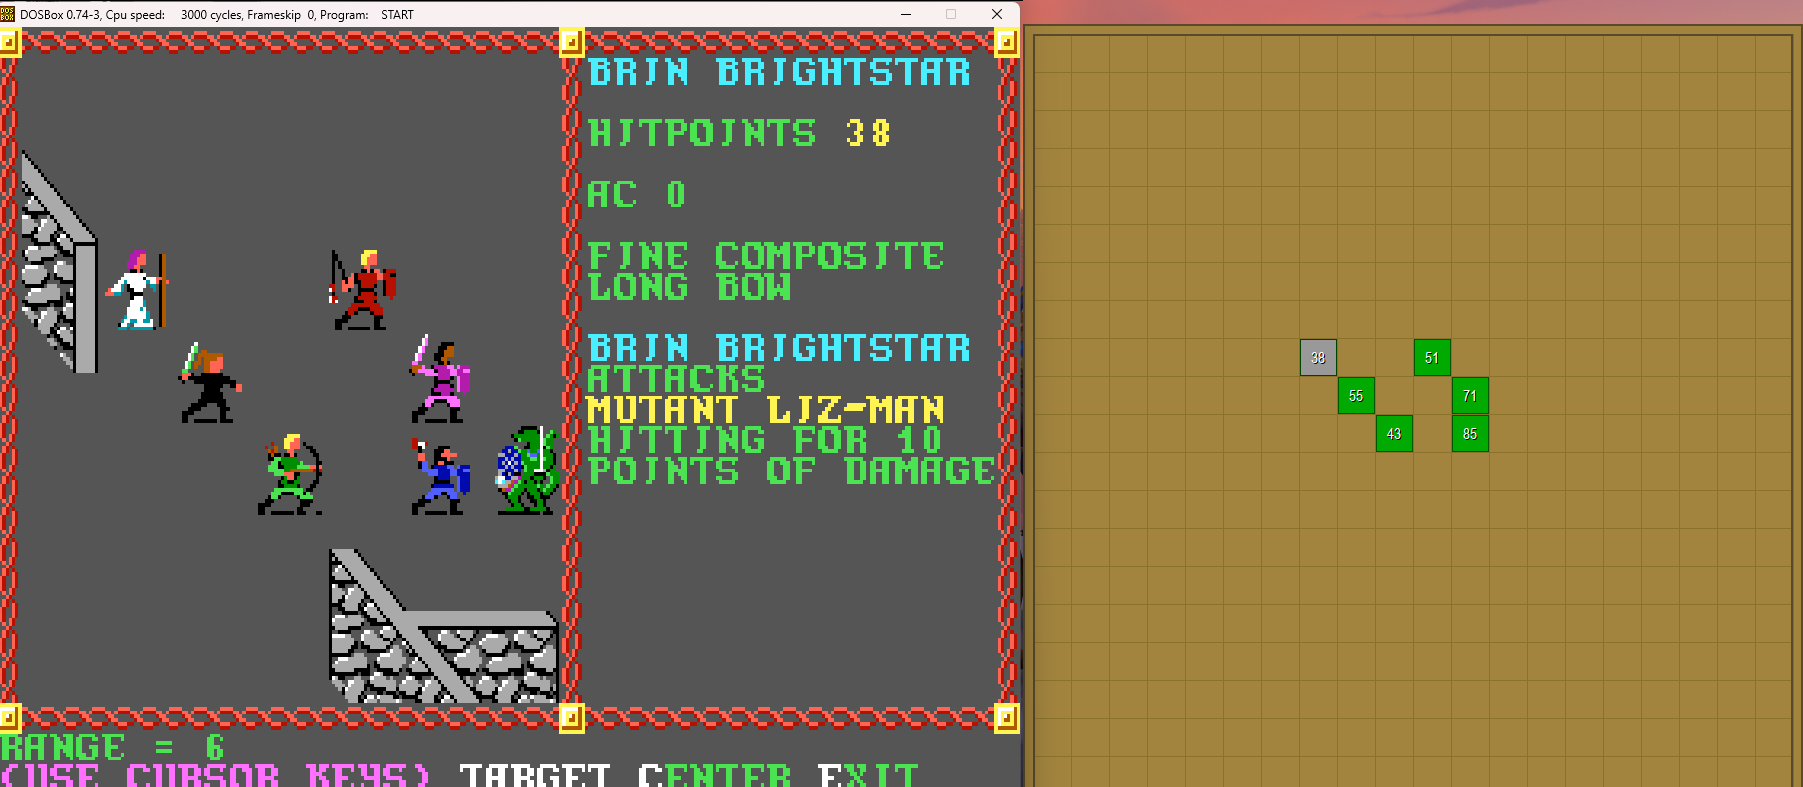
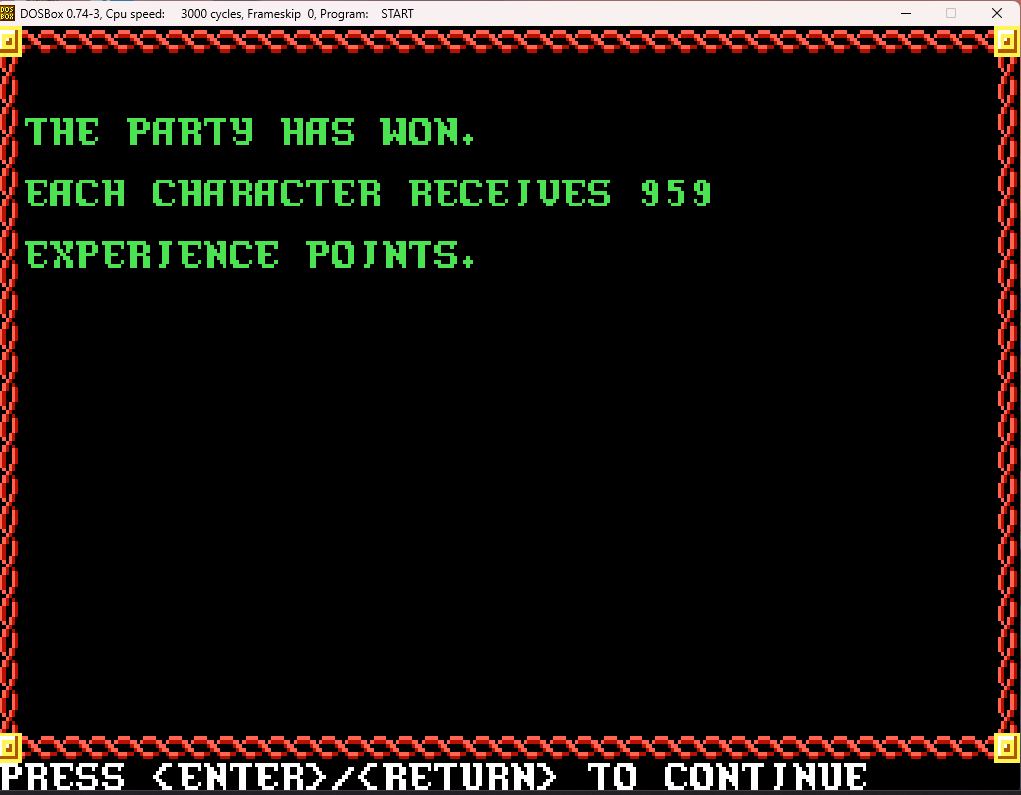
Oh, that signals some pretty nice treasure!
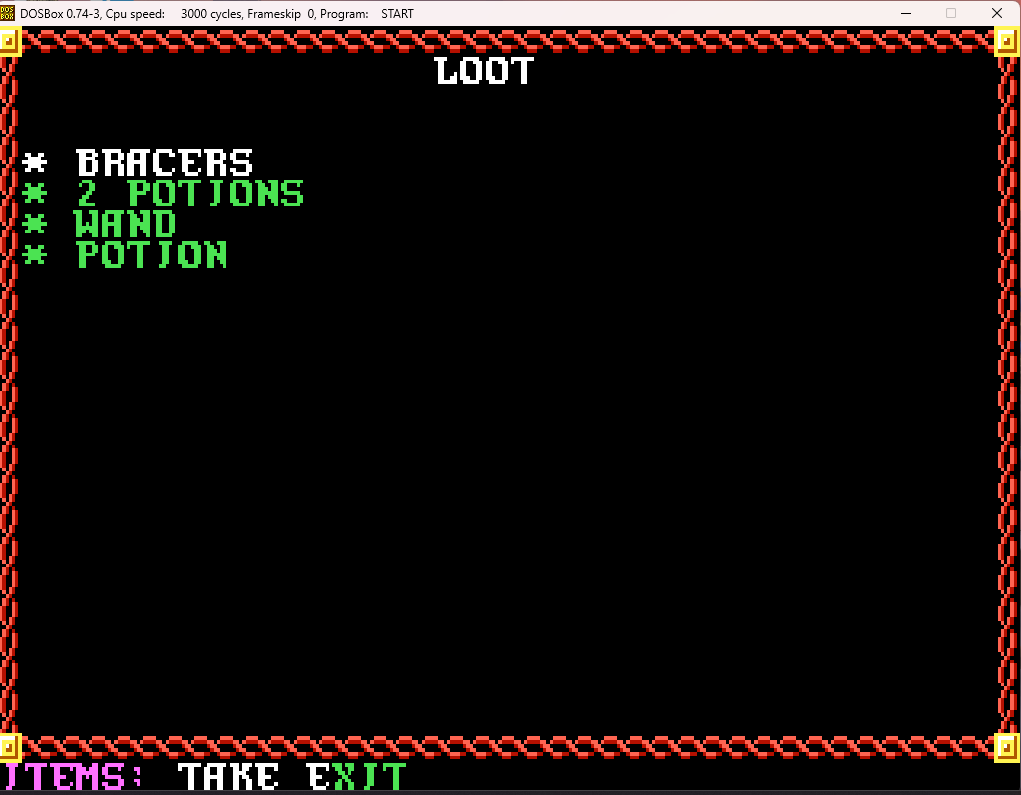
Quite intriguing indeed!
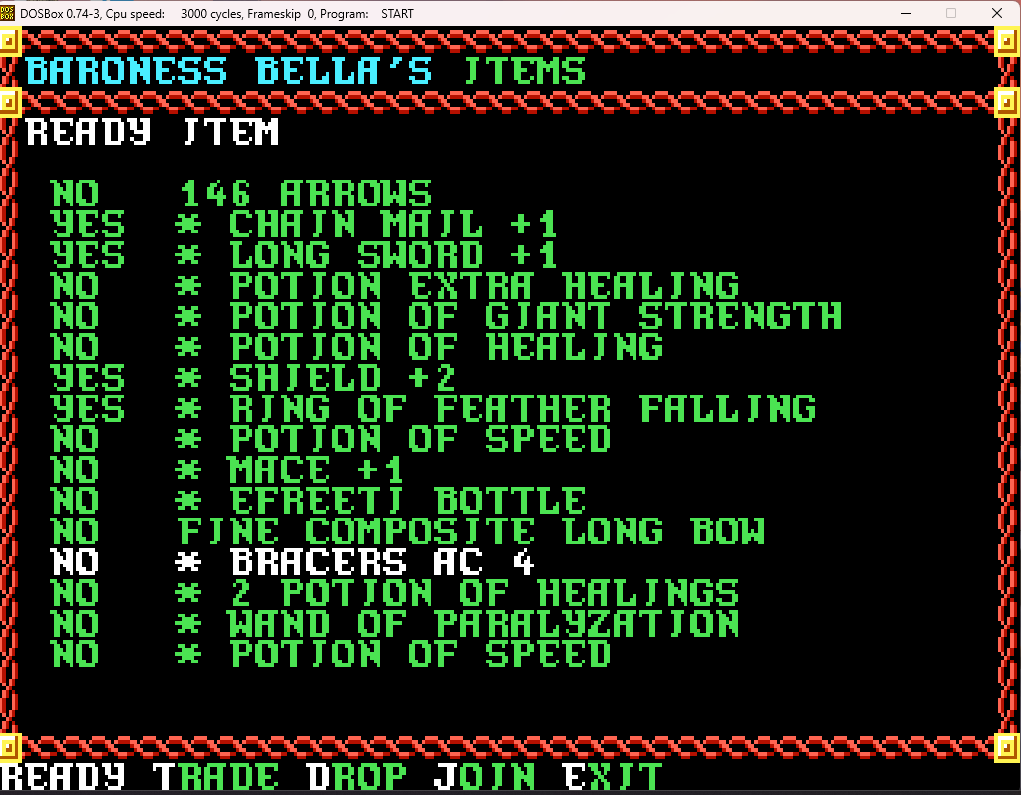
Hmm. Bracers AC 4 is exactly what Buffy already has, and is the same AC as my magic-users' banded mail. So those are just getting sold once we get back to town.
I distribute the "2 potion of healings" and the potion of speed to various party members, and give the wand to Bragir.
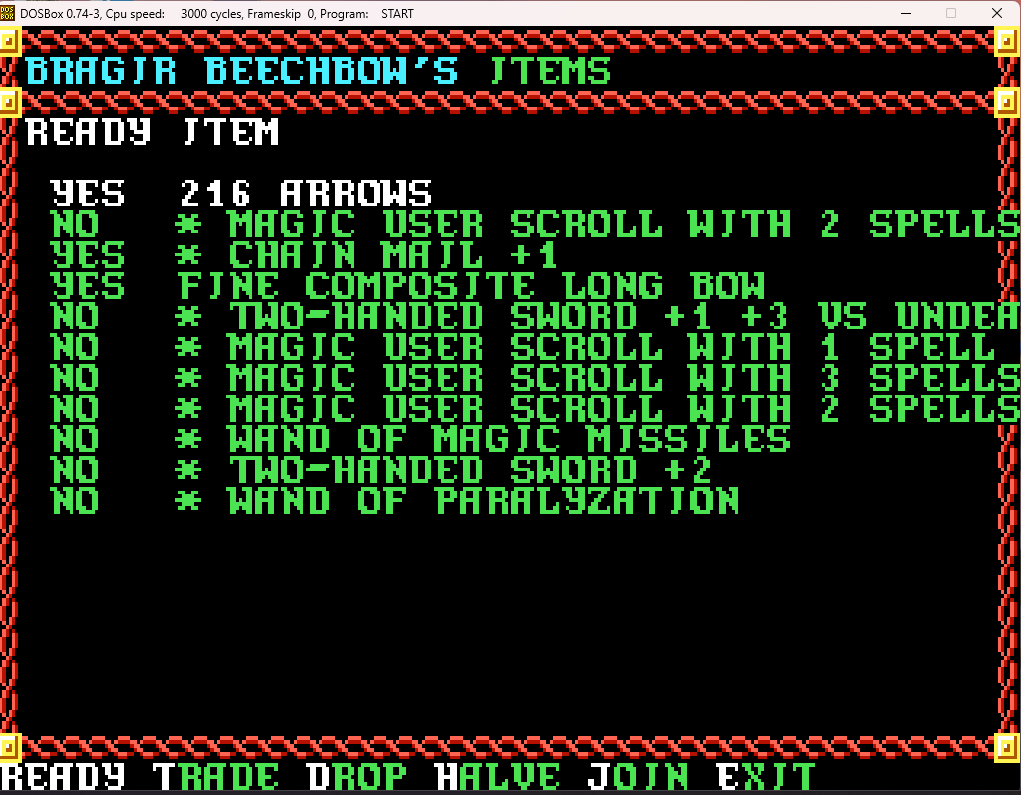
That done, we look around the rest of the room.
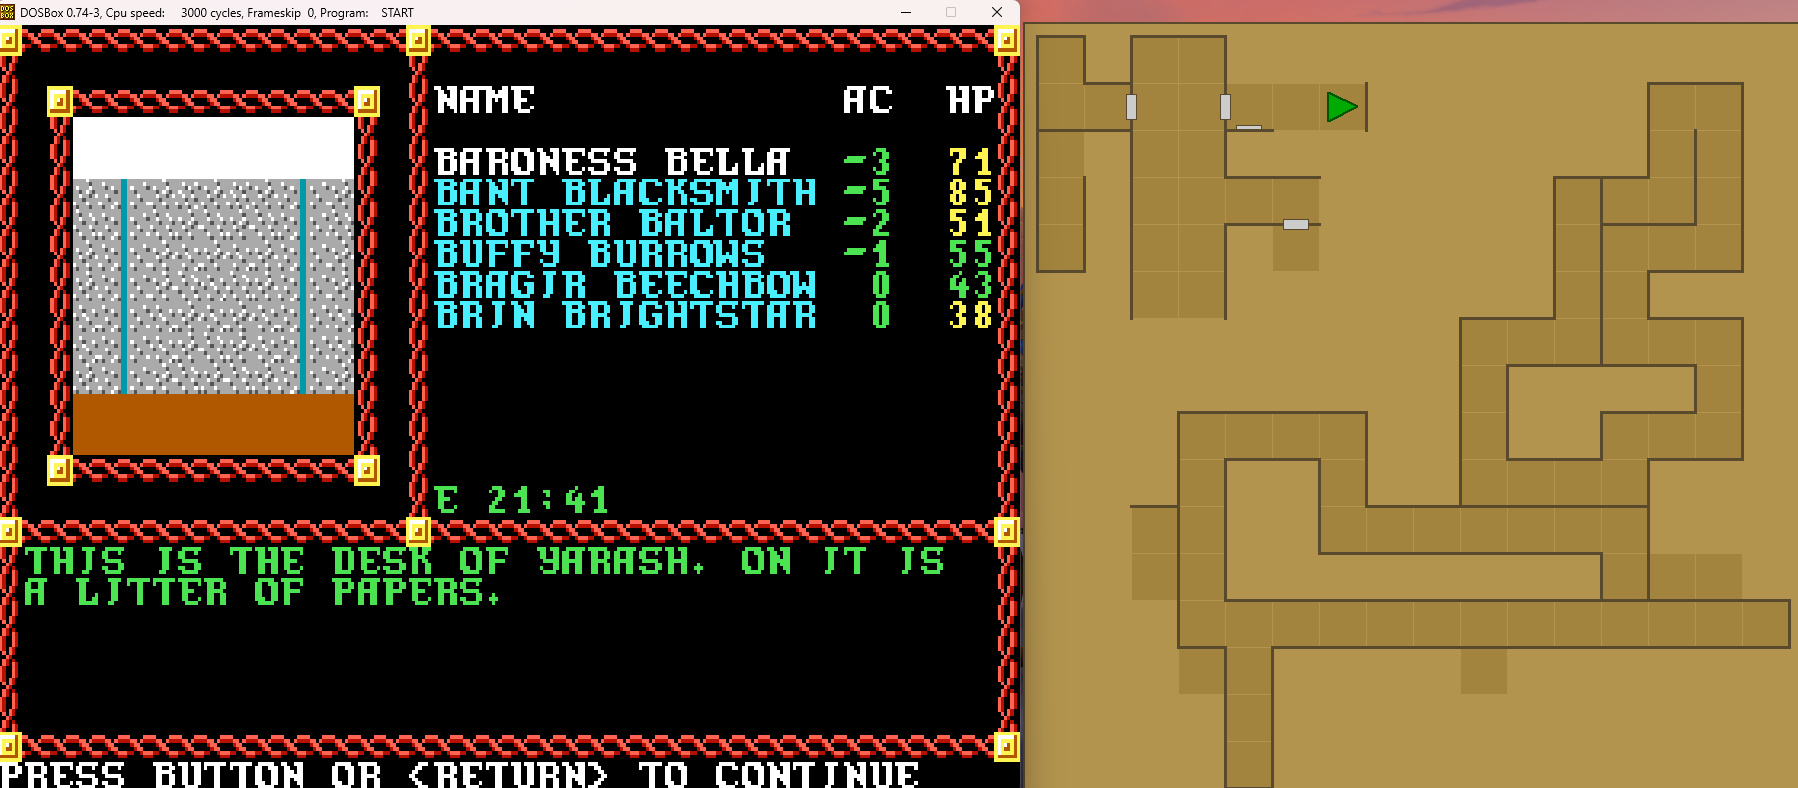
Yarash apparently had a lot of pen pals, and we'll have to dig through his correspondence to see if we can find anything of interest among all this paperwork...
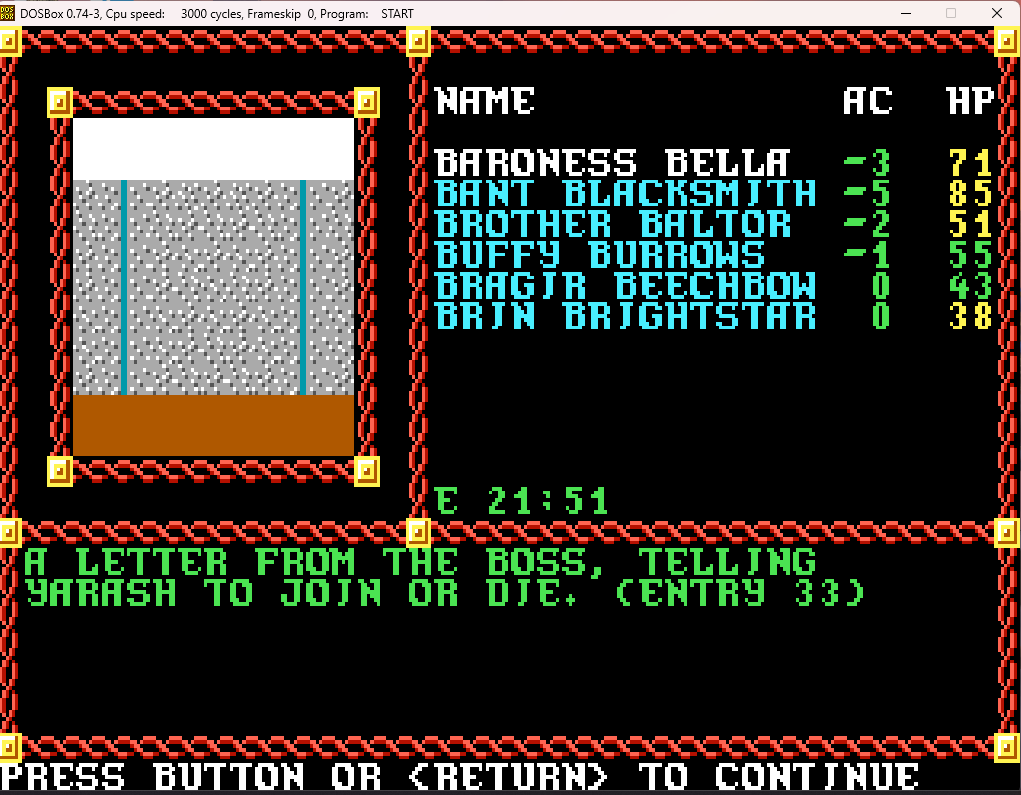
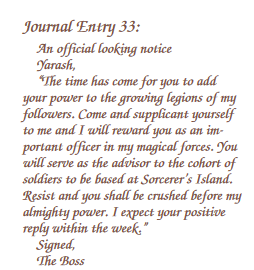
The Boss apparently thinks he can just... boss around everyone, apparently.
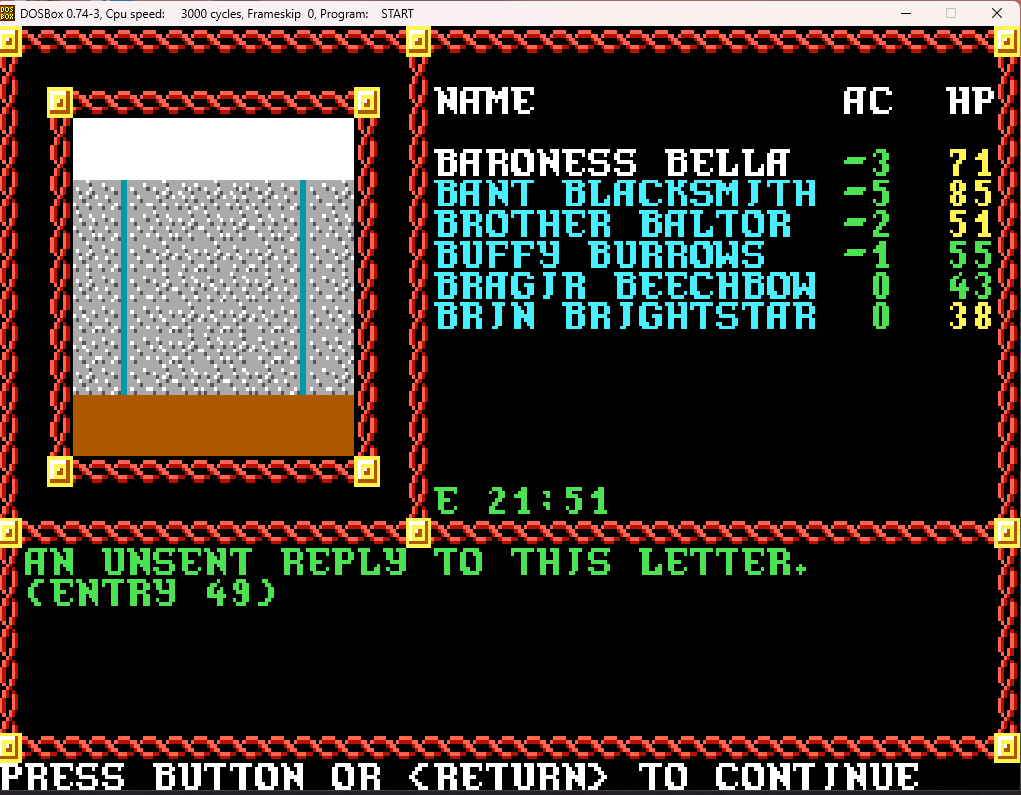
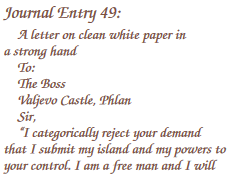
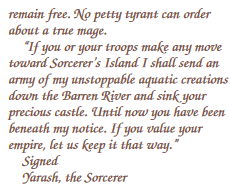
And apparently no one he sends these threatening letters to are amused by them...
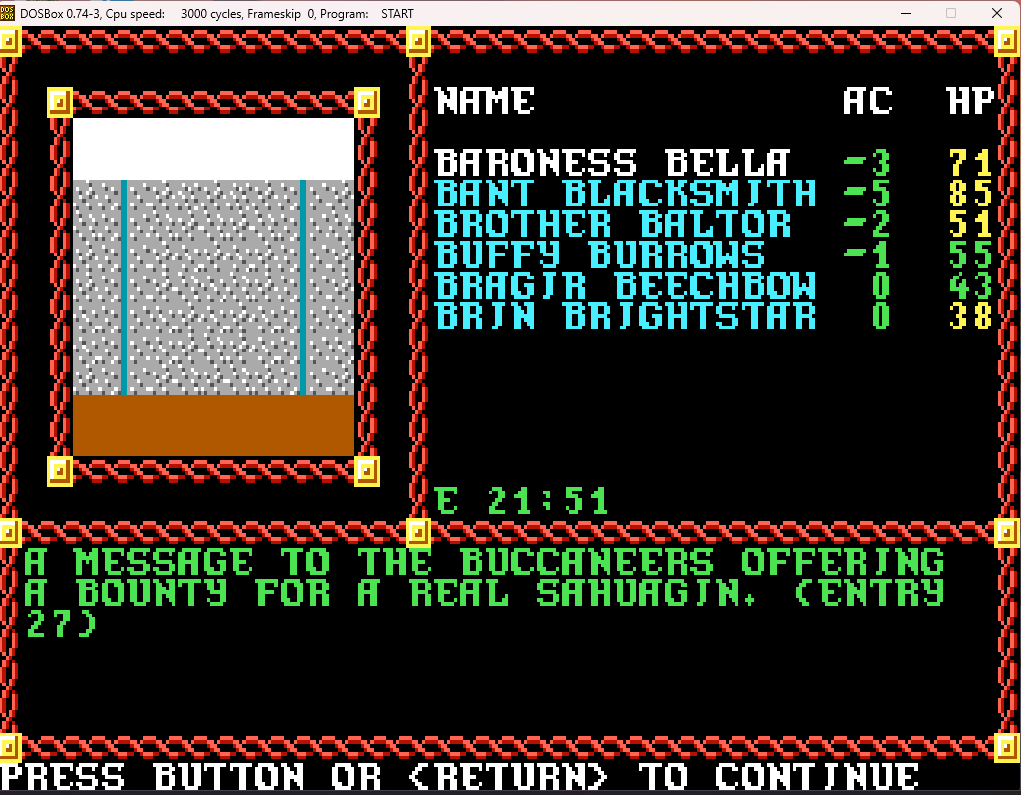
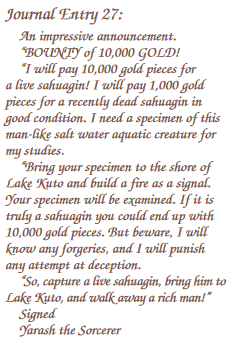
So... the dude was trying to make sahaugin out of lizardmen. How did he ever think that this was going to be a viable project? And he was massively polluting the surrounding environment as a result of his ludicrous attempts at doing so. Mad scientists are going to mad science, I guess...
(Oddly enough, despite being name checked here, you can't meet/fight sahaugin in this game, or any of the other three games in the Pools series. You do actually encounter some in the third Dragonlance game, though).
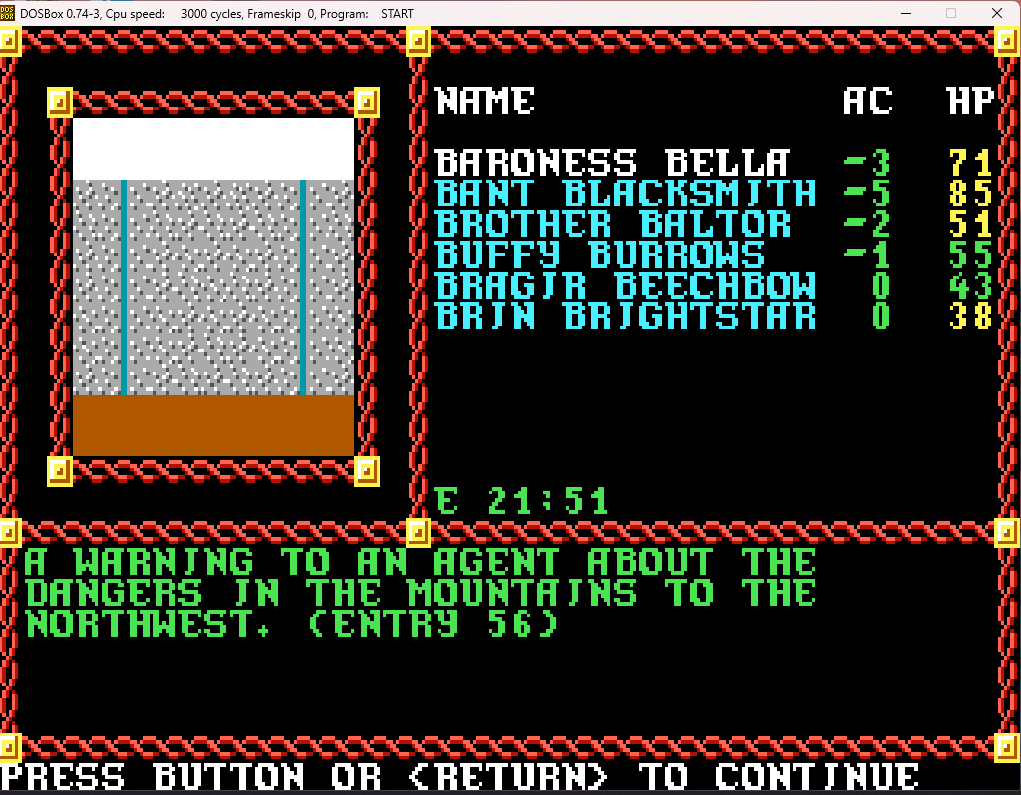
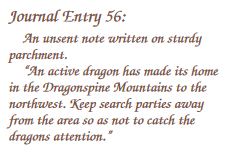
Hmm... That's very intriguing. We do see a dragon cave on the GBC map not too far from here. As we won't be visiting this vicinity again, we should go up there and check it out after leaving the pyramid.
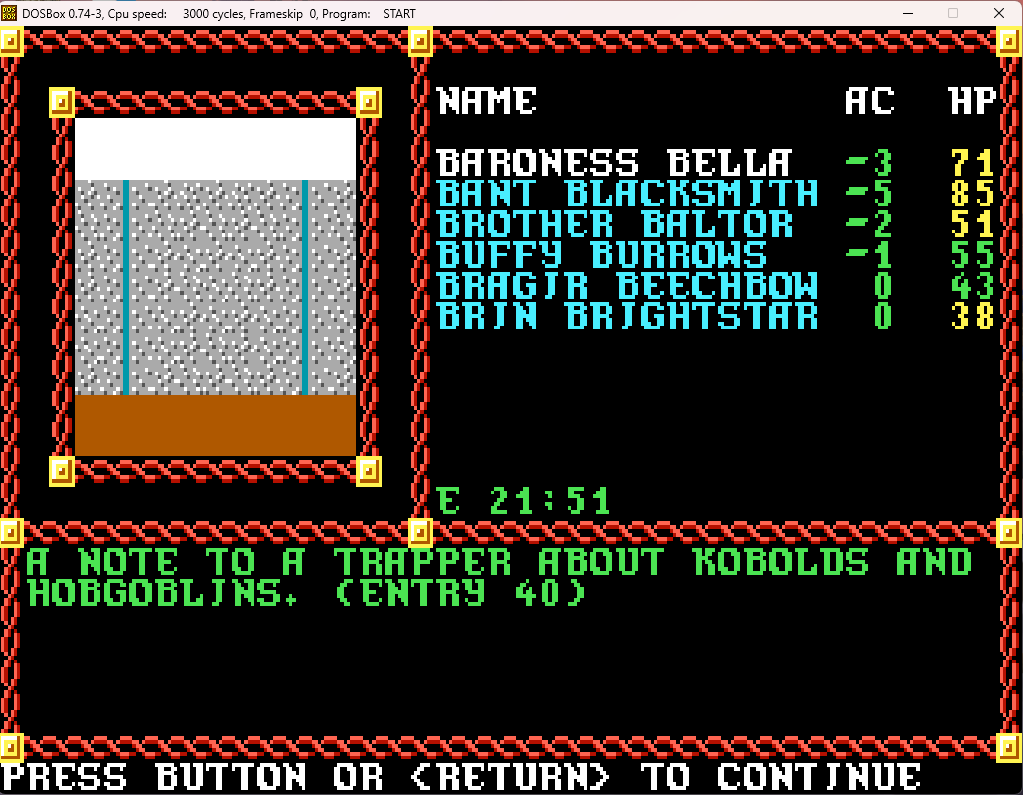
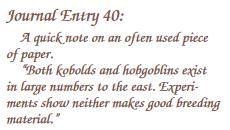
Nothing much newsworthy here. Other than he apparently tried to make sahaugin out of kobolds and hobgoblins, which is even more insane than trying it with lizardmen.
And with that, our search though his mound of paper is thankfully complete. But there is something interesting in another section of this room...
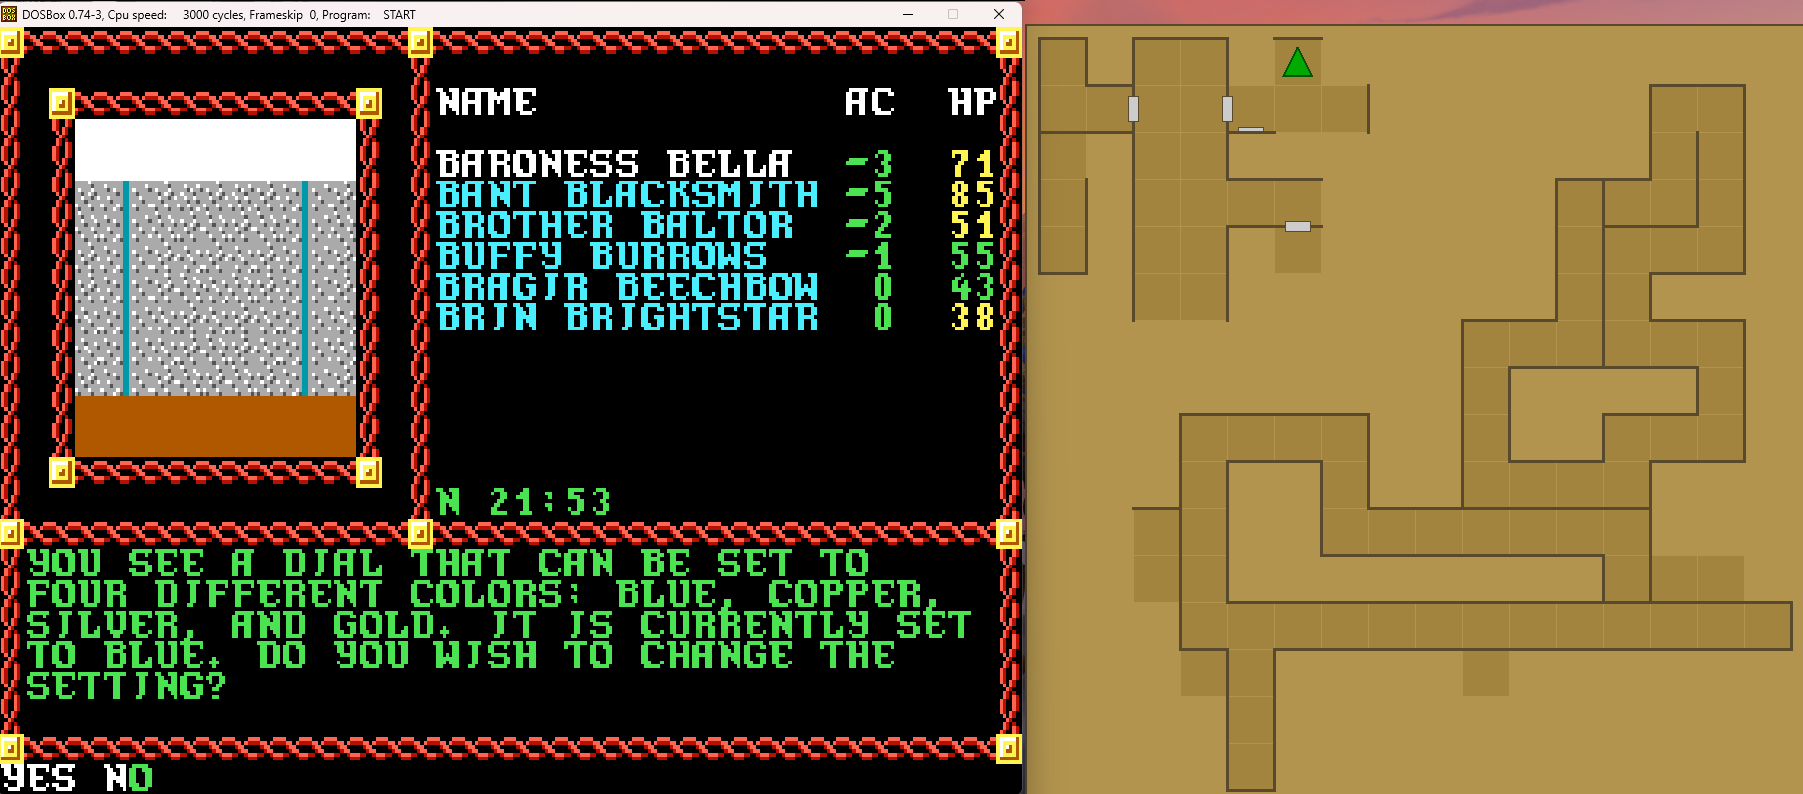
We don't want to do "Blue" yet, so we do decide to change the setting.
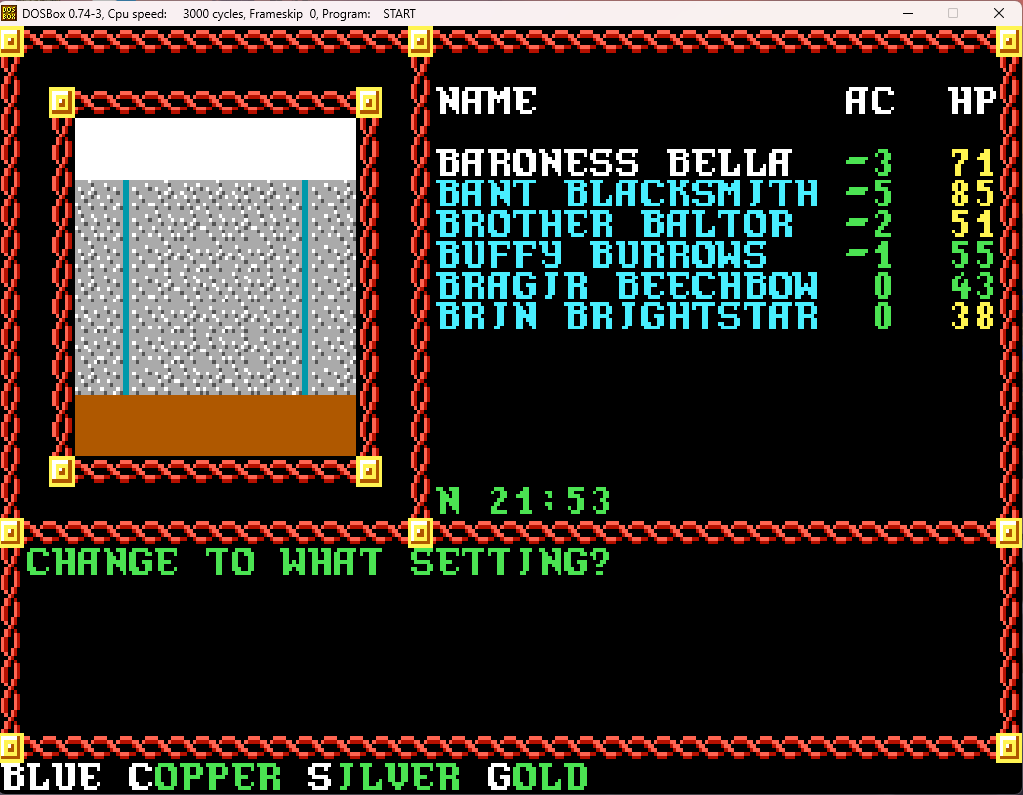
We'll start with "Copper" and move up through the coinage metals before we circle back around to the Blue setting. We then move to the corner of the room...
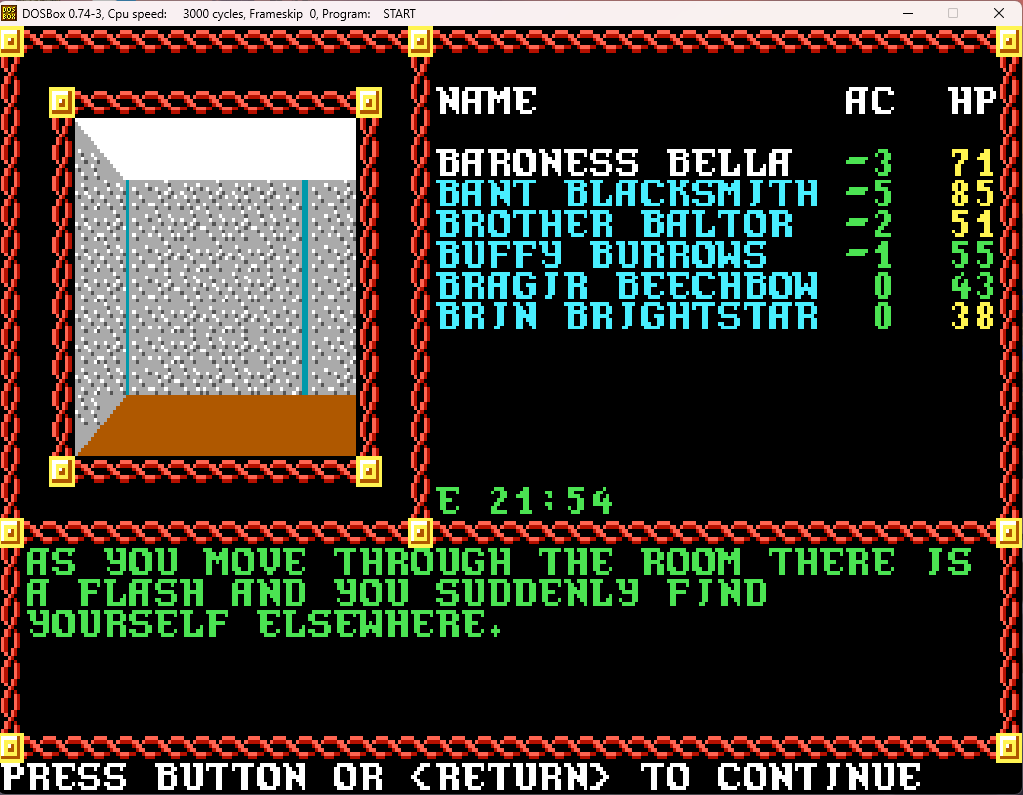
Where did the teleporter take us? Find out in the next post!
We head around that corner, and encounter a closed door.
Ah, copy protection strikes again! We break out our wheel, or the digital equivalent thereof, or read through an online guide or cheatbook, and get...
Yes.
If you get it wrong, a super-mutant lizardman appears and wipes your party immediately.
Fortunately, we got it right, and continue into the next room.
(I at first misread petcocks as "petticoats", which definitely brings up a quite different picture!)
For the moment, we move away. We'll poke around some other rooms in this area before figuring out what to do with the equipment.
(Sorry about the lack of maps in the last bit here, I was taking screenshots wrong and didn't realize it until after some time, and definitely didn't want to replay everything from that point onward - at the first teleporter on the ground floor - just to get the map on screenshots. Basically, we started at the bottom center, moved around the corridor to the left at that first intersection, then returned and explored the corridor to the right, exploring rooms through secret doors as we went along. Then we teleported to that long snaky part in the upper right. Then we teleported to the three squares in a row near the upper left, then teleported to the upper left corner itself, which led us to the equipment in the big room, and then to the room we're currently in. Anyway, back to the lizardmen...)
We parlay. They are obviously not hostile.
Again with the copy protection wheel. Following the directions there, this comes out as "savior". This will come in very handy in a surprisingly short time.
We head back to the main room, and, since we've now seen the non-combatants evacuated, it's time for a little light vandalism...
This time we choose "Destroy"
(This is why you rescue the lizardmen first, as if you start destroying immediately, you have to go through several repeated destruction attempts, which will cause an explosion that can do some serious damage if you fail even one of the attempts! Here it just lets us just skip to the last attempt right away).
After a bit of fun smashing the polluting equipment, it's time to go to through that door directly in front of us to deal with the person who has been causing this whole problem...
Eh, Bragir has knock memorized, so we'll let him have his fun.
I guess he failed to hear all the crashing and smashing we just committed just outside his door. As he seems quite unrepentant about all the things he's done, it's time to deal with him once and for all...
Yeah, no parlay here (and even doing that just leads directly to combat anyway).
Six lizardmen, even mutated ones, aren't going to be a tough fight. Yarash, though, is a magic-user, so we have to focus fire on him so he can't get any spells off.
Yeah, that didn't take long (as you can see, his square is now empty on the map, I just took the shot a moment to soon to get the "Yarash is dying" message and the skull and crossbones).
The rest of the fight goes predictably quickly...
Oh, that signals some pretty nice treasure!
Quite intriguing indeed!
Hmm. Bracers AC 4 is exactly what Buffy already has, and is the same AC as my magic-users' banded mail. So those are just getting sold once we get back to town.
I distribute the "2 potion of healings" and the potion of speed to various party members, and give the wand to Bragir.
That done, we look around the rest of the room.
Yarash apparently had a lot of pen pals, and we'll have to dig through his correspondence to see if we can find anything of interest among all this paperwork...
The Boss apparently thinks he can just... boss around everyone, apparently.
And apparently no one he sends these threatening letters to are amused by them...
So... the dude was trying to make sahaugin out of lizardmen. How did he ever think that this was going to be a viable project? And he was massively polluting the surrounding environment as a result of his ludicrous attempts at doing so. Mad scientists are going to mad science, I guess...
(Oddly enough, despite being name checked here, you can't meet/fight sahaugin in this game, or any of the other three games in the Pools series. You do actually encounter some in the third Dragonlance game, though).
Hmm... That's very intriguing. We do see a dragon cave on the GBC map not too far from here. As we won't be visiting this vicinity again, we should go up there and check it out after leaving the pyramid.
Nothing much newsworthy here. Other than he apparently tried to make sahaugin out of kobolds and hobgoblins, which is even more insane than trying it with lizardmen.
And with that, our search though his mound of paper is thankfully complete. But there is something interesting in another section of this room...
We don't want to do "Blue" yet, so we do decide to change the setting.
We'll start with "Copper" and move up through the coinage metals before we circle back around to the Blue setting. We then move to the corner of the room...
Where did the teleporter take us? Find out in the next post!
Last edited:


