Maps for PbP?

tylerthehobo

Explorer
Thank you for the really informative post, Hussar! +100 XP for you! ;)


For PBP? Maptools is a virtual tabletop program, and it's meant for real time play.

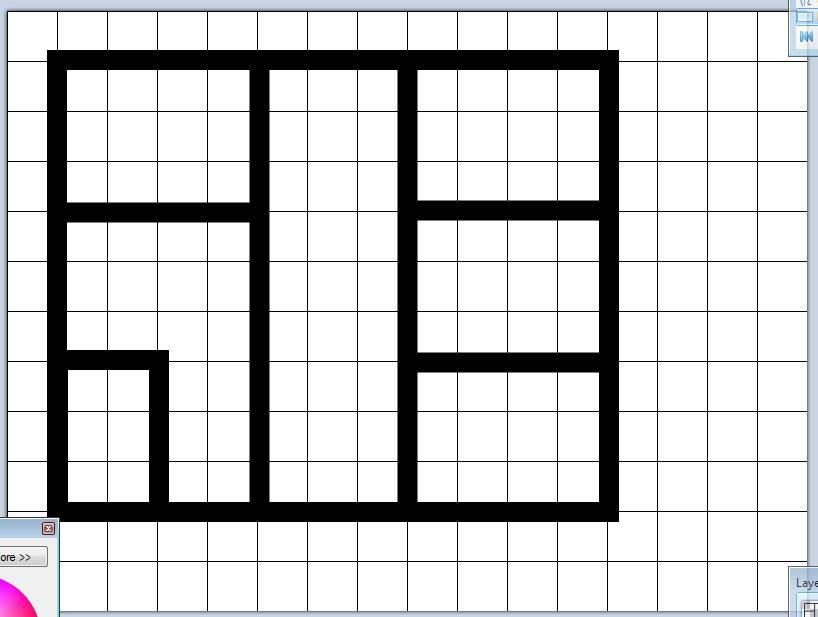
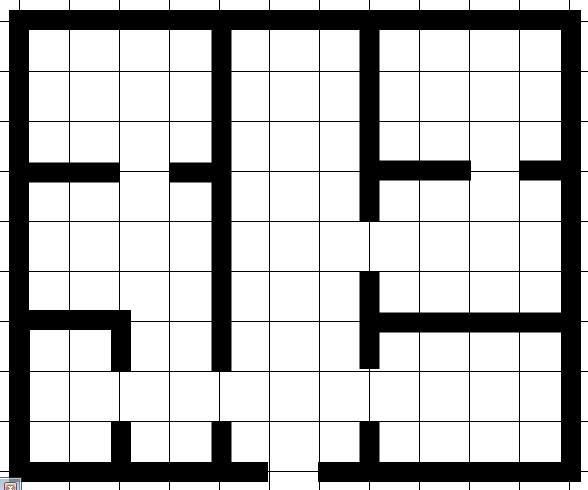
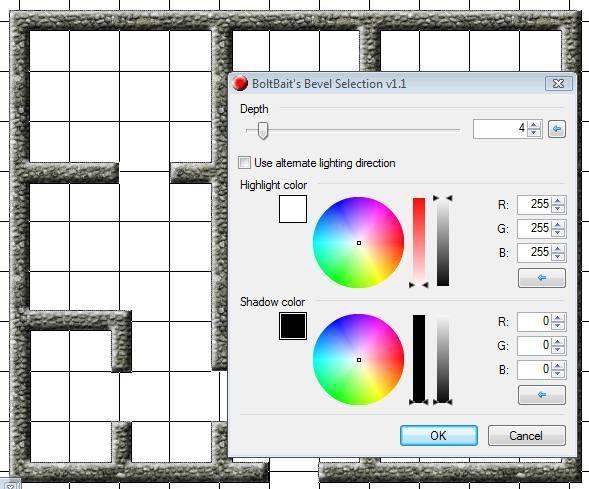
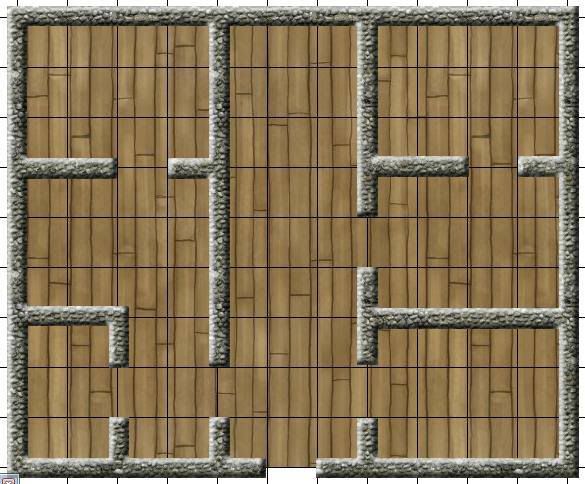
Might I suggest a combo of two things: DungeonForge (a token based mapping program found here - you need to register to download and something like Paint.net or Gimp (both free art programs) to do the individual pictures with tokens.

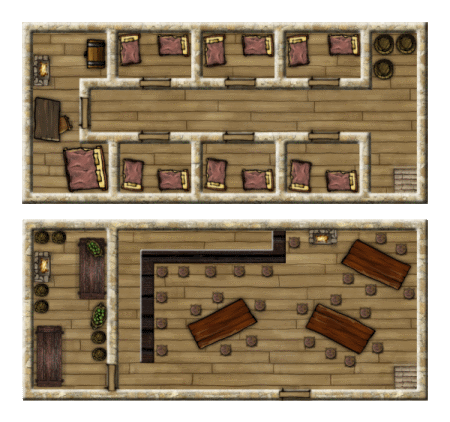
Simply place each token on it's own layer and place the battle map on the lowest level, and you can move the tokens around, round by round, and save the maps to display.

En World allows you to attach the images, so, so long as you keep them fairly small, you shouldn't have any problems.
 

log in or register to remove this ad


Hussar

Legend
And yet, many use it for PbP maps. At least some of my DMs. I'm a bit inept, so I use simple excel maps.

It would work. As was mentioned, you could simply screencapture (maptools comes with that function) and store the images on the web. Never thought of doing it that way, but, yeah, that would be very easy to do.

And, as an added bonus, Maptool is pretty easy to draw maps in.

fireinthedust - The best thing you can do for tokens is grab Token Tool from the Maptools site. Great little program that lets you drag and drop any image into it. You then center the image inside the circular token shape, click save, and poof, one instant round (or square if you like - or many other shapes if it tickles your fancy) token. Works great.
 

Merkuri

Explorer
Note that once you have your token-looking image you can just drag it from your desktop (or wherever) into the MapTool program to drop it onto the map.
 

Merkuri

Explorer
I do this in paint:...

May I suggest Paint.NET instead of "normal" Paint? It works very similarly but has a lot of extra features, like layers.

You could have the grid on one layer and the tokens on a different layer (or have each token on its own layer) and suddenly it becomes MUCH easier to cut/paste the tokens to move them. You don't have to worry about accidentally cutting part of the map grid.

Also, there is at least one plugin for Paint.NET you can use to automatically draw a grid of whatever size you want. I can try to find that plugin download for you, if you like the idea.

Oh, and this is all free.

I created this map in Paint.NET a little while ago (using some textures and set dressing I got from MapTool). It originally had a grid, but I hid that layer before generating the .png because I was going to be using it in MapTool, which has its own grid each player can turn on or off as they want.

innS.png


Merkuri

Explorer
For those interested in using Paint.NET here's a little "tutorial" I created on my gaming group's forum about how to create rooms like then one I posted above.

[sblock]
First, you'll need Paint.NET if you don't already have it:
Paint.NET - Free Software for Digital Photo Editing

Then you'll need these plug-ins:
Grid Maker
Photo Flood Fill
Feather, Outline, Bevel


First, take your image and add a new layer and call it "Grid":
GridLayer.jpg


With that layer selected, go to Effects -> Render -> Grid/Checkerboard Maker. Set the grid size appropriately (I usually use 50 pixels for each) and check "Foreground Only.
gridMaker.jpg


Add another new layer. Call it "Walls".

Take the rectangle tool, set the brush width to something wide, like 20 pixels, make it no fill, and draw the outline of your building. It looks best if you make it match the grid, but it doesn't need to be perfect.
OuterWall.jpg


Take the line tool or the rectangle tool again and draw in some inside walls. When using the line tool you can hold down the Shift key to make it go straight horizontal or straight vertical.
innerWalls.jpg


If you want, erase some spaces for doors. If you don't want to do this you can overlay door stamps on top of the walls later.
doorOpenings.jpg


Make sure your walls are the way you want them before you go to the next step, because it's hard to go back after this.

Use the magic wand tool to select the walls, then go to Effects -> Photo Flood Fill. Pick a texture that looks like a wall. I find brick or stone textures look best. DO NOT DESELECT THE WALLS YET.
texture.jpg


Keeping the same selection, go to Effects -> Selection -> Bevel Selection. I find it looks best if you decrease the depth a smidge, but otherwise you can usually leave the defaults.
bevel.jpg


Now to add the floor you can either add a new layer or select the Background layer and use that. On whatever layer you pick, select a square area the same size as your building and go to Effects -> Photo Flood Fill again. Fill this with a floor texture. Wood works good here.
floor.jpg


That's about it. Add stamps to give it some character (or save that step for MapTool). You can keep the grid or you can remove it. If you want to keep it you can move it up and down the layer order to look at different effects. I usually like to remove the grid because MapTool has a grid of its own, but if you leave the grid it usually looks best if you put it under the walls and stamps but above the floor.[/sblock]
 
Last edited:


Merkuri

Explorer
Merk, the plugin links come up broken. You might want to check that.

The links aren't wrong, it appears that the forum that held all of these plugins disappeared! Now I'm sad. :.-(

Edit: Wait... they may have just changed domains. Let me see if I can find them again.

Edit2: I managed to find their new forums and searched for those same three plugins. I hope I found the right ones! Fixed it in the original post.
 
Last edited:

Remove ads

AD6_gamerati_skyscraper

Remove ads

Upcoming Releases

Top